Project 2_Creating a 3D rendered model for a Residential Building in AutoCad
AIM: Creating a 3D rendered model for a Residential Building in AutoCad
PROJECT ON: 3D MODELLING AND RENDERING
INTRODUCTION:-
This complete project is all about the real 3D view of the models with the realistic materials, exposure, and lightning systems
Tool used:-
- For 2D:
- line
- xline
- offset
- trim
- rec
- circle
- erase
- move
- copy
- text .....etc
- For 3D:
- Ext
- pressfull
- sweep
- union
- subtract
- region
- boundary
- move
- 3Drotate
- copy
- UCS
- Rmat
- RR
PROCEDURE:-
- Open the AutoCAD application
- set the units Decimal-Milimeters
- set all the default settings and limits
- Now the sheet is ready to create the 2D drawing
- Click on the layer properties
- click on set new layers
- create all the layers that u want to apply in the project
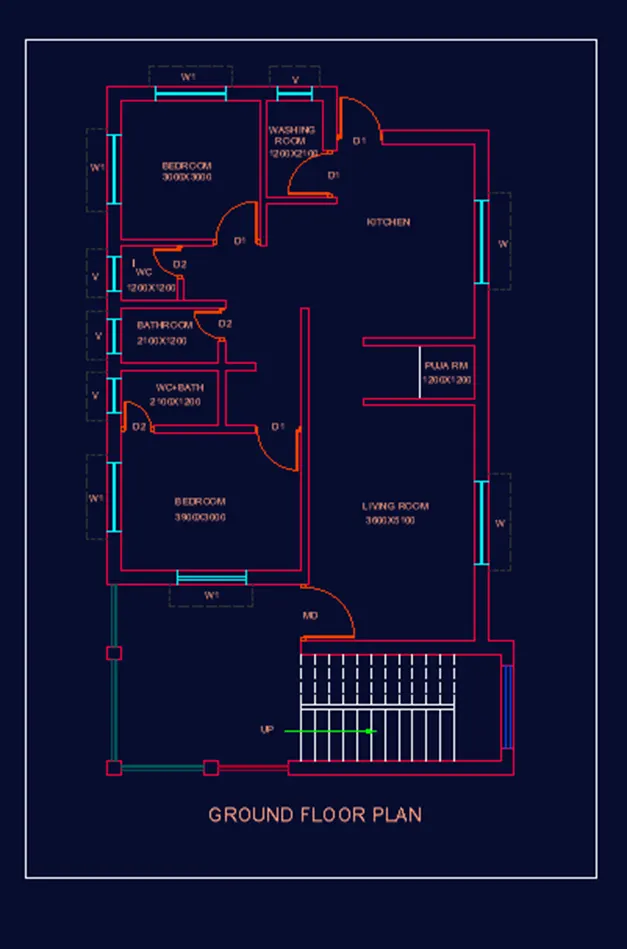
- Draft the floor plans G+1 with proper usage of command
- give them annotation, text and dimensions properly
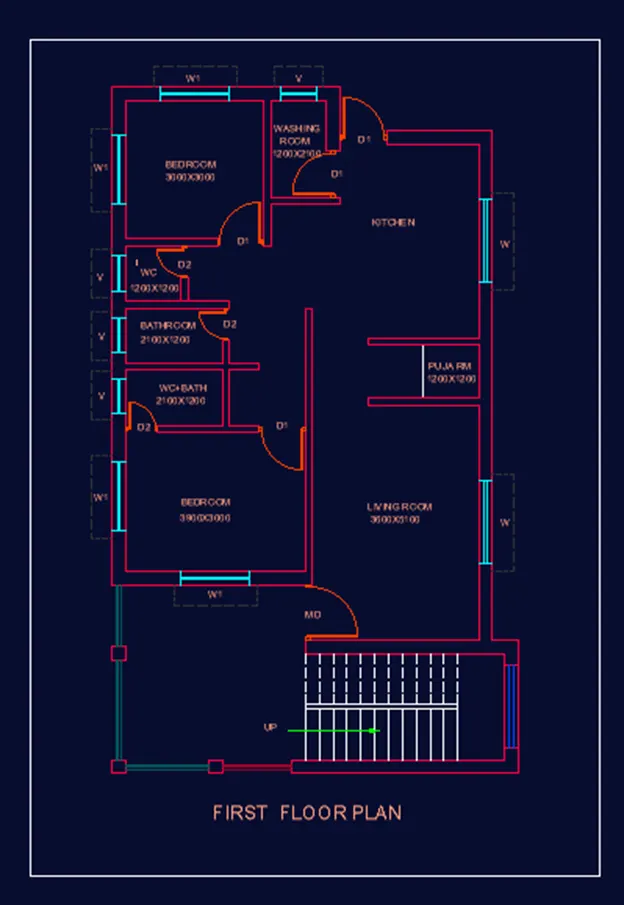
- then the results show in below images:
- Ground Floor Plan:
- First Floor Plan:
- after that
- give the Xline command
- give all the projection that u need to draft the front elevation of those plans
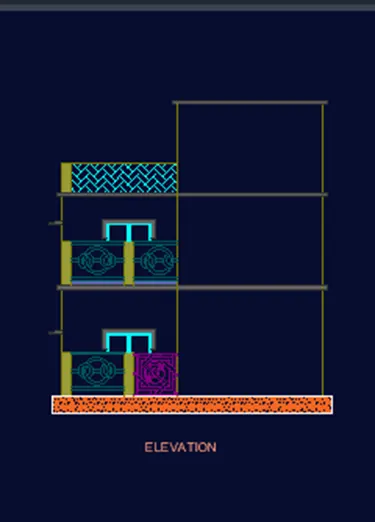
After the 2D drawing complete
Now, go to the 3D modelling
click on the visualization style as u wish - i follow the realistic view
- take the Boundary or Region command
- create the all wall boundaries first
- set the wall layer - set current
- create the regions
- take the EXT command
- select the region
- press enter
- give the wall height as 3000mm
- simmilarly extrude all the walls
- BY giving the EXT, move,copy, region, subtract command create the openings of windows and doors
- then see the result of image how it is:
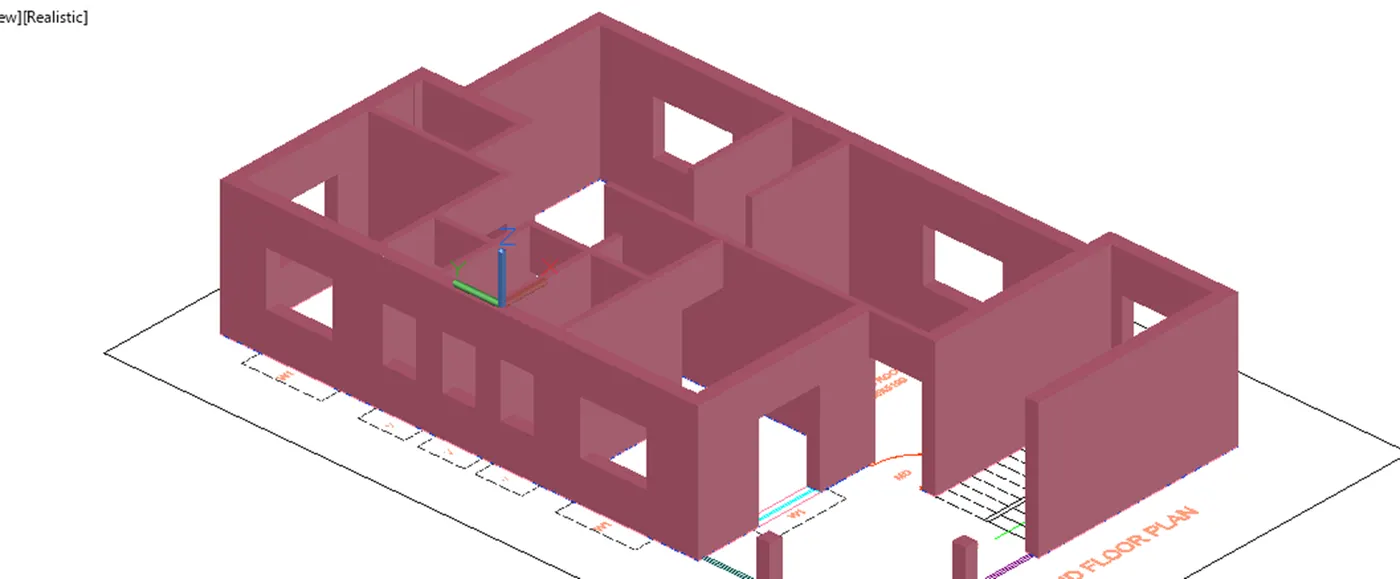
- By following the similar process complete all 3D modelling with accuracy {crate the windos , doors } and staircase and place in required positions
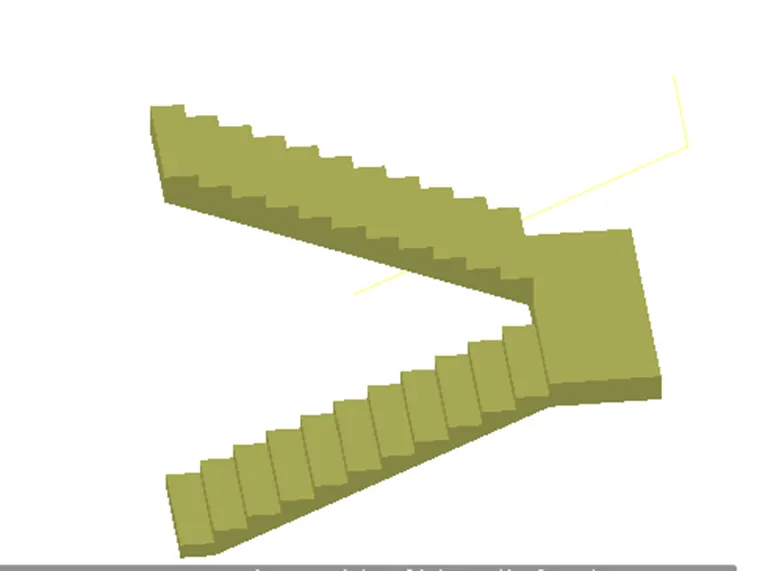
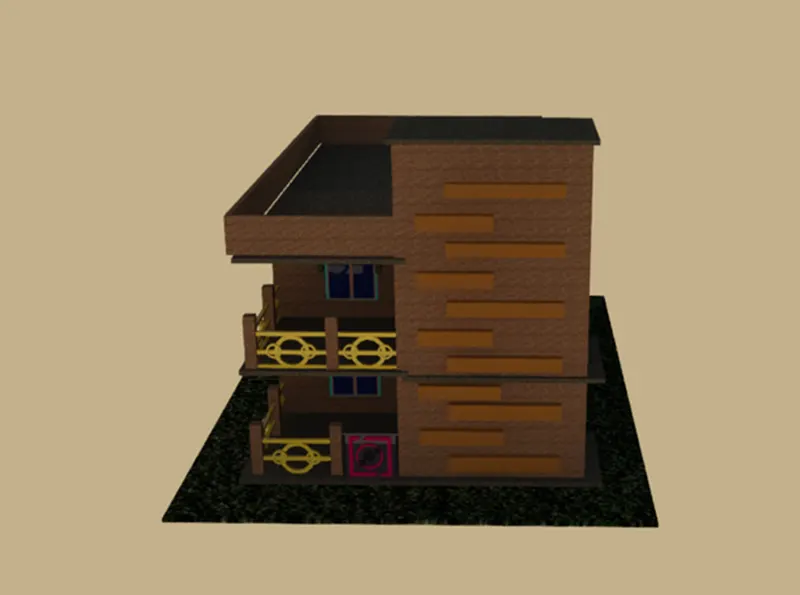
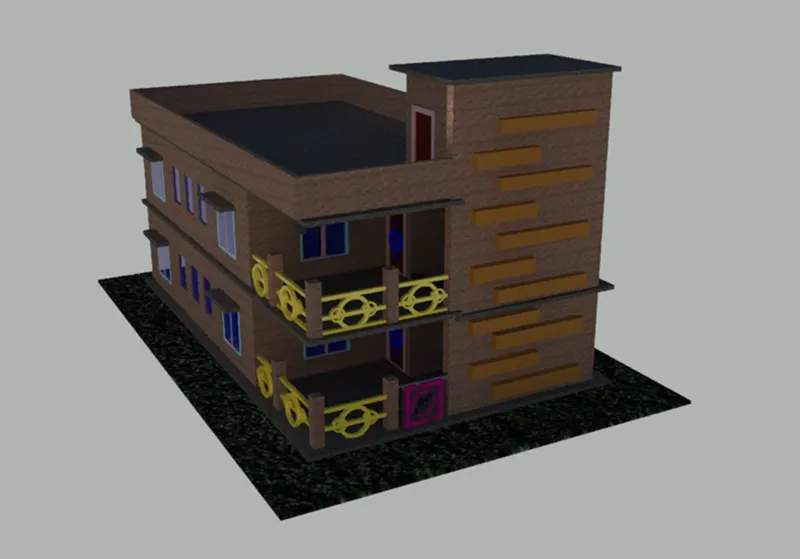
- see the complete 3D modelling
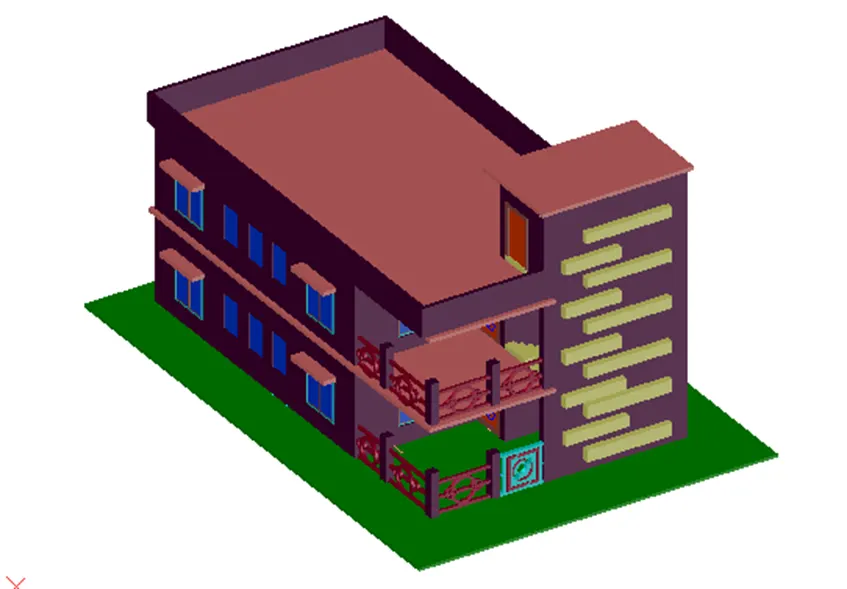
- After that ;
- Give all the appropriate material by using the Rmat command
- give the materials like paints, wooden frame , grass for the ground, design fabrics, metallic paints for grills and gates
- see how it is in below views:
- view 1:
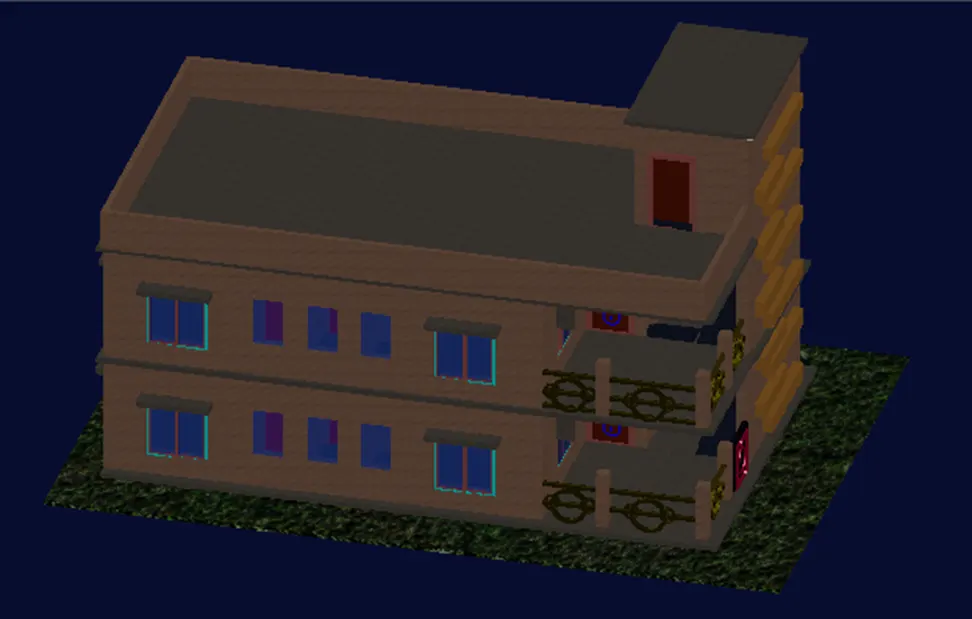
- View2:
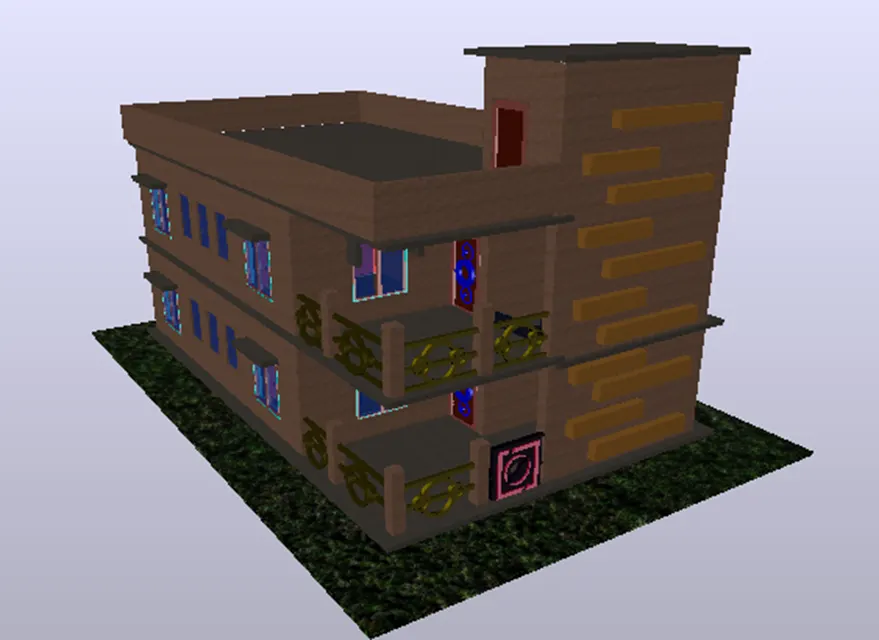
- View 3:
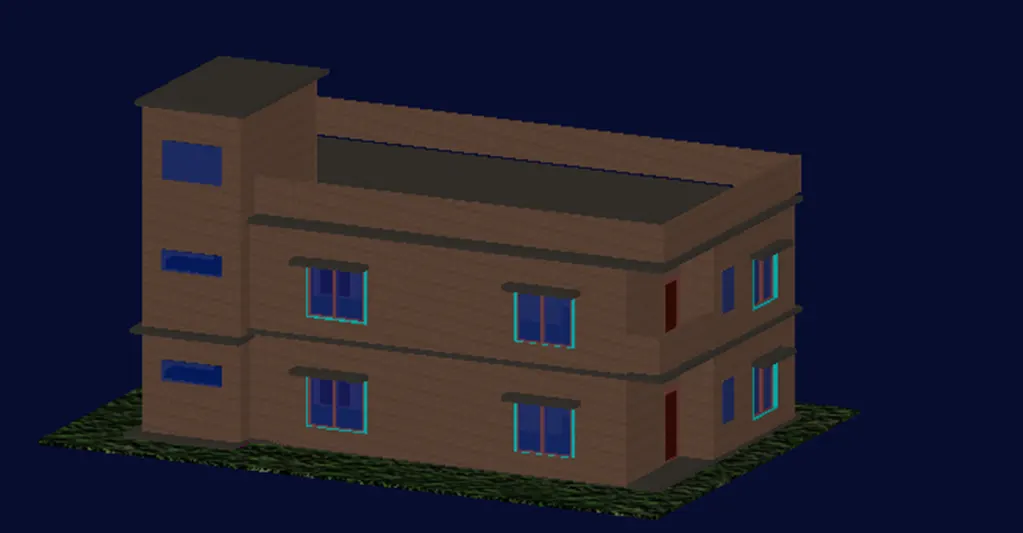
- View 4:
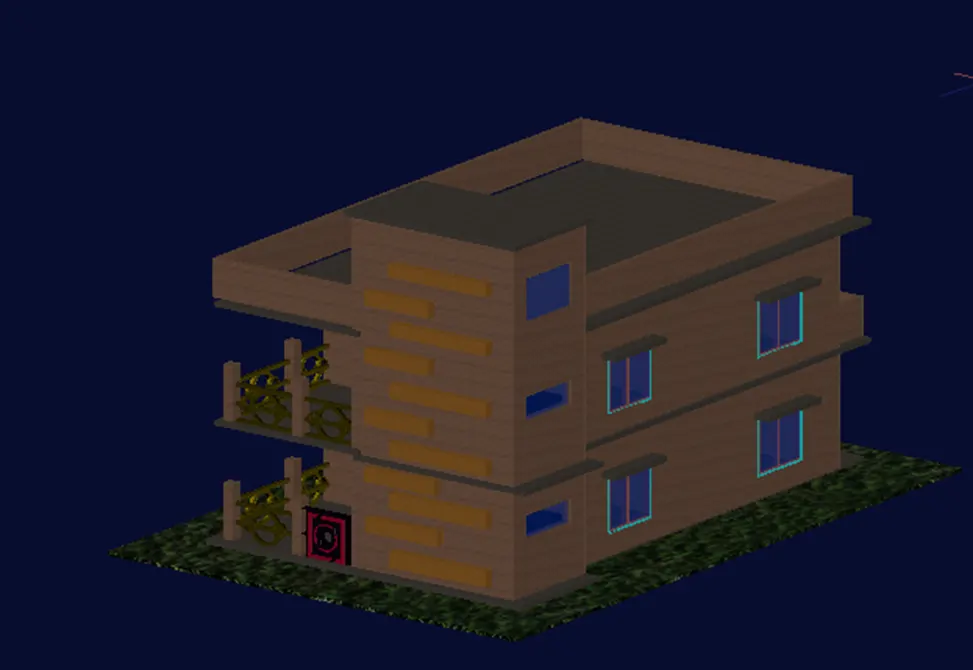
Now the proceed for the Rendering process
- For that take the camera
- set the views of cameras just like the real
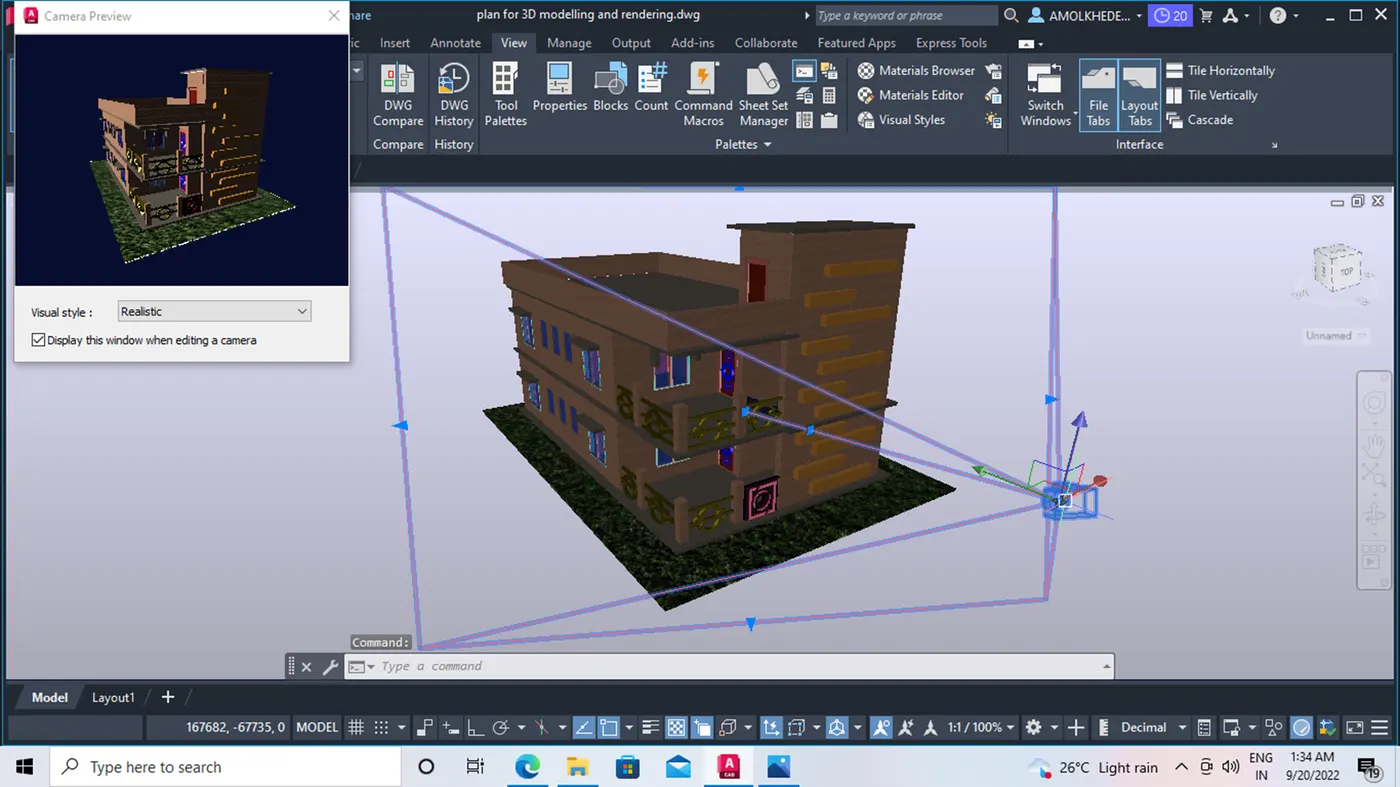
- Now open the camera views that u want to use for the rendering
- keep the Sky background with illumination on
- Sun status on
- keep the shadow off
- click on the renred option from the visualize tab
- complete the process and see the rendered image
- when the rendered image is not ok with the materials
- then u can change the properies of material and again proceed for the rendering
- complete the rendering with the clearity, transperancy ,backgrount , quality
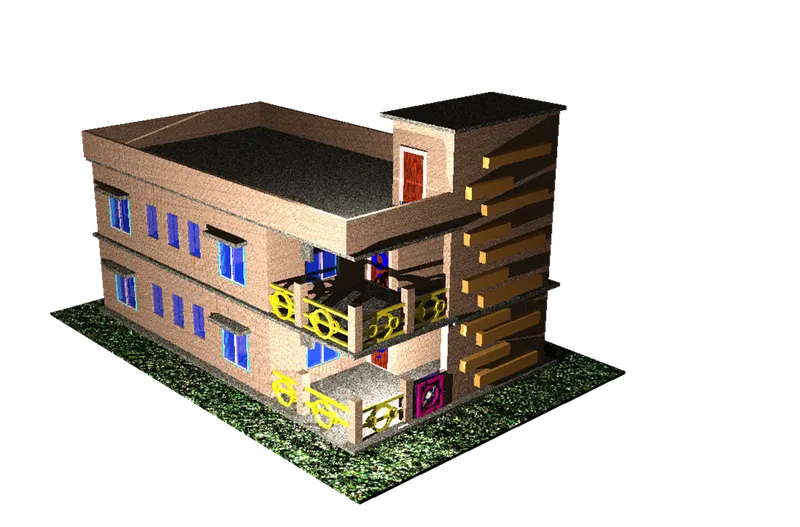
- see the images of rendering of the model
RESULTS:
Render images