Project 2_Creating a 3D rendered model for a Residential Building in AutoCad
Aim
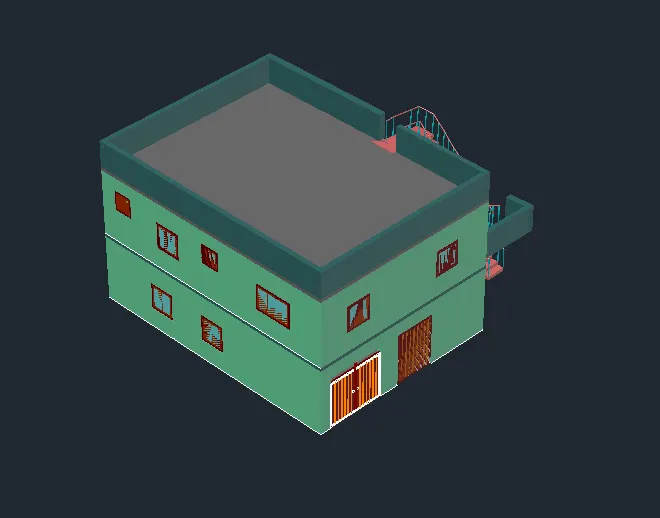
To create the 3D model of the residential building
Introduction
To create the 3D model of the residential building with rendered view
The 3D model is developed using the 3D modelling workspace in AutoCAD. It is then rendered as required.
Procedure
AutoCAD is started with Metric as default setting.
The Type is set to 'Engineering' and Precision is set to 0'-0" using UNITS command.
Workspace is set to 3D Modelling.
Top view is selected in the View cube.
Use LINE command to draw the outline of the plan
Dimension of the plan is 40x30
Offset to create the wall of 9"
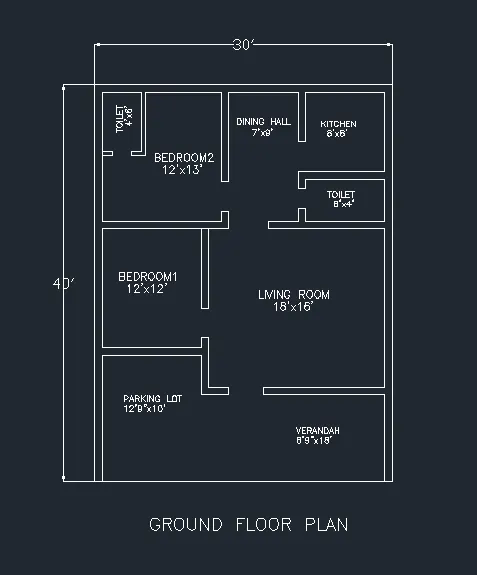
The living room, bedrooms, toilet, kitchen,dining,parking,verandah are drawn
Leave the gap for doors as per dimensions of door
Now drawing the first floor plan
Copy the same outline plot of ground floor
Draw by assuming the rooms,toilet,kitchen
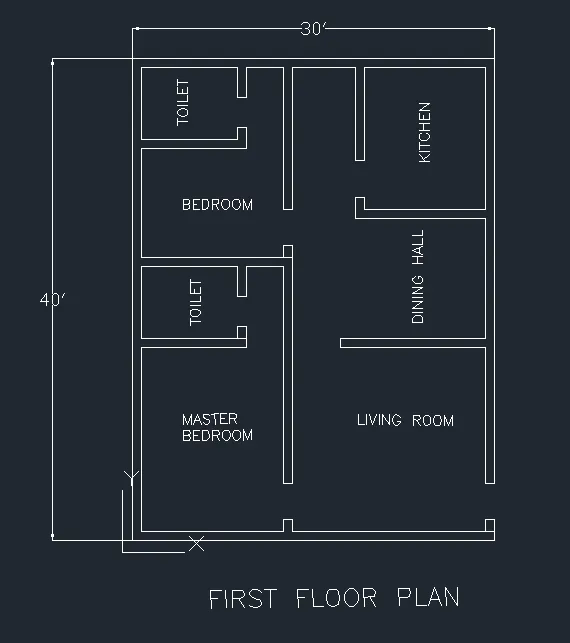
The entrance for frist floor given in front east direction
So, the stairs should be drawn in the east front side
Create region for extrusion
Ground floor plan is created as region
By drawing polyine for the walls
Leave the window gaps
Now EXTRUDE command used, extrude at height of 10'
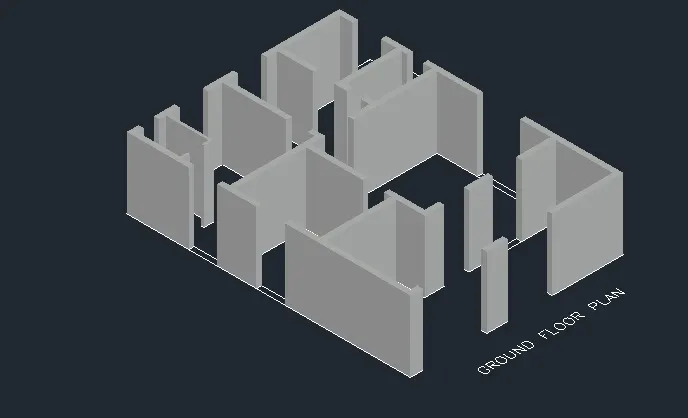
Window sizes drawn on top of the 2D plan
Then while extruding, the window rectangles are not selected
Now select the rectangles of window extrude it at height of 3'
Then draw the rectangle at top, extrude it down by 3'
Window gap will be created
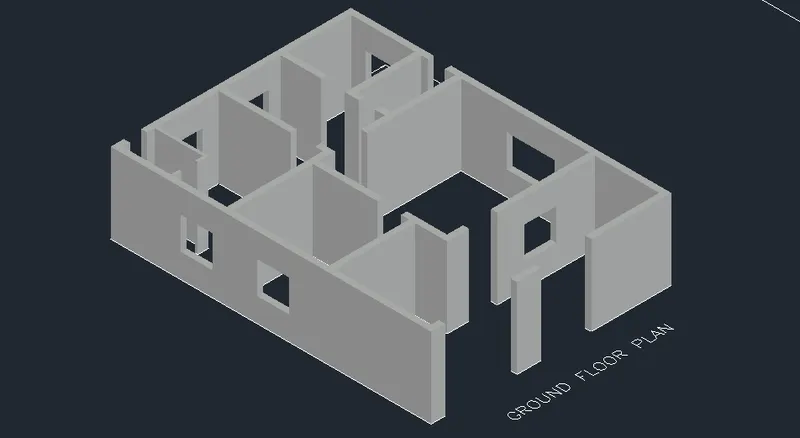
Layer properties is selected
All the required layers are created
The colors are also selected for each
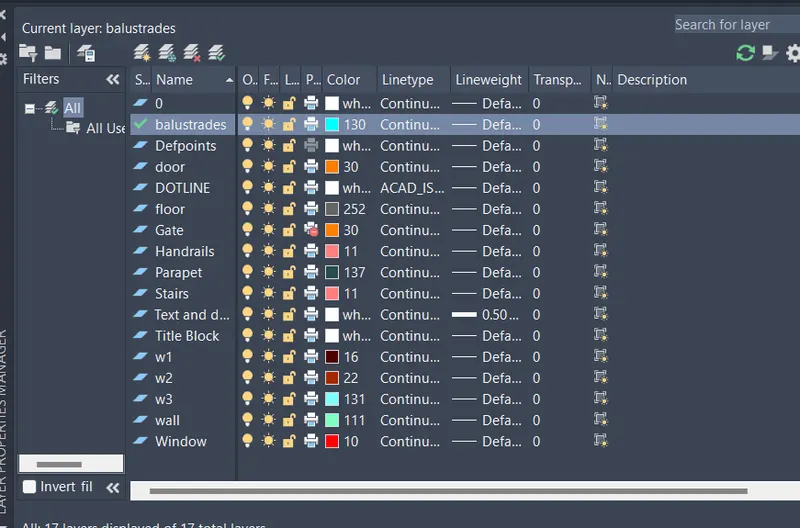
The windows are drawn separetely in 2D
By assuming its dimension
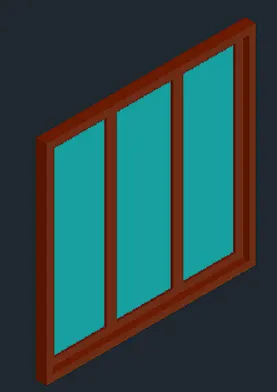
Similarly all the windows are drawn
Then using 3DROTATE command it is rotated to required angle
Using MOVE command it is attached to the window gaps
Then create rectangle at top of door area
Then extrude it downwards by 2'
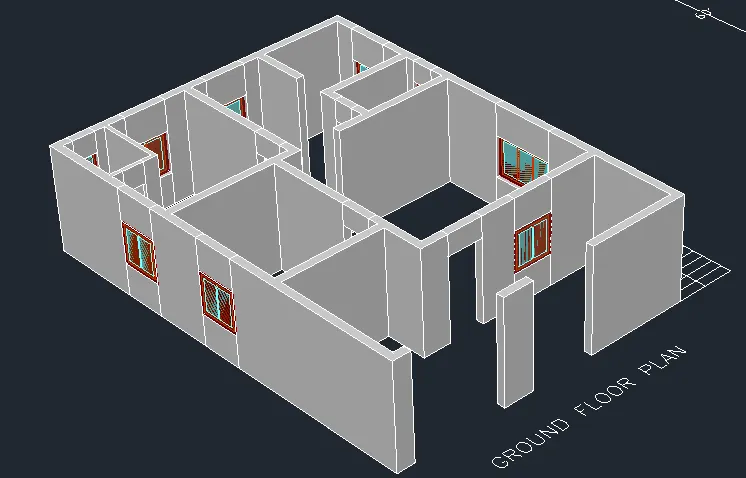
Then select top view in view cube
Then draw polyline inside the plan to create floor
Then change to 3D and Extrude the polyines to 1'
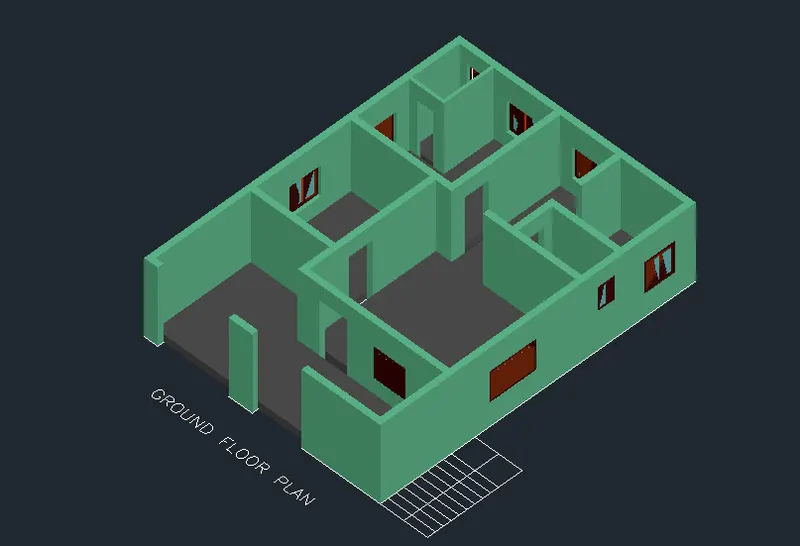
Then create the doors in 2D
Offset it by 3"
Move it and attach to the door gaps
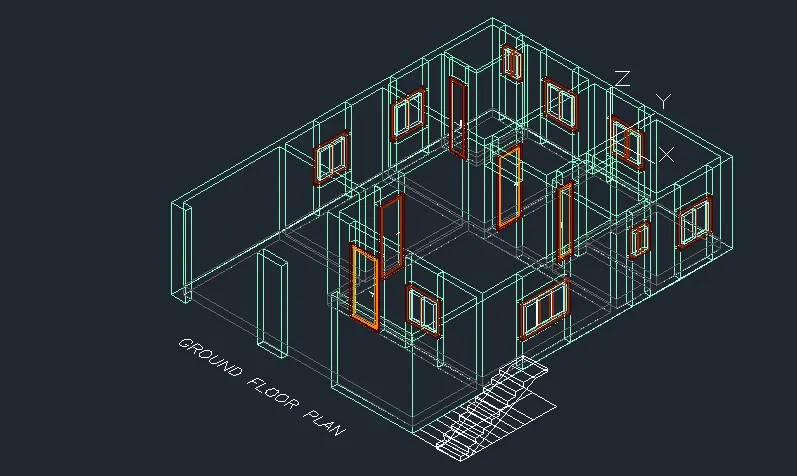
Then create the front two gates in 2D
Then rotate using 3DROTATE
And attach to the front
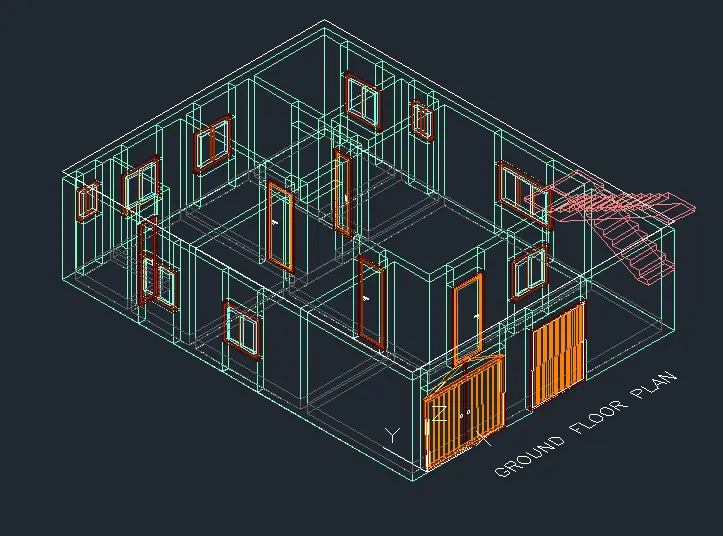
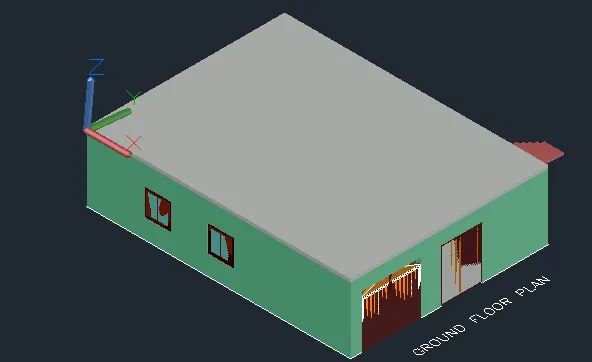
Then create slab on the top of ground floor plan
Create RECTANGLE of 40x30 on top
Then extrude it by 6"
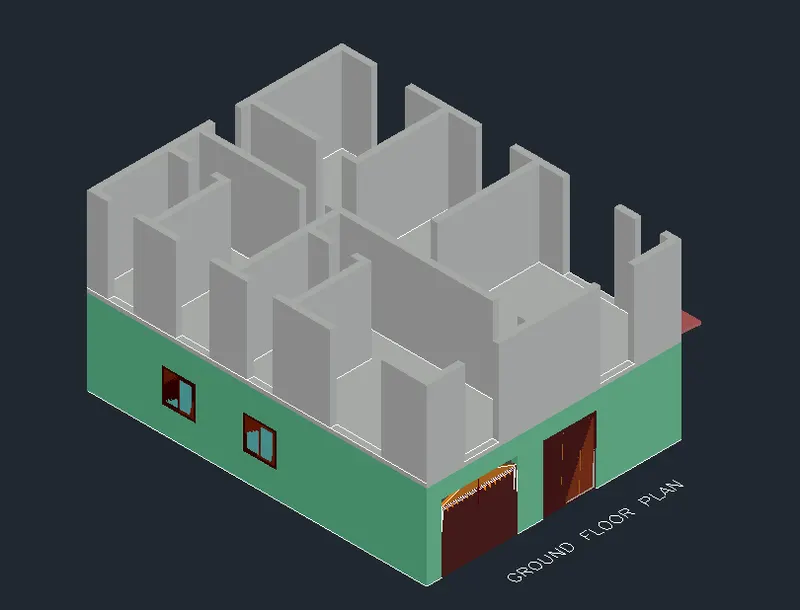
Similarly for the 1st flor plan
Leave the window and door gaps
Create region for the areas
Then extrude the wall at height of 10'
Then place it on the top of the ground floor model
Then draw rectangle in window gap and extrude it by 3'
Then draw rectangle at top extrude it down by 3'
The window gaps will be created
Copy the windows and doors from ground floor model
And place it on the first floor wherever required
Then draw the rectangle at top to create the slab
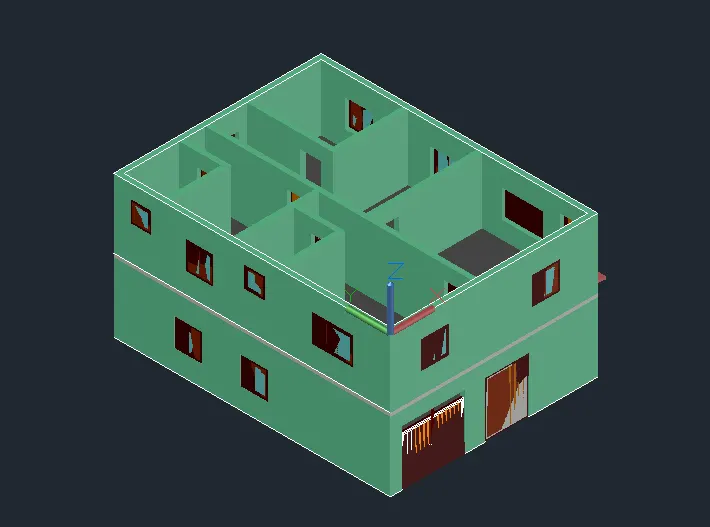
Then Extrude the Rectangle to 6"
The slab will be created
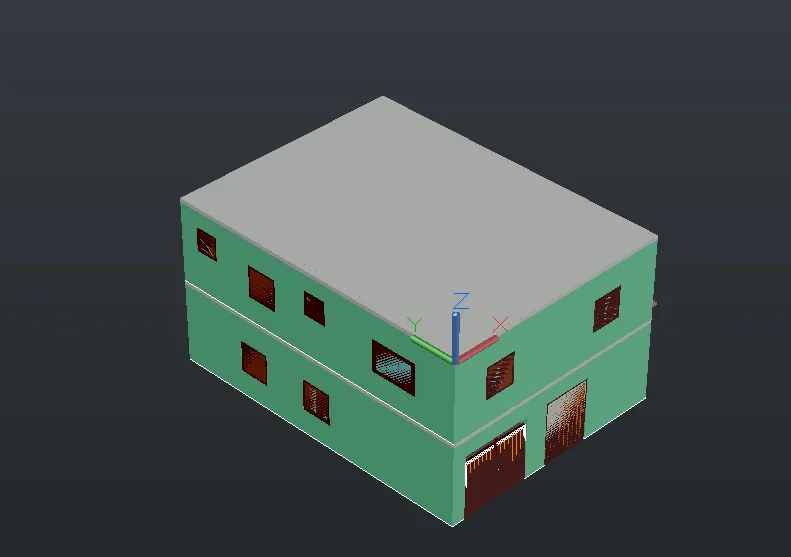
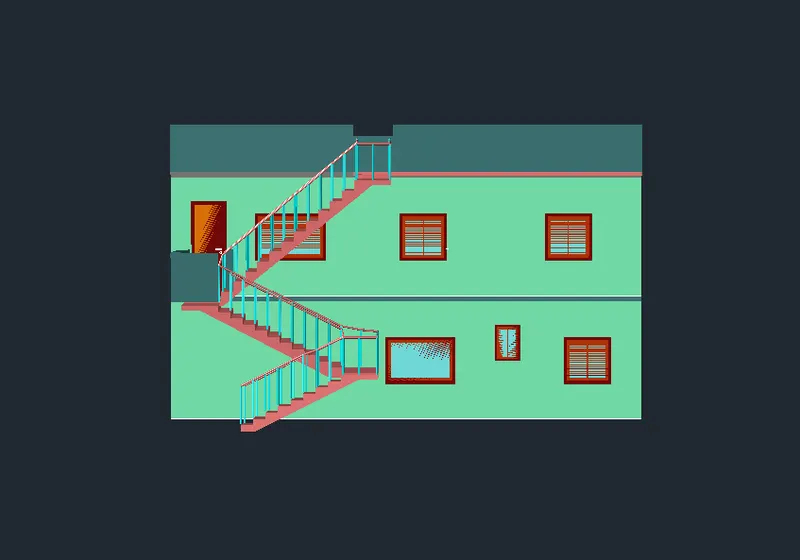
Create the stairs in 2D model
Tread as 1' and riser as 6"

Similarly create stairs for the upwards
The extrude it in side by 3' in 3D model
Then join the two of the landing stairs
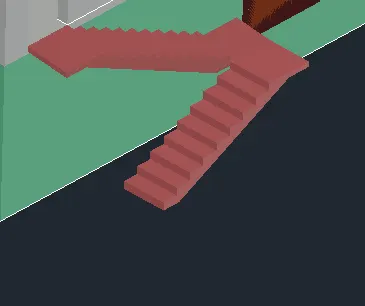
For accessing the top roof or terrace
Create another stair with riser 8" and tread 1'
Create extra slab for first floor house entrance with 3'x3' and also in the terrace
Then Extrude it by 4"
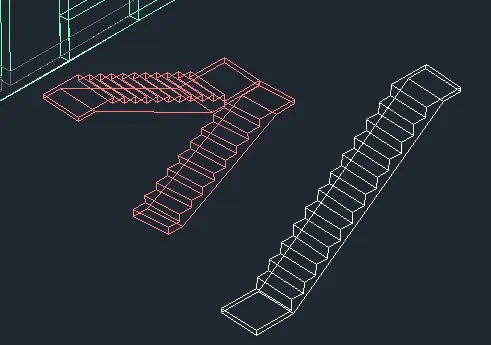
Join the roof stair
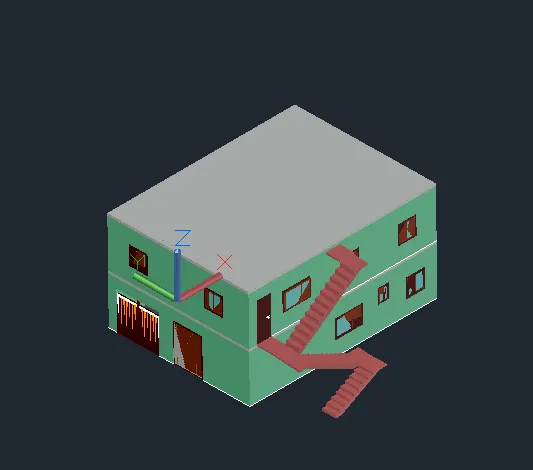
Then create parapet wall at top
Draw rectangle at top at all four sides with 40'x9" and 30'x9"
For stair side leave the gap of 3' and draw reactangles
Then extrude the rectangle by 4'
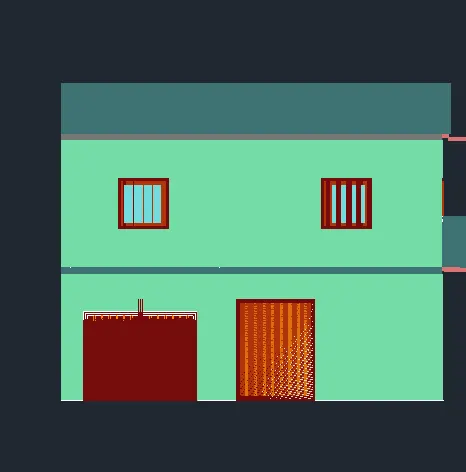
Then at entrance of first floor
Draw two wallls on two sides
Then draw handrails and balustrades for stairs
Create circle of 1" radius on each tread of stair at both end
By placing UCS icon in each tread by UCS command
Then extrude the circle by 3'
Then draw cricle at the both end of balustrade in z axis
And draw the 3DPolyline by 3DPOLY command, start near z axis circle and end it by connecting all; the balustrades
Then sweep it by selecting circle first and then the 3dpolyline
The handrails will be drawn
Select layer properties for stairs, handrails, balustrades
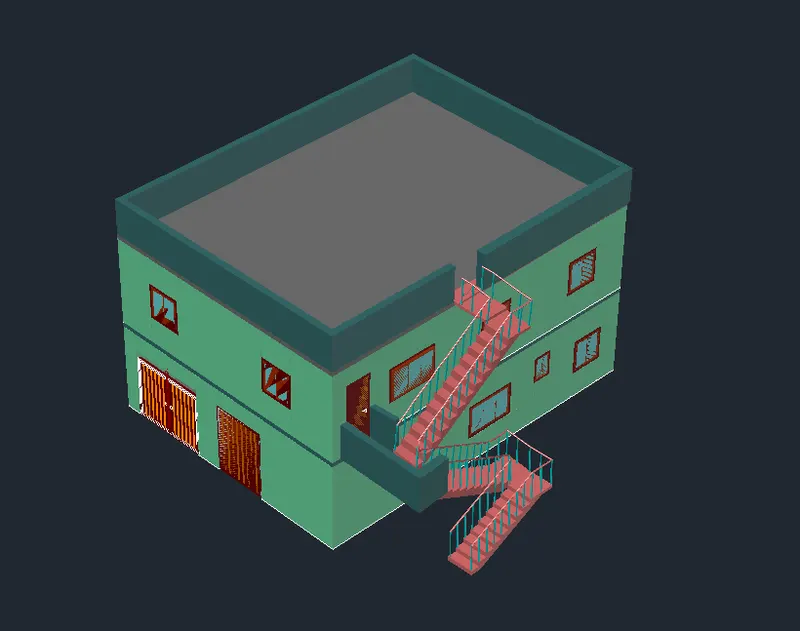
For Rendering
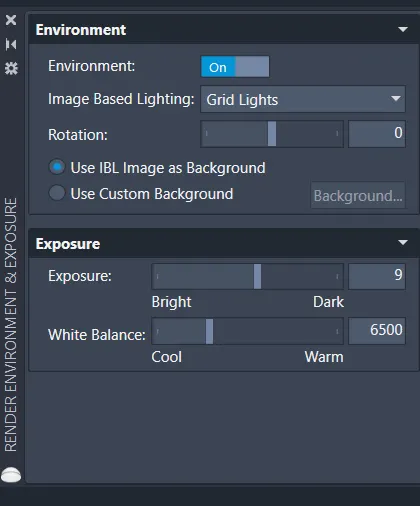
Render Environment command is selected and the Grid Lights option is selected
Command RR to render the residential building
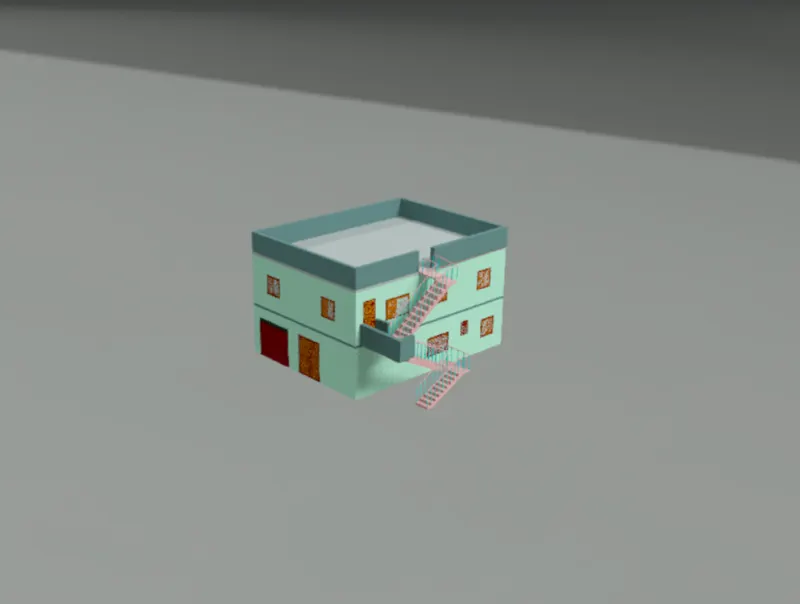
Result
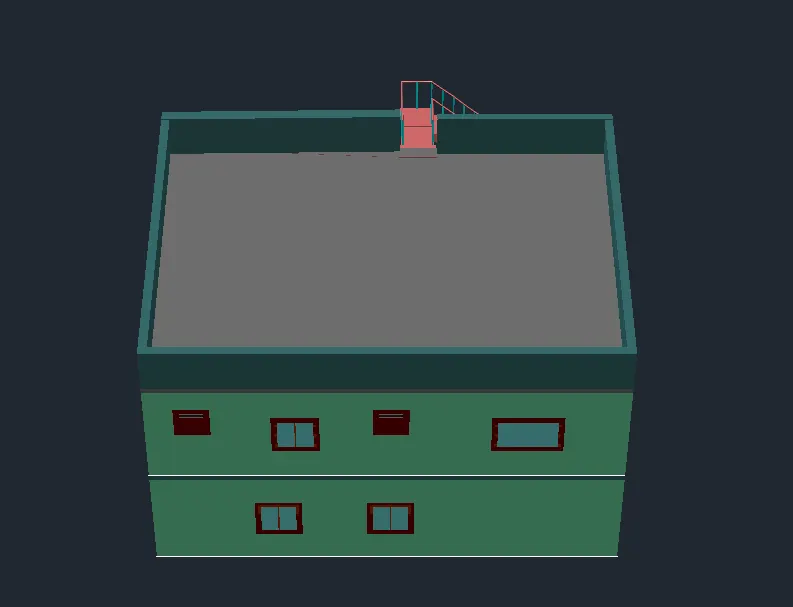
The 3 Dimensional model of a Residential Building is created and rendered the buliding