Project 2_Creating a 3D rendered model for a Residential Building in AutoCad
1. Ans :
Aim :
- To Create a 3 dimensional model of the residential building with a rendered view.
Introduction :
- Draw the Residential building using Autocad command and execute 3D and rendered view in Autocad
Procedure :
- For the project of Residental building Open the Autocad Software.
- In Autocad change the Settings of 3D modeling basic to execute the diagram in 3D.
- Draw the Residential building Plan in 2D with standerd dimensions.
- Then Turn it to 3D view by using VIEW CUBE
- Once the 3D view appear then we want to make the Wall and Flooring By using Boundary COmmand and make it region
- Once the Region created the Using Extrude command to give height of the wall 10'.
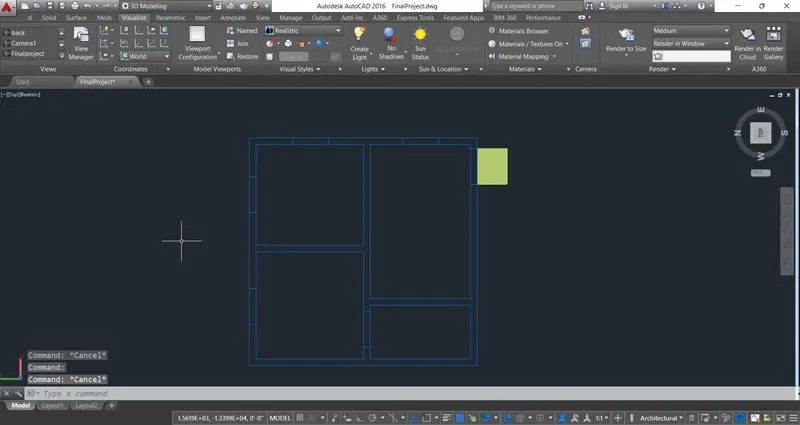
Layer Creating :
- Once Extrude done we have to create layer for all the parts of the building like ( flooring,wall,door ( Frame, million, Glass), window (Frame, million, Glass), Roof, sunshade, Slab projections, Elevation of wall, Parapet wall etc...
- Each layer we can assess seperate colour to Draw easy.
Window & Doors :
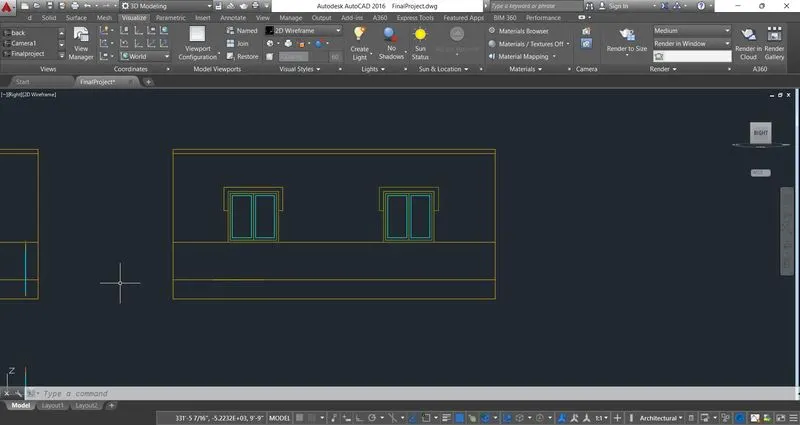
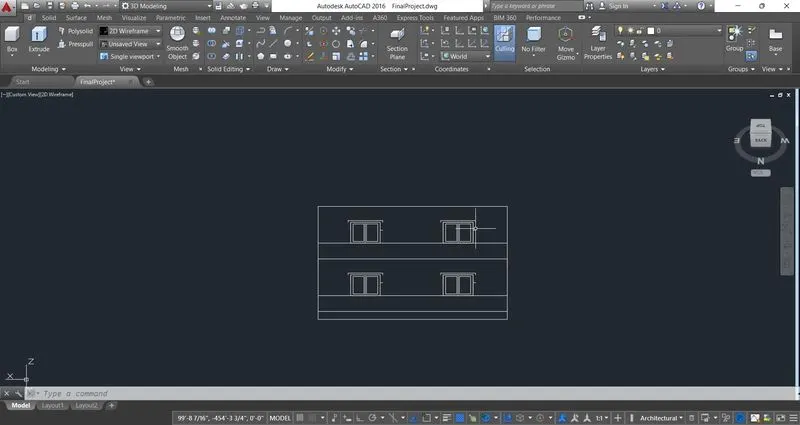
- Once the wall is extrude then the next work is we have to draw Doors and Windows in all the elevation views and alos in inside the building.
- Draw the Elevation of the builidng in all directions using line command.
- Specify the doors and windows in the elevation with seperate lines
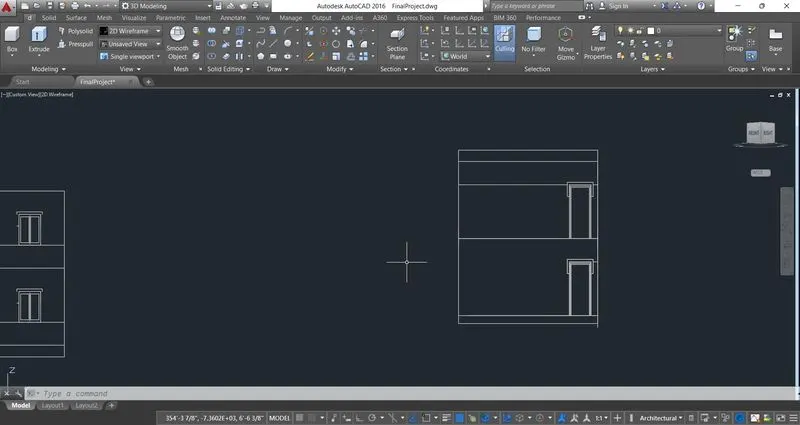
- Once the elevation is done Doors and windows with ( Frame, million and Glass ) 2D elevation is created.
- Then make the boundary command to region and then we can apply layer for each and every parts of the structure.
Assemble :
- Elevation are created with windows and doors are done in 2D then we can make assembe on the 3D view.
- By using Rotate3d command make the 2D elevation which parallel to the 3D view.
- And Move with common point and assemble with the 3D diagram and the over all view of the building is fixed.
- IF we want to make flooring by selectiong Layiso ( freaze all the layer ) expect the plan .
- From plan outer boundary we can extrude the flooring with 4' of slab.
- Hence the Ground floor is done we can make first floor by coping overall diagram and place the End point to join the ground and first floor.
- Then the over all 3D view of the building is Assemble.
Roof and Parapet wall :
- ONce the wall and flooring done.
- We can make the roof with using selecting the outer boundary of wall and extrude it with roof thickness of 4 inch.
- Then same procedure of the parapet wall with of set of 9 inch and make a boundary and extrude it.
- Then make the Elevation of the wall front area.
- By click ucs command on face of front wall and make a square and extrude it have a stone work for front elevation of building.
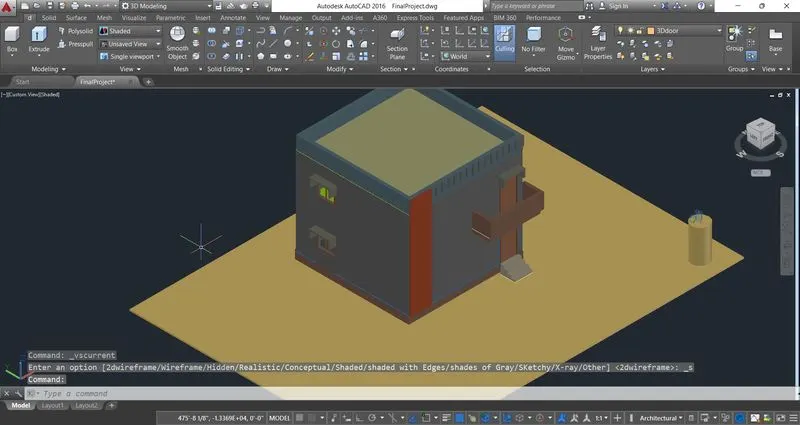
Camera Views :
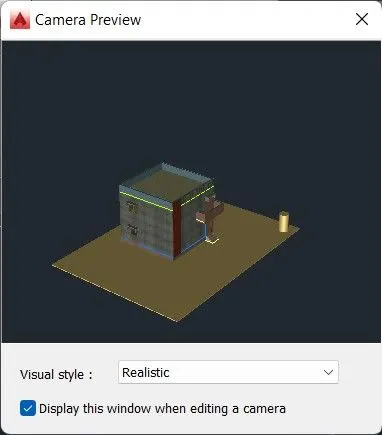
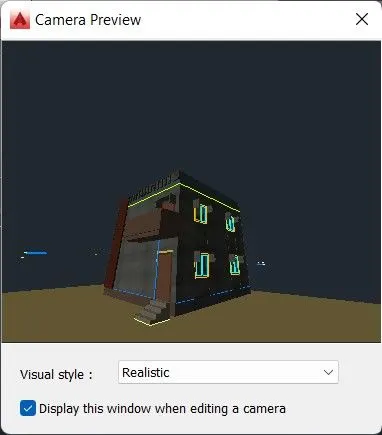
- In Visualizer Tab select camera option.
- Set view point for the camera and name it.
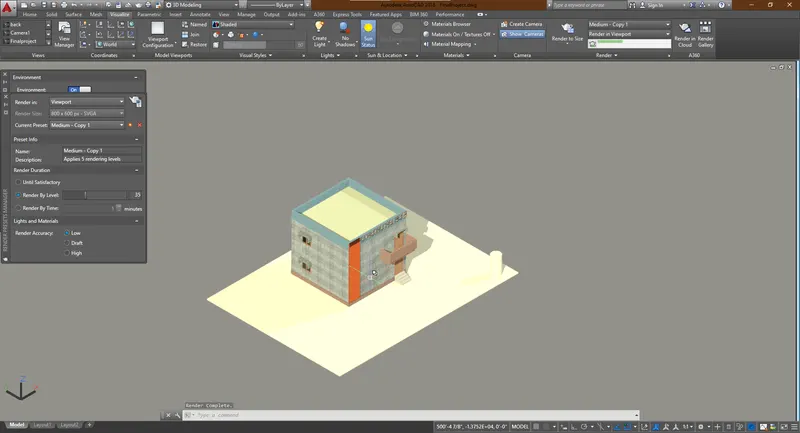
Rendering :
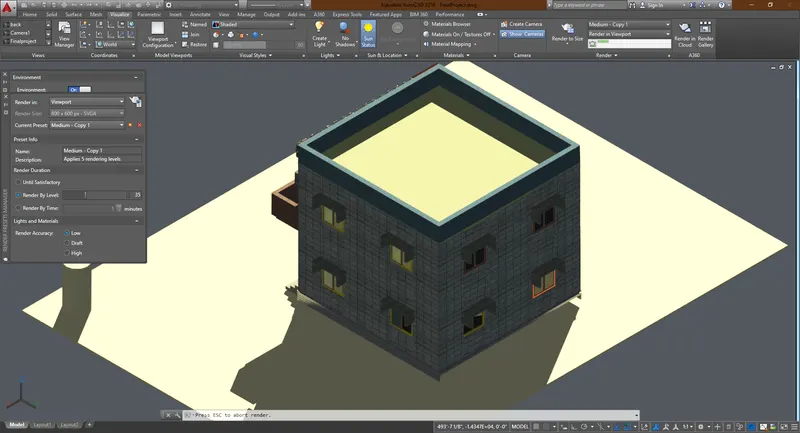
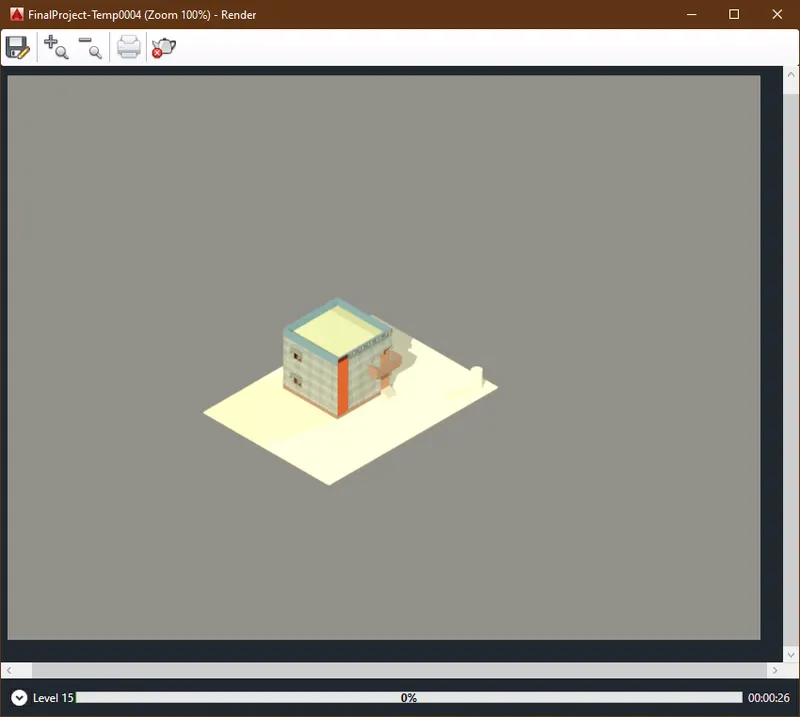
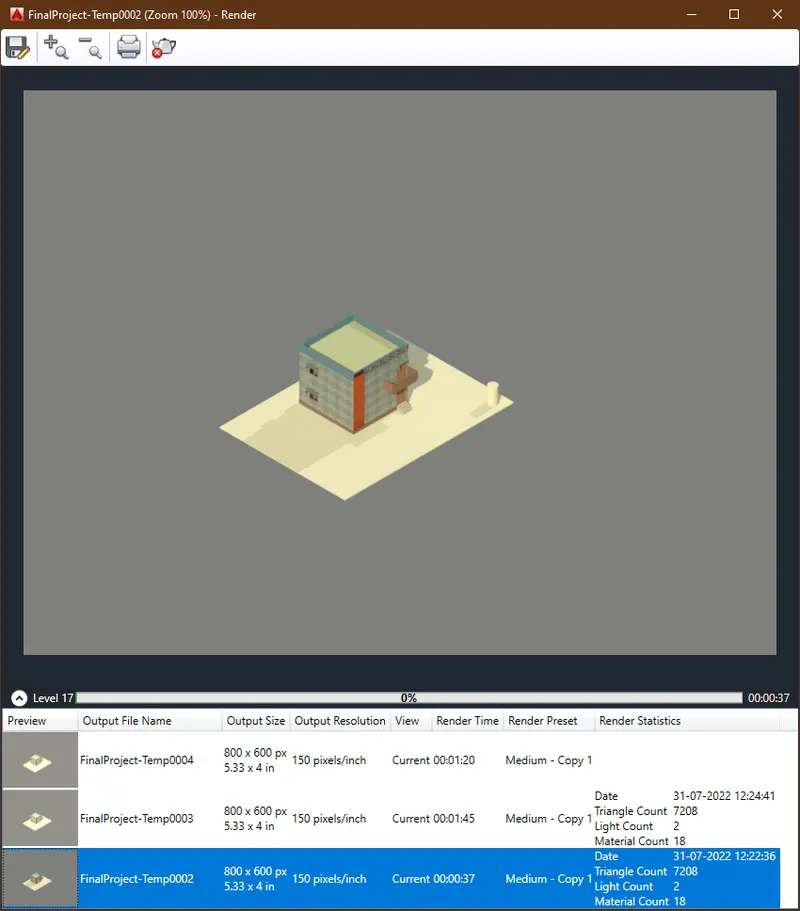
- All the above steps are completed the last part is rendering .
- This is to view the diagram more realistic and real.
- This Rendering option is avaliable in Visualize Tab.
- Select Rendering and select setting select what type of picture quality and day light etc are all avaliable in it.
- In Render environment and exposure window we can select the quality and other things to highlight it .
- So This are the steps which we required to Do a 3D residential building with rendering process.
Reult :
- From above all procedure we have done The project using all AutoCAD essential command.Some of the main points are ( Draw using line, boundary comman, extrude, layer, extrude, ucs, setucs, visualizer , render, camera, light , sunlight , sky background etc........
- Hence the project is completed.