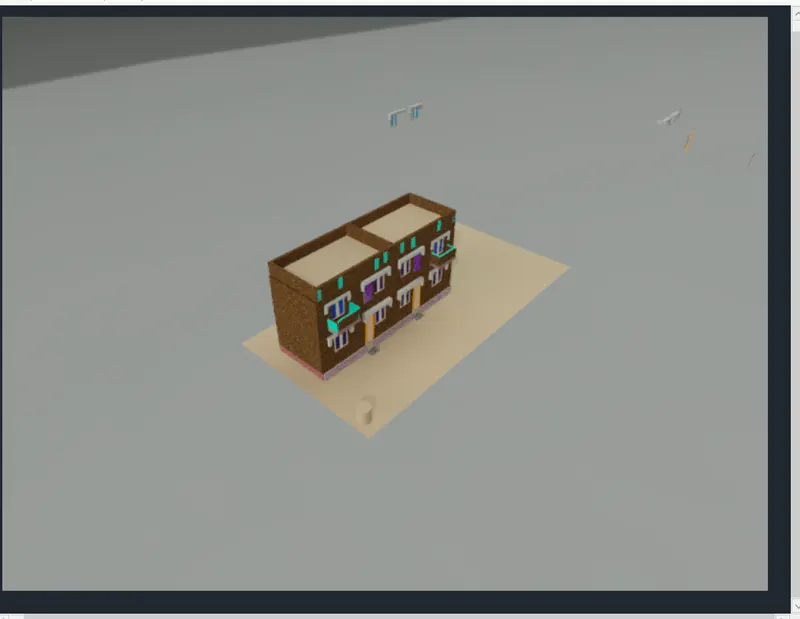
Project 2_Creating a 3D rendered model for a Residential Building in AutoCad
AIM - CREATE A 3 DIMENSIONAL MODEL WITH RENDERED MODE.
ANS - 2d object is used to create a 3d model which is explain is step by step.
view is change to south west direction.
and taking boundary command to create region
before taking boundary command create a layers of 3d wall , 3d door , 3d panel , 3d window , 3d frame , 3d mullion , 3d window glass , projection,
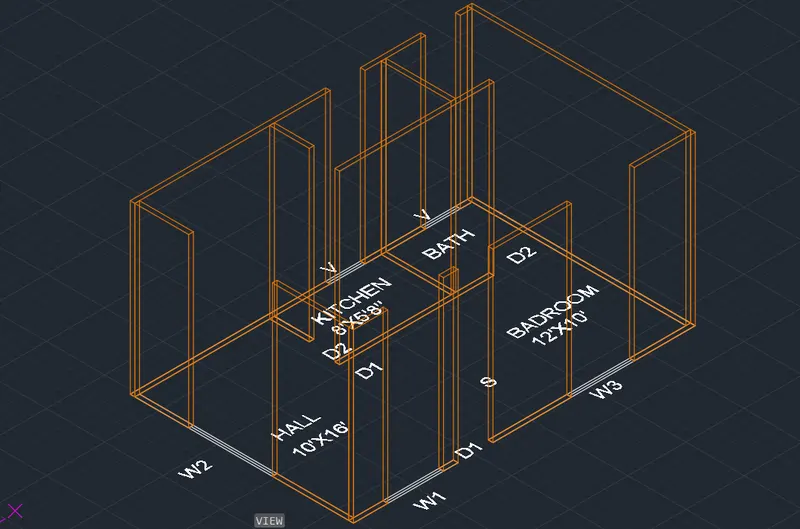
REGION - creating a rigion of all boundray use command 'BO' select region and select pick point
EXTRUDE - After creating boundry select extrude enter and extrude it to 10'
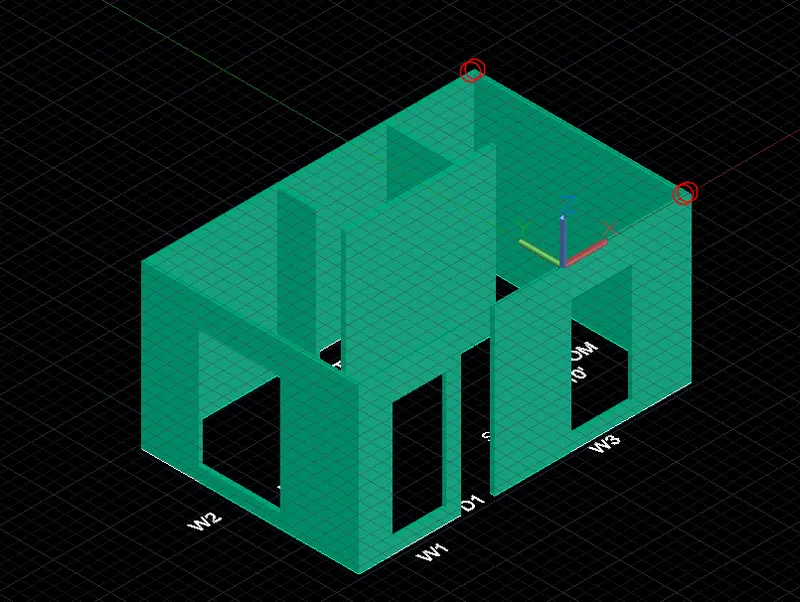
union - after creating a window sill level create a union with wall and window and adding a cyan light colpor to the wall.
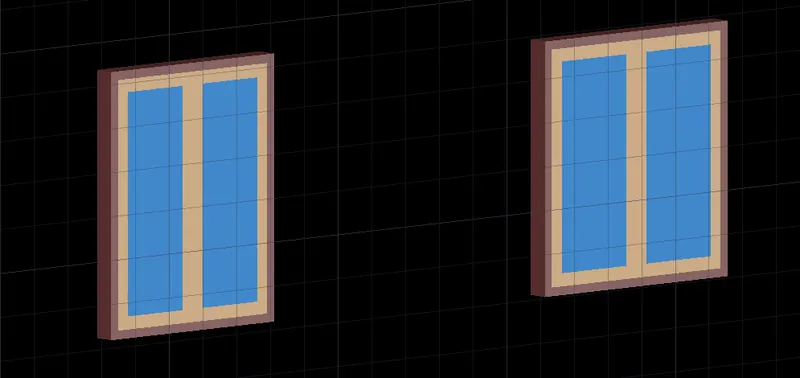
window - taking a plan to create a window and use command 3d rotate and rotating the plan and create window
1. use frame layer use BO FOR BOUNDARY COMMANd and create a frame
2. mulion also create by using boundary command.
3. for crteating window glass use window glass layer and create glase by using boundry command.
4. and extruding the frame mullion also . and moving glas inside.
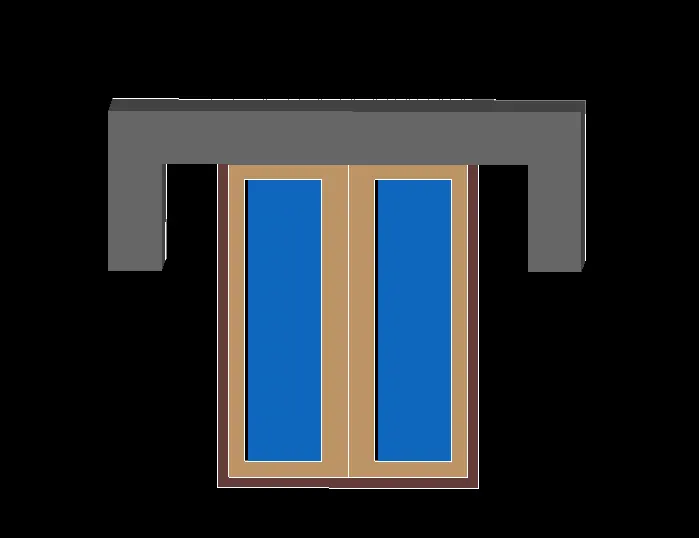
projection - for creating projection for window and wall create a new layer for projection after that create a rectangle top side of the window and door and use boundry command and create a region for particular frame and panel and extrude it according to require.
floor - to creating floor use use 2d wireframe and crate a rectangle by snapping on the floor and moving it another side and use extrude command extrude id in required depth and after that moving in the floor of object.
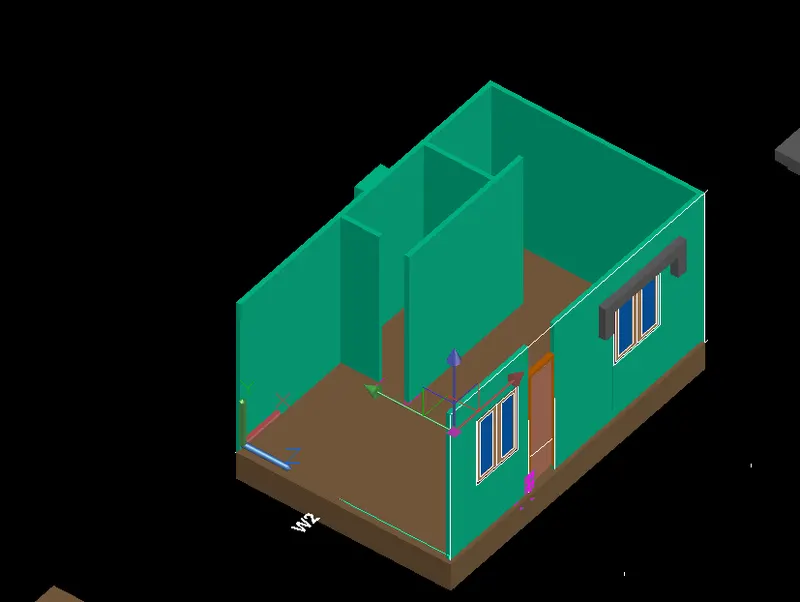
wall outer face - for creating wall outer bottom face create a rectangle from top side and extruding by sw isometric view
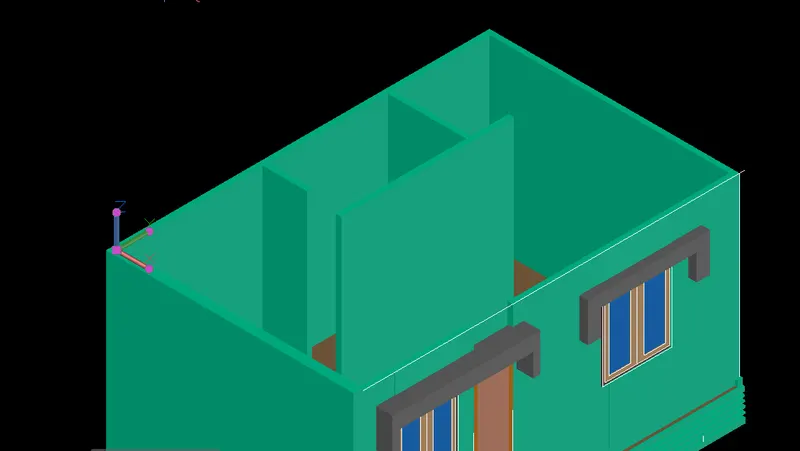
SLAB - for creating slab taking ucs in to the top surface and create a rectangle over the top face
EXTRUDE - selecting the rectangle who created in the top surface and extrude it.
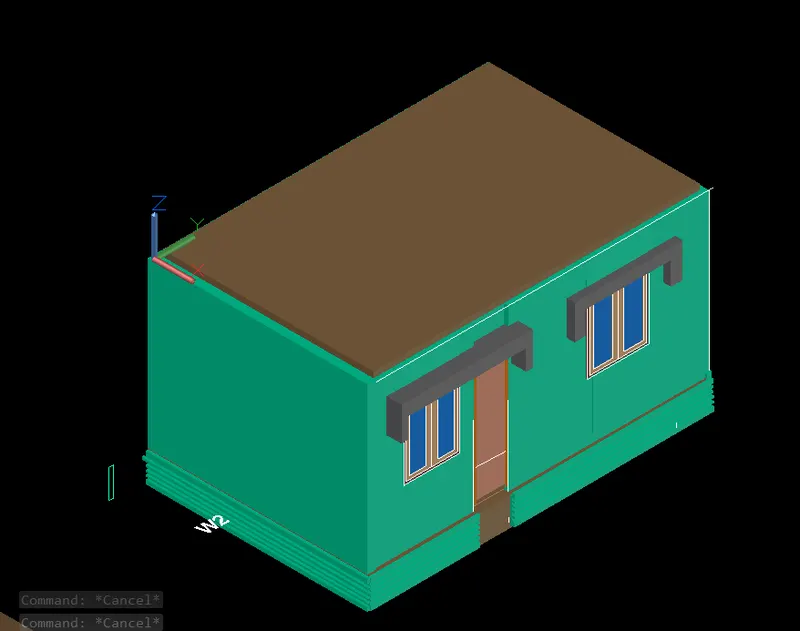
After creating slab copiying the bottom object select it and copy to create the second floor
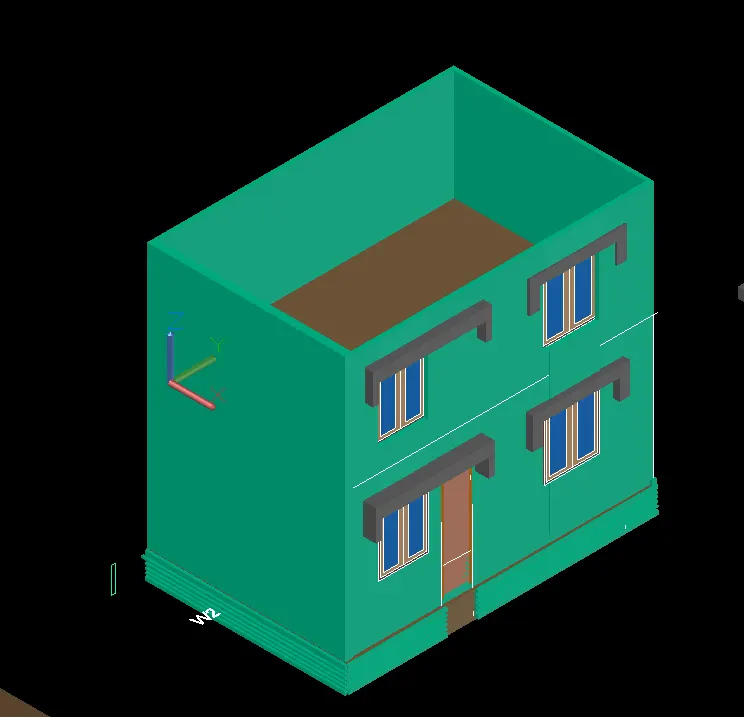
2ND FLOOR SLAB - creating a slab by taking a ucs on the face and create a rectangle in to the top of the wal and extrude it .
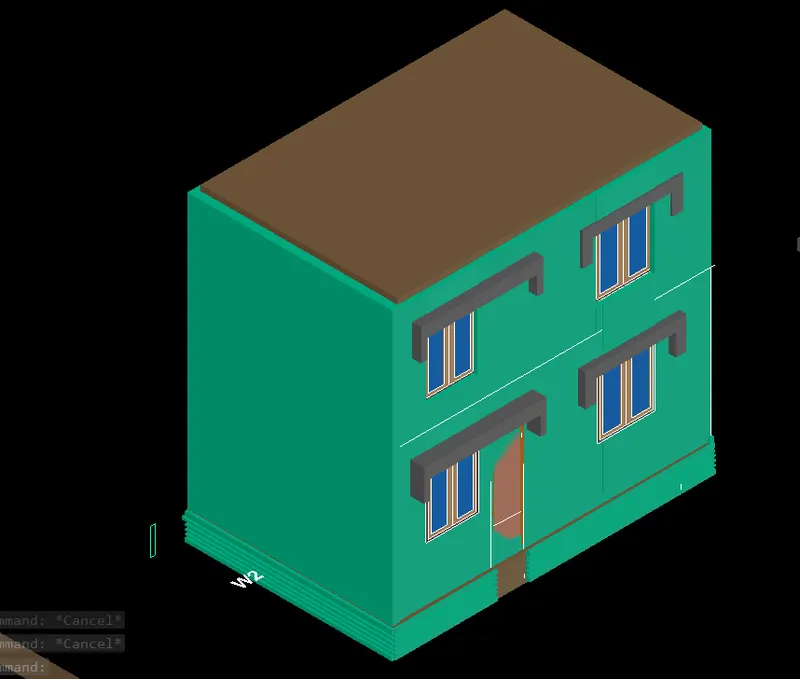
parapet - for creating parapet wall create a rectangle from its top position and ofseting it by 2' after that extrude it by 3'
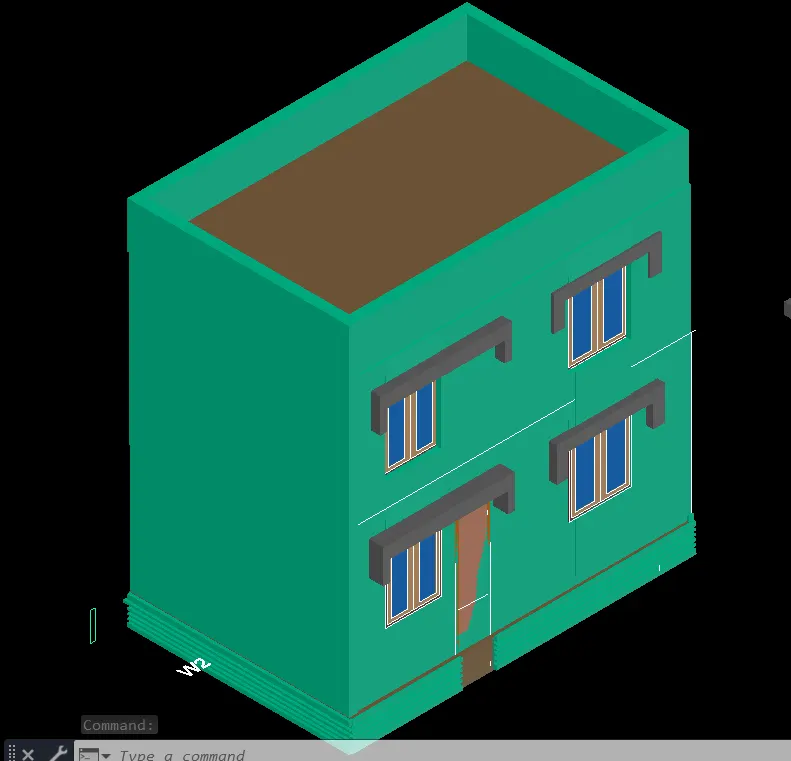
STAIRS - forcreating stairs taking line tool and create a line from its top and offseting by 300mm for 4 time after that use boundry command and extruding the satirs by provide distance.
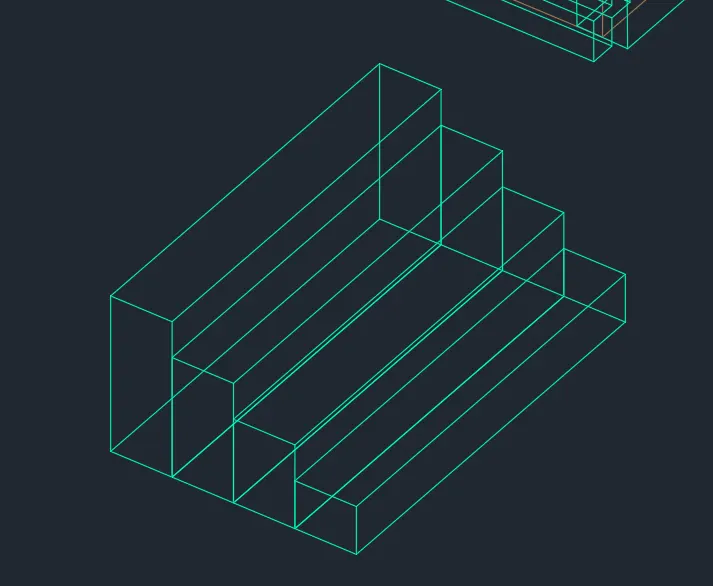
BALCONY - CREAting BALCONY ON SECOND FLOOR TAKING UCS ON THE FACE AND CREATE A RECTANGLE AND EXTURDE IT and also create a wall over the object .
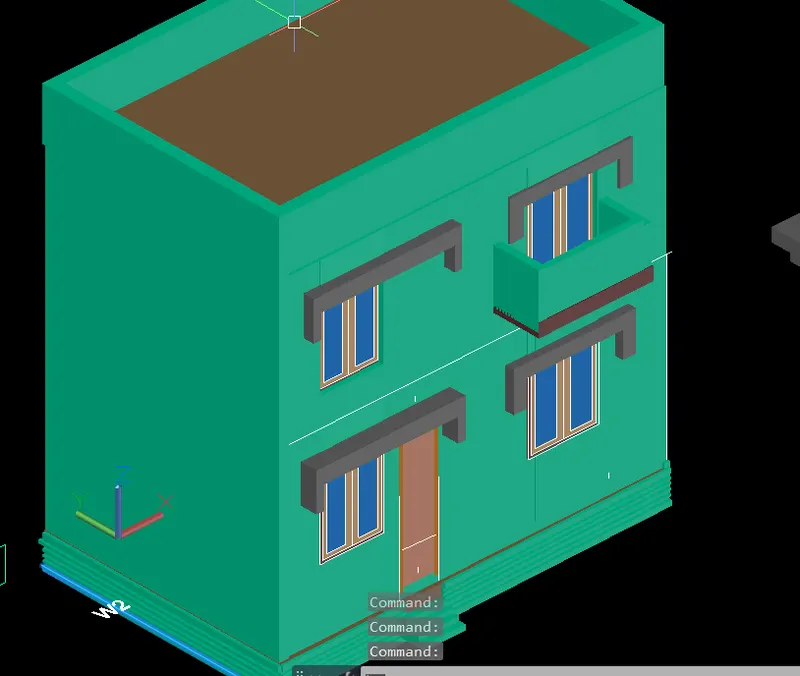
FLOOR - TO create a floor going to top view and create rectangle and extryde it by provideing -150 mm depth and create a floor.
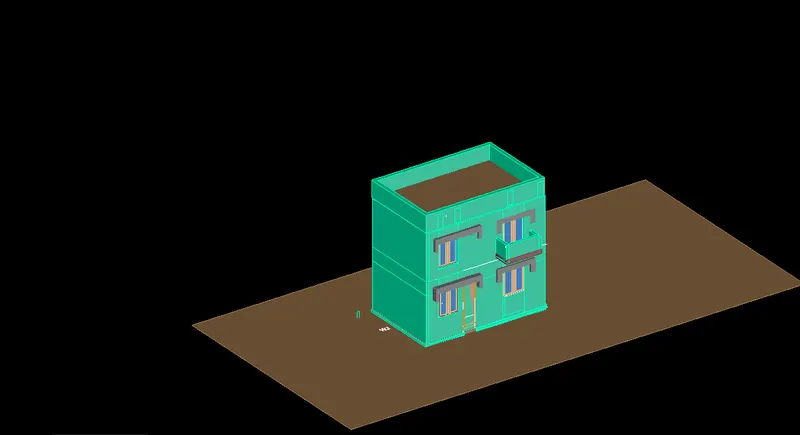
camera - creating the circle on top of the floor and extruding it after that take a camera tool and set a camera on top of the circle and set height name and location of the camera.
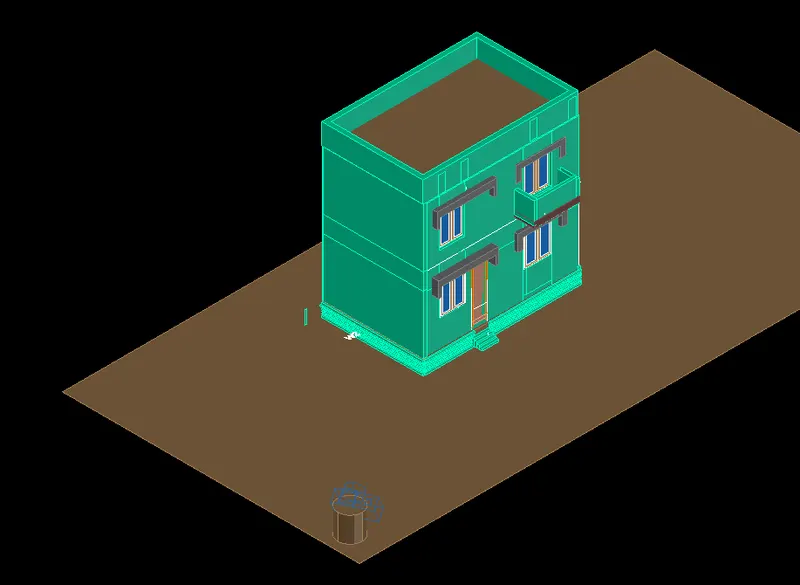
MATERIALS -
1. WALL - FOR walls usimg travinic color for bottom and top wall also'
2. bottom wall - for bottom wall use rough pink color to the wall.
3. projection - for window and door projection use fine alabaster color.
4. window - for window use blue glass material.
5. pannel - use franklin color for the pannel.
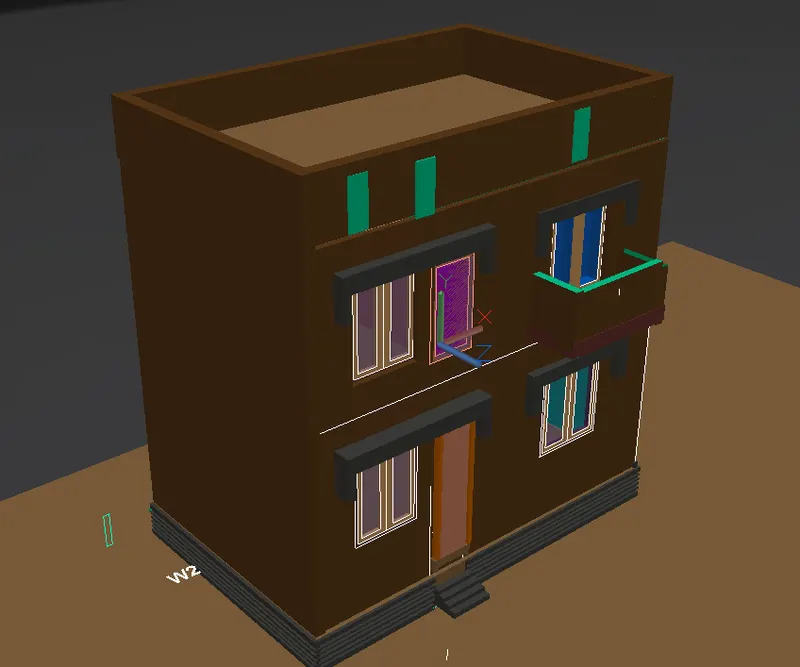
3d mirror - by using mirror 3d copy the object by using yz plane.
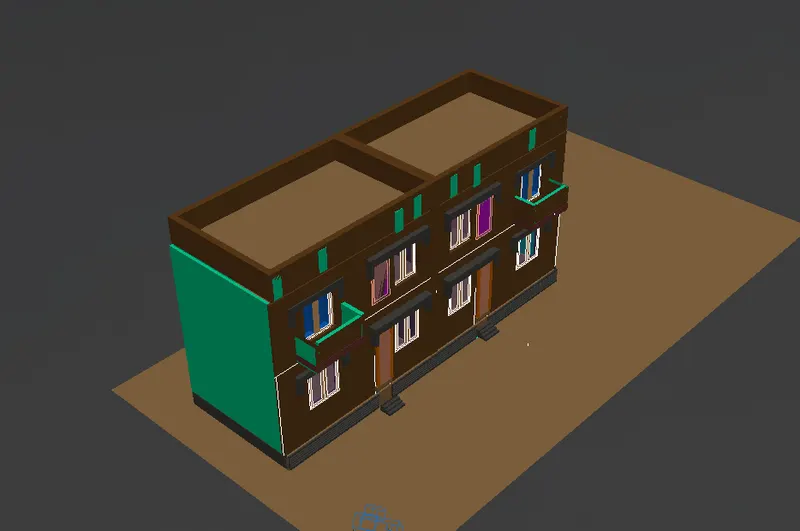
RENDERING - By using render option use envirmental rendaring and use dark lake option and created final procedure for this object.