Project 2
Aim:
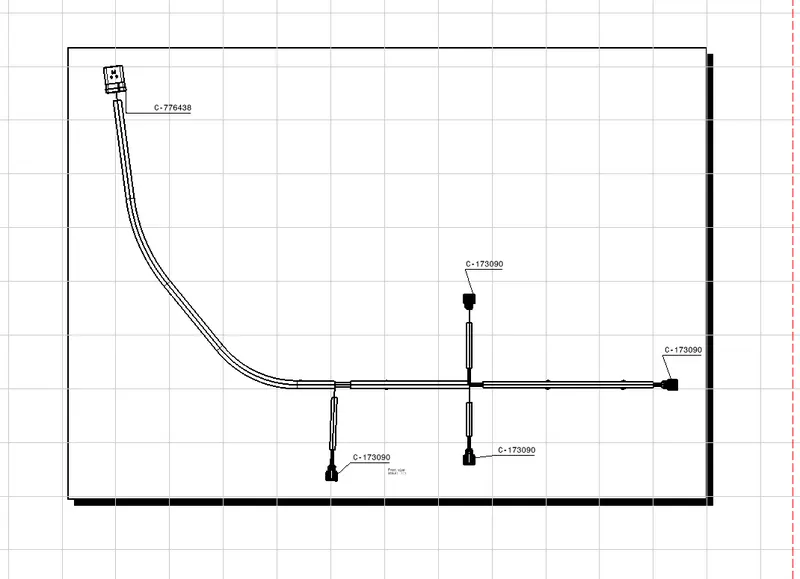
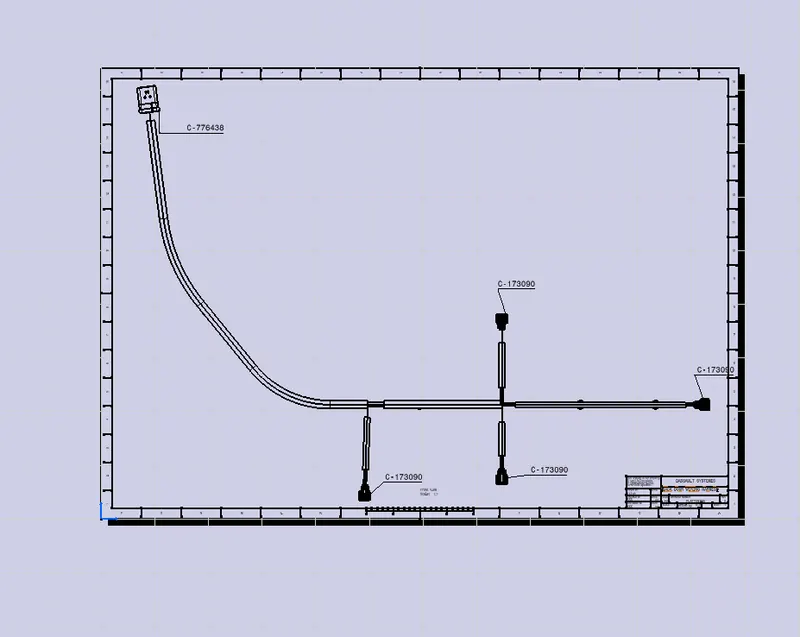
To route the wiring harness on the given backdoor assembly and prepare the flatten view drawing in catia V5
Introduction:
Car tailgate wiring refer to the electrical system that connects various components located in the tailgate of a vehicle.The tailgate wiring is responsible for powering and controlling features such as the rear light ,licence plate lights, rear wiper, rear defogger, power locks and other electronic function associated with the tailgate.
Here are some key components and function typicall found in car tailgate wiring:
TAIL LIGHTS: The tailgate wiring includes wiring harness that connect the rear lights on the tailgate , such as the brake light, turn signals and reverse lights.These lights ensure proper visibility to other drivers and enchance safety.

LICENSE PLATE LIGHTS:A wiring circuit is dedicated to illuminating the licence plate for visibility in low light condition.These lights are usually located on the tailgate or its handle

REAR WIPER:The tailgate wiring includes the necessart electrical connections to power and control the wiper motor.This allows you clean the rear windshield for improved visibility

WIRING HARNESS:The tailgate wiring is typically organized into a wiring harness, which is a bundle wire with connectors the wiring harness protects the wires and makes installation and maintenance easier

RULES
- Routing and Accessibility: The wiring harness should be routed in a way that allows for easy acess duting assembly, installation and removal.it should be designed to the easily reachable without requiring excessive disassembly or removal of other components
- Protection from Sharp Environments:Its importance to keep the wiring harness away from sharp edges, corners,or other abrasive surface that could damage the insulation or wire. proper routing and securing of the harness can help prevents chafing or cutting of the wires
- Avoid Blind Zones and hard to reacg area:The routing of the harness should avoid area that are diffficult to access during assembly or service placing the harness in hard to reach locations can make it challenging to troubleshoot or repair any issues that may arise
- Providing Adequate Slack:Sufficient slack should be provided in the harness to accommodare movement and bending requirements.If the harness passes throgh closures such as doord or tailgate, the dimension o the opening and closing movements should be considered to prevents excessive tension or stain on the wires
- Preventing Fouling:Care should be taken to ensure that the wiring harness does not interfere or get entangled with other components,structures or moving parts
- Rubber Grommets:When the wiring harness passes through sheet metal panels, using rubber grommets can provide protrction against abrasion and help seal the opening,reducing the risk of water or debris ingress
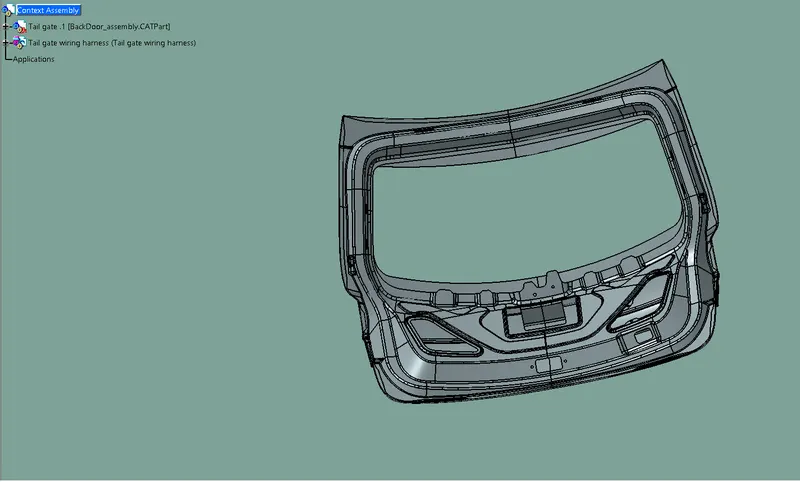
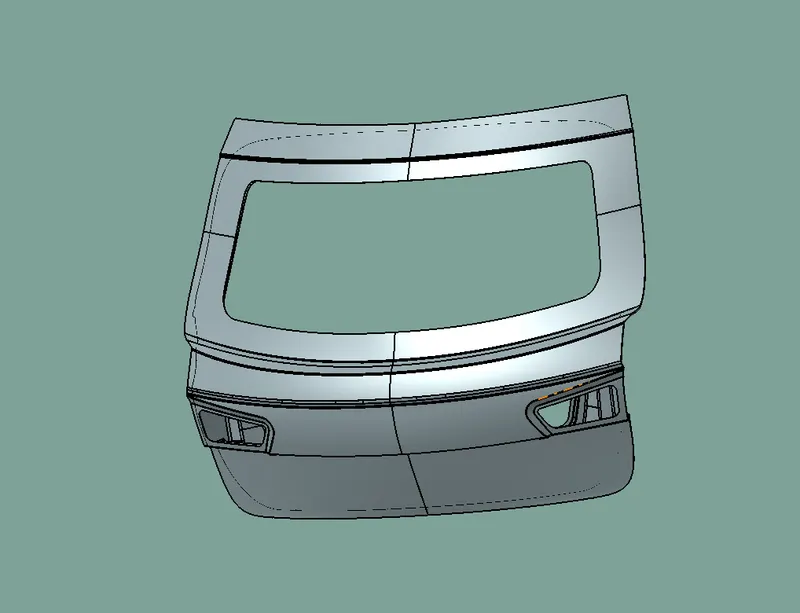
Procedure:
Step 1
Create Context Assembly product file .Add 3D model off the back door and create a tail gate wiring harness on the Contxet Assembly product file
Step 2
Download the components and define the connectors and clips .Then add them in the catalogs and the the components to the tail gate wiring harness file
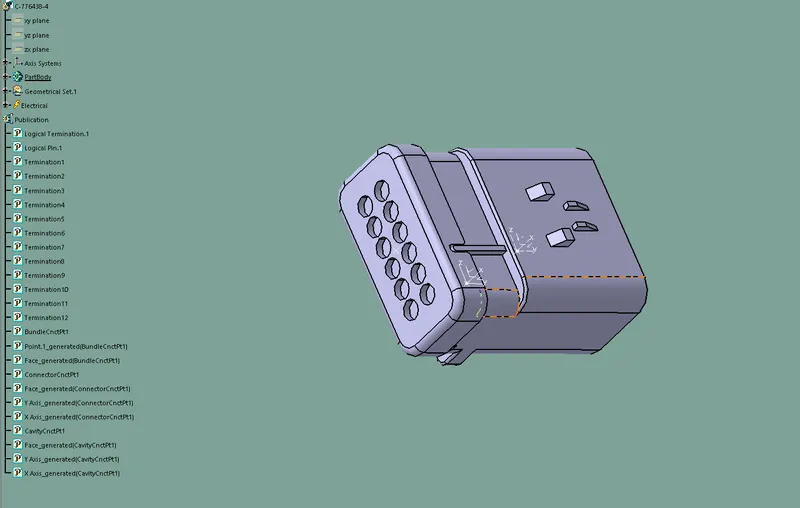
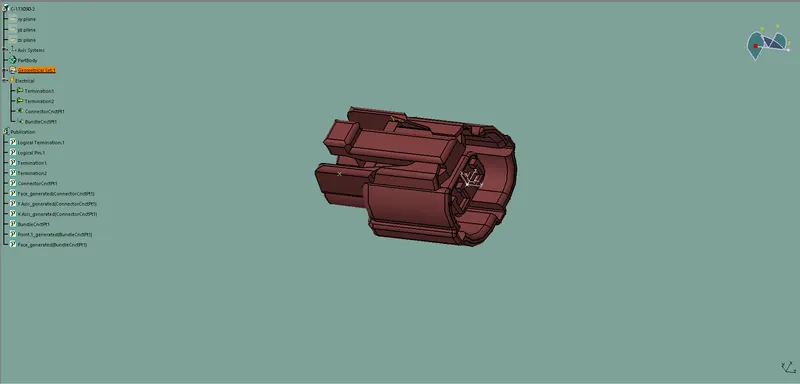
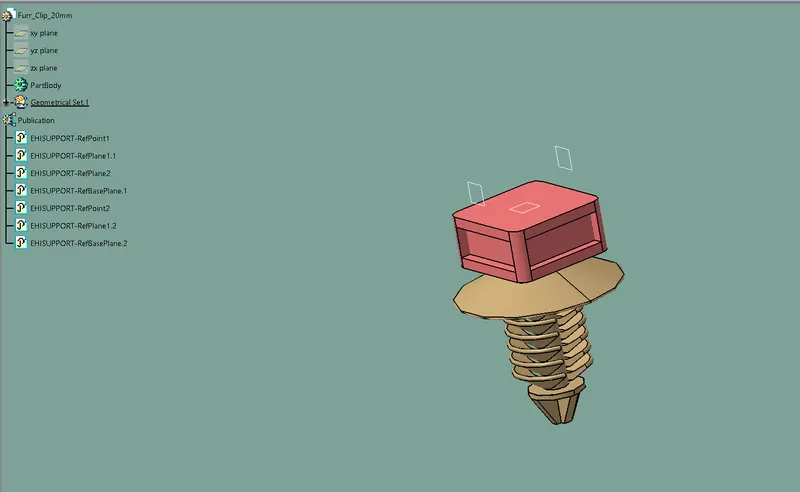
Step 3
Placing the connector to the requried palces such as tail light ,licence plate,rear wiper for the bundle connection to interconnection connector
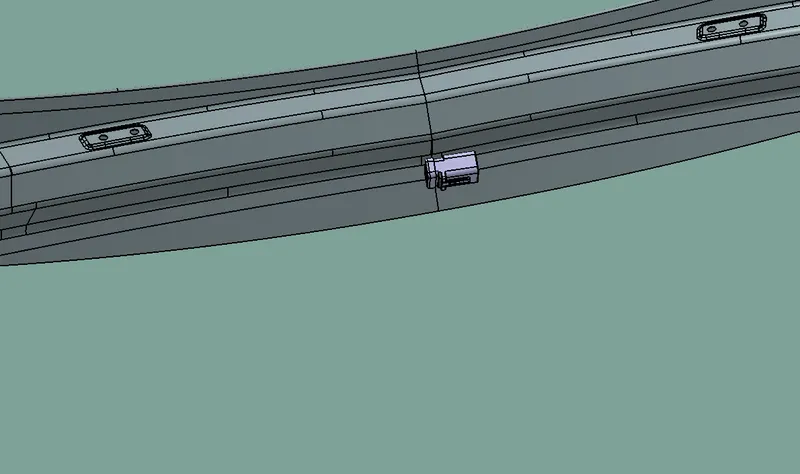
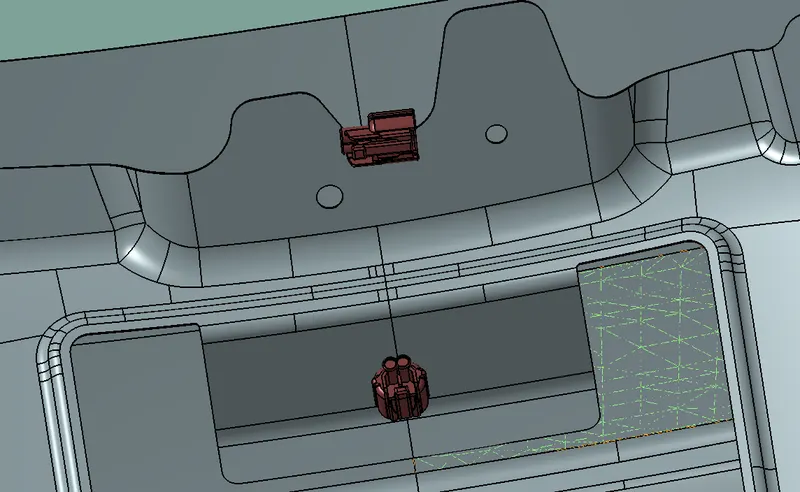
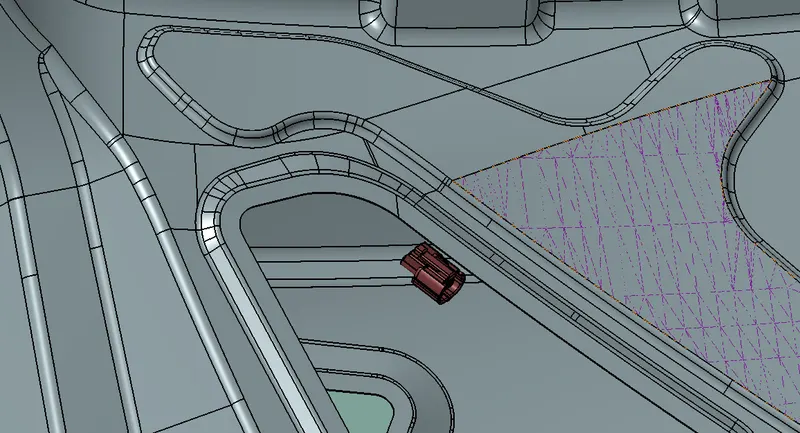
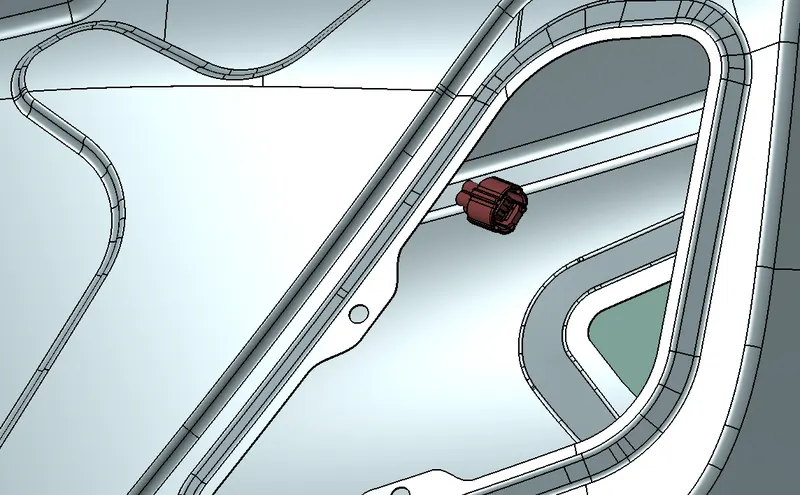
Step 4
Place the clips on the tail gate for carring the bundle
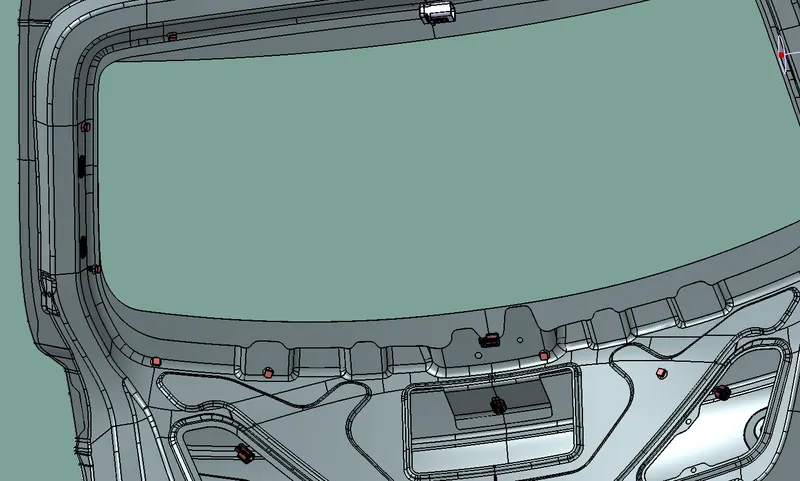
Step 5
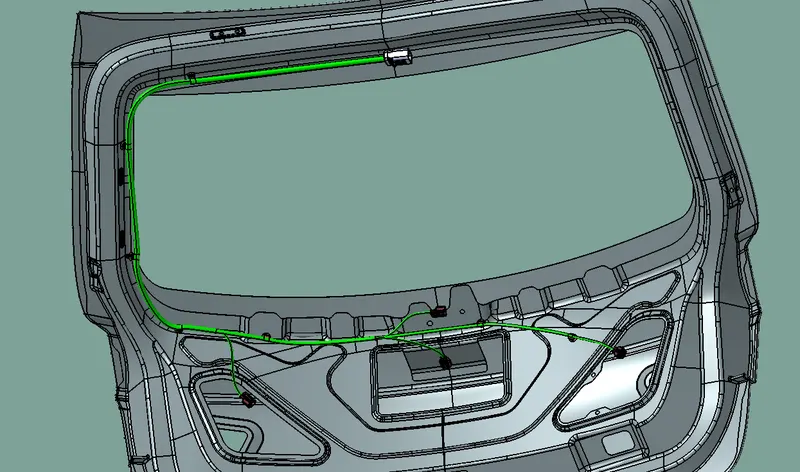
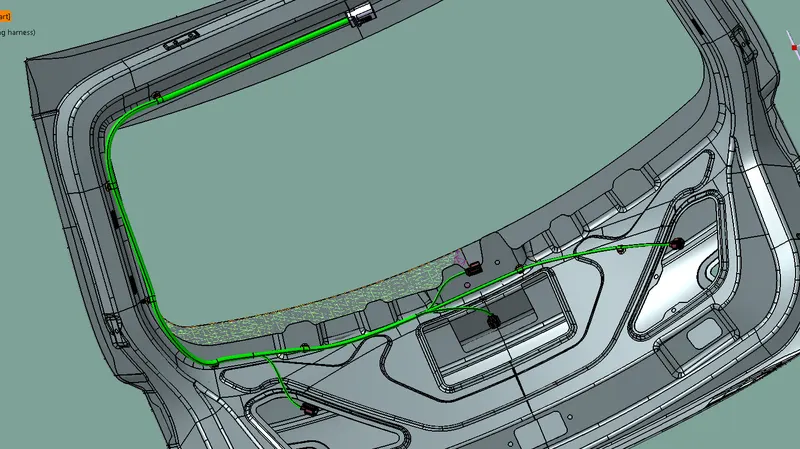
Routing the wiring harness harness to the connectors
Open the electrical harness assembly workbench.Select the geometrically bundle and click the engine wiring harness in the table ans go to the mutibrancable commaand .here the bend radius ratio is 1.4 and set the diameter then open route definition,start from the interconnection connector and continue the connection to all the connectors as in fig
Step 6
Checking Bundle connectivity
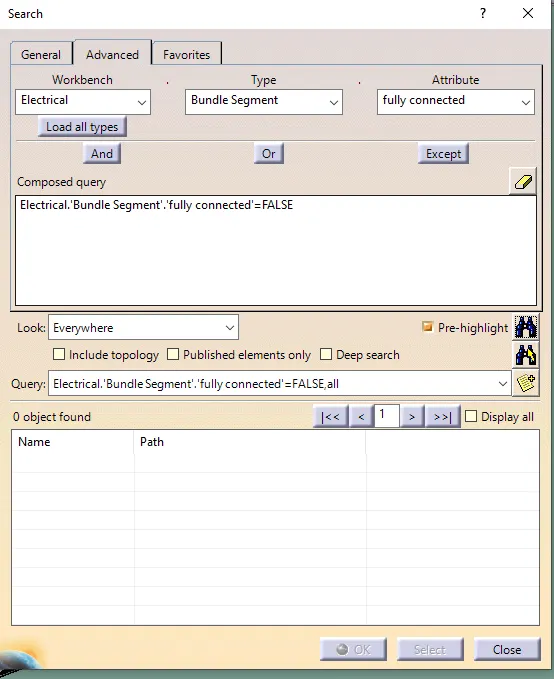
In edit >search>a tab open> go to advanced here in workbench select electrical, type select bundle segment,Attribute Select fully connected.Then search if criterian as true its showns all connected bundle segments ,If it false its showns the unconnected bundles segments
Step 7
Adding protective covering
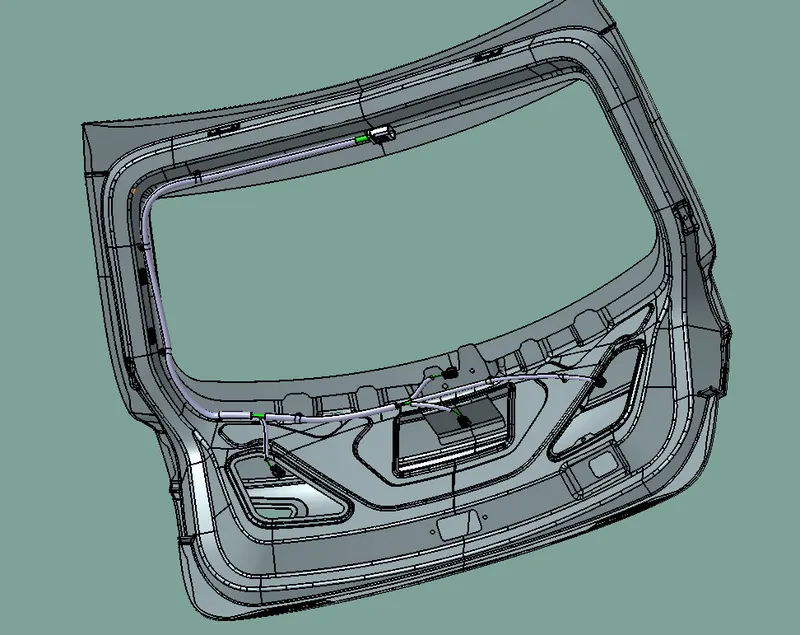
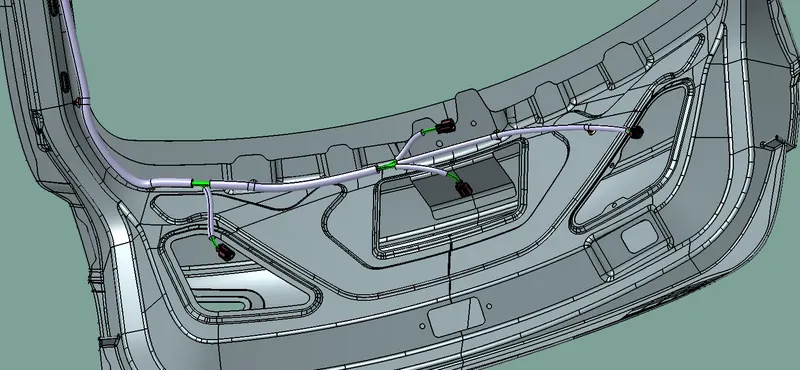
Create the cot tube and add them in the catalog.In electrical harness assembly workbench click on protective covering command and apply the protective covering for the bundles wiring as in fig
Step 8
Flattening the bundle harness
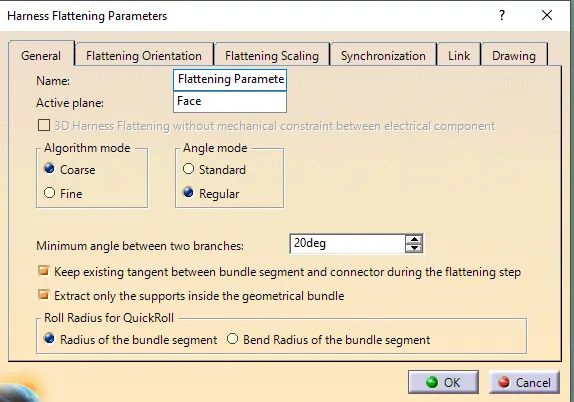
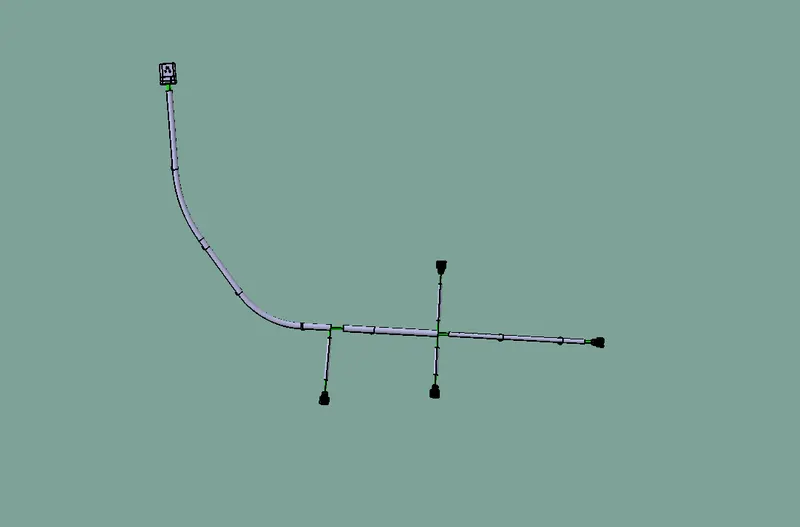
Create a New product file in electrical harness flattening woekbench, Now set the flattening parameters as shown in fig then click on extract command and Now select the tail gate wiring harness product file and arrrange the bundle as well understand by using various command as shown in fig