Project 2
AIM:
Route the wire harness on back door and prepare flatten drawing using CATIA V5
OBJECTIVE:
- Route the wire harness for car back door
- prepare flatten view drawing in CATIA V5
- Apply all packaging rules and industrial best price
Rules to be followed:
- Wiring harness should be routed in such way that it is easy to assemble and access.
- Easy manufacturing, installation, removal and maintenance have to be considered while designing the wire harness.
- wiring Harness should be kept away from sharp environment like edges, corners etc.
- Avoid harness routing and clipping in the blind zones or hard to reach areas during harness assembly or service.
- Provide additional slack if needed according to the surrounding and harness bending requirement.
- If harness is passing through the closures/doors or tail gates then envelope dimensions during opening and closing of doors shall be considered to provide the slack. Check the harness slack requirements with open and close conditions to avoid excess slack.
- Routing through small structural holes and openings shall be avoided. To minimize chaffing and handling of the wiring harness during installation.
- It should be make sure that there is no case of fouling while designing the wiring harness in the CAD environment.
- Additional mounting equipments like clips/clamps may be used to avoid fouling.
- Use of rubber grommet is recommended if harness is passing through sheet metal panels. Example- firewall, passing to door, tail gate etc.
- The branch length should be greater than 50mm.
- The minimum distance between the clip and branch point should be at least 25mm.
- The minimum distance between the two branch points should be at least 50mm.
- Clips/clamps used for the wiring harness should be easily available in the market to avoid extra cost for custom mounting solutions.
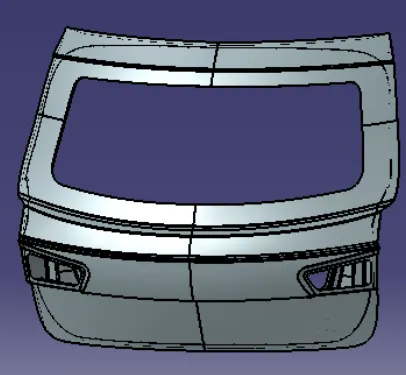
STEP 1 - Creating context assembly
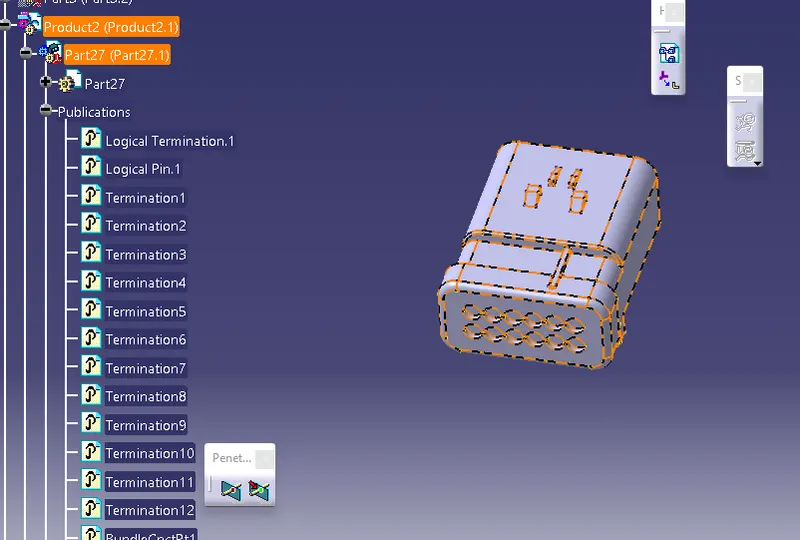
STEP 2 - Defining connectors electrically
Choosing right components for the wire harness routing.here we are using the components for backdoor upper and lower lights,wiper motor,sensors,and defogging equipment.the connectors used are first elecrically defined and then added to the catia model.
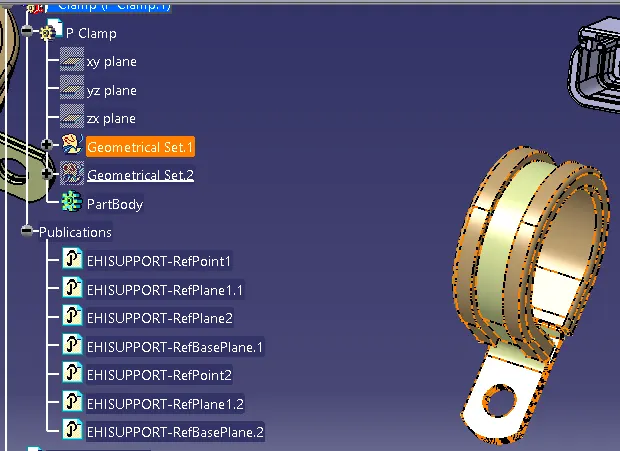
3- Clip and clamp is used to set the location of wire:
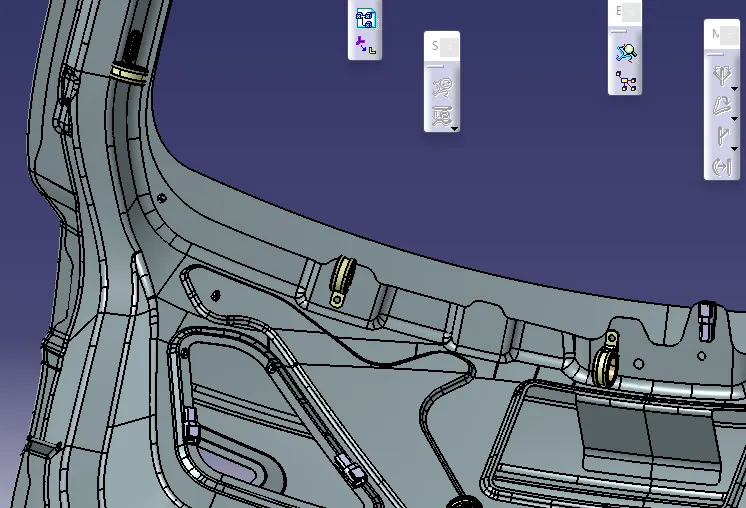
STEP 3 - Adding connectors and needed equipments
Opening the equipments in catia and using the snap and smart move and positioning the connectores and supports.
STEP 4 - Bundle routing
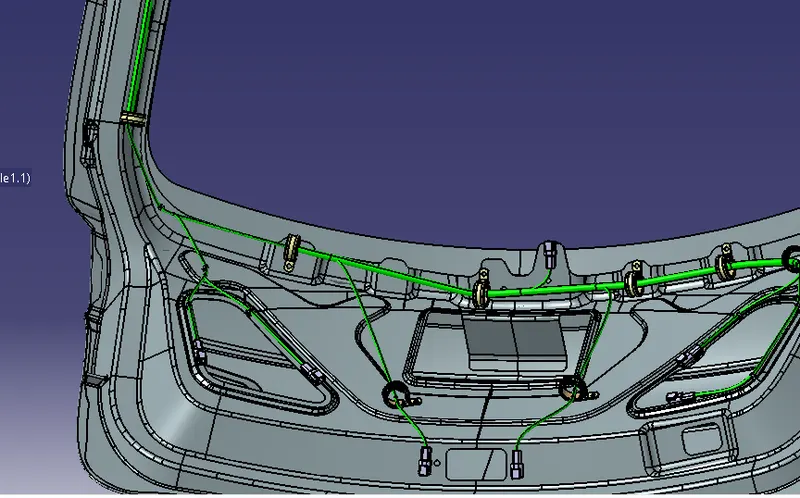
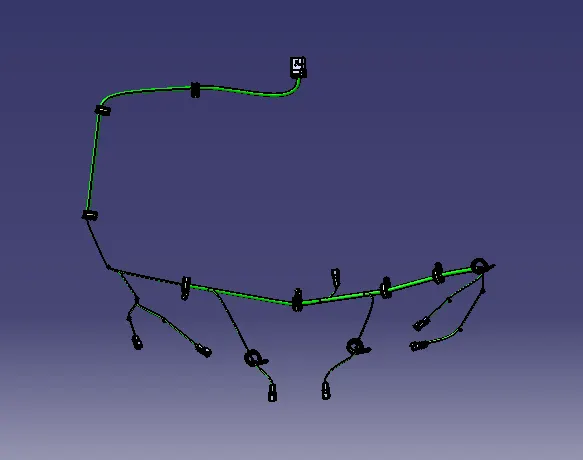
- The routing starts with interconnection connector placed on the Backdoor.
- It is continually routed to the following supports.
- The major routing supports used here are the p-clamps and furr tree clip.
- The back light connectors are routed.
- The connectors for the wiper motor equipment.
- The connectors for the number plate lights and the sensors.
- Now by using multi-branch bundle route all the connector with the clip and clamp.
STEP 5 - Bundle continuity check
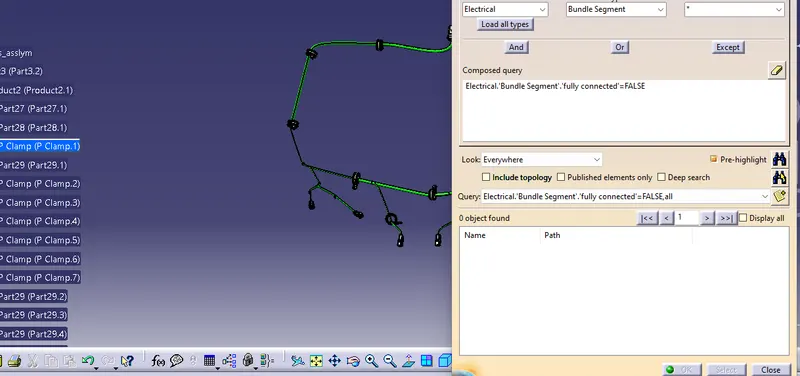
STEP 6 - Create flatten view
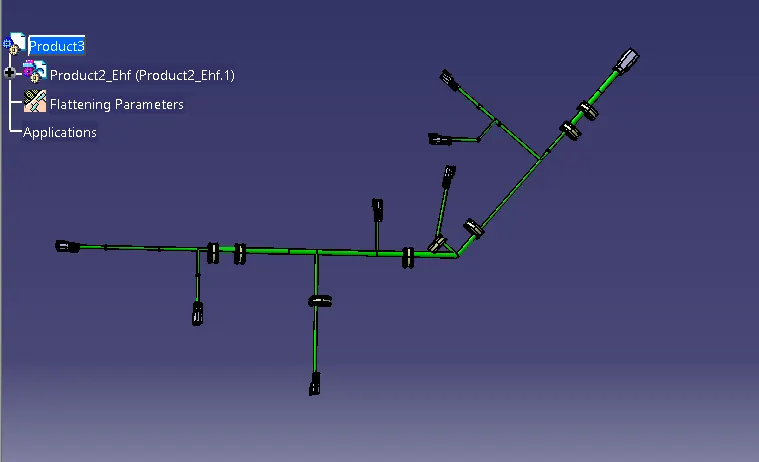
Now we open a new product file for the Electrical harness flattening. Here we save the already made geometrical bundle segment and we extract the geometrical bundle to flatten harness by apply flattening parameters we flatten the geometrical bundle.
Once the branches are flattened we do some modification in the branches using the rotate, bend, and straighten etc. tools in the Electrical harness flattening.
STEP 7 - Creating a flatten view drawing
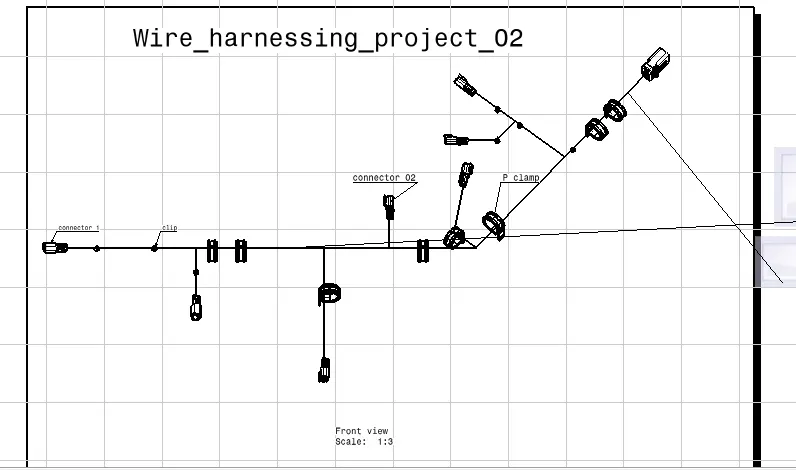
The above image shows the 2D flattened imaged of backdoor wiring assembly.
Conclusion: Routing of the wiring harness for the Backdoor assembly has been successfully done and prepared flatten view drawing in CATIA V5 as per the design requirements.