Project 2
WIRING HARNESS ON BACK DOOR
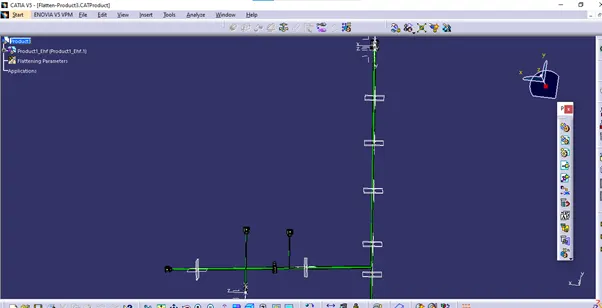
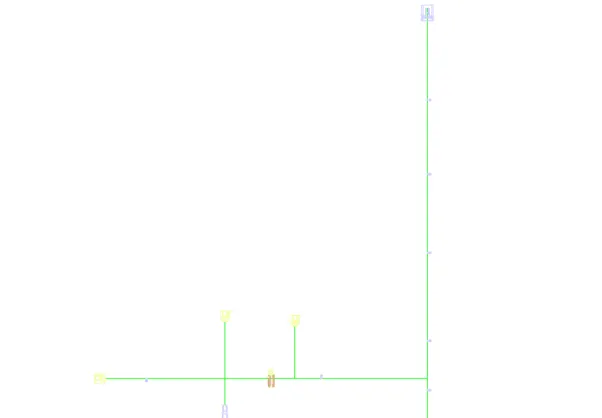
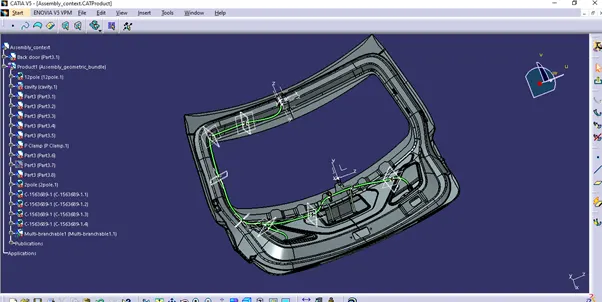
The objective of this project isto route the wiring harness to route the wiring harness on given back door model and make a flatten view drawing in CATIA V5.
STEP 1
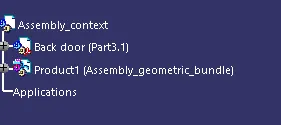
- First step is to Create a context assembly containg 2 product files.
- One contains back door CAD file and other for electrically defined components and wiring harness routing.
STEP 2
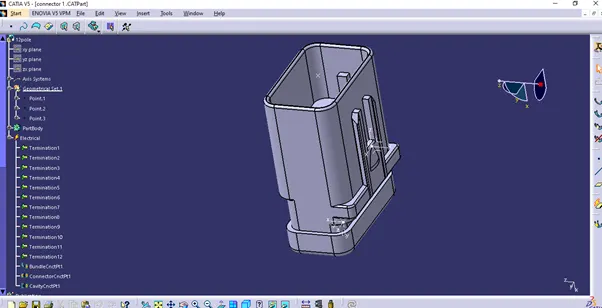
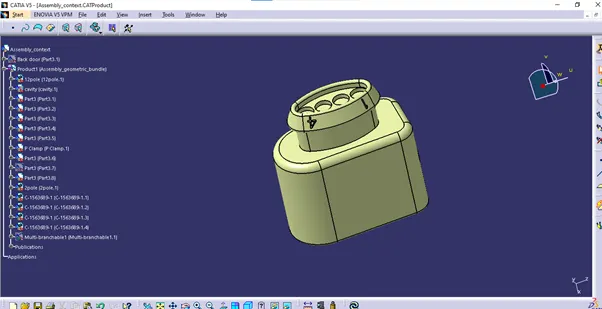
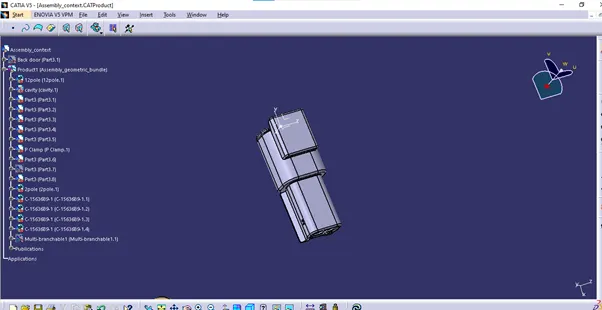
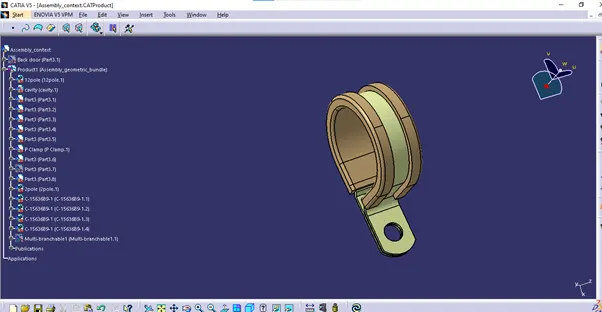
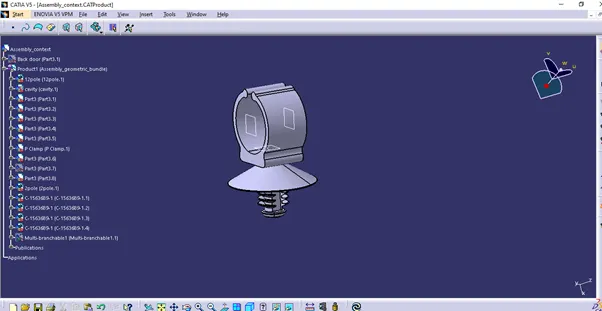
- Define all the components needed electrically.that is connectors,clamps etc.
- Here we used a 12 pole connector as interconnection connector for connecting back door to other parts of the vehicle.
- We used 4 pole connectors for connecting tailgate,number plate light etc.
- We used 2 pole connector for the wipor motor.
- Also We used 2 clamps p clamp and fir tree clamps for the routing.
STEP 3
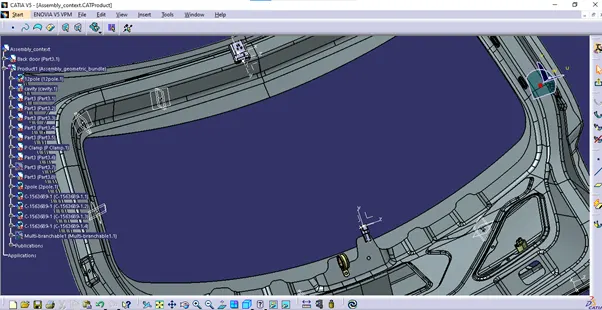
Place all the connectors and necessary clamps and mounting equipment in relevant places.
STEP 4
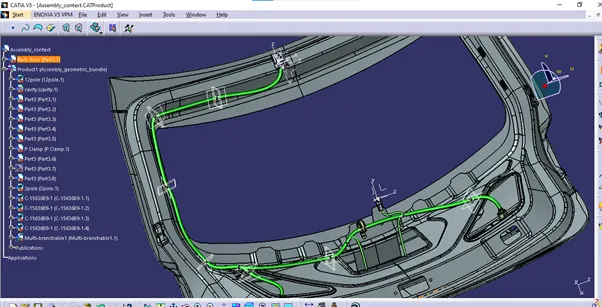
Then using wiring harness workbench route the wires accordingly considering all routing & packaging rules.
STEP 5
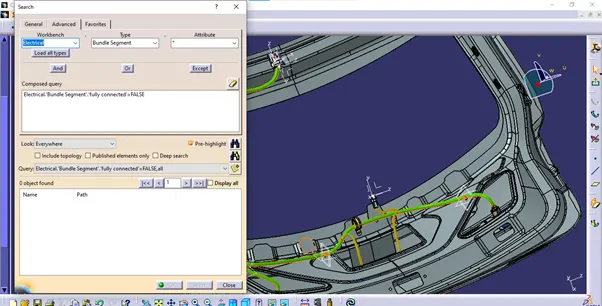
Check for continuity of the wiring routing using toolbar search in edit toolbar section.
STEP 6
Flatten the wiring harness using electrical harness flattening workbench.and then make drawing of it.