Project 2
Objective:
To route the Wiring harness on the given car body and Prepare flatten view drawing in CATIA V5.
Process:
Defining the cad files:
- Open the igs files and create a midpoint on the face using point type as between.
- Now we can create an axis system to the point we have created by using the command axis system definition.
- Make sure the x-axis is pointing towards the locking mechanism of the clip and the y-axis is pointing towards the face of the connector.
- We can create a midpoint on the entry using point type as between.
- Now we can switch to electric part design.
- Select the command bundle connection point.
- Enter the number of terminals required.
- Now we can define the support parts.
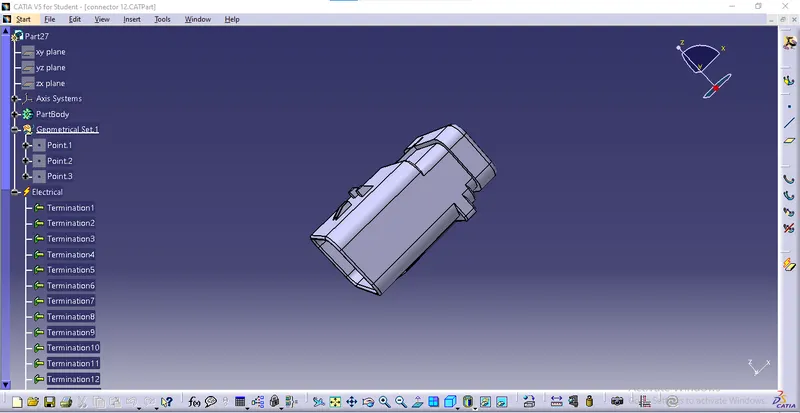
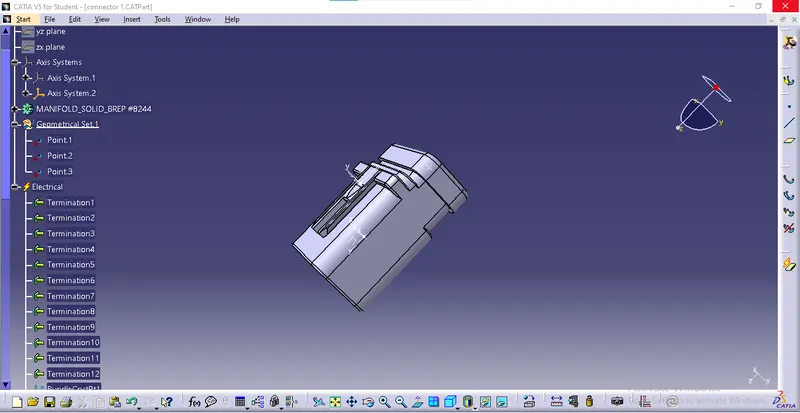
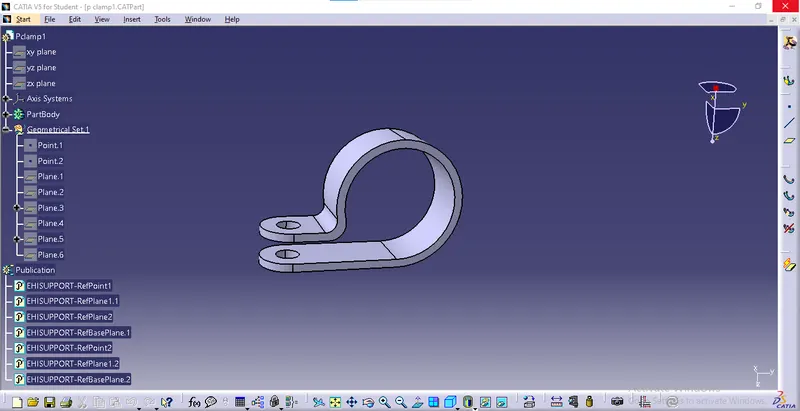
Harness assembly:
Number plate light routing:
- Open a new product file.
- Select the parent part and copy, and paste all the connectors we have defined.
- Now we can open the electrical harness design workbench.
- Now align all the connectors and support parts on the car body.
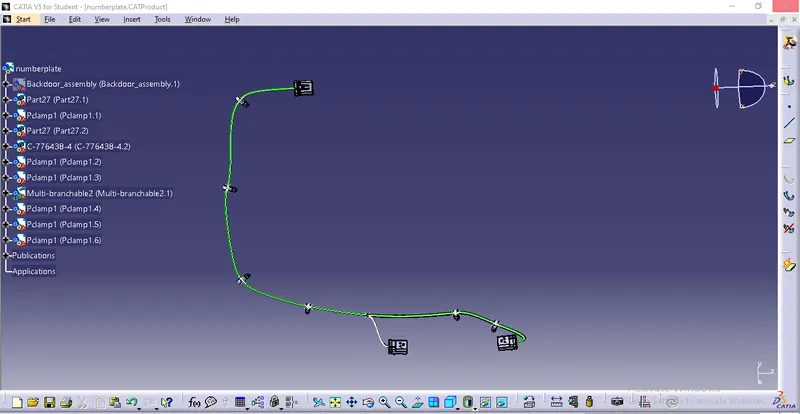
- Now we can select branch definition.
- We can route the bundle segments from the main connector to all the p clamps.
- For the main bundle segment, the diameter is 7mm, and the bend radius is 1.5.
- Now we can start routing the sub-branches with a diameter of 7mm, and the bend radius is 1.5.
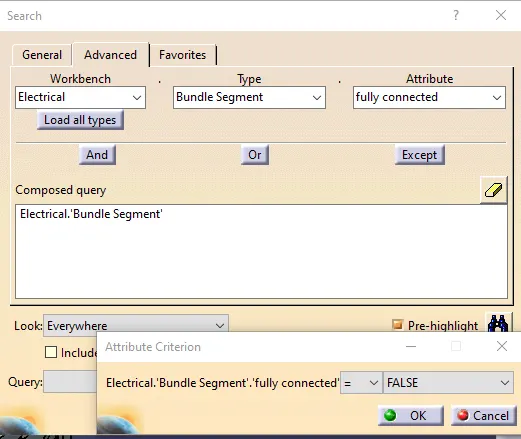
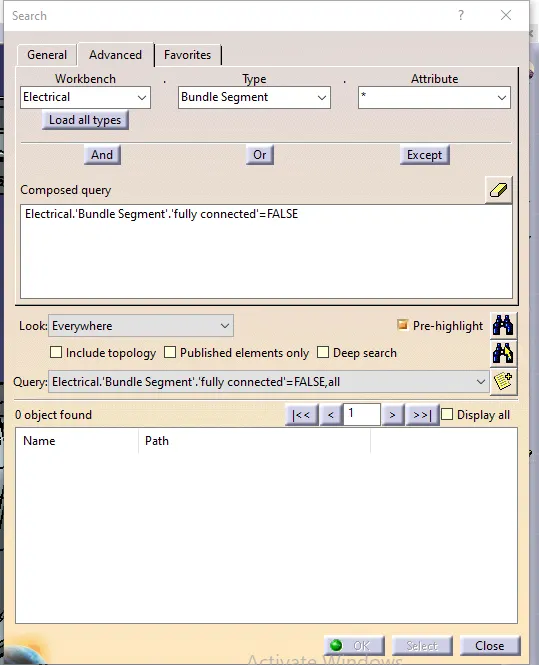
- After routing the car body, click on ctrl+f.
- Click on advance and select electrical, bundle segment, and fully connected.
- Now click on false to check for any non-connected bundle segments.
- We can also hide the points, planes, and axis system before flattening.
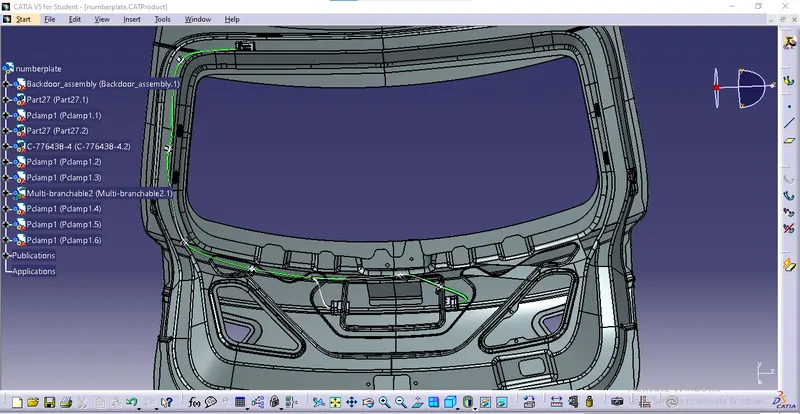
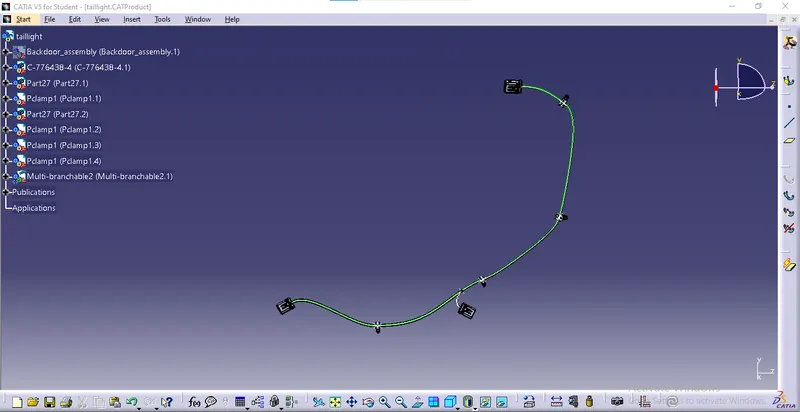
Tail light routing:
Open a new product file:
- Select the parent part and copy, and paste all the connectors we have defined.
- Now we can open the electrical harness design workbench.
- Now align all the connectors and support parts on the car body.
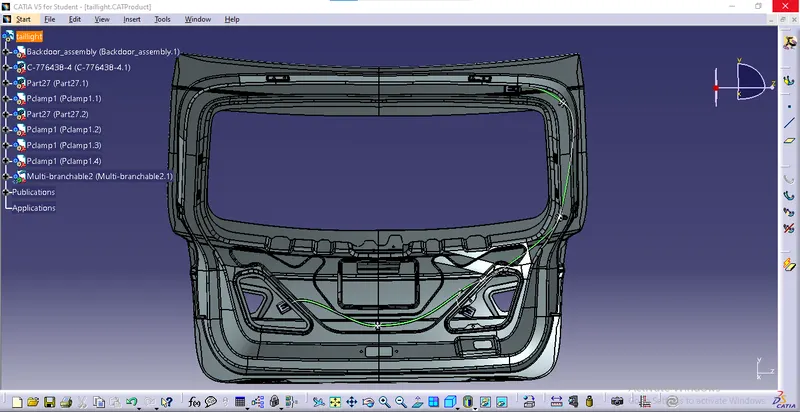
- Now we can select branch definition.
- We can route the bundle segments from the main connector to all the p clamps.
- For the main bundle segment, the diameter is 7mm, and the bend radius is 1.5.
- Now we can start routing the sub-branches with a diameter of 7mm, and the bend radius is 1.5.
- After routing the car body, click on ctrl+f.
- Click on advance and select electrical, bundle segment, and fully connected.
- Now click on false to check for any non-connected bundle segments.
- We can also hide the points, planes, and axis system before flattening.
Flattening:
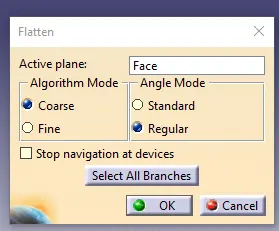
- Open electrical harness flattening workbench.
- Select the flattening parameters command.
- Fill in the required parameters and click ok.
- Select the tile vertically command.
- Now Click on the extract option.
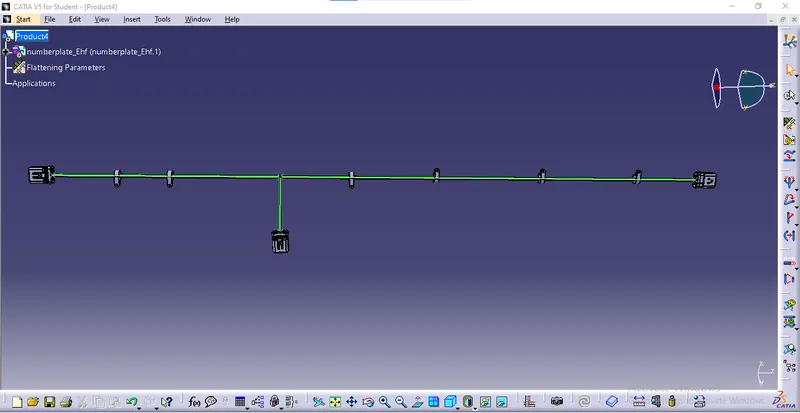
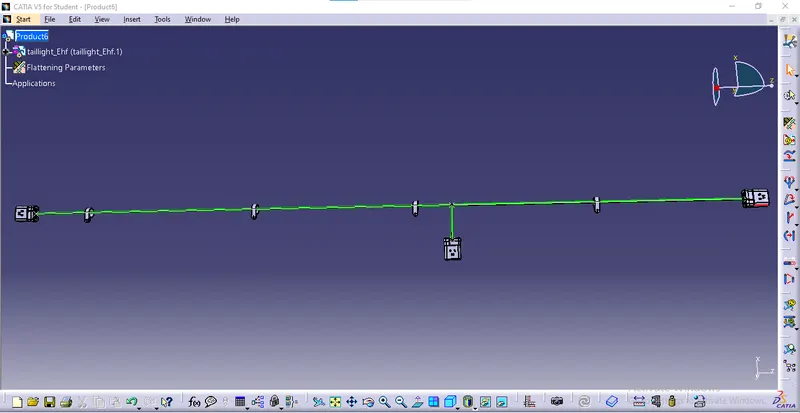
- click on flatten option.
- Select the face and select all electrical bundles and click ok.
Drawing:
- Open a new drawing file.
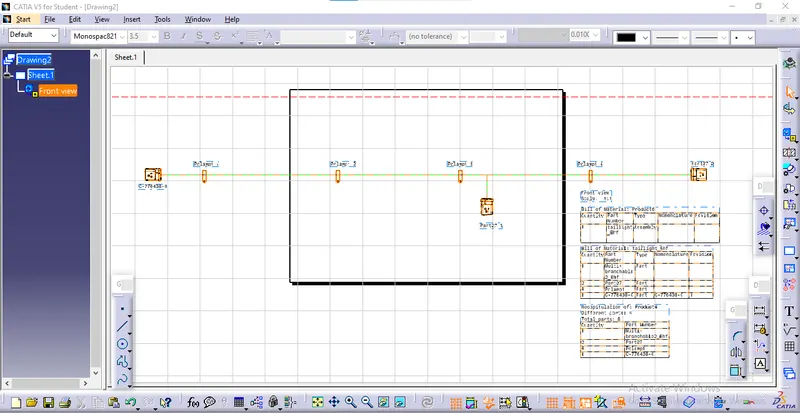
- Click on the front view option.
- Now open the flatten assembly and select the face we have selected for flattening.
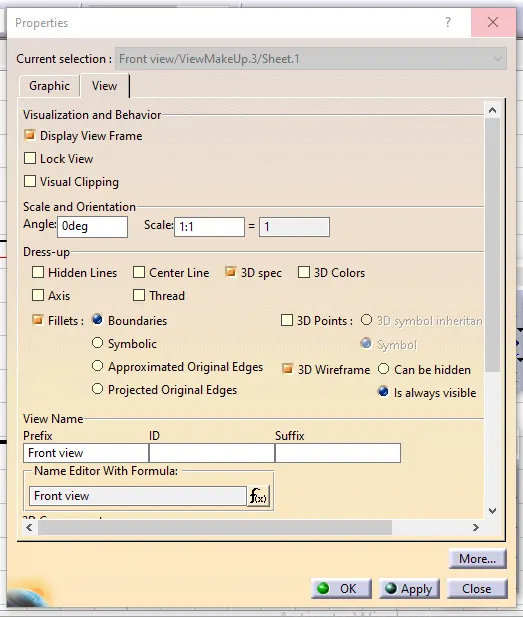
- Right-click on the red box around the drawing.
- Now enable the 3D wireframe option and is always visible option.
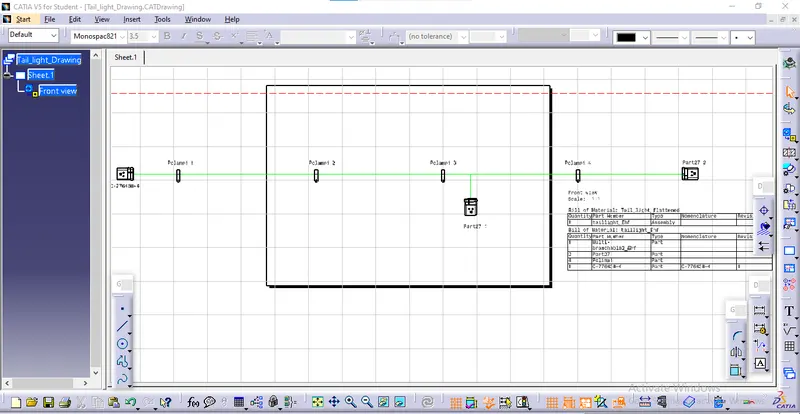
- Select the text option and name all the parts.
- To insert the Bill of materials, click on insert-Generate-Bill of material.
- We can also save the drawing in pdf format.
Result:
We have routed the Wiring harness on the given car body and Prepared fldten view drawing in CATIA V5.