Project 1 - Wiper control system and Vehicle speed calculation for ABS using Wheel Speed sensor
1)
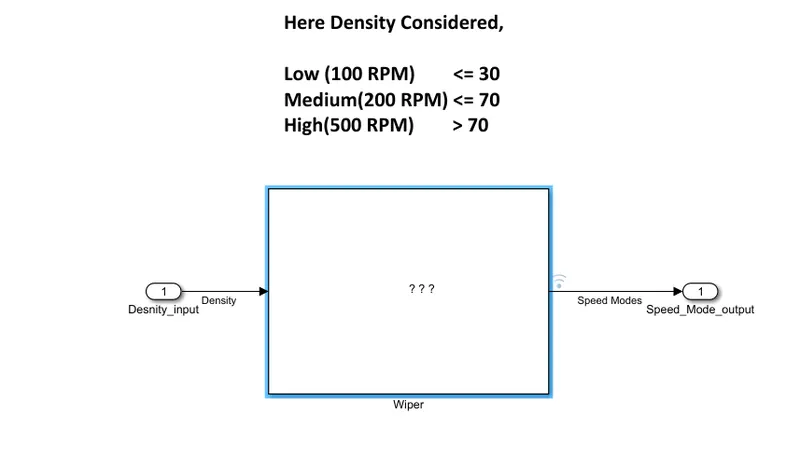
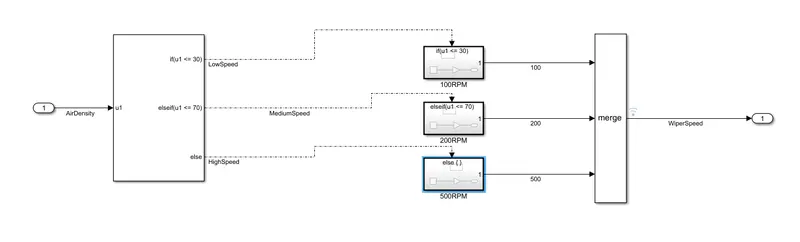
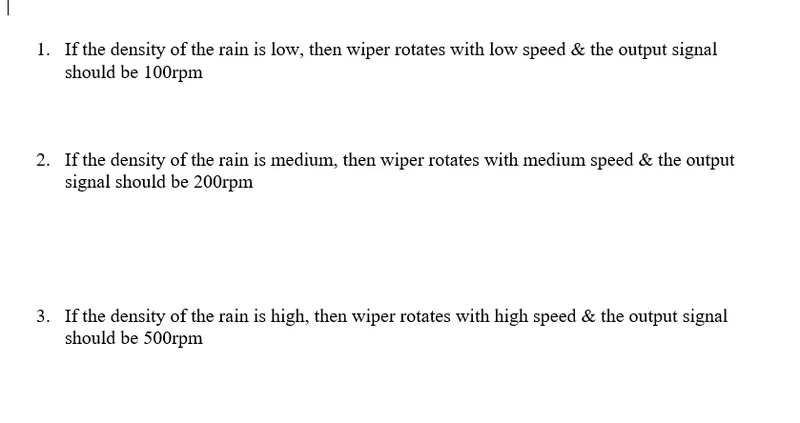
- If the density of the rain is low, then wiper rotates with low speed & the output signal should be 100rpm
- If the density of the rain is medium, then wiper rotates with medium speed & the output signal should be 200rpm
- If the density of the rain is high, then wiper rotates with high speed & the output signal should be 500rpm
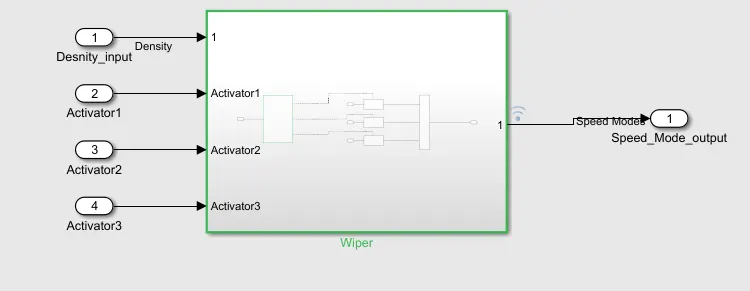
Wiper Model:
Inside Wiper:
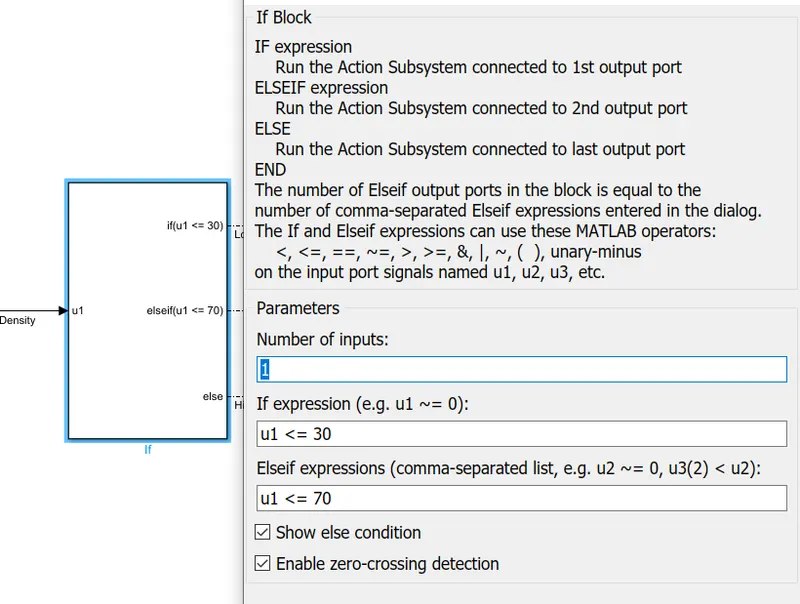
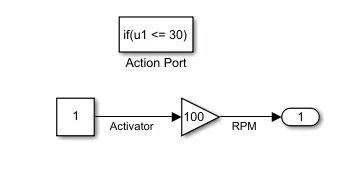
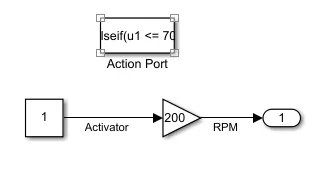
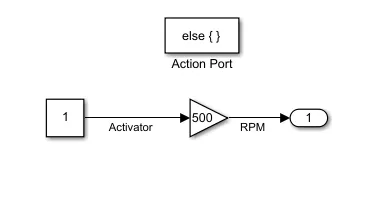
Inside if-action Blocks:
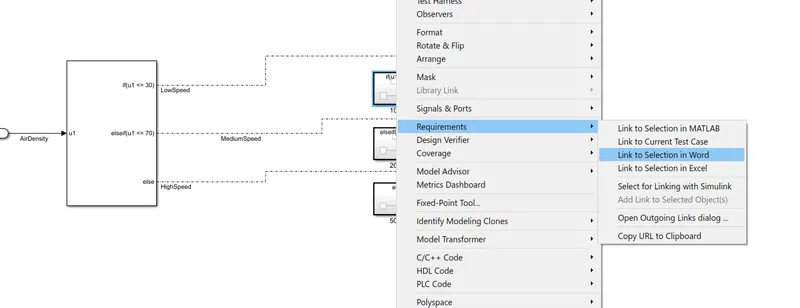
Requirement Tagging:
For Model Advisor JMAAB check:
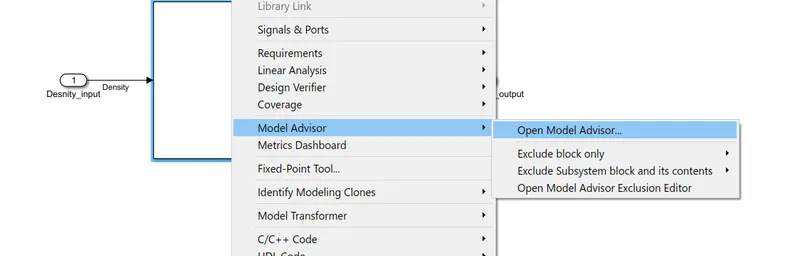
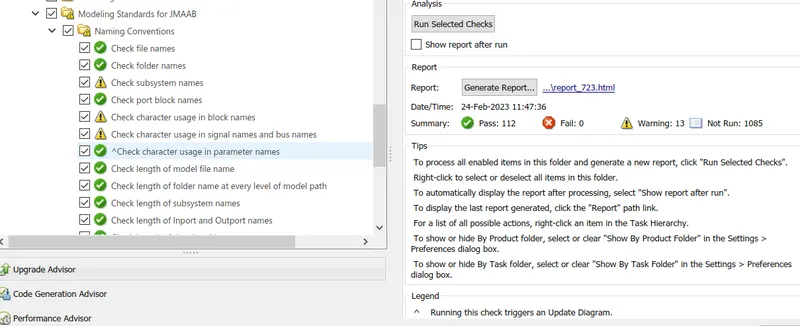
Detailed report of JMAAB Model Advisor Test has been attached below.
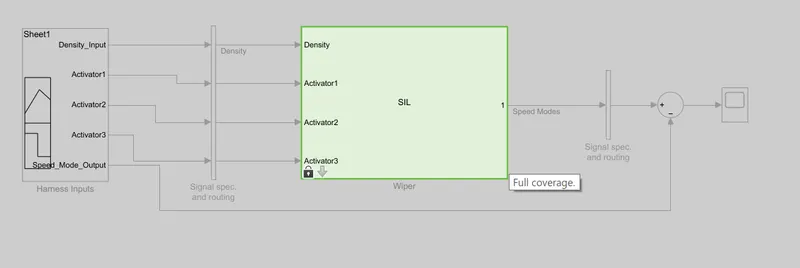
Coverage and MIL, SIL Analysis:
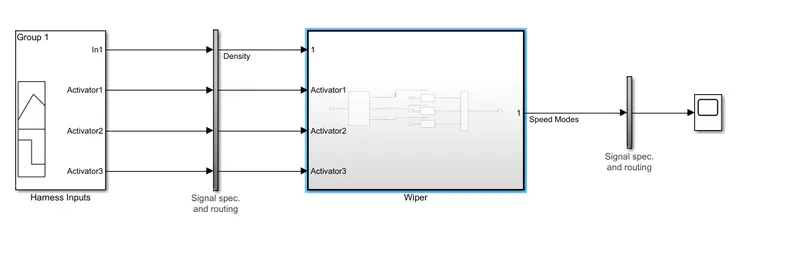
Above is the MIL Harness model, to the signal map the designed test cases to run the analysis
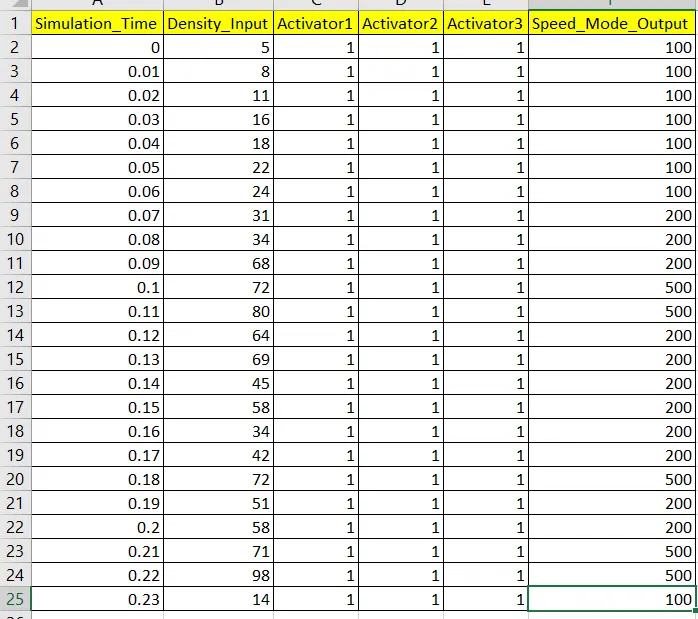
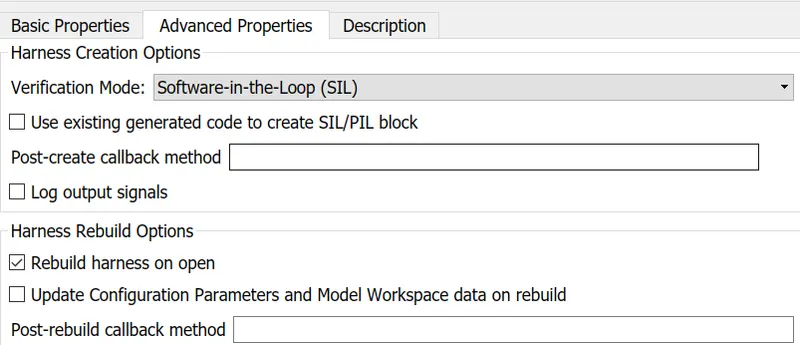
Above parameter shouldbe changed for SIL testing.
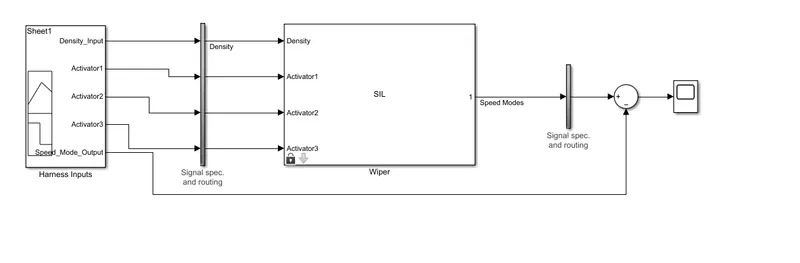
After compiling the model
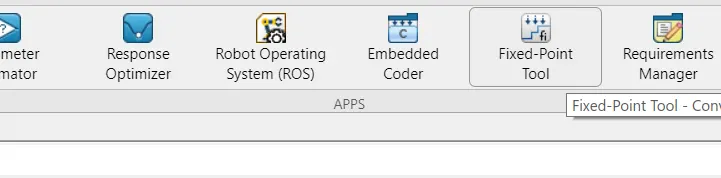
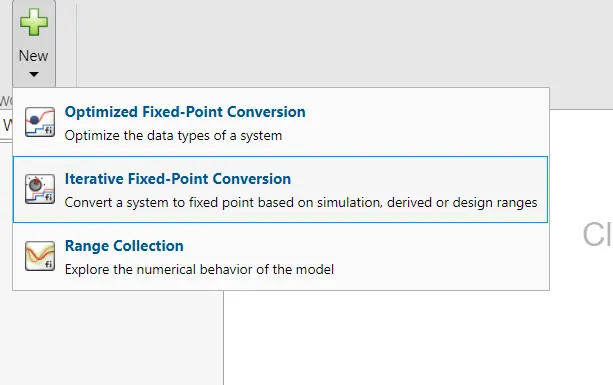
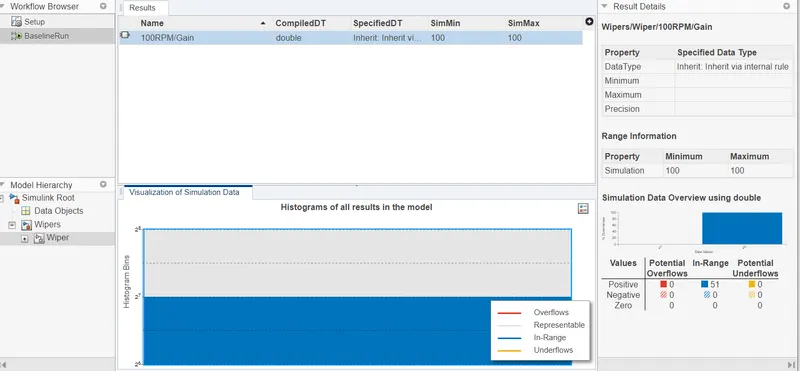
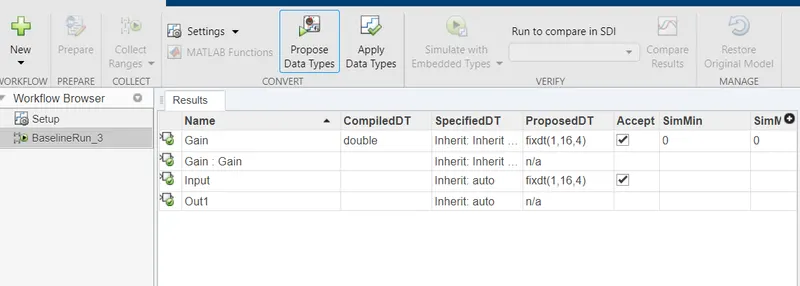
Fixed Point Tool:
SLDV Tool:
In order to perform this go to Apps and select "Design Verifier" tool set from the drop down.
Now run the advisor to check the compatability
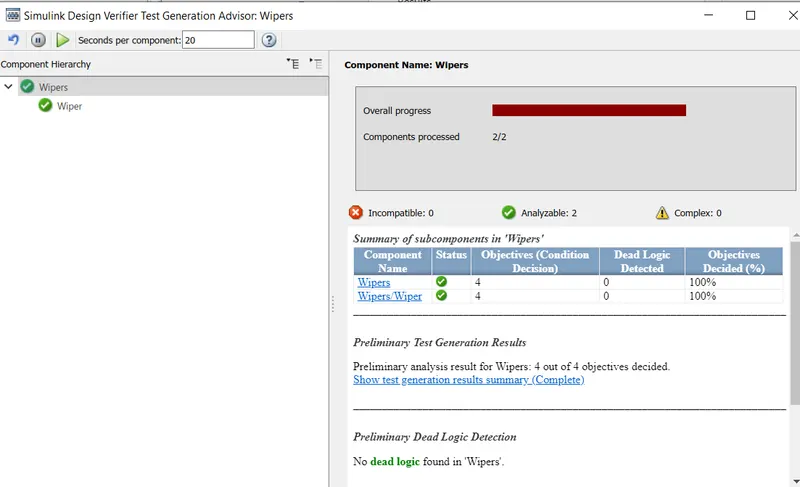
From here we came to know that our system is free from dead logics and good to perform test generation.
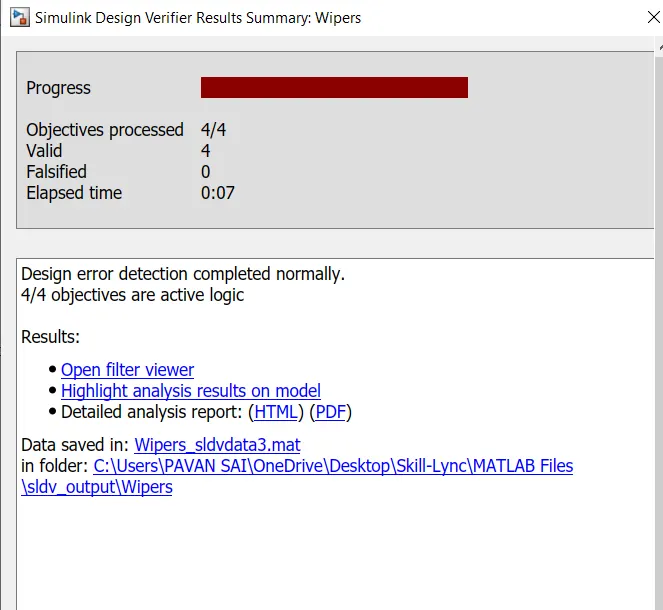
Design Error Analysis:
Auto-code generation:
To do this go to Apps and select "Embedded C Code" and follow the process
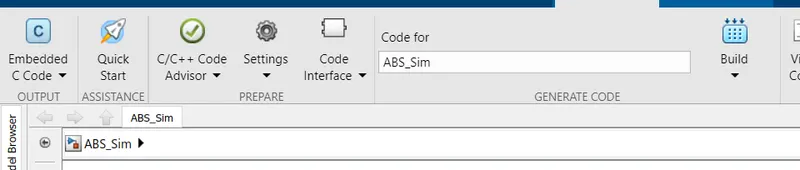
Now click on "Build" option to create the .c and .h files
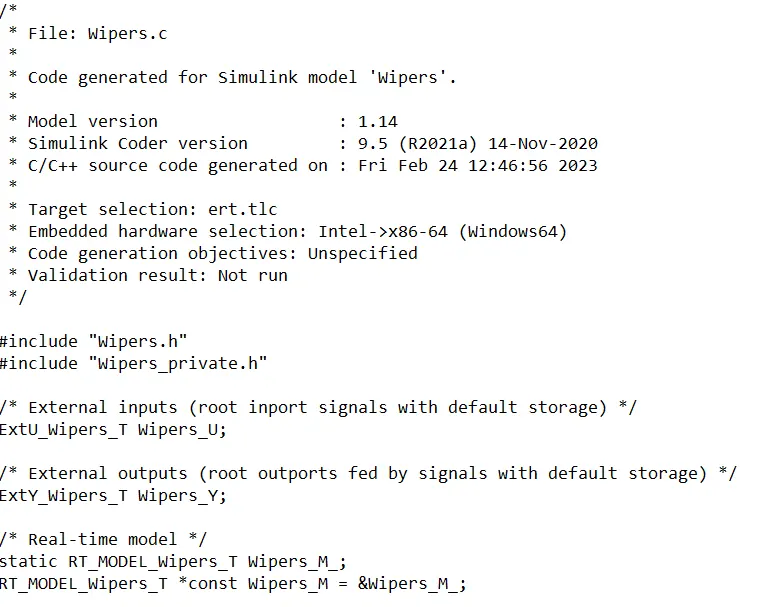
Above is the .c file of the model
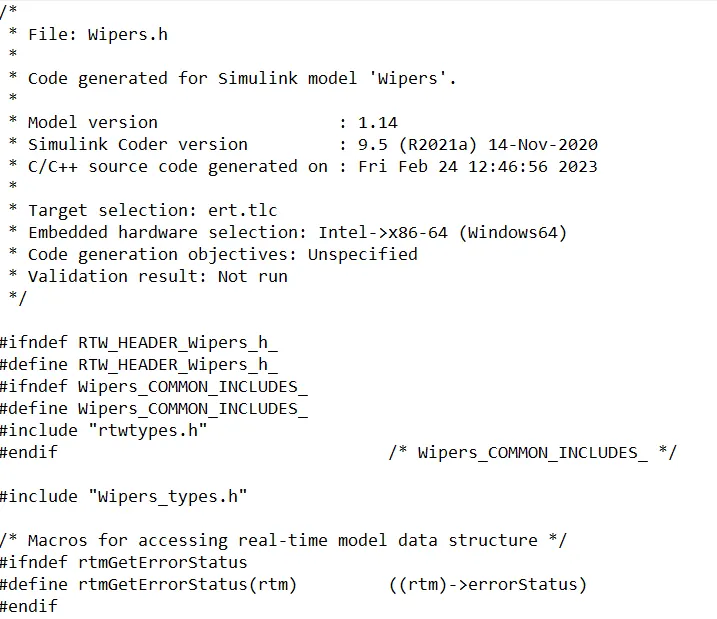
Above is the .h file of the model
Step-by-Step Procedure for Polyspace Test Analysis:
- After completion of modelling compile it and check for any warnings or errors.
- Now goto Apps Section and look for "Polyspace" and then click on it.
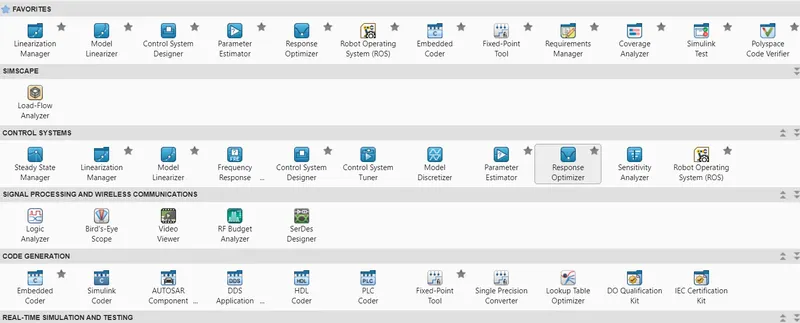
- Now in this page we have two tests that can be performed -- Bug Finder and Code Prover
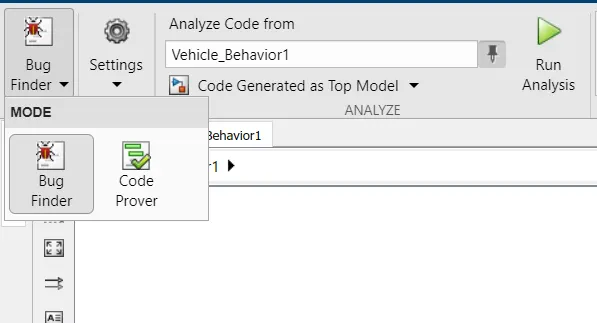
- Now select "Code Prover" then a dailog appears to run the analysis
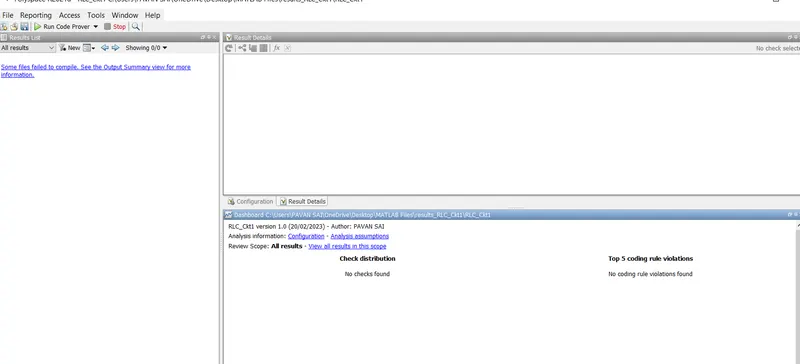
- Now from here click on "Run Code Prover" to initiate the analysis and to generate the code eventually once the analysis is done by the tool
Necessary "Configuration" parameters that need to be checked when intitialising the Test analysis
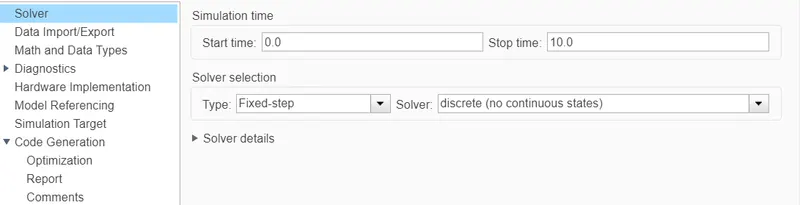
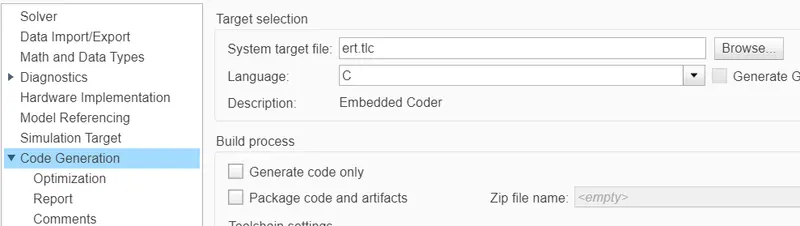
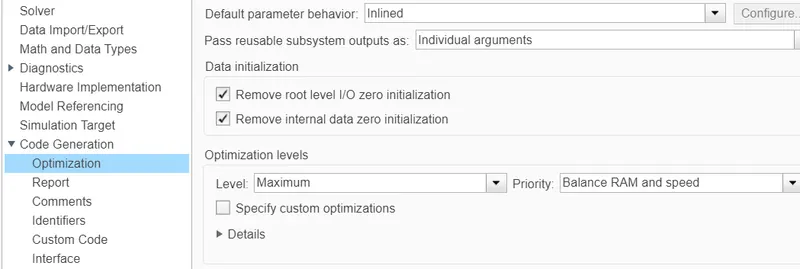
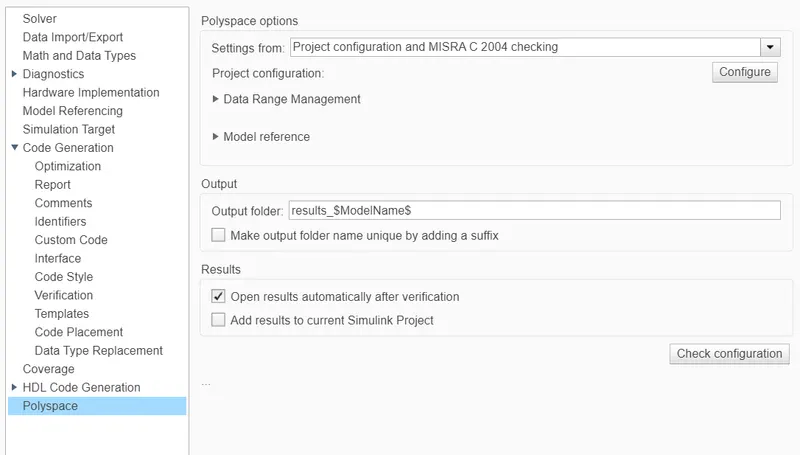
Once these all parameters are checked then we can run the analysis by using a licensed Polyspace Tool box.
Baseline Testing:
Initially goto APPS and select click on "Simulink Test"
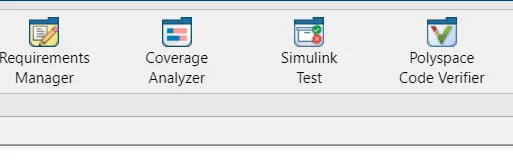
Now click on "Simulink Test Manager" which opens up the Manager view to perform the Tests
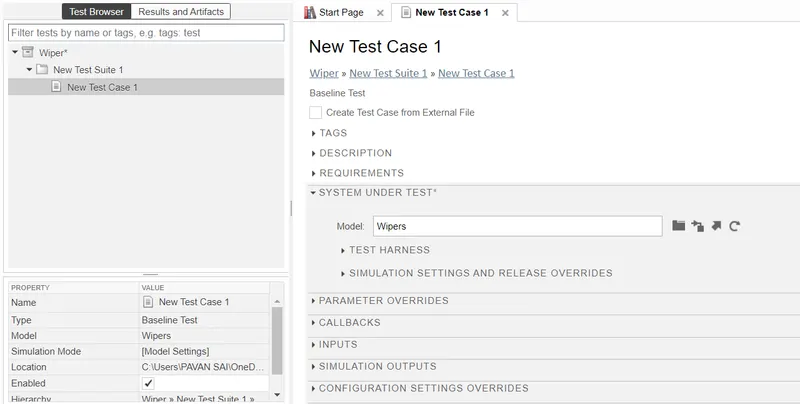
Next for "System Under Test" browse the .slx file
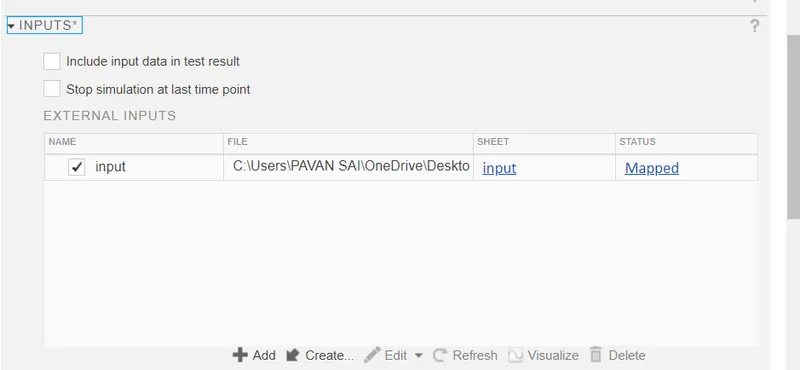
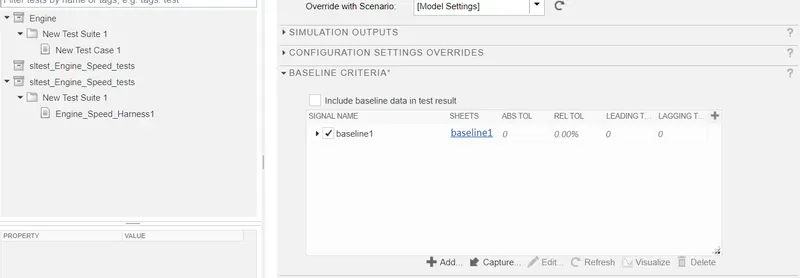
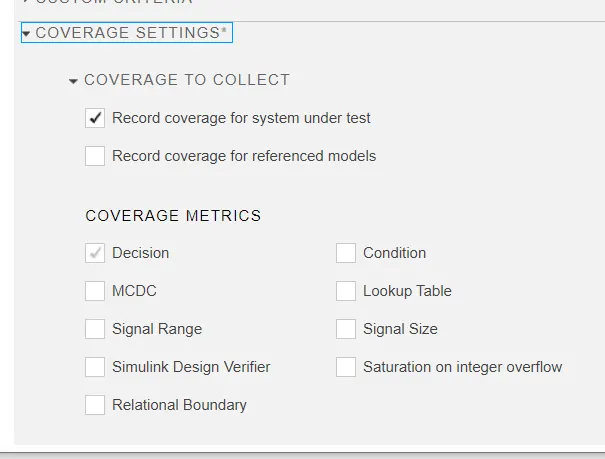
After modifying all these settings then click on "run" to initiate the Baseline test.
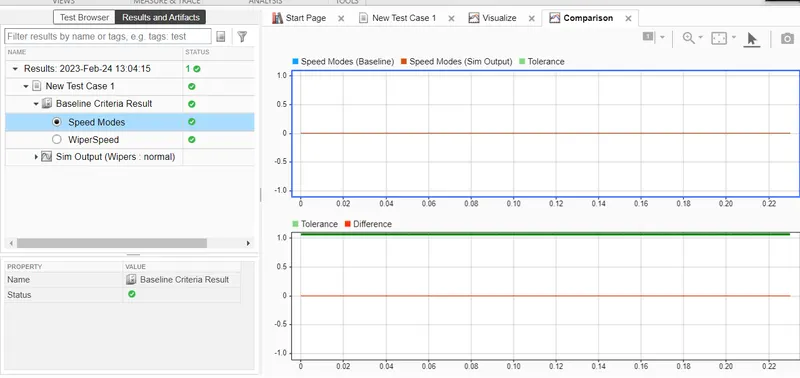
Back-To-Back Test:
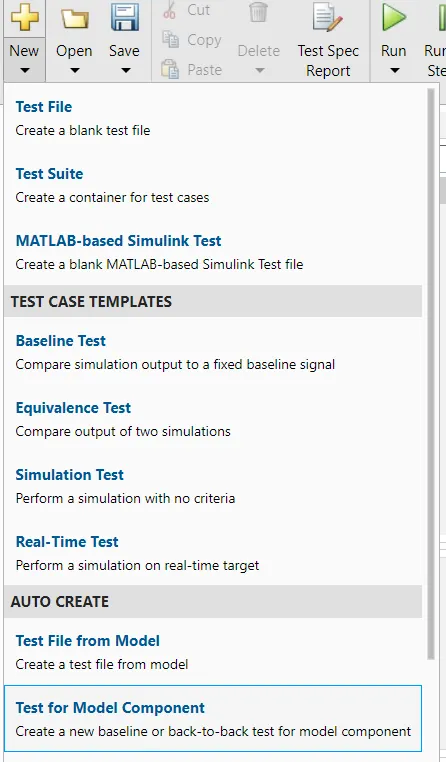
Then we need to run the analysis, here harness is created in the background and the test cases here are auto-generated.
Entire process of Back-To-Back test is mentioned in the video. After completion of test the report is generated after verifying necessary objectives.
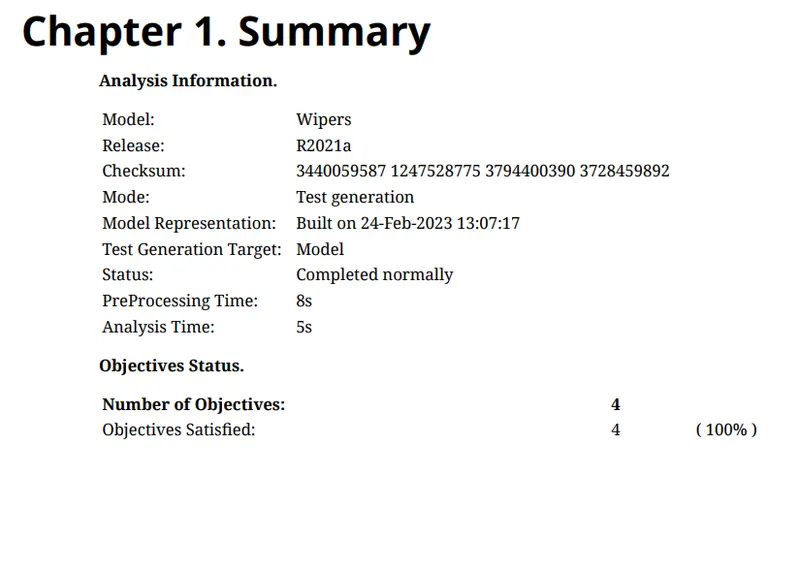
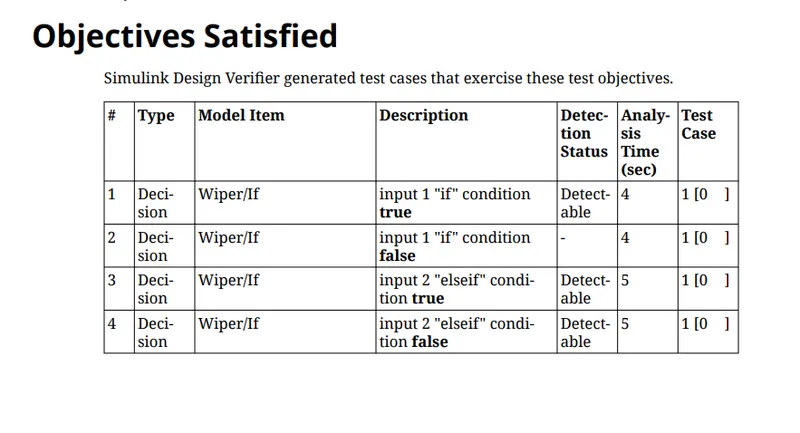
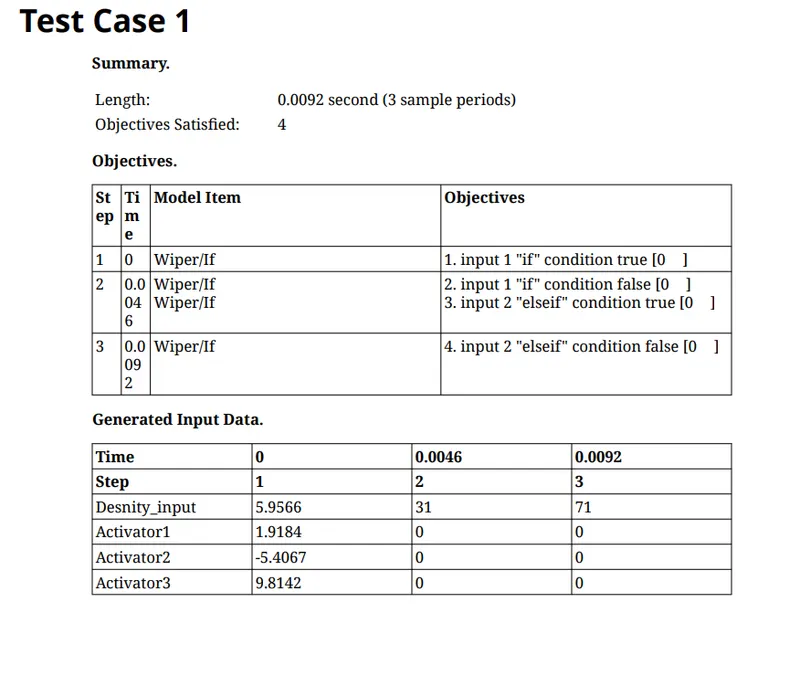
All the required and reports along with Test cases that are required are zipped and attached below.
2)
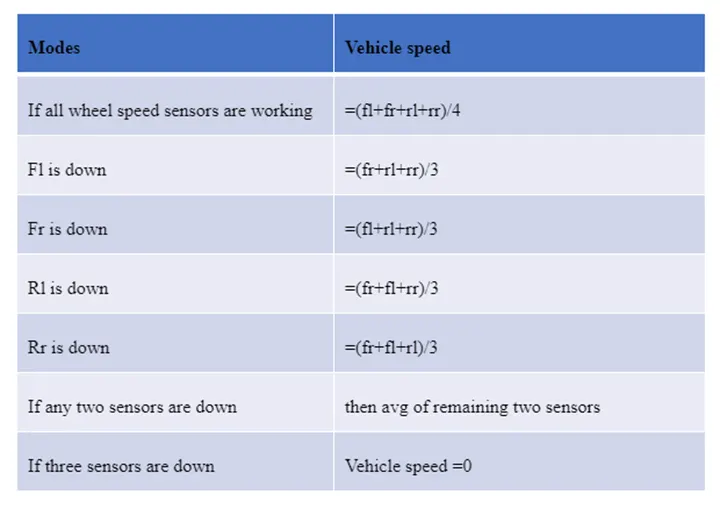
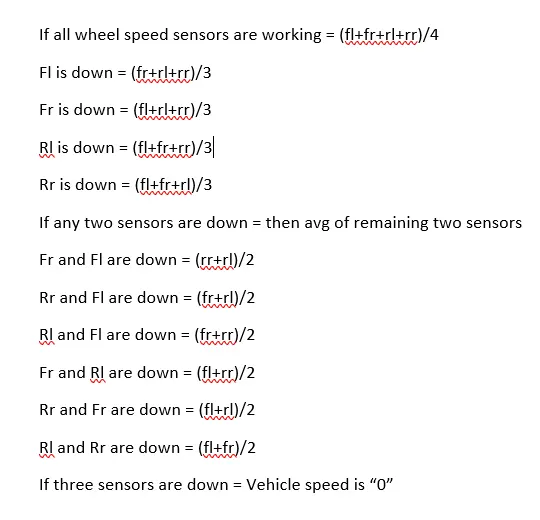
ABS system for the below conditions:
fl, fr, rl and rr are the wheel speeds of front left, front right, rear left and rear right respectively.
ABS Model:
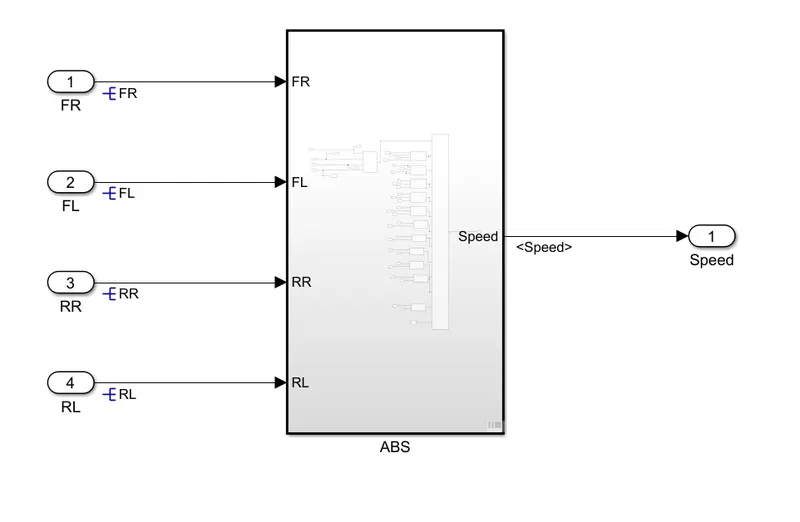
Inside ABS:
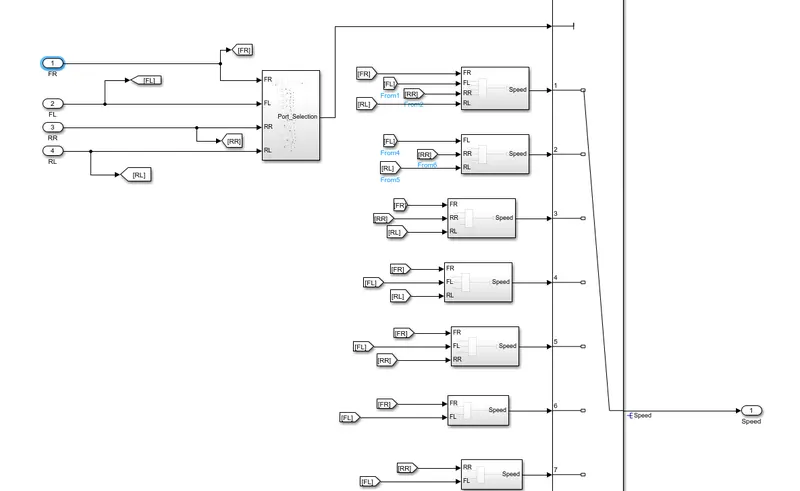
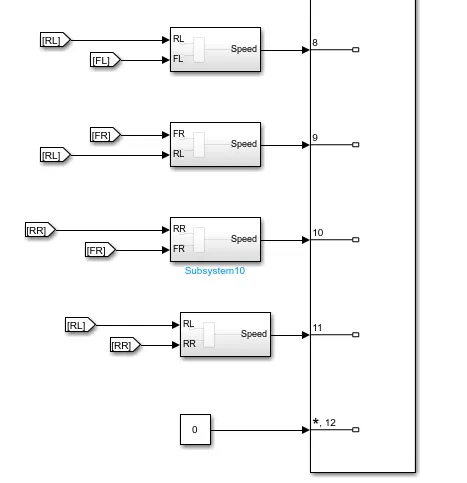
Inside Port Selection:
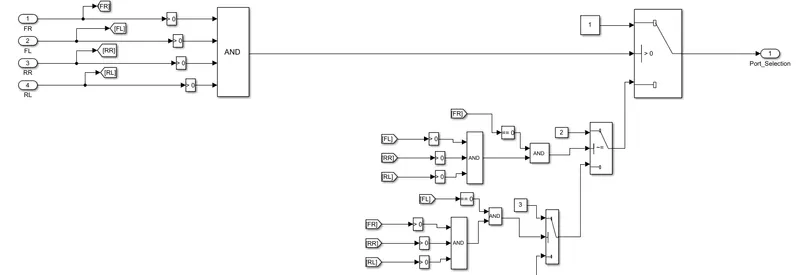
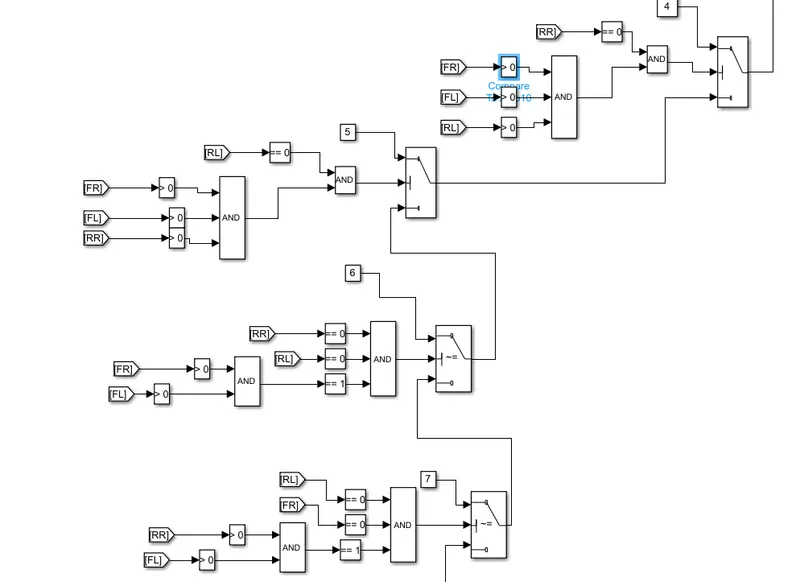
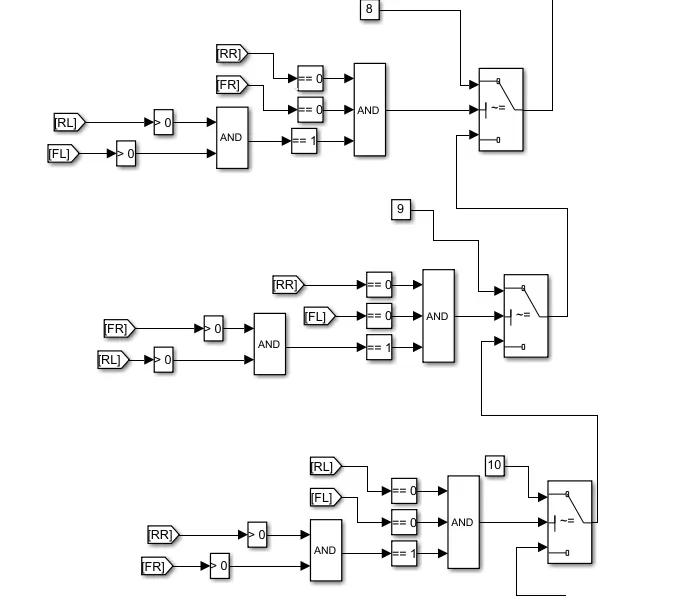
Inside the ABS conditions:
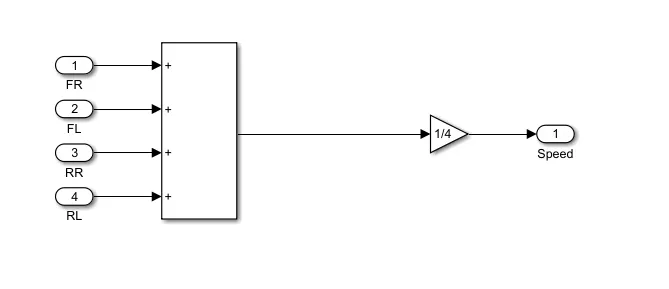
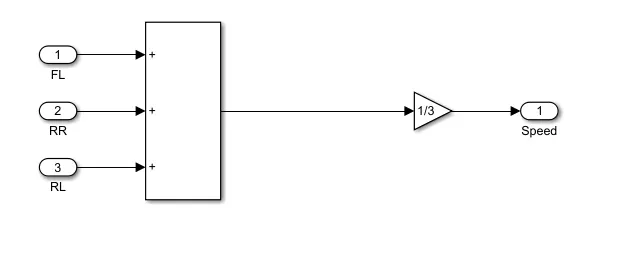
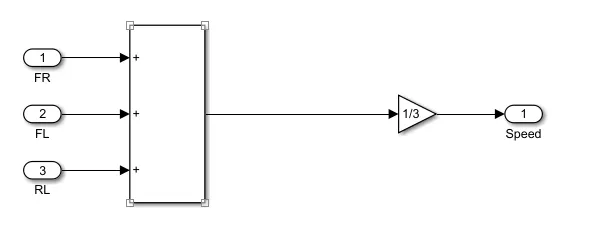
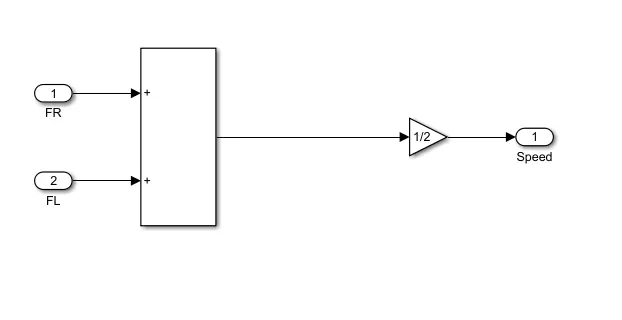
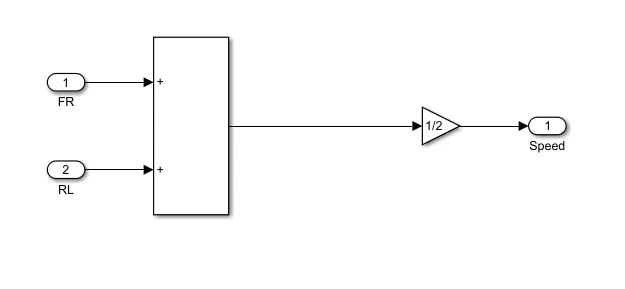
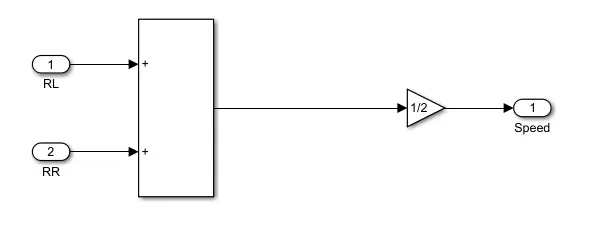
Requirement Tagging:
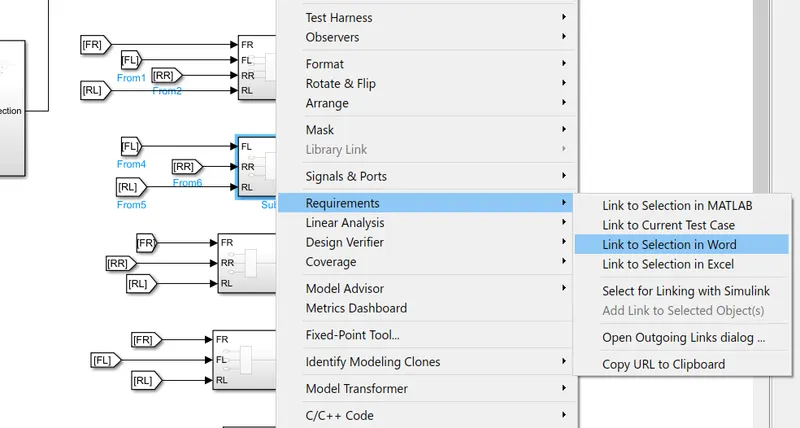
For Model Advisor JMAAB Check:
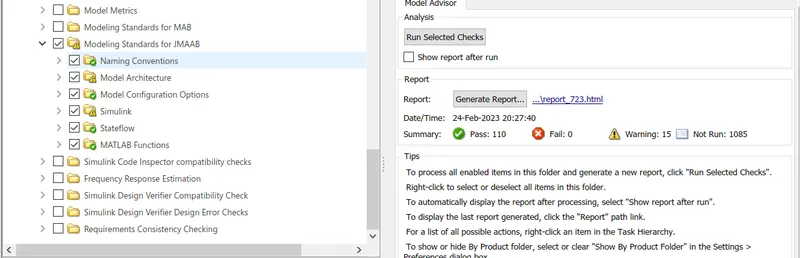
Detailed report of JMAAB Model Advisor Test has been attached below.
Coverage of MIL and SIL Analysis:
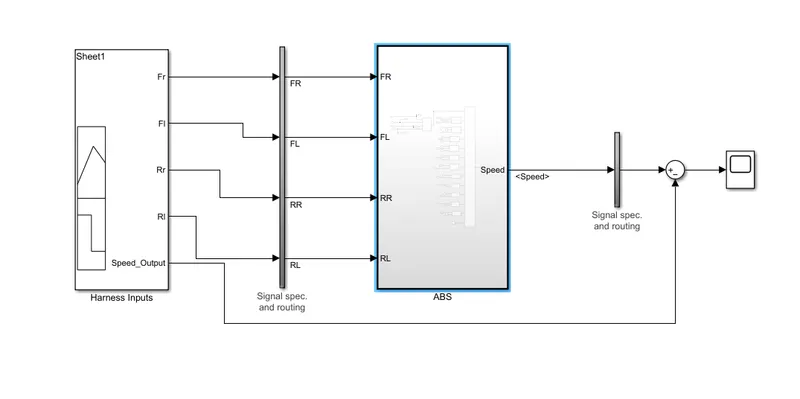
Above is the MIL Harness model, to the signal map the designed test cases to run the analysis
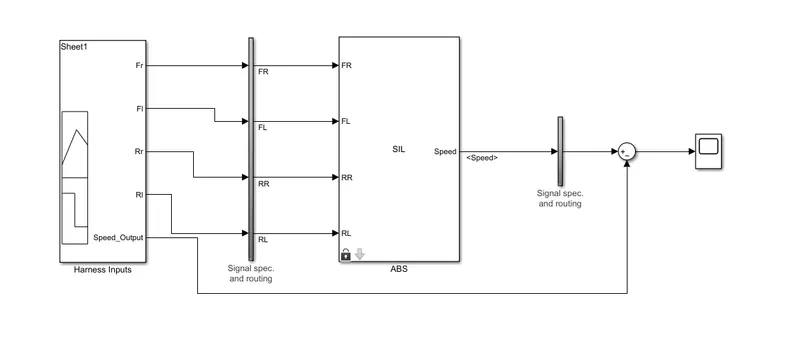
Above is the SIL Harness model, to the signal map the designed test cases to run the analysis
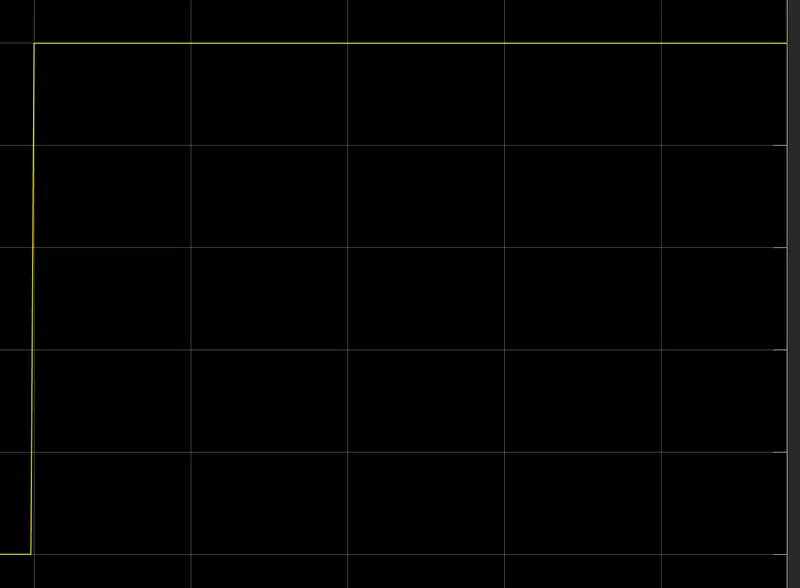
Above is the scope output and it is showing as 0, which indicates that the model is correct.
Fixed Point Tool:
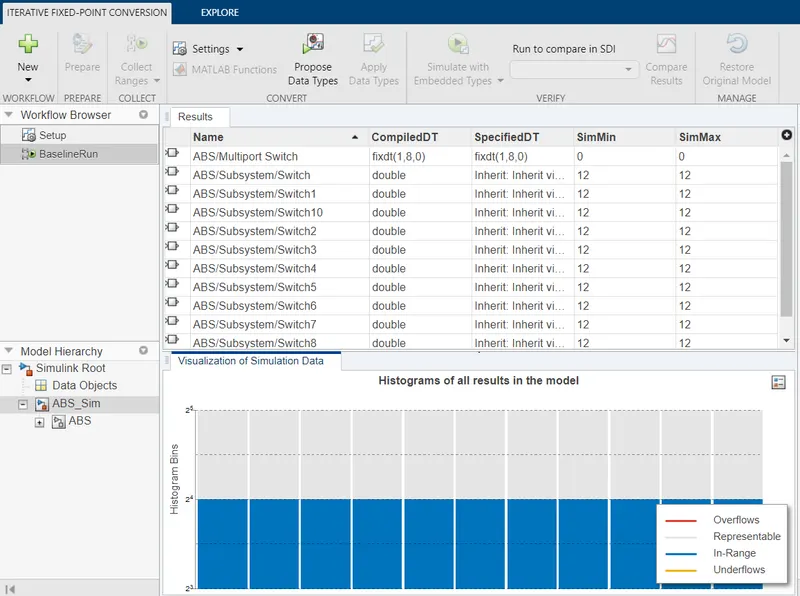
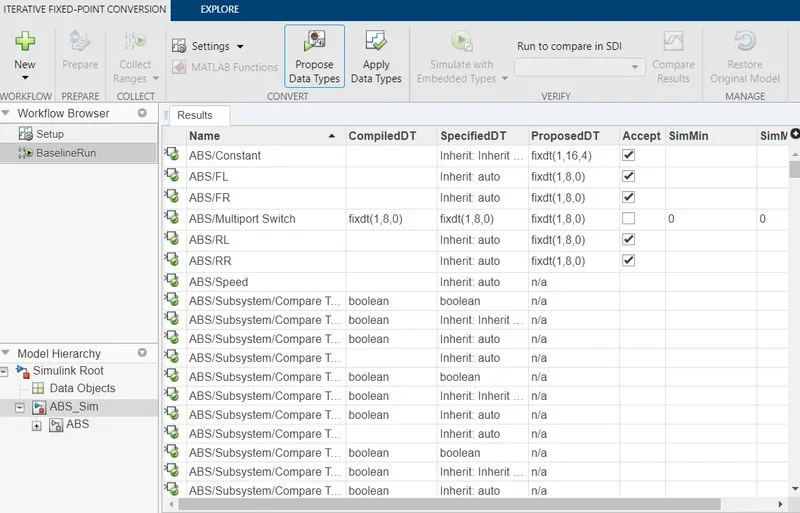
Propsed Data Types can be observed below
SLDV Tool:
In order to perform this go to Apps and select "Design Verifier" tool set from the drop down.
Now run the advisor to check the compatability
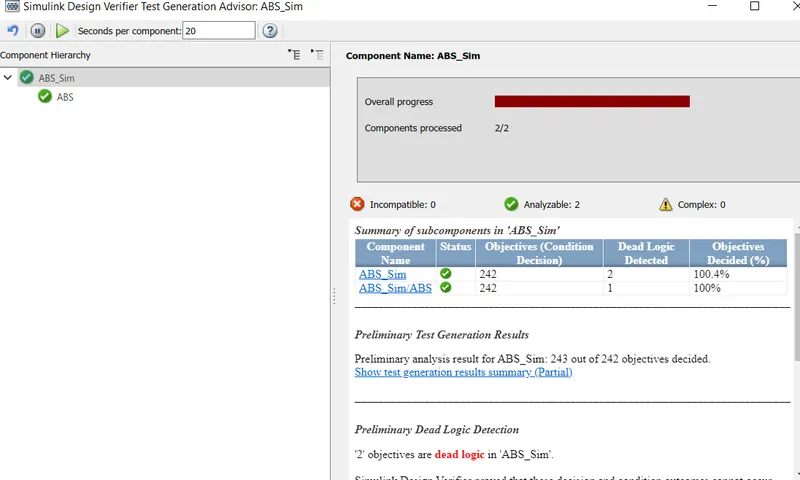
From here we came to know that our system is free from dead logics and good to perform test generation.
Design Error Analysis:
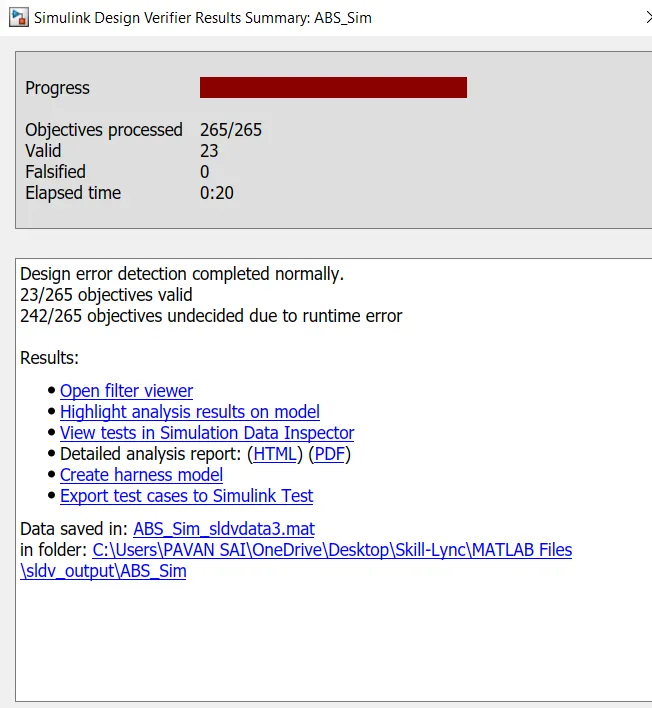
Auto-code generation:
To do this go to Apps and select "Embedded C Code" and follow the process
Now click on "Build" option to create the .c and .h files
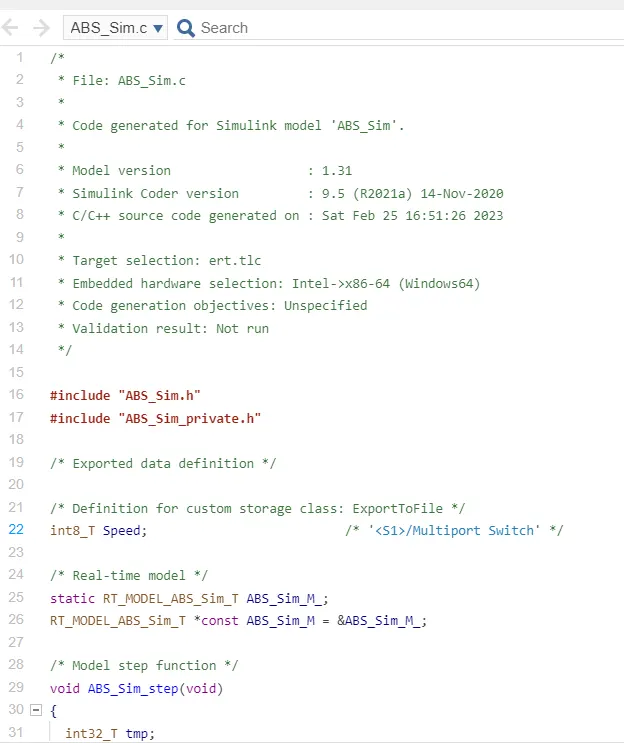
Above is the .c file of model
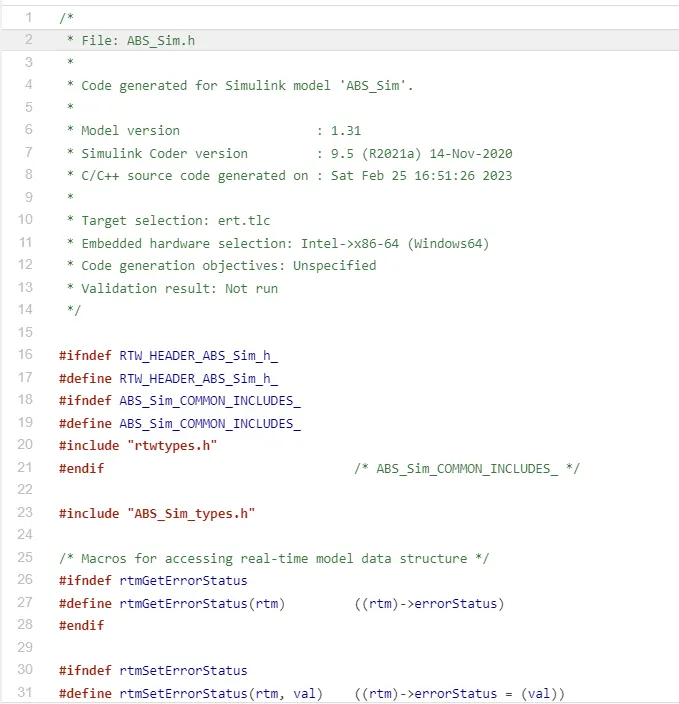
Above is the .h file of model
Step-by-Step Procedure for Polyspace Test Analysis:
- After completion of modelling compile it and check for any warnings or errors.
- Now goto Apps Section and look for "Polyspace" and then click on it.
- Now in this page we have two tests that can be performed -- Bug Finder and Code Prover
- Now select "Code Prover" then a dailog appears to run the analysis
- Now from here click on "Run Code Prover" to initiate the analysis and to generate the code eventually once the analysis is done by the tool
Necessary "Configuration" parameters that need to be checked when intitialising the Test analysis
Once these all parameters are checked then we can run the analysis by using a licensed Polyspace Tool box.
Baseline Testing:
Initially goto APPS and select click on "Simulink Test"
Now click on "Simulink Test Manager" which opens up the Manager view to perform the Tests
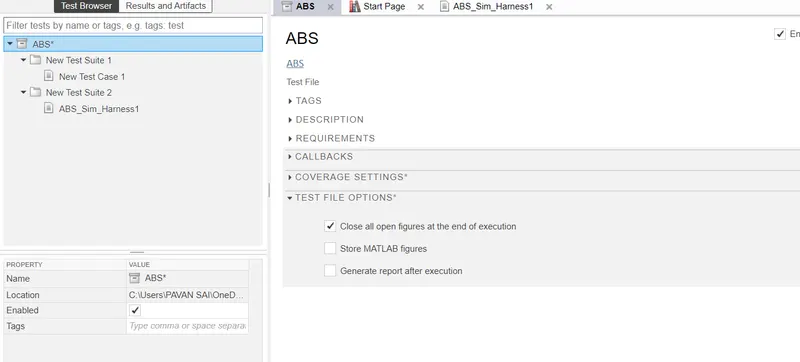
Next for "System Under Test" browse the .slx file
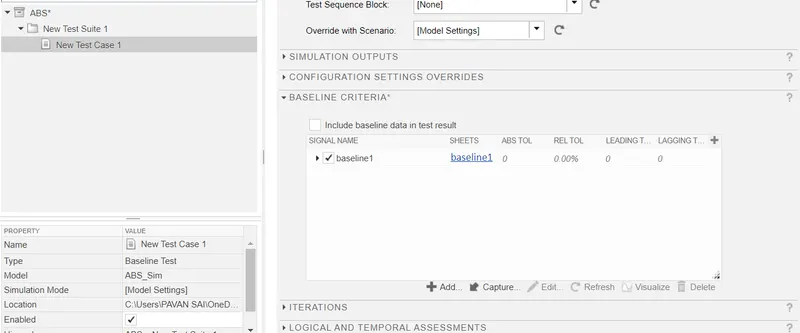
Now click on run to start the base line test analysis
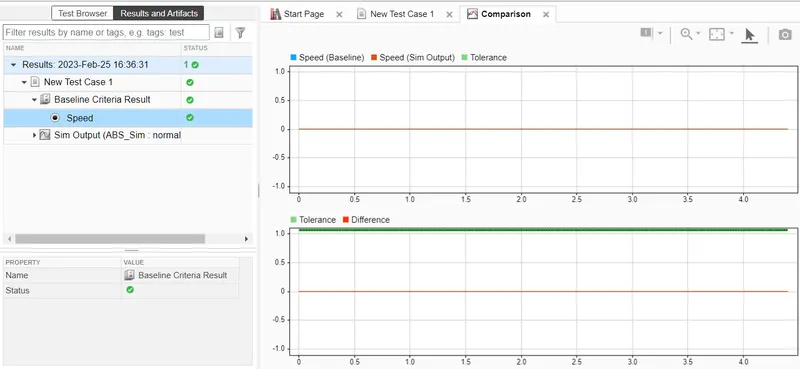
Back-To-Back Test:
Then we need to run the analysis, here harness is created in the background and the test cases here are auto-generated.
Entire process of Back-To-Back test is mentioned in the video. After completion of test the report is generated after verifying necessary objectives.
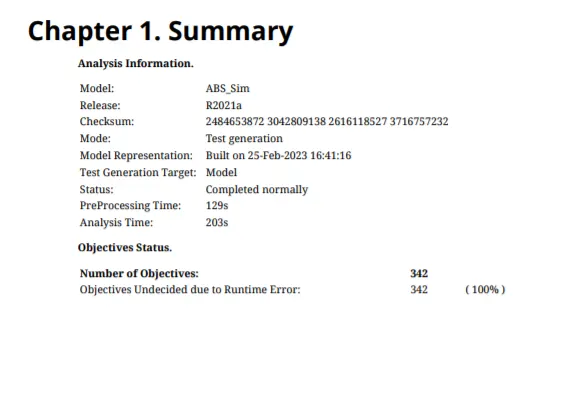
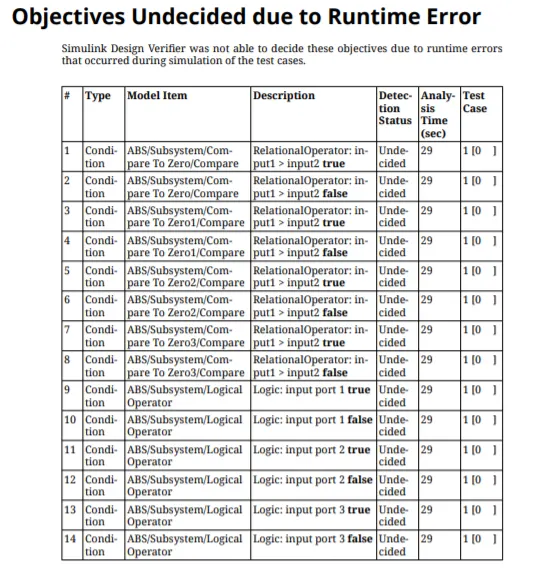
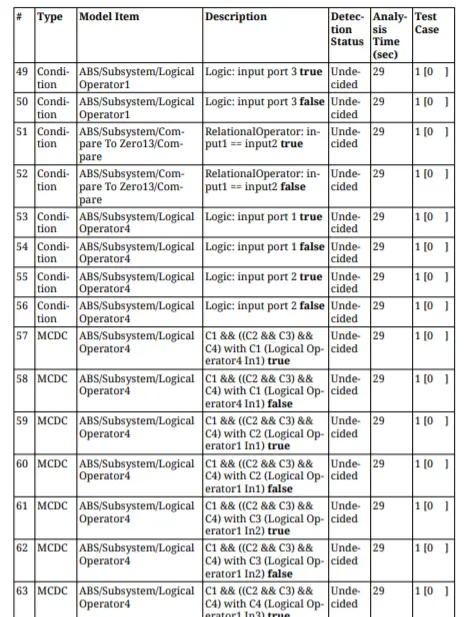
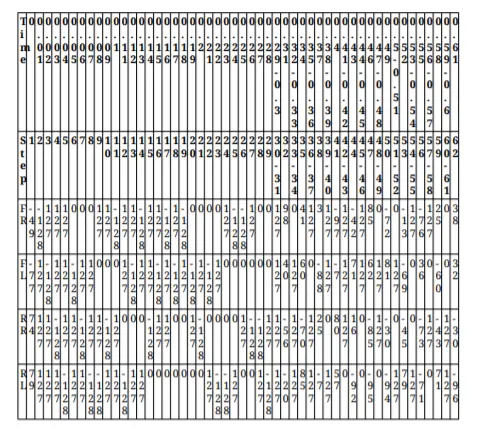
Above is the auto generated test cases for the model after doing the BAck2Back testing.
All the reports and necessary matlab files are zipped and attached below for the reference.