Project 1-Meshing of Rear Wheel Holder challenge
AIM -
Follow the below-mentioned quality criteria, mesh the component given below and assign thickness:
Target Element Length = 5 Units
| S.N | Quality Criteria | Value |
| 1 | Aspect Ratio | 5 |
| 2 | Skewness | 45 |
| 3 | Warping | 15 |
| 4 | Taper | 0.5 |
| 5 | Min. Length | 2 Units |
| 6 | Max. Length | 8 Units |
| 7 | Min angle Quad | 45 |
| 8 | Max angle Quad | 135 |
| 9 | Min angle Tria | 20 |
| 10 | Max angle Tria | 120 |
| 10 | Tria % | 10 |
PROCEDURE
1. First we import the geometry which is given in igs format so we import in this format only.
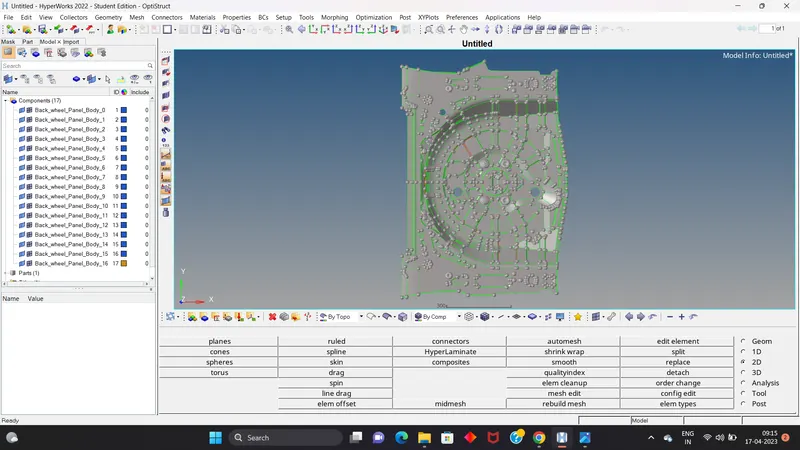
2. After importing we check where is our whole model because all the some part in a different different part. So orgnaise our part in one single model.
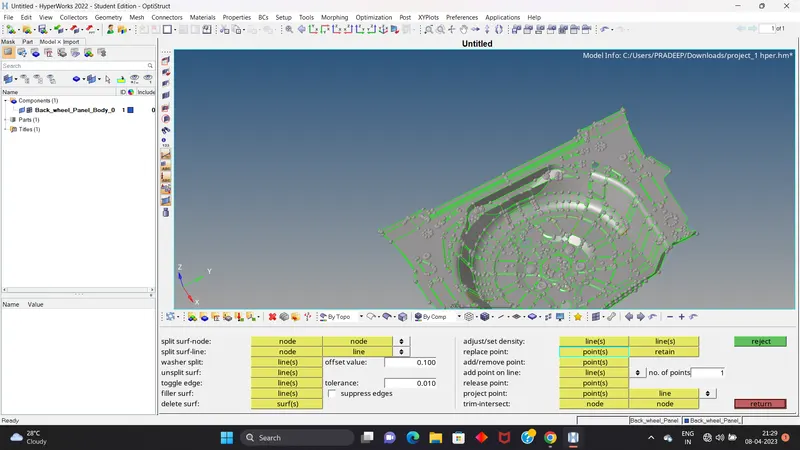
3. Then we saw the model how we work on the model like what need we do. It is sheet metal or plastic or what is the thickness of the model, if our model's any part is symmetry or not.
4. In this model it is a sheet metal its thickness is same if symmetry so we delete that part which are symmetry.
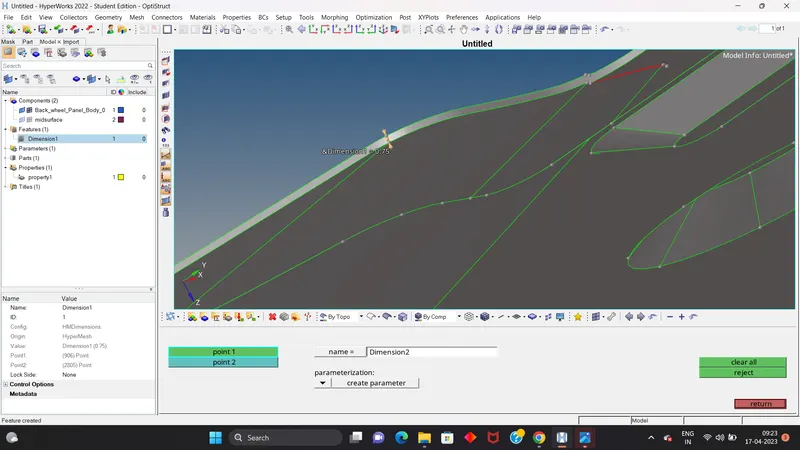
5. After this we see all the component in a closed volume then we orgnaise the whole model .
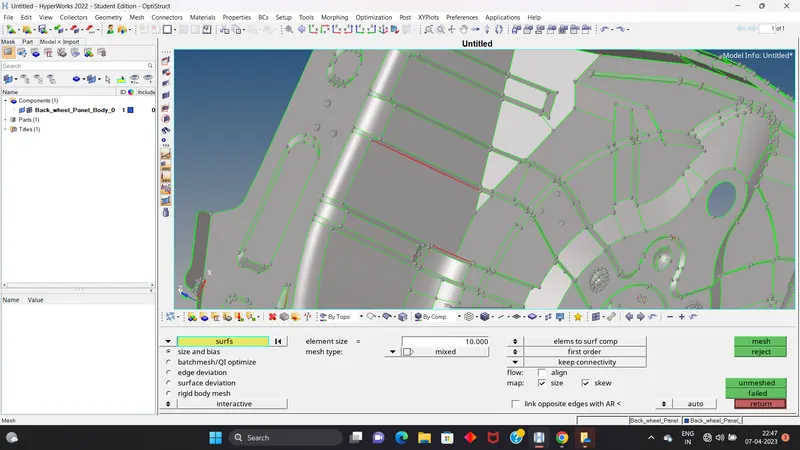
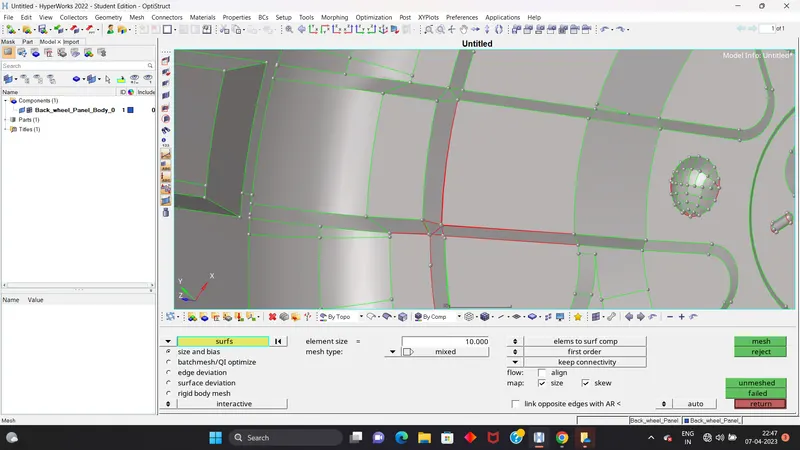
6. Then we check the geometry like if any feature line not near to each other, supress the construction line, if there is disturb surface as break or hole we create the surface after create the midsurface.
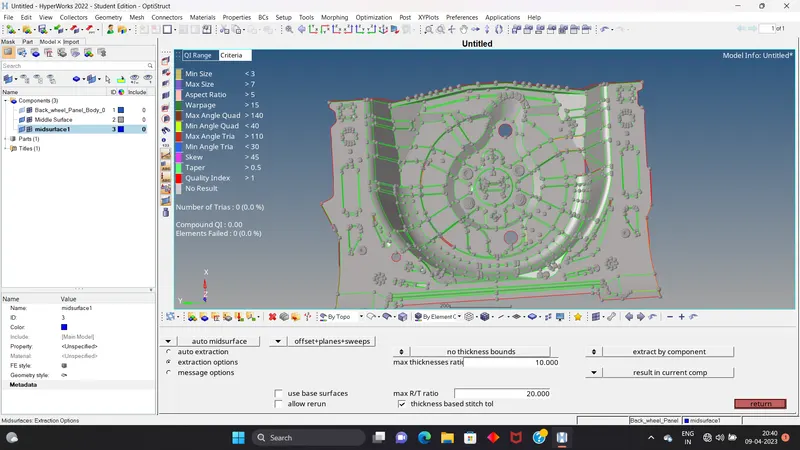
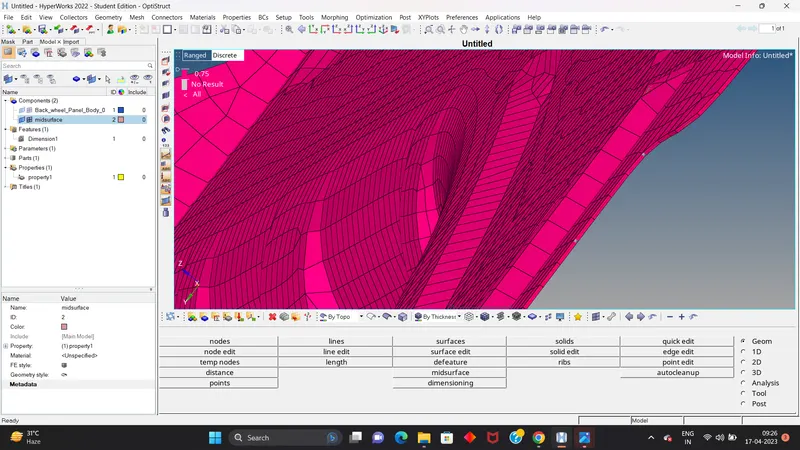
7. After creating we go for the generating mesh on the whole component area by area.
Set the quality criteria and paremeter settings the we divide the surface in rectangle box.
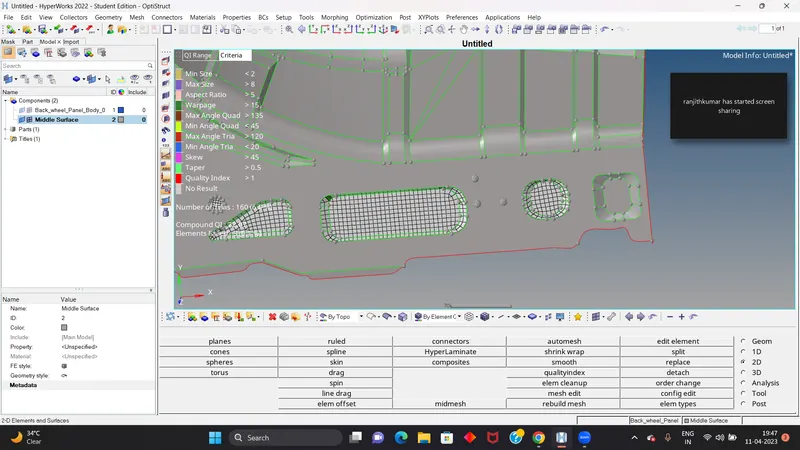
8. Then we check the flow of the mesh like all the element are in flow like not any tria
Touching with each other, not opposite, not any tria on feature line and the free line, not any
rotating quard.
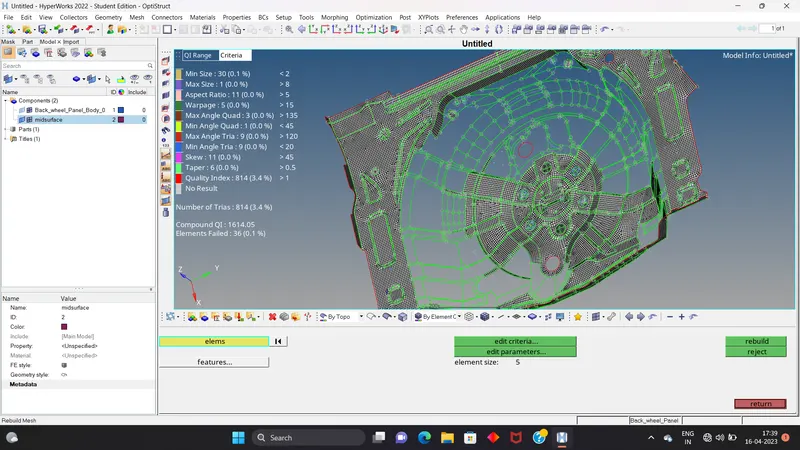
9. In all this we also check the not any element failed but in this some area have a element failed
because the shape of the region.
10. We also use element cleanup for avoid the element failed.
11. Then assign a thickness of the component by creating property of the part.
LEARNING OBJECT
In this challenge we use and learn this tools and options.
a. Rotate option for rotating the nodes of holes.
b. Edit element option for create element, split the element, combine the two tria element
and for this option we use a shortcut key F6.
c. Replace option for use the nodes replace option and use shortcut key F3.
d. Organise option for move one part to another component and use shortcut key shift+ F11.
e. Use rebuild option for reconstruct the element.
f. For generate the mesh we use automesh by use shortcut key F12.
g. Quick edit for the geometry cleanup use shortcutkey F11.
h. Use the reflect option for copy the symmetry part .
i. Use mask option for hide the part use shortcut key F5.