Project 1 Mechanical design of battery pack
Battery pack capacity: 18 kWh
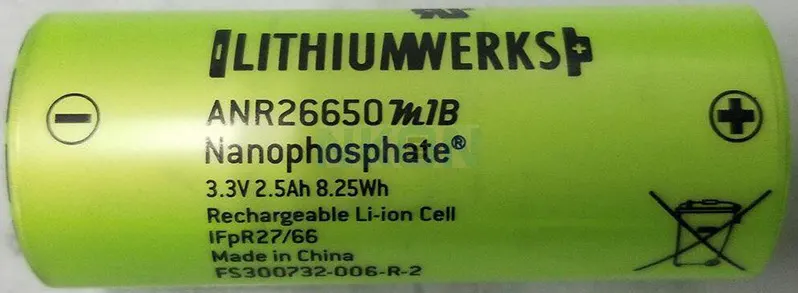
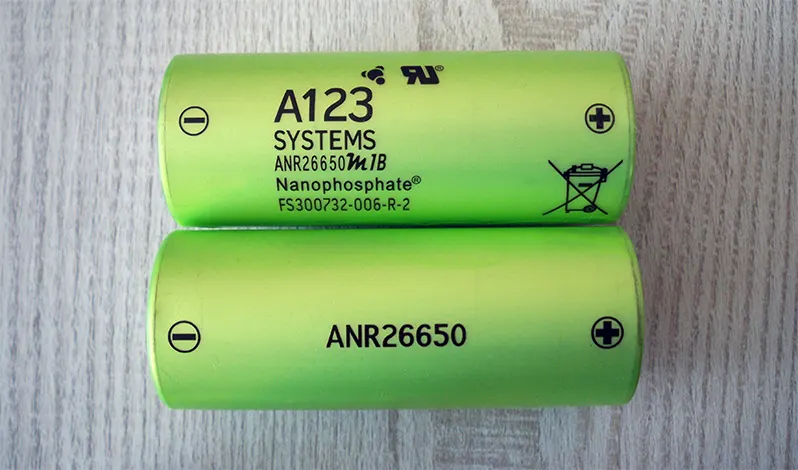
Cell: ANR26650M1-B
Prepare a detailed battery pack drawing along with its enclosure. State your assumptions.
ans)
A123 Systems ANR26650M1B has the following specs according to its datasheet:
Nominal capacity: 2.5Ah at a 0.5C rate
Minimum capacity: 2.4Ah at a 0.5C rate
Nominal voltage: 3.3V
Charge end voltage: 3.6V
Standard charge current: 2.5A (1C)
Fast charge current: 10A (4C)
Max continuous discharge current: 50A (20C)
Max pulse discharge current (10 sec): 120A (48C)
Discharge cut-off voltage: 2.0V
AC impedance at 1KHz: 6mΩ
Weight: 76g
ANR26650M1B cells now are being manufactured and sold under the Lithium Werks brand. In March 2018 Lithium Werks acquired A123 Systems' industrial business and manufacturing plants located in Changzhou, China. These plants were the first to introduce the revolutionary NanoPhosphate® technology in the form of cylindrical cells.
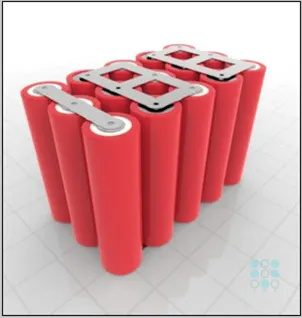
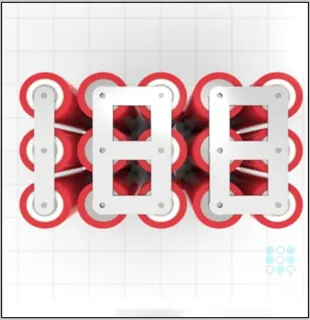
- This 16.5 V lithium-ion battery pack has a 5S3P configuration with 7.5Ah (amp-hours) capacity.
A typical bill of materials (BOM) includes the following:
- Battery cell
- Nickel or other tabbing
- PCB/PCM/BMS
- PVC shrink wrap
- Insulating paper (barley paper)
- Insulating foam
- Connectors and wires
Step 1: Select the ANR26650M1-B Cells for the Battery Pack.
Step 2: Check the Cell Voltage
- Before connecting the cells in parallel, first, check the individual cell voltages.
- For paralleling the cells, the voltage of each cell should be near to each other, otherwise, a high amount of current will flow from the cell with higher voltage to the cell with lower voltage.
- This can damage the cells and even result in fire on rare occasions.


Step 3: Assemble the ANR26650M1-B Cells.
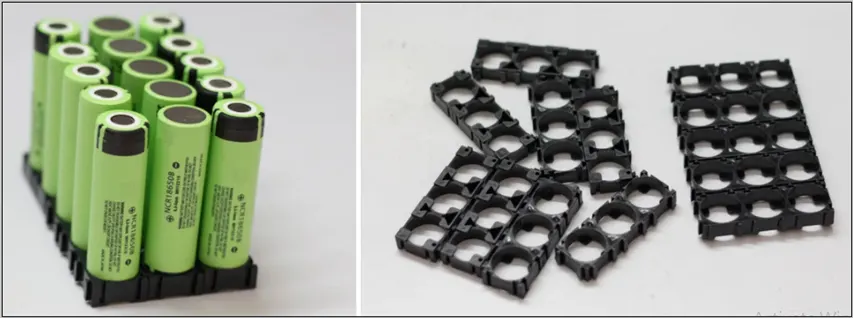
- From the previous step, it is clear that our battery pack is made up of 3 parallel groups connected in series and each parallel group has 5 cells.
- Now we have to arrange the 15 cells properly for making the electrical connection among them and with the BMS board.
- Place the first parallel group of cells (5 nos) positive side up, then place the second parallel group negative side up, and then finally the last parallel group positive side up.
- We can assemble the cells to make the pack by using hot glue or by using a plastic 18650 battery holder. I used plastic the ANR26650M1-B cell holders/spacers to assemble the 15 cells.
- It provides space between the cells, which allows fresh air to pass and the battery gets cooled easily.
- It also makes our battery pack solid and reliable and provides safety anti-vibration to our battery pack.
Step 4: Choosing the Right Battery Strips and Spot Weld the Nickel Strips
We have two options two connect the ANR26650M1-B cells together:
- Soldering
- Spot Welding
The best choice is always Spot welding, but Spot Welder is much costlier than a good quality Soldering Iron.
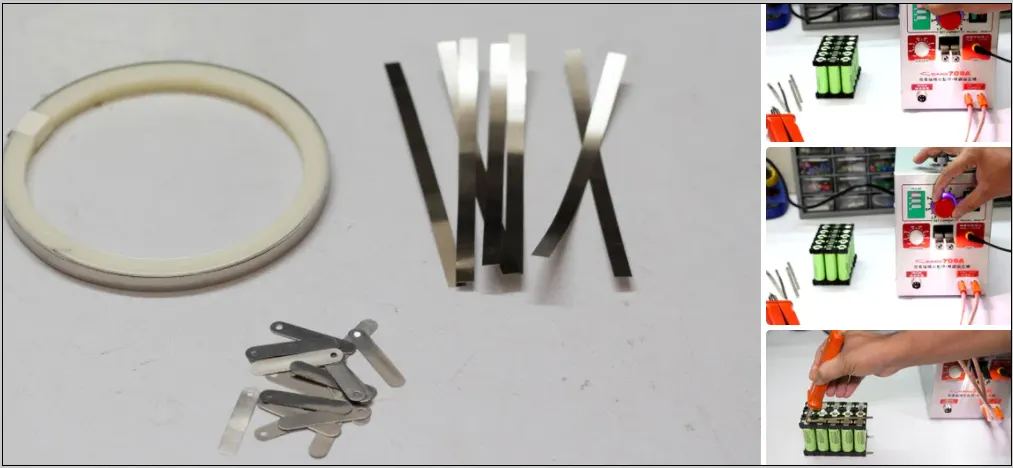
- To make the battery pack, we have to connect the ANR26650M1-B cells together by means of Nickel strips or thick wire.
- Generally, Nickel strips are widely used for this.
- In general, two types of nickel strips are available in the market: nickel-plated steel strips and pure nickel strips.
- Pure nickel is a little bit costlier than nickel-plated steel, but it has much lower resistance. Low resistance means, less heat generation during the charging and discharging, which leads to longer useful battery life.
Step 5: Adding the BMS
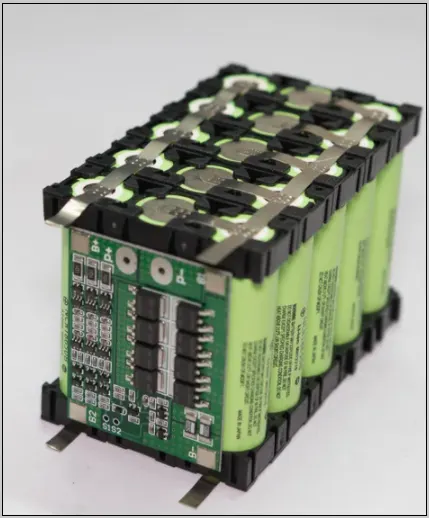
A battery management system (BMS) is any electronic system that manages a lithium battery pack and the main functionalities are
- Monitors all of the parallel groups in the battery pack and disconnect them from the input power source when fully charged.
- Balance all the cell's voltage equally.
- Doesn't allow the pack from over-discharged.
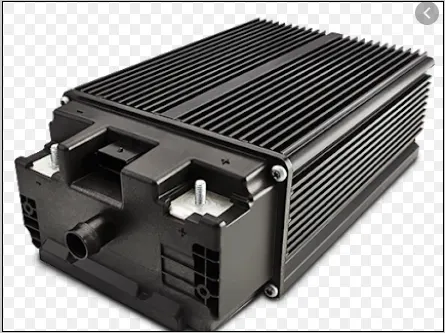
The battery pack has all-around exposed nickel strips, to avoid any accidental shorting and Enclosure used.
https://www.instructables.com/DIY-Professional-18650-Battery-Pack/