CFD Meshing for Tesla Cyber Truck
Aim:
For the given Telsa's Cyber Truck model, check topological errors, assigning PIDs for half of the portion, Meshing, performing morphing, and volumetric mesh.
Target length:
| S.No | Model | Target length |
| 1 | Body | 2 mm |
| 2 | Light | 1 mm |
| 3 | Vault | 4 mm |
| 4 | Windows | 3 mm |
| 5 | Rims and Tyres | 2 mm |
Telsa Cyber Truck Model:
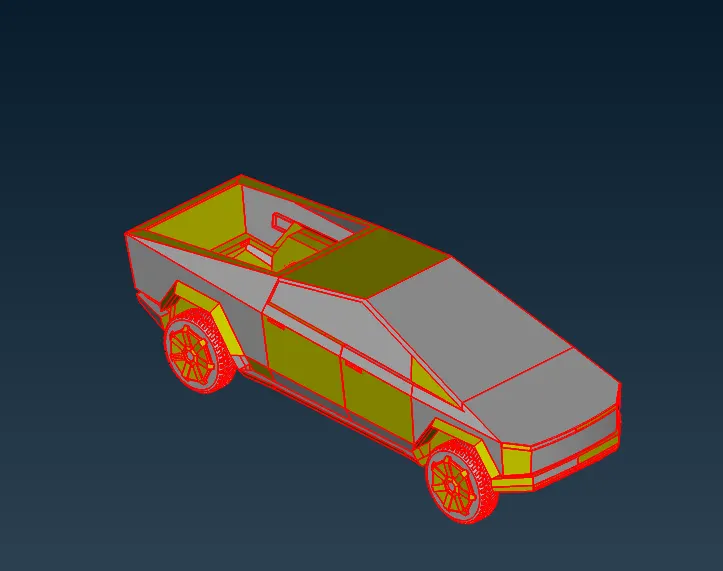
Procedure:
- Topological Clean up:
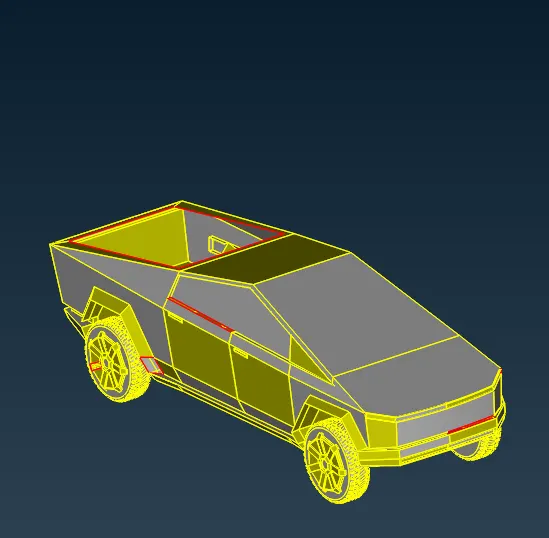
The given model is seen fully with single cons, so the first step is to do topo in the Topo module for the entire model.
After performing Topo:
- Patching:
As we see single red cons in our model, we should try to eliminate them by patching the surface.
Before patching, In order to make it much easier, we are going to use the Plane cut option in the Faces menu, we can able to cut the model into two halves.
Delete half of the model which is having more cons or more surfaces to patch.
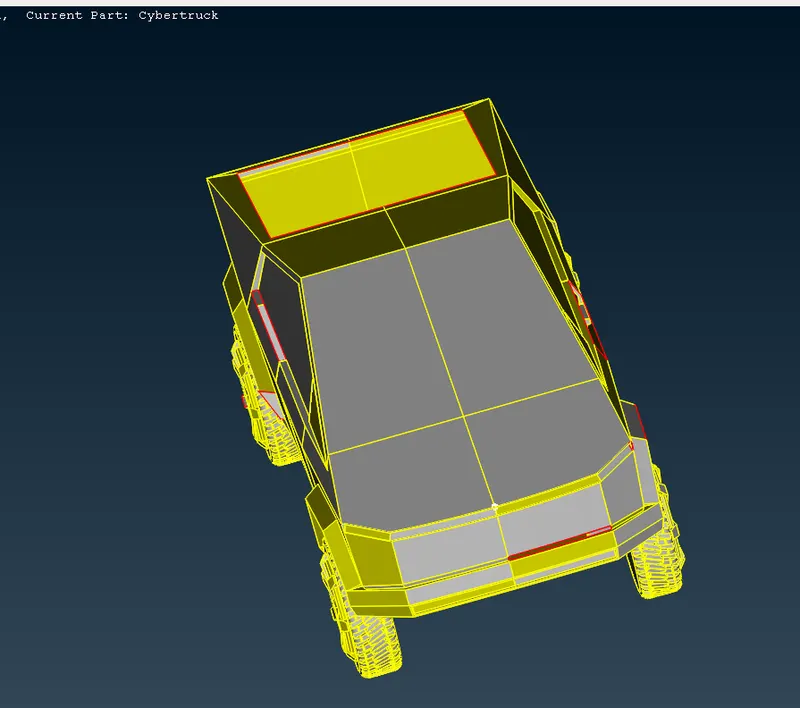
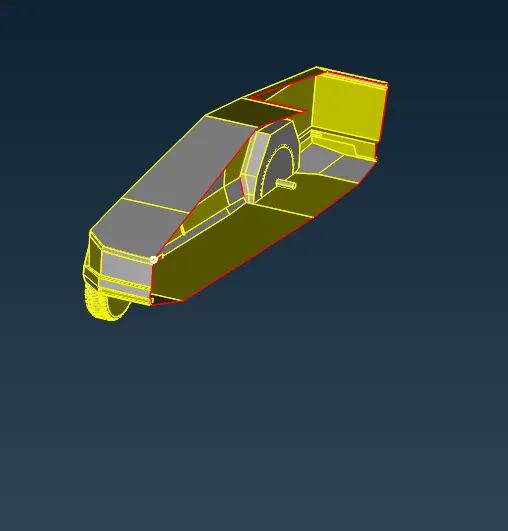
Now for half of the model, do patching and topological cleanup.
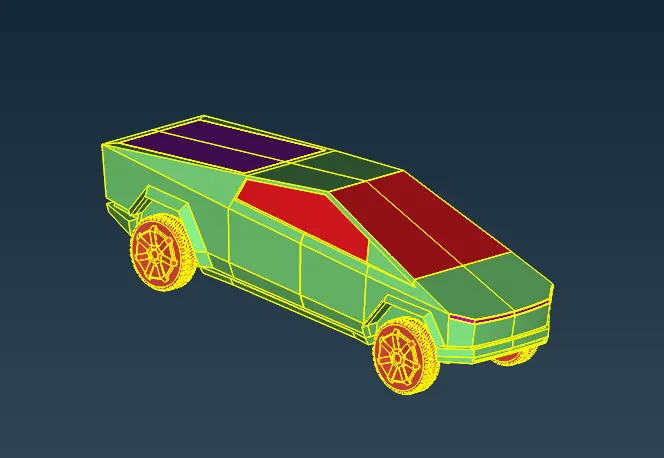
- Assigning PIDs for the Model:
Body:
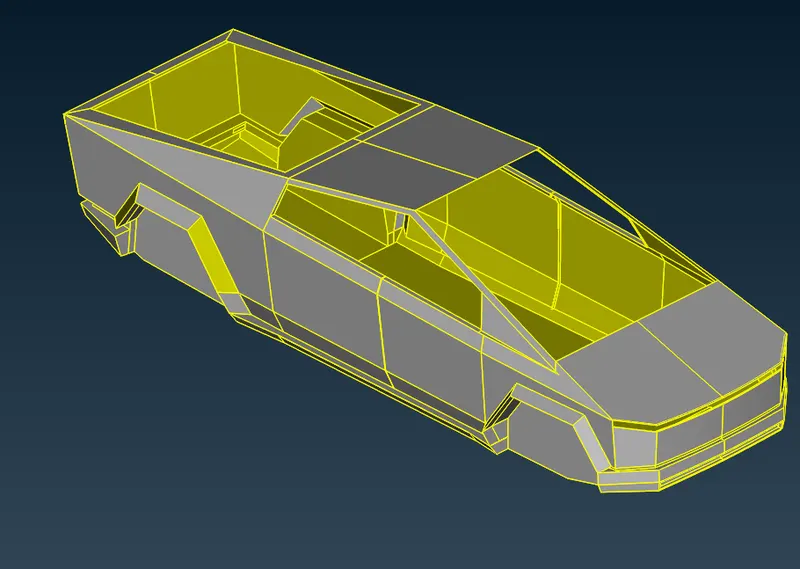
Rims and Tyres:
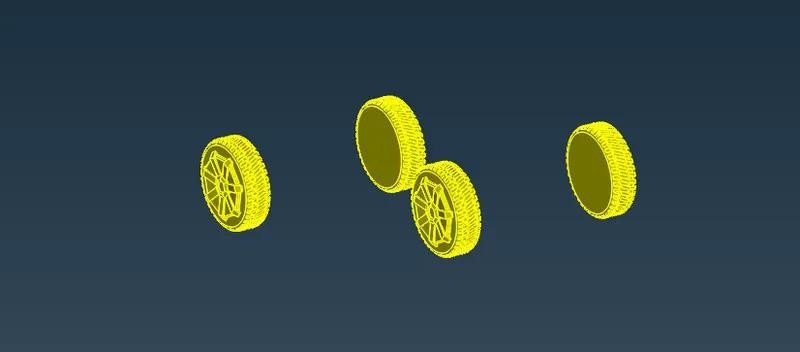
Windows:
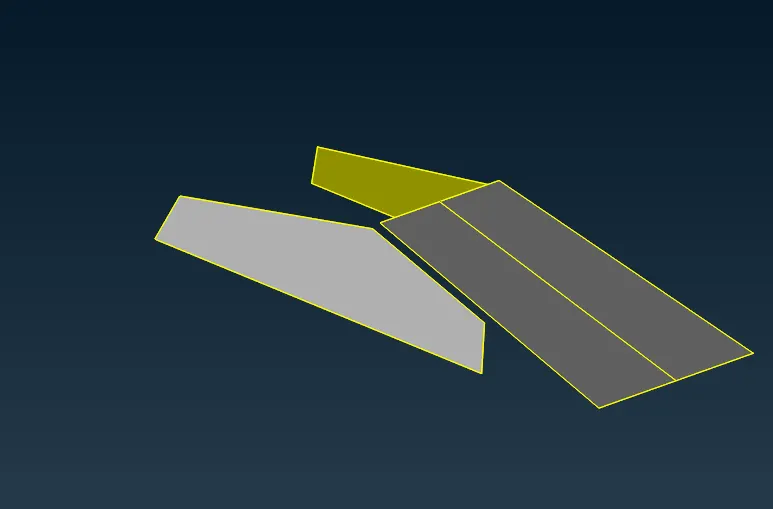
Vault:
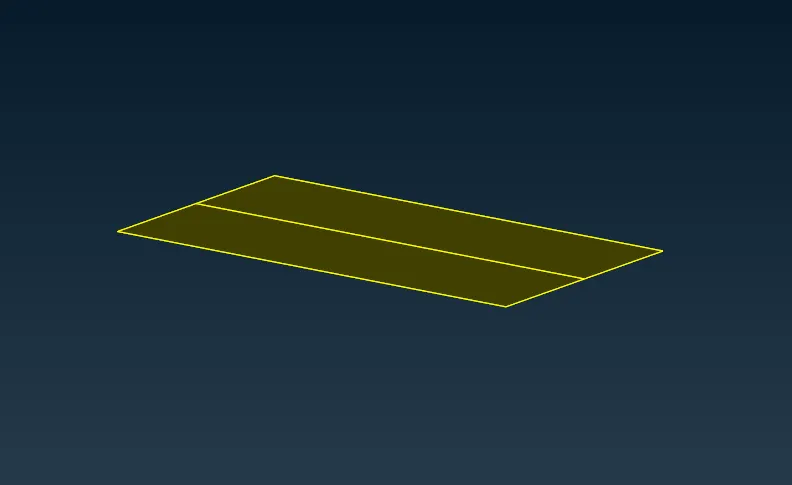
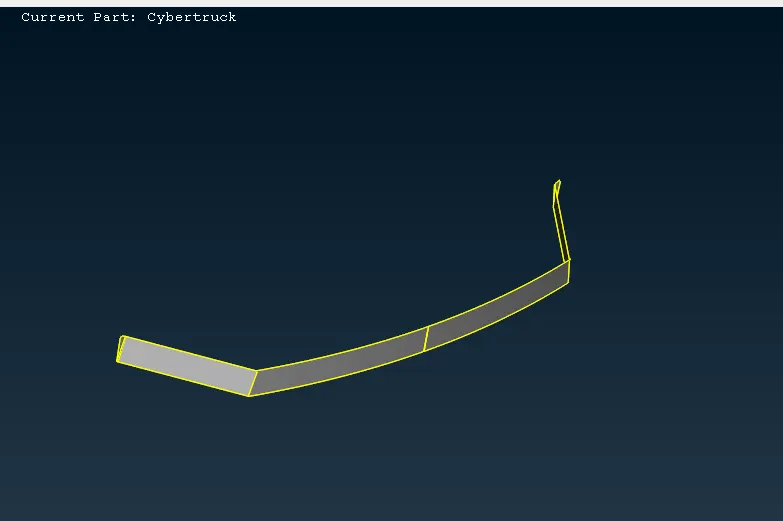
Lights:
Whole Model differentiating PIDs:
- Meshing:
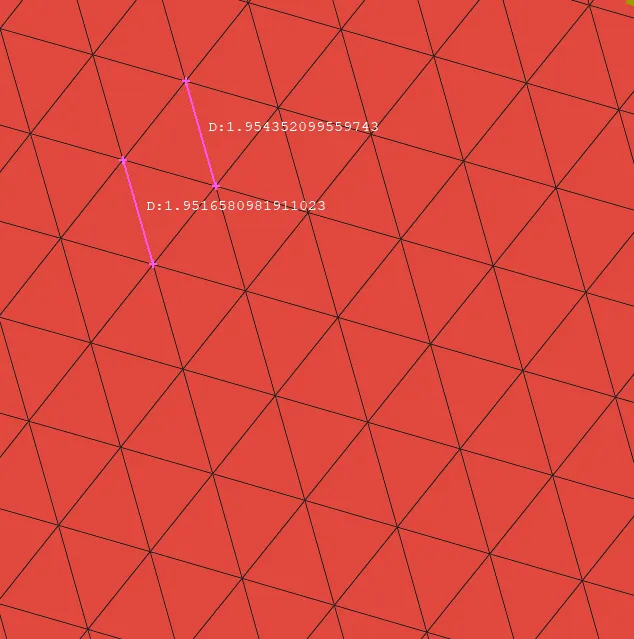
Rims and Tyres:
Target length = 2 mm
Min. length = 0.4 mm
Max. length = 3.5 mm
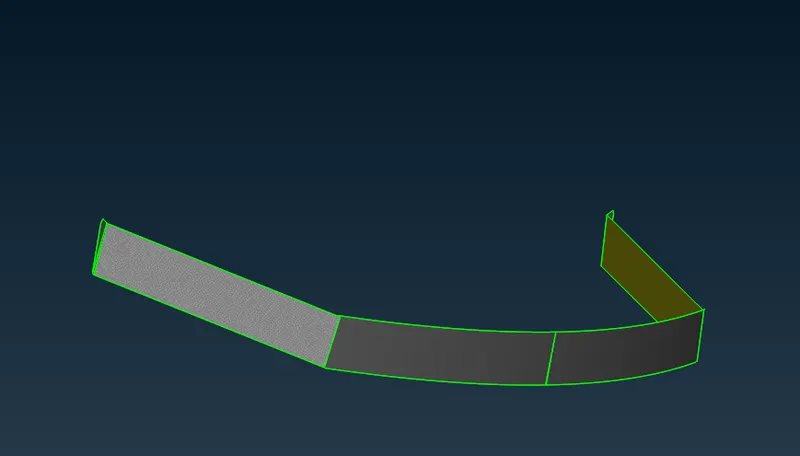
Lights:
Target length: 2 mm
Min. length: 1 mm
Max. length: 3 mm
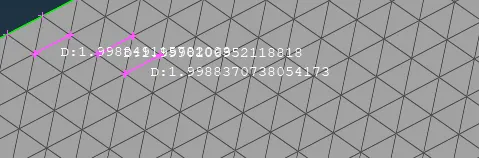
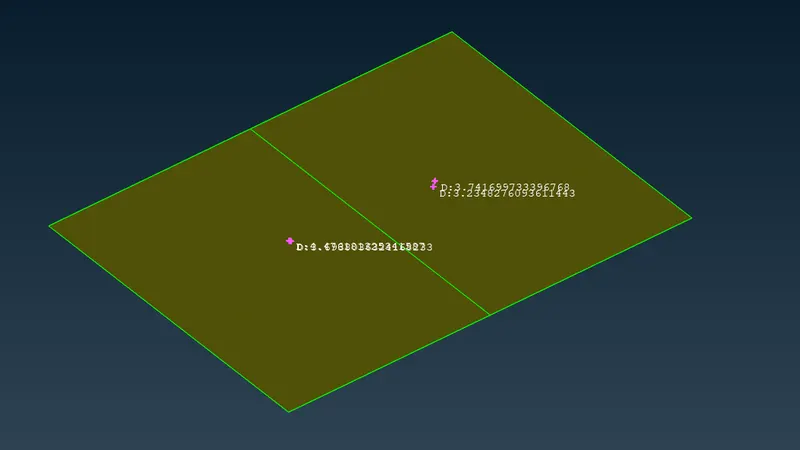
Vault:
Target length: 4 mm
Min. length : 3 mm
Max. length: 5 mm
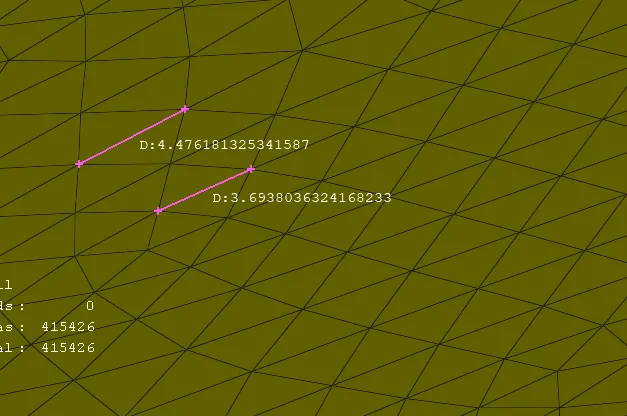
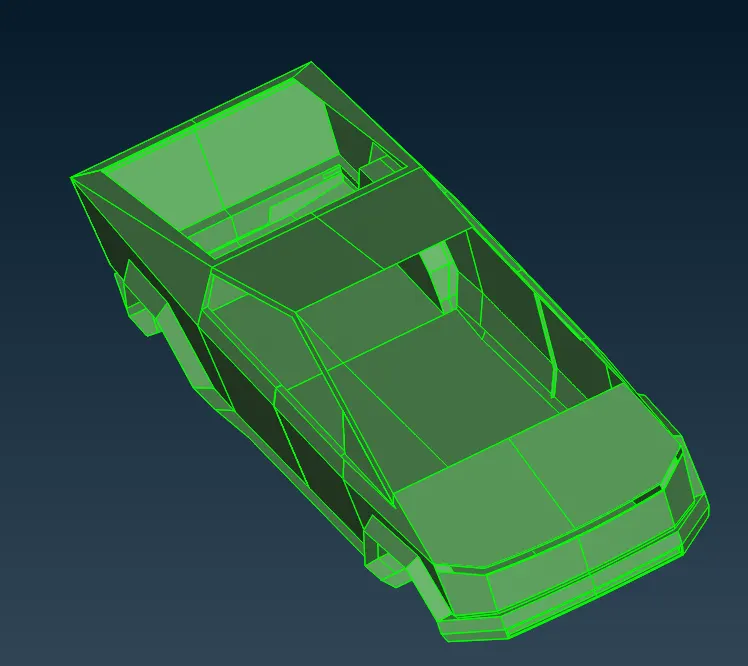
Body:
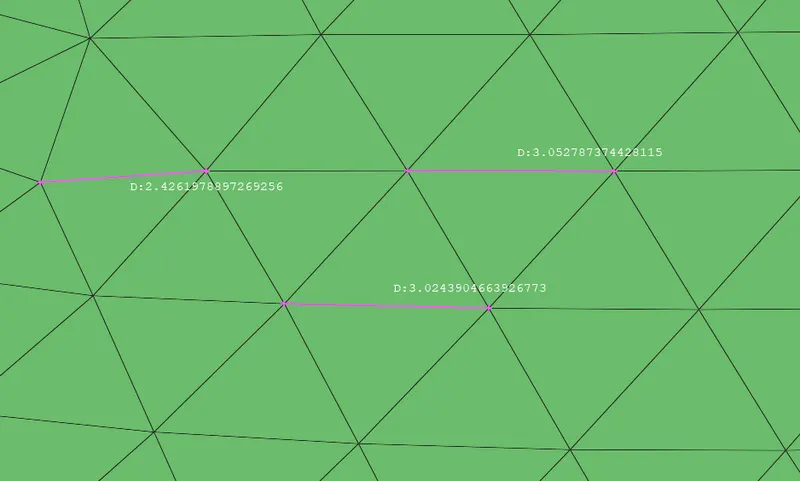
Target Length: 3 mm
Min. length: 2 mm
Max. length: 5 mm
- Wind Tunnel:
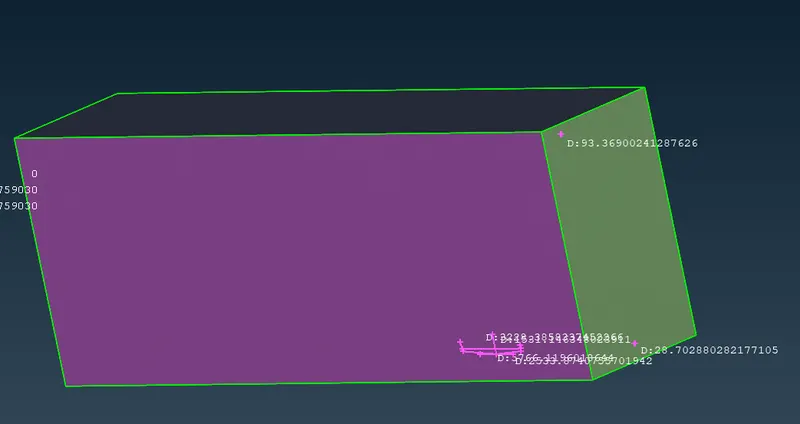
In order to create a wind tunnel, we have followed a standard dimension.
Let us consider the length of the car = x.
To create the front surface of the Wind tunnel from the front most part of the model = 4x.
To create the rear surface of the Wind tunnel from the rearmost part of the model = 6x.
To create the Top surface of the wind tunnel from the topmost part of the model = 3x.
To create side surfaces of the wind tunnel from the side of the model = x (both the sides).
Create a bottom surface just below the surface of the car because we are only considering the fluids passing over the car.
The meshing of Wind Tunnel:
The wind tunnel has finer meshes at the bottom where the fluid flow is accounted. The top meshes with a coarse mesh.
The side walls have meshed with varying meshing lengths. In Mesh Module, Perimeters ⇒ Spacing ⇒ Geometric.
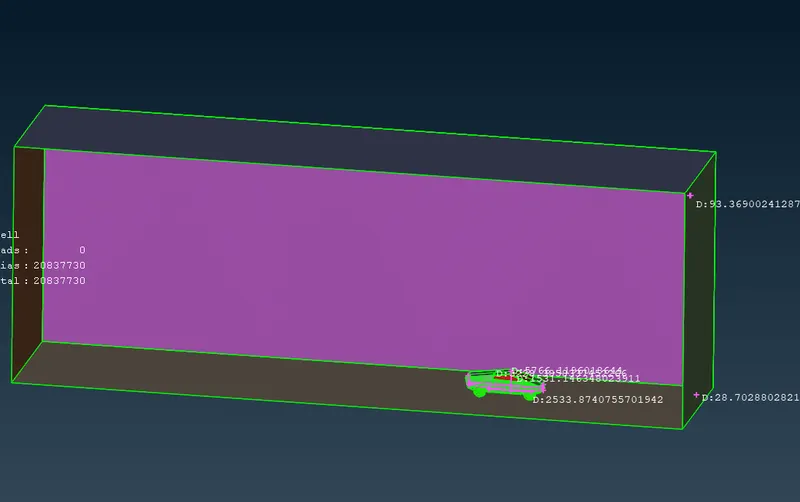
The mesh elements near to car are finer mesh and the elements meshed away from the car are coarse mesh.
- Volumetric Mesh:
All other Volumes are deleted, except the volume between the car and the tunnel.
Conclusion:
In order to bring the geometric in required size and shape, by eliminating single, double cons we have used several commands like under topo module - Hotspoints (Insert, Delete, project,multi-project, parametric), Cons(Paste, release, fill hole, Project), Faces(cut, delete, undelete, new, topo and extend), Curves(create).
For meshing the PIDs with a different target length, we used commands under mesh module like Hotspoints (Insert, Delete, project,multi-project, parametric) Perimeters(Length, Spacing), Macros (cut, release, and project cut), Mesh generation (spot mesh, Remesh, Erase)
To improve the mesh quality and to eliminate off elements tools like Grids(Move, paste), Shell Mesh (Reconstruct).
To bring half of the model back after meshing and eliminating off elements, we used the transform tool ( 3- point method)
Above mentioned tools are used individually or combined with another tool.
The wind tunnel is created by using the relative tool in the points section of the topo module.