Project 1 : CFD Meshing for Tesla Cyber Truck
Project 1 : CFD Meshing of Tesla Cybertruck
Topology Clean-up
The model when it loaded into software contained a lot of geometrical errors like open single connected surfaces and intersecting surfaces, hence it was necessary to clear the things out.
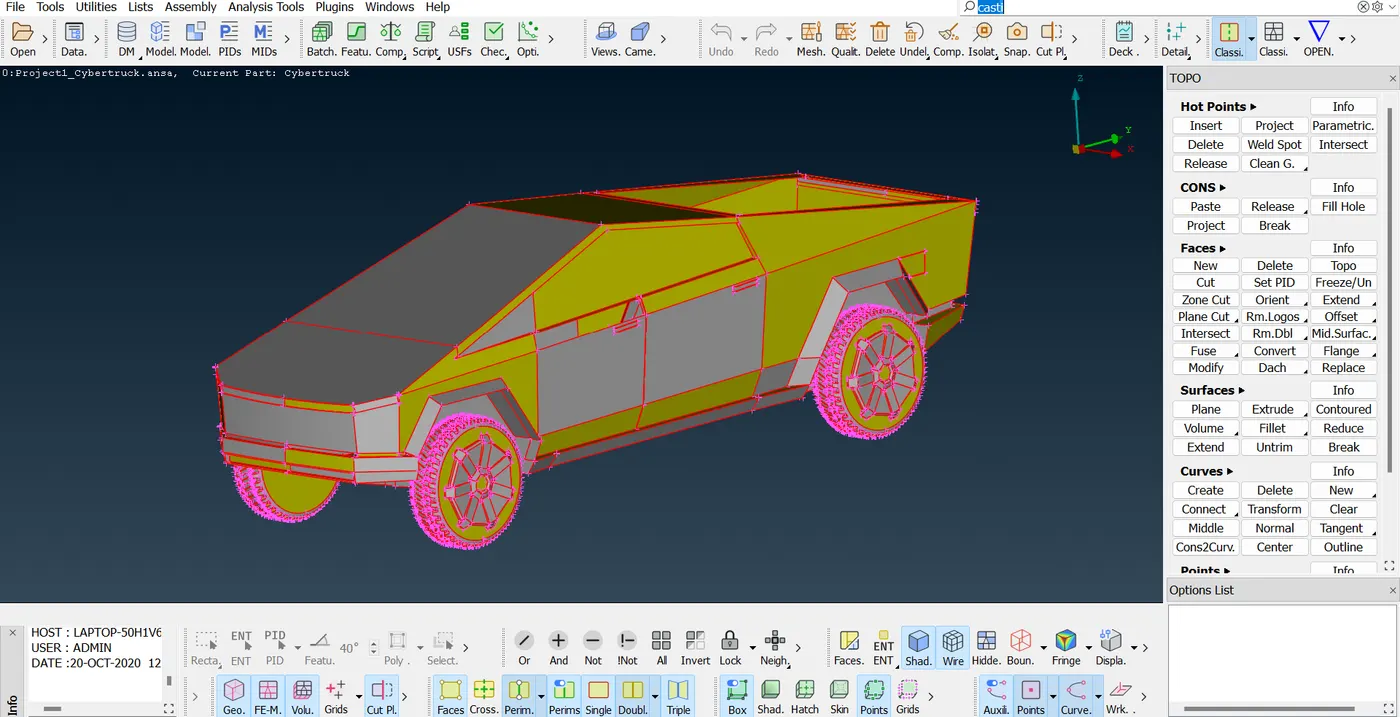
For the model's surface, topology is build up again and the internal features of the car have been removed out as they are of no use for the external flow analysis.
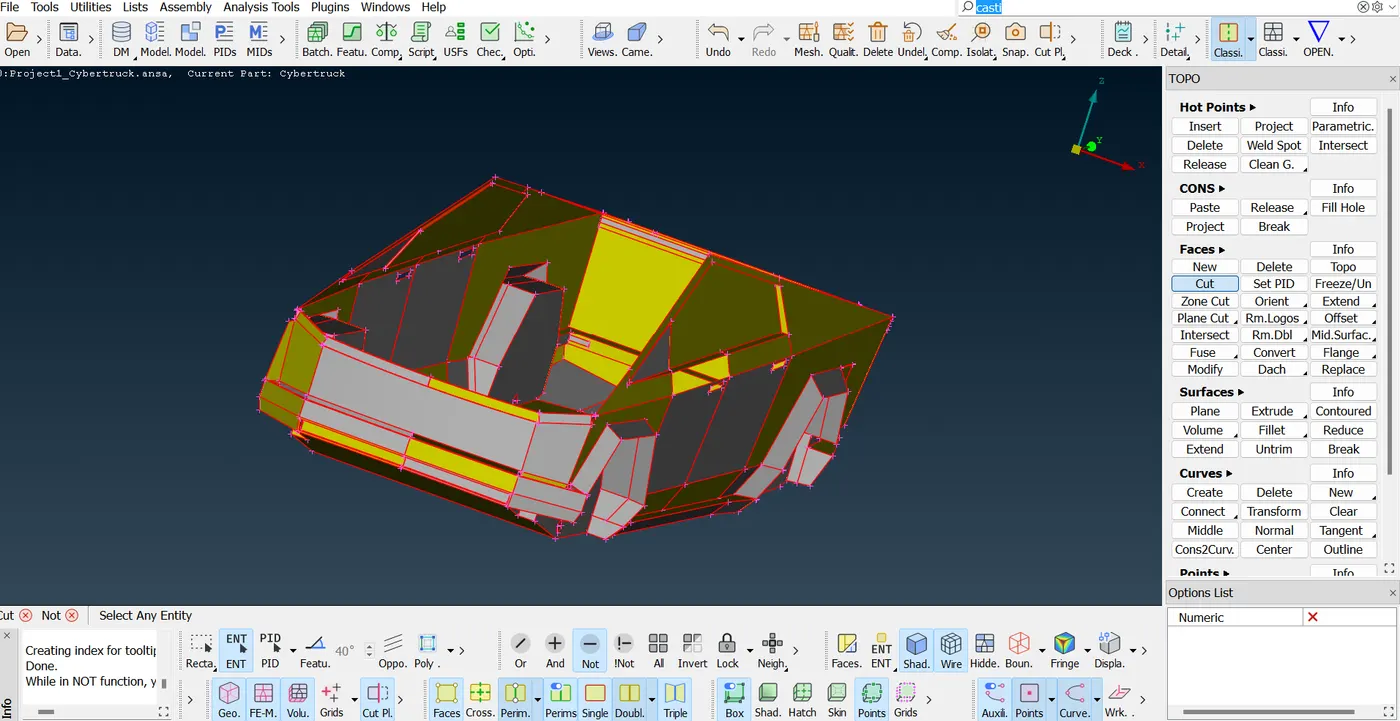
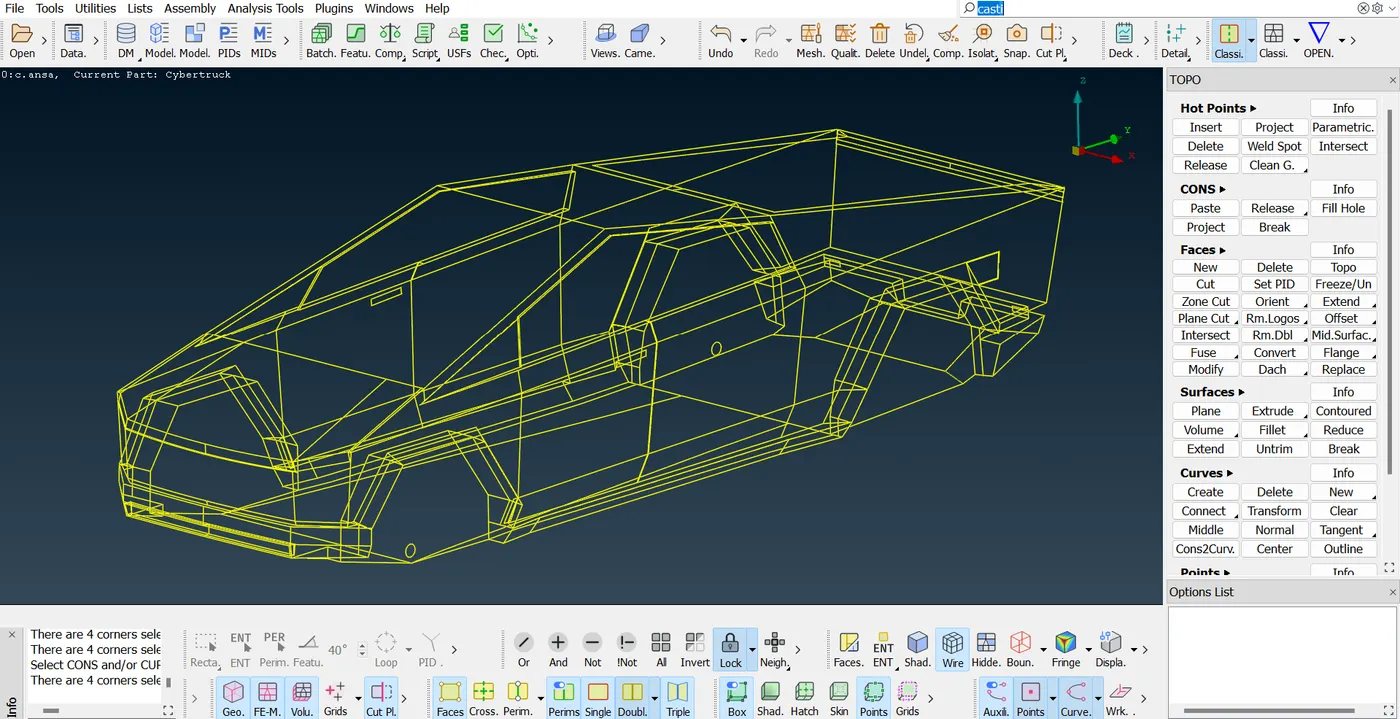
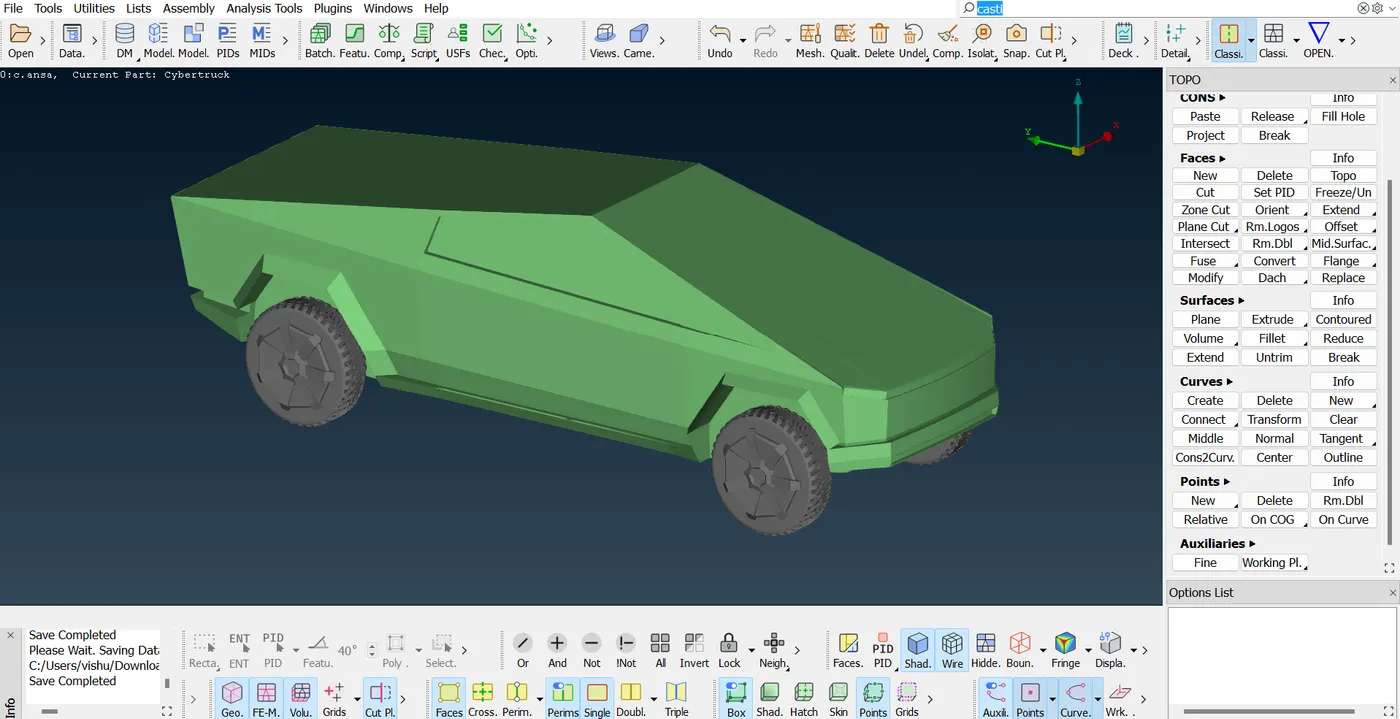
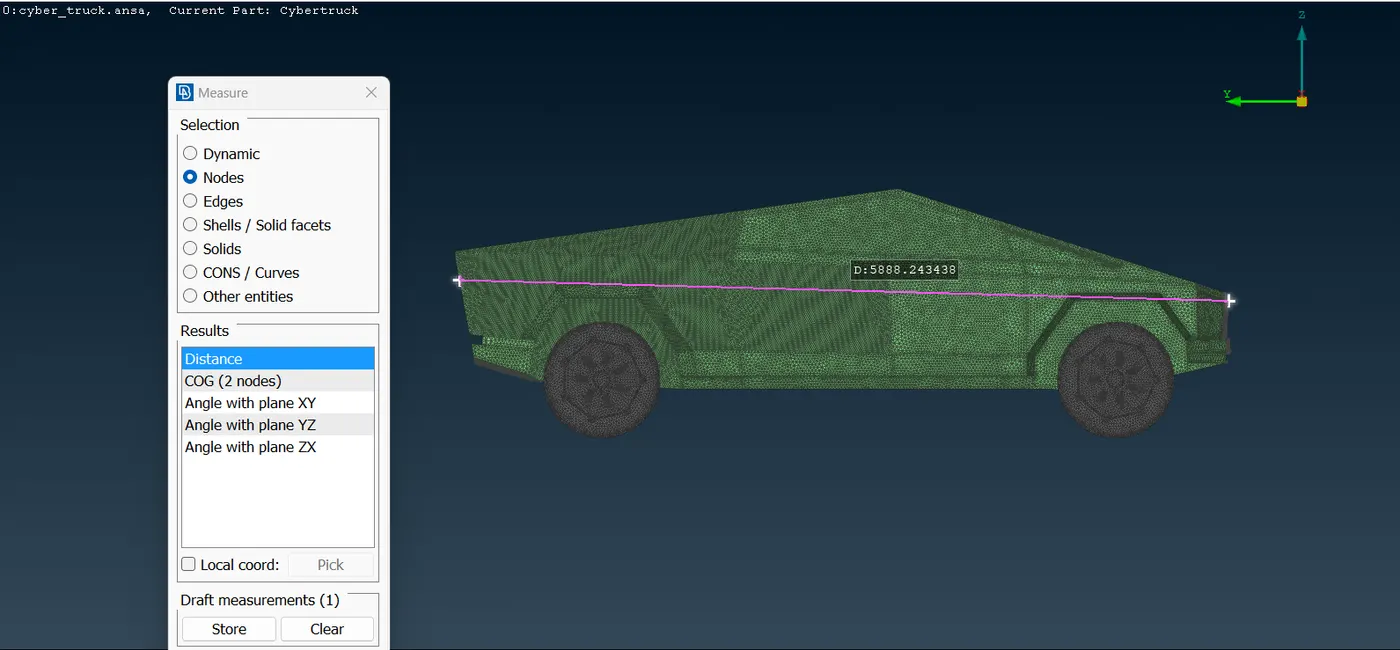
The intersecting surfaces are patched up and some of the single cons were solved in order to create a complete surfaces as the below image demonstrates the entire model of the car.
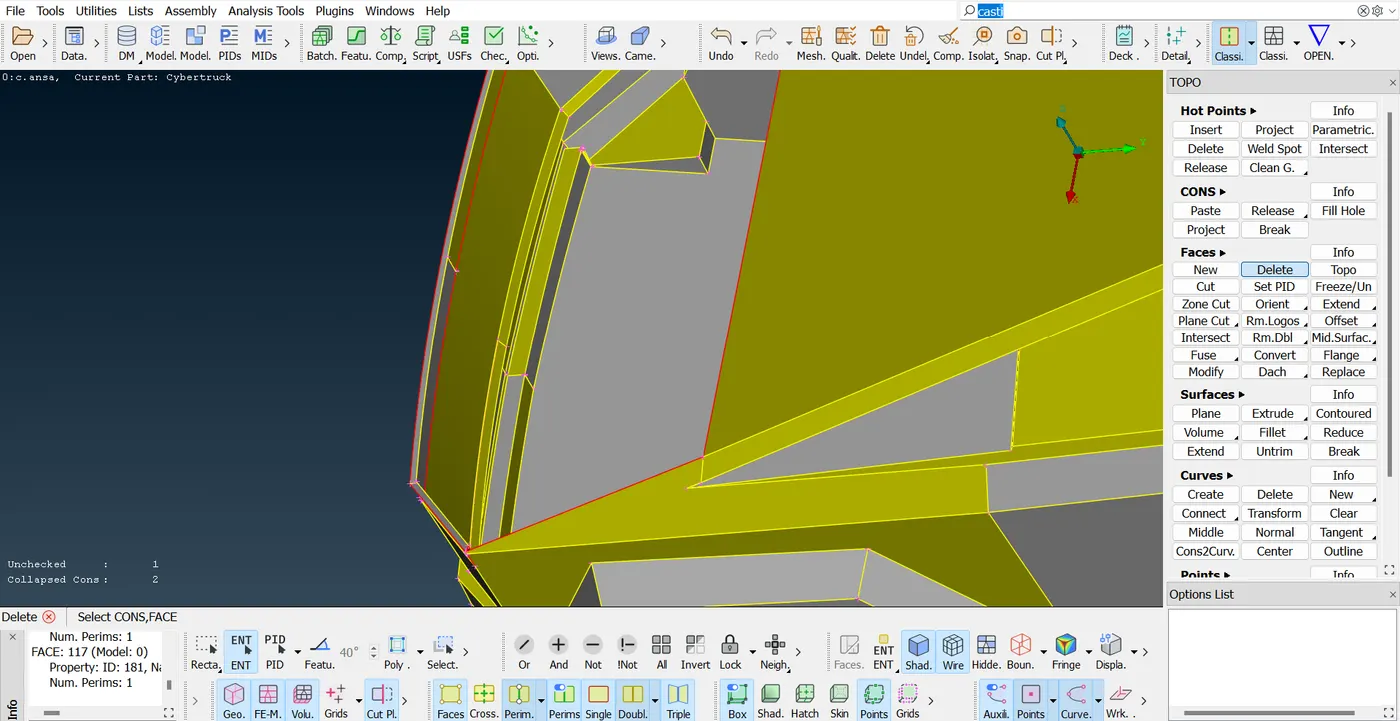
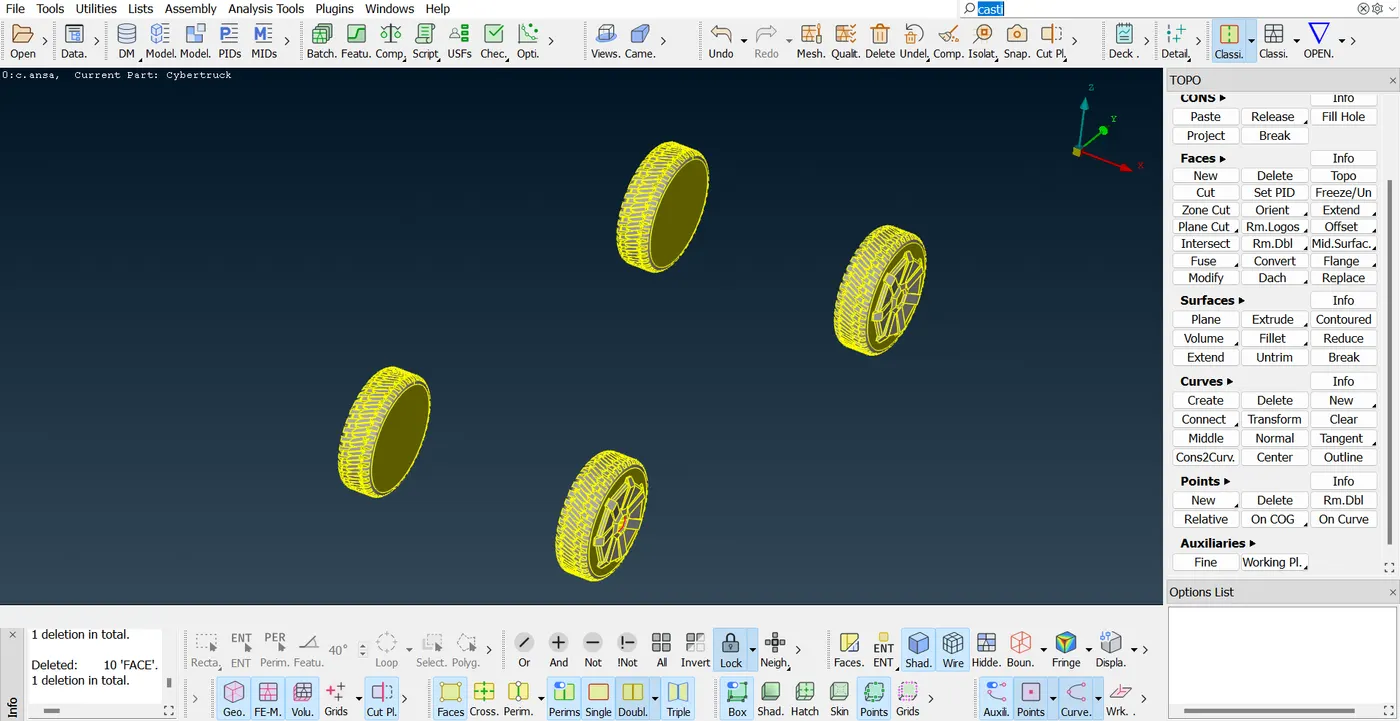
Similarly, for the tyres, the single connected surfaces were converted into double connected surfaces and the open holes were filled out in order to create separate volume for each tyre
In the next stage the property IDs were assigned to the car model.
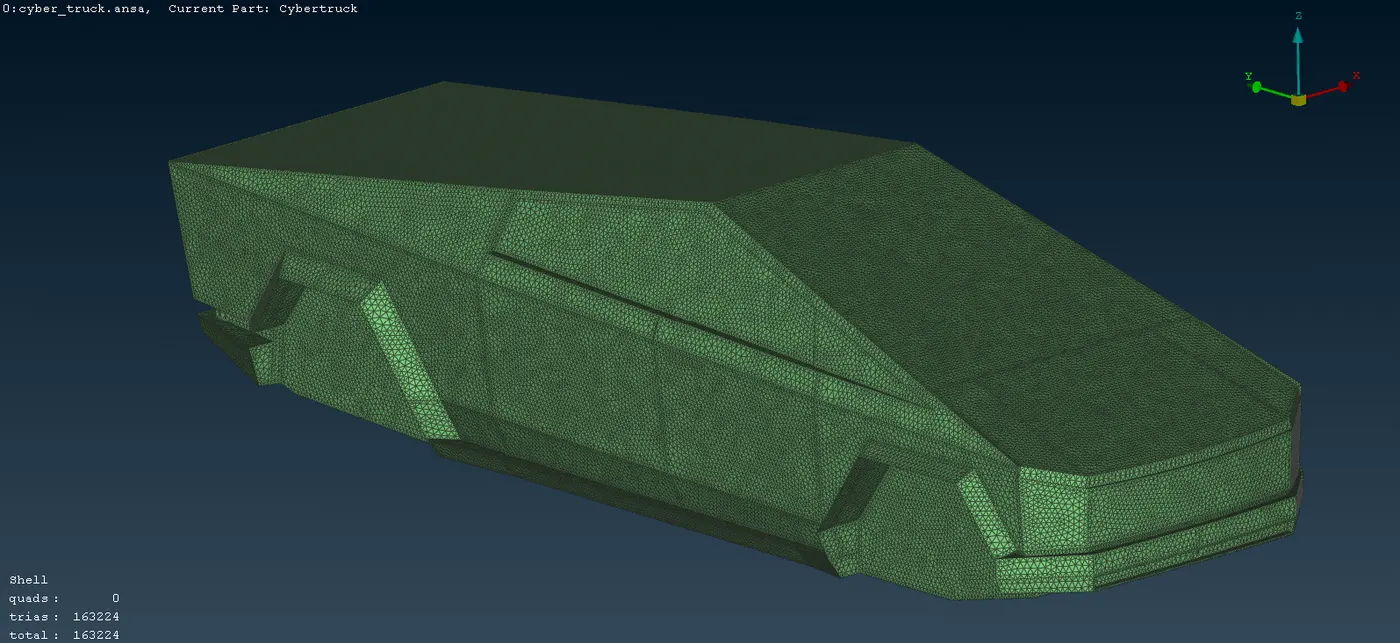
Creating the surface mesh
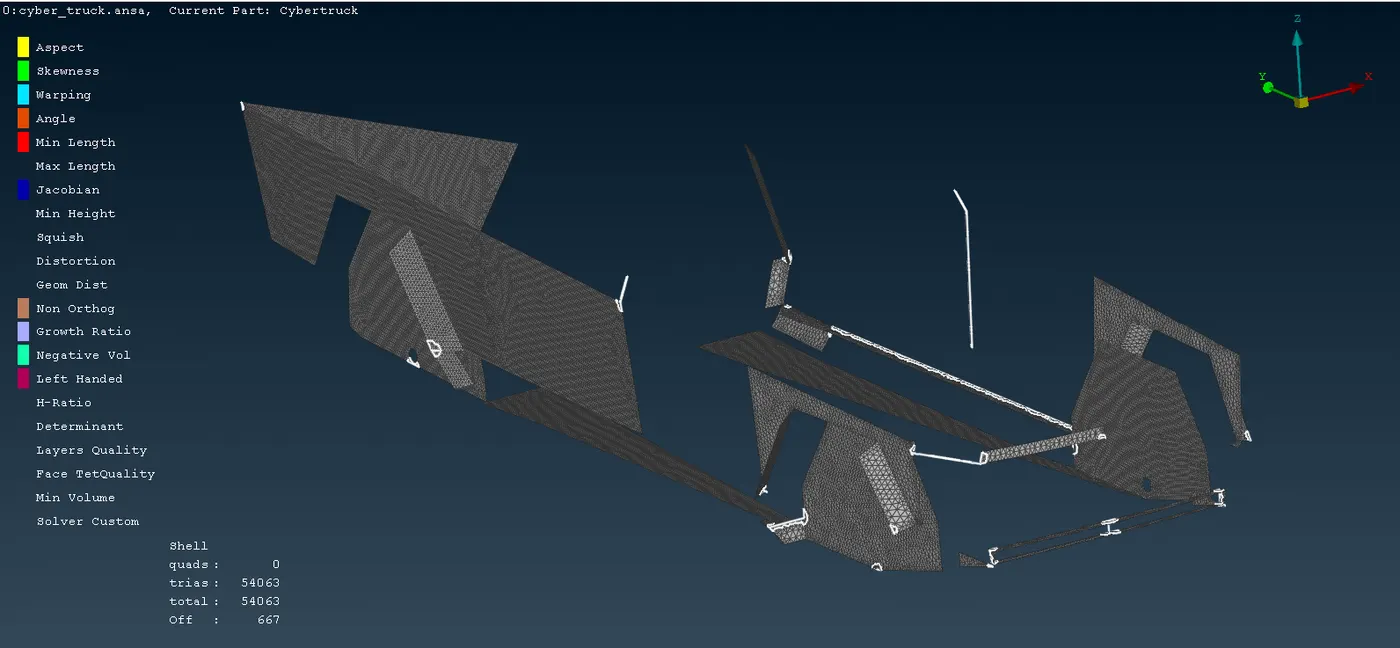
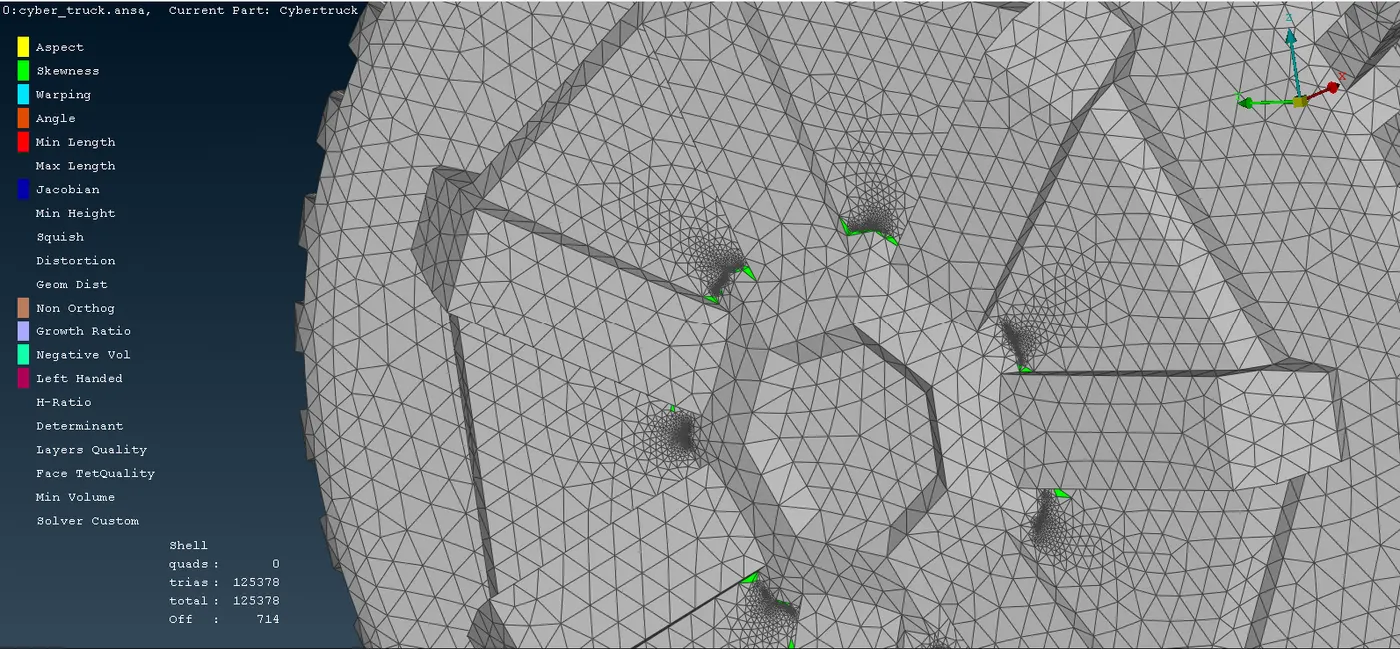
As the dimension of the vehicle was larger so for the surface mesh, the mesh length of 20-25 mm was used for the car body frame. Secondly the performed mesh was not proper as there were some off-elements which described skewness of cells, thereafter the surface mesh was repaired by smoothing and reshaping the elements in the certain areas. In addition to that the areas in which the CFD mesh was not properly executed at those certain locations spot mesh was applied.
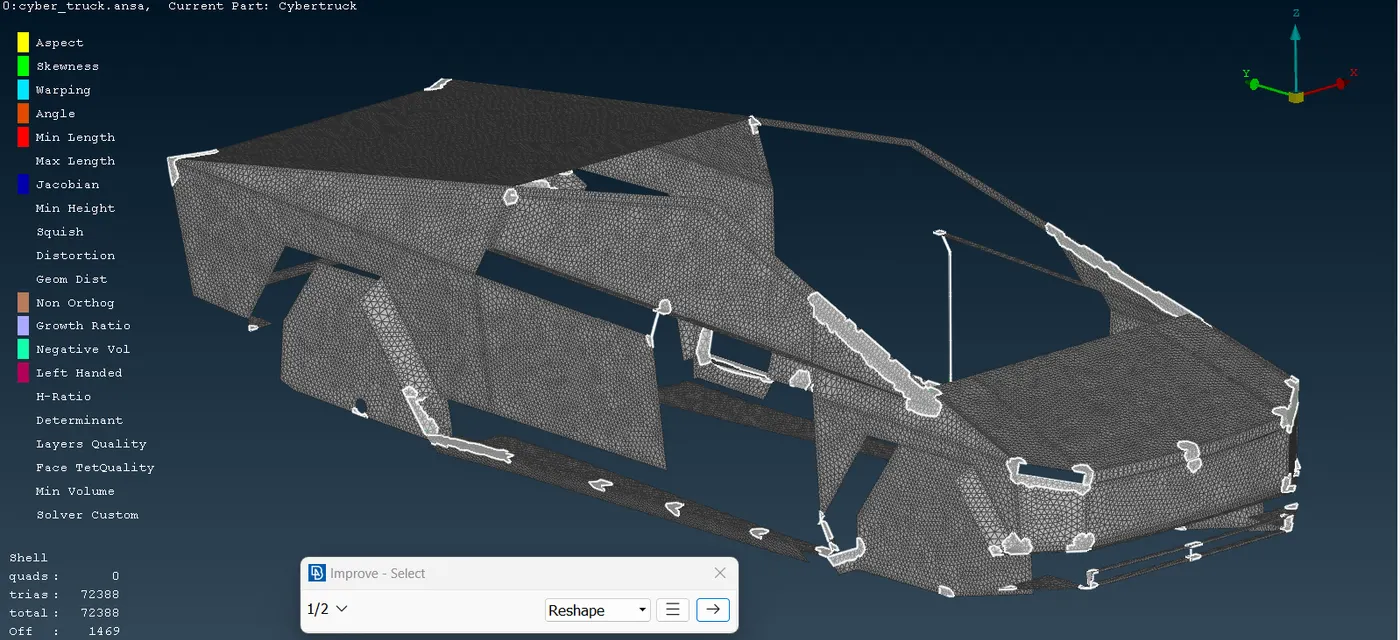
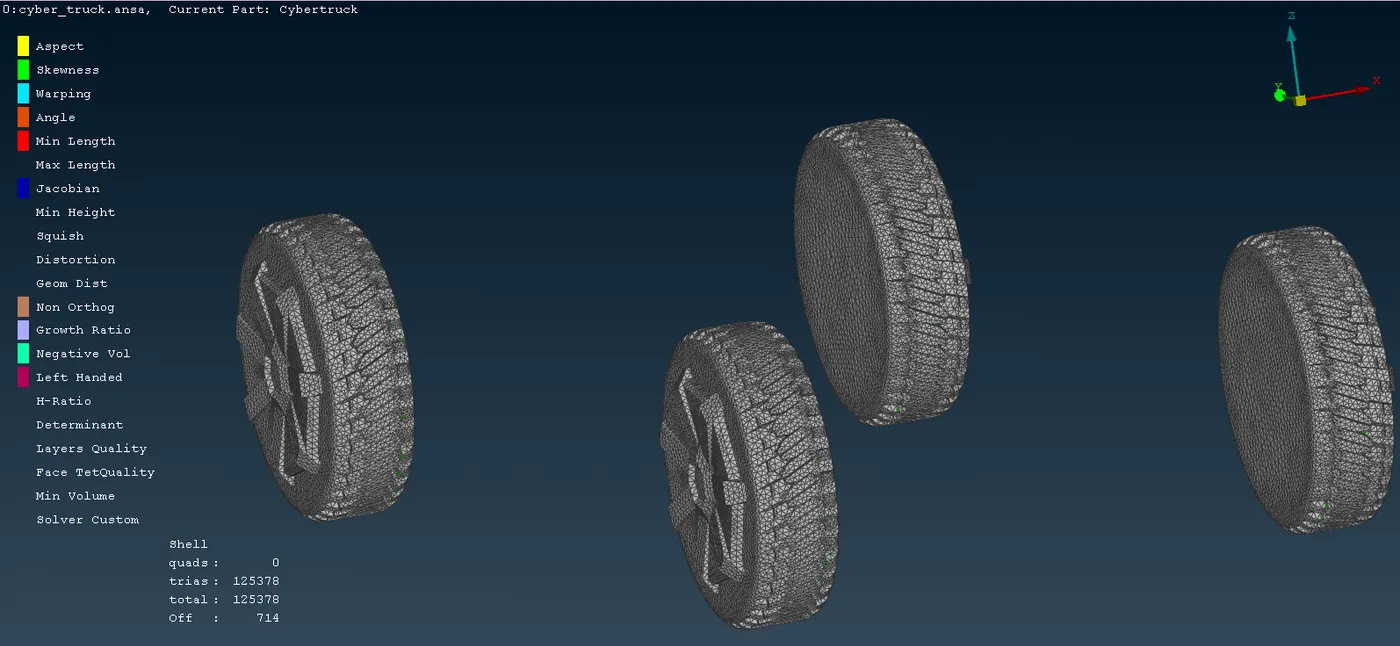
The similar strategy was used to create the surface mesh for the tyres.
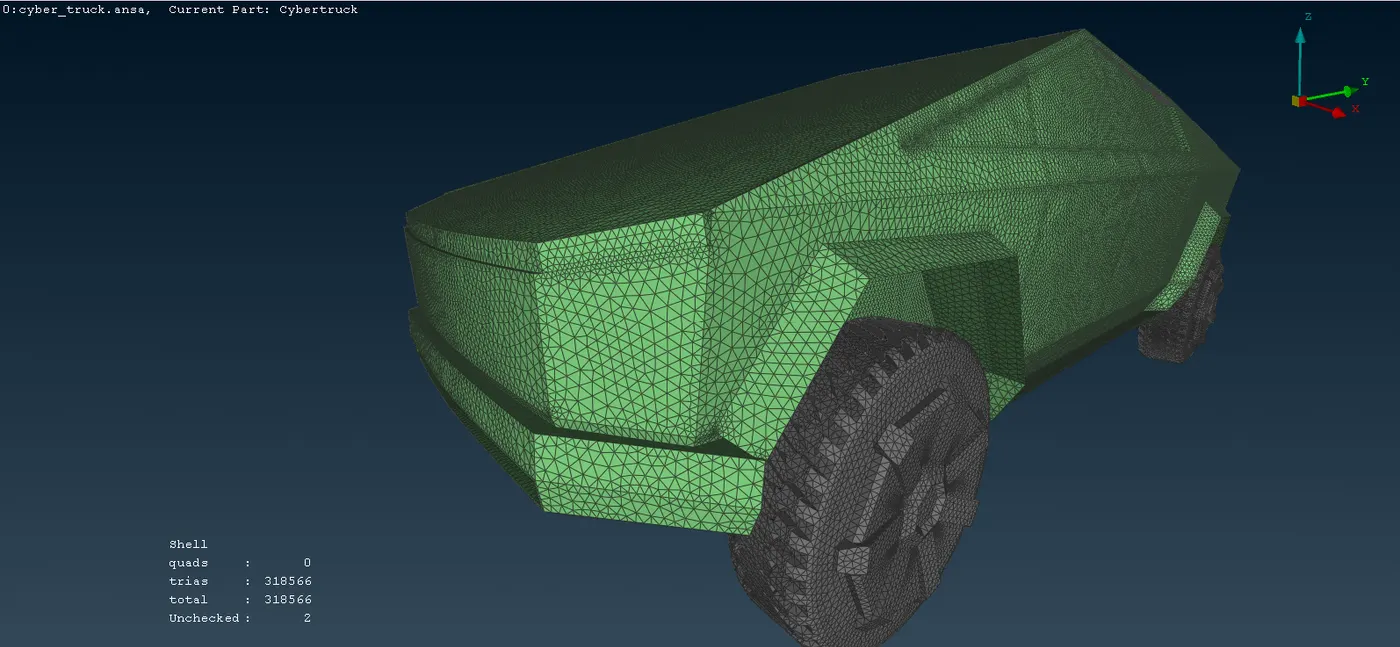
For the Surface Mesh, the Total Triangle elements are 318566.
Modeling the wind tunnel
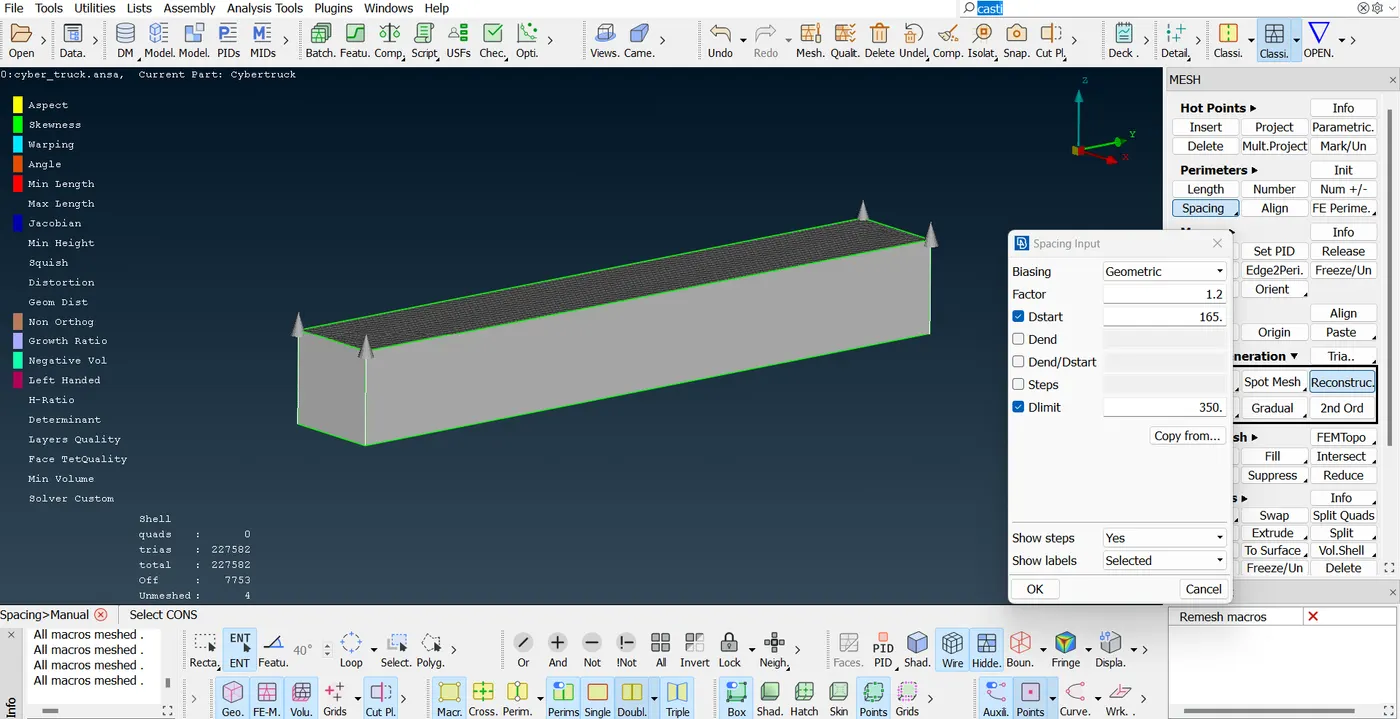
For creating the wind tunnel a reference point at the bottom of the car at near center location was created, thereafter at suitable distances additional points for created to create a surface. Later on the base surface was made offset to a certain location above the reference plane or reference point and after that an enclosure was created as shown in the figure.
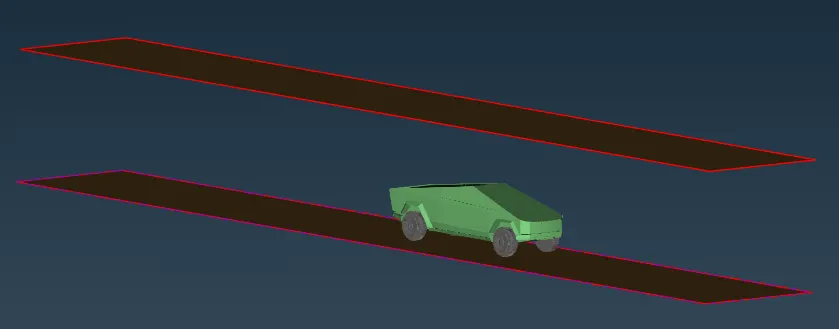
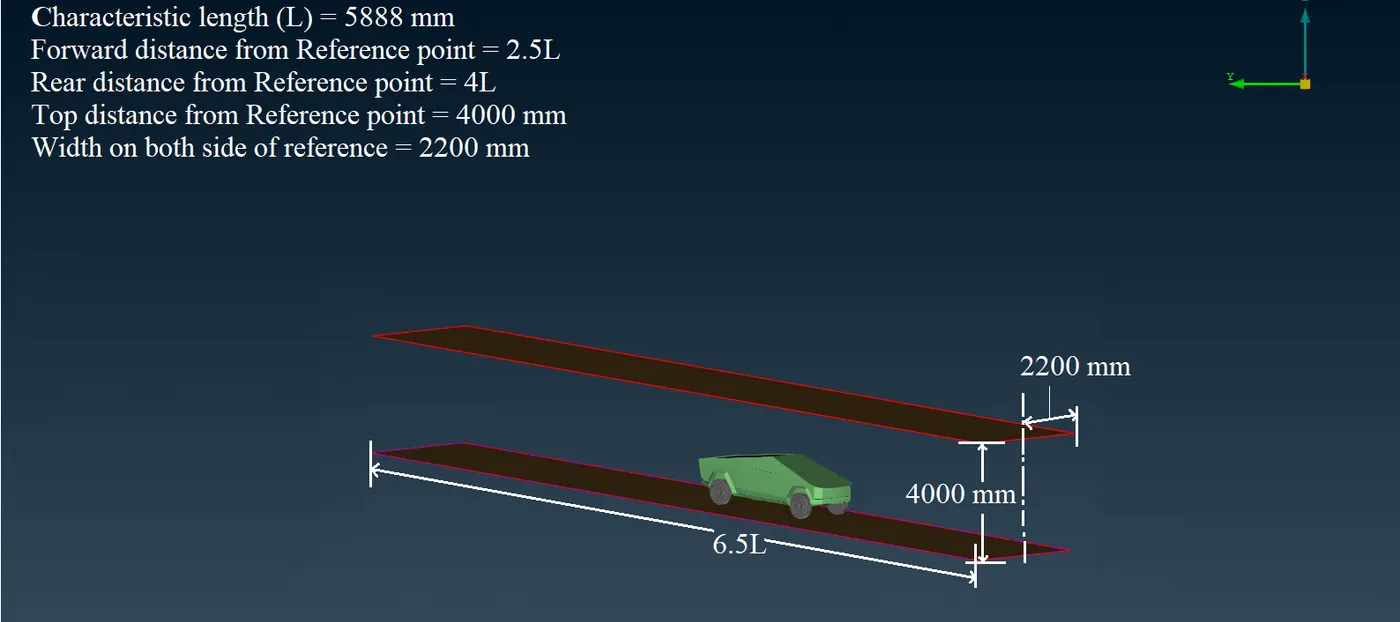
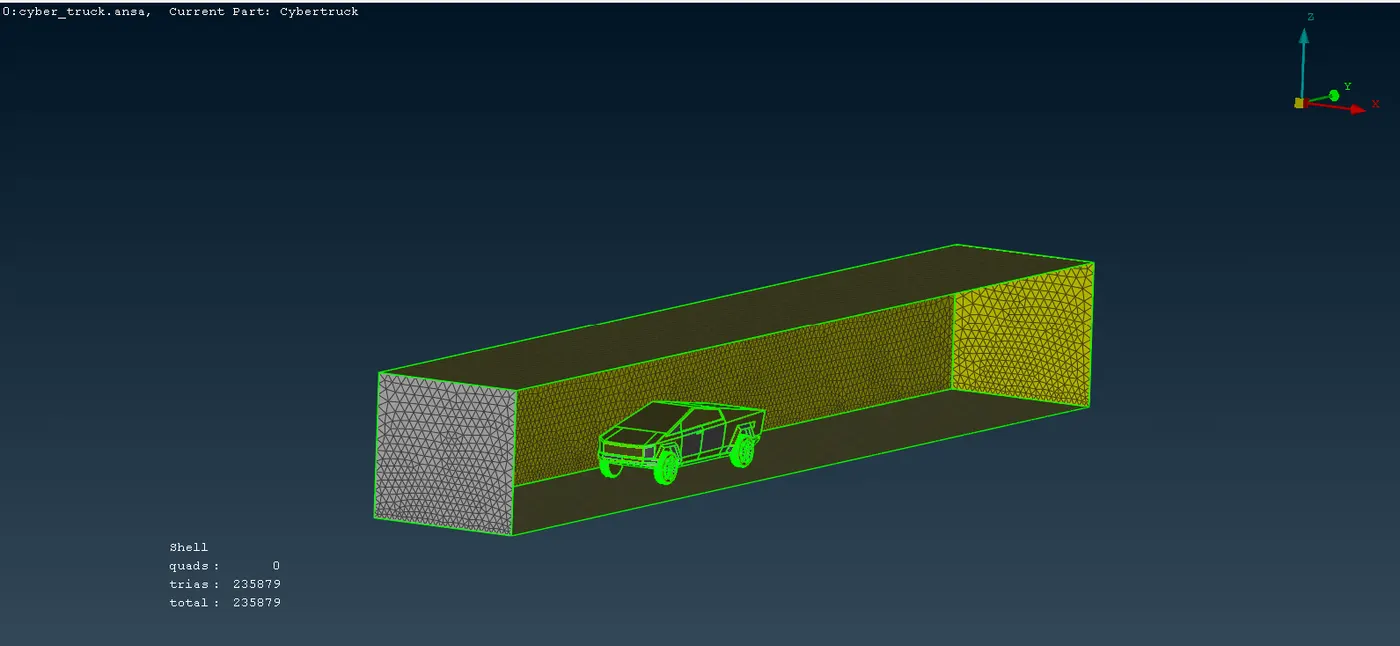
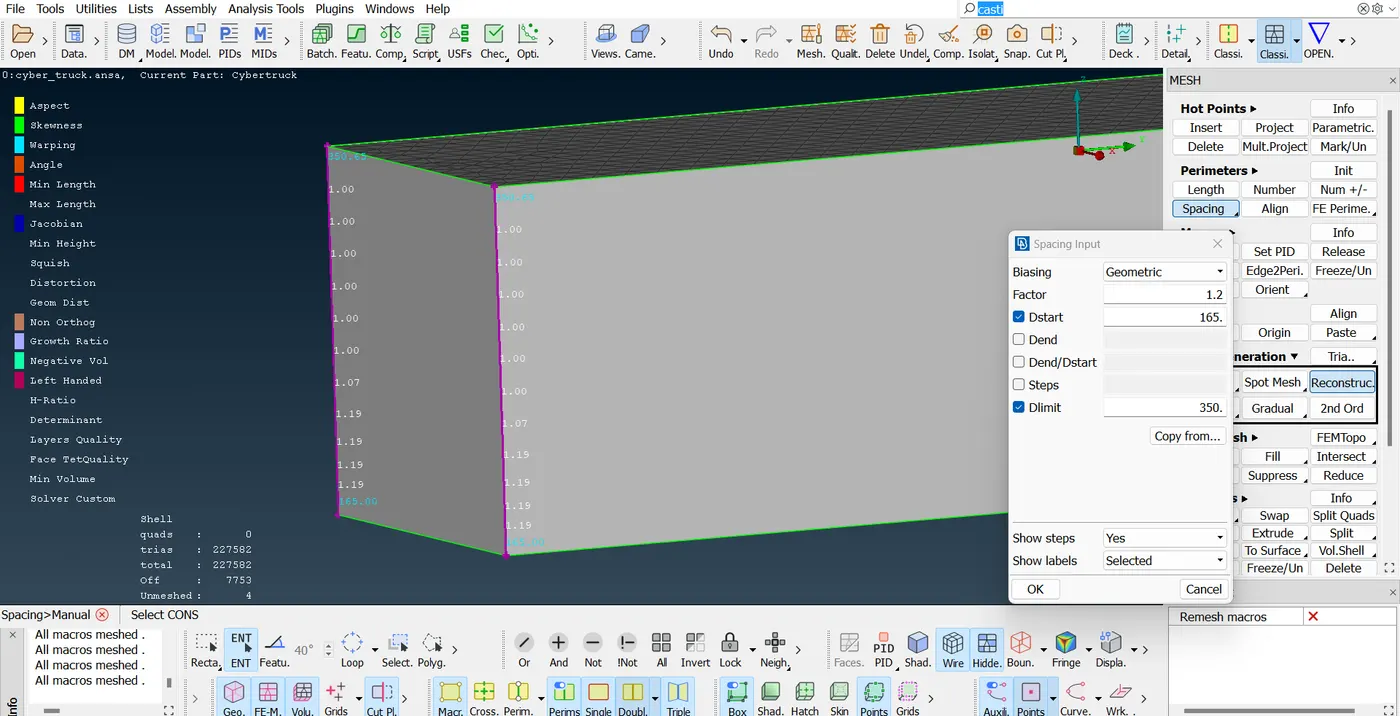
Now as the flow will be taking place near the region of the car and above the surface so for the volumetric mesh in order to create the finer elements near the car surface, a wind tunnel with variable mesh length was created by making the spacing in the front end back faces of the enclosure such that the mesh size keeps on increasing from 165 mm at the bottom surface to 300 mm to the top surface as a geometric progression with a growth ratio of 1.1.
Creating the volume mesh
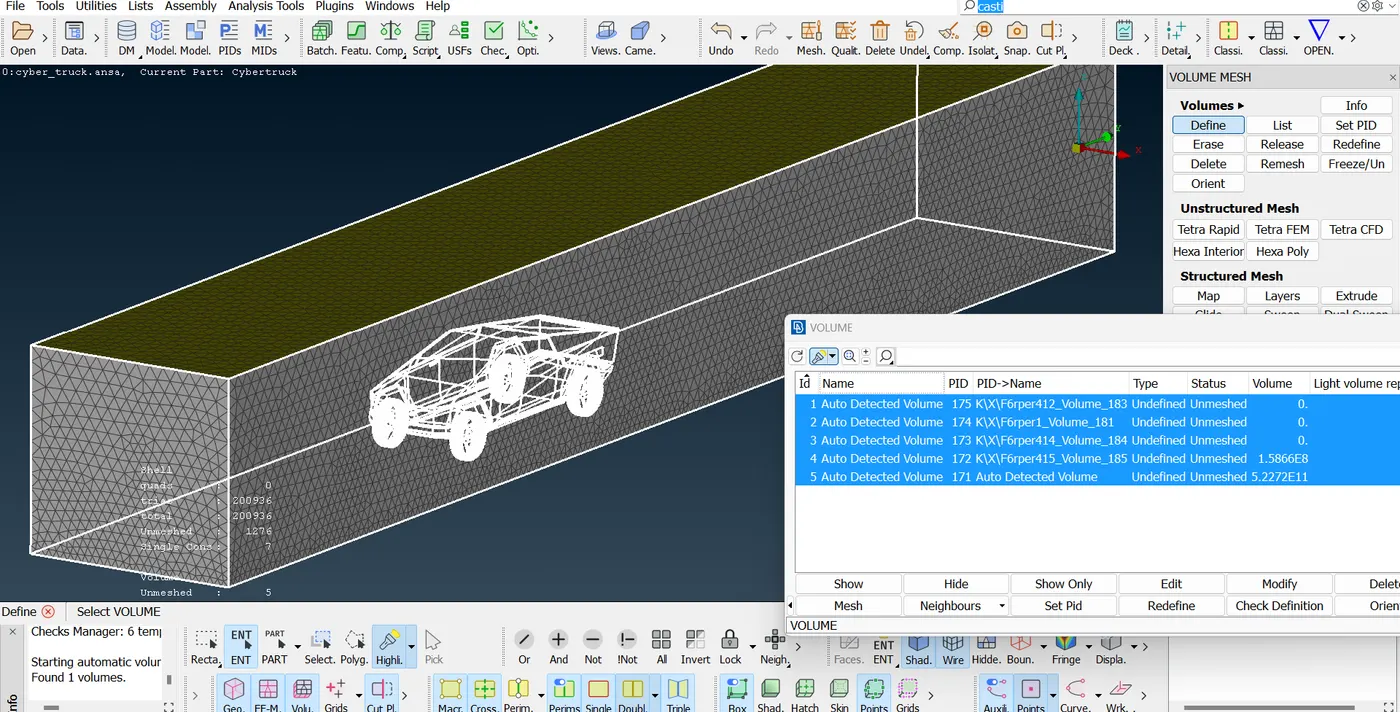
With surface mesh being created, the volume mesh can be performed by selecting the required volumes. Hence the ANSA detected several volumes out of which the only volume of interest was the interface between the enclosure and the outer surface of the car which is a void space therefore the other volumes including the inner volume of the car including the volumes of the tyres were deleted.
Finally the volume mesh with Tetrahedral elements was created for the inner volume as shown in the below figure. For visualizing the mesh properly a section plane was created which illustrated the finer mesh near the surface of the car to capture the boundary layer effects, and elsewhere regions the mesh size gradually decreases.
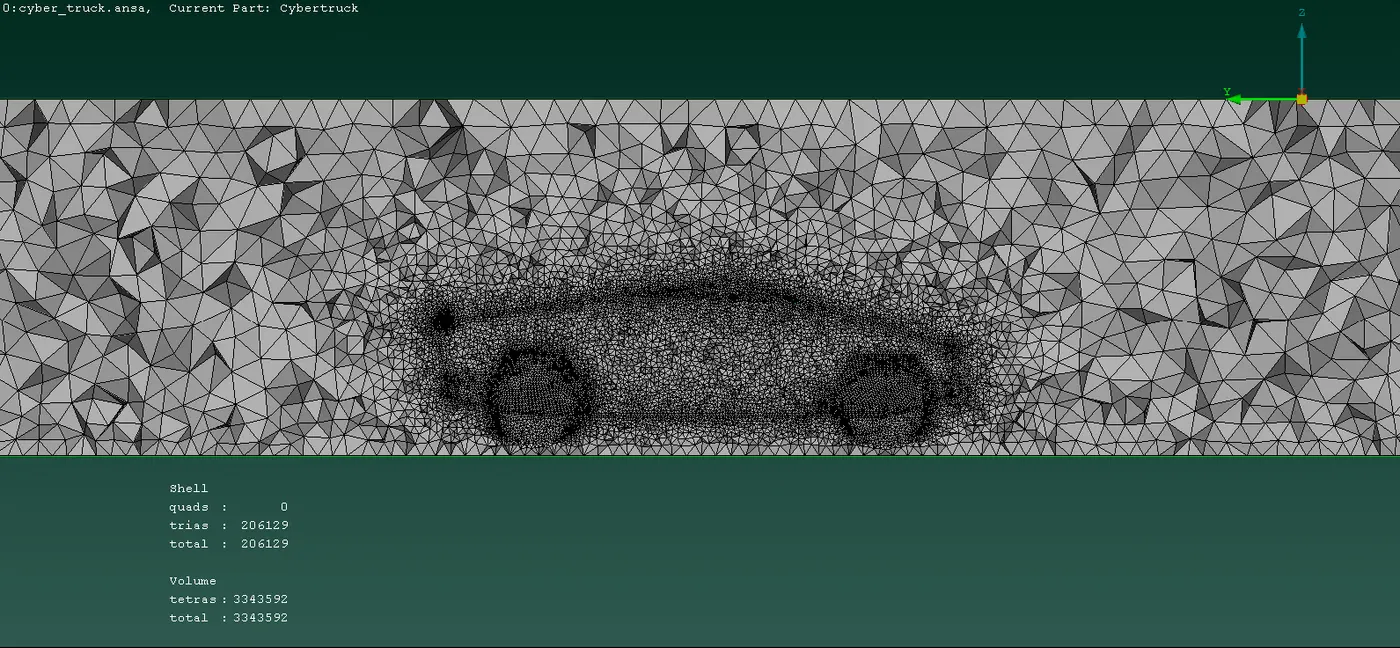
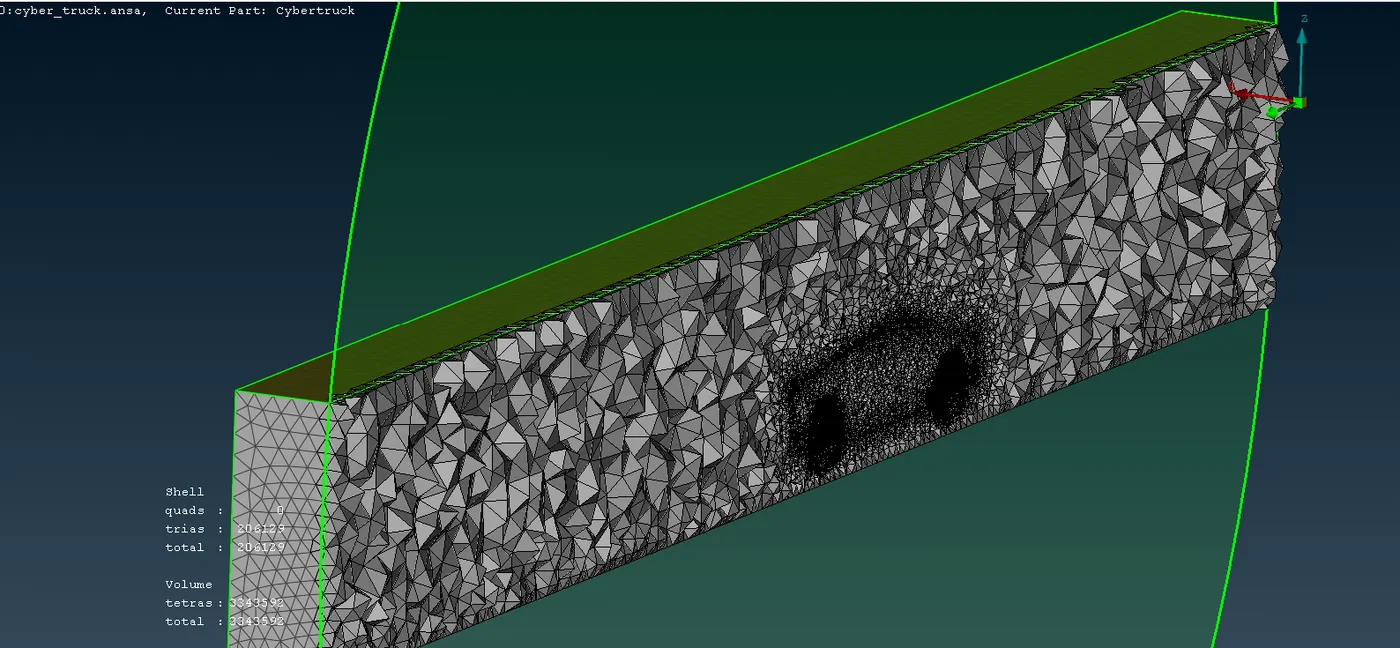
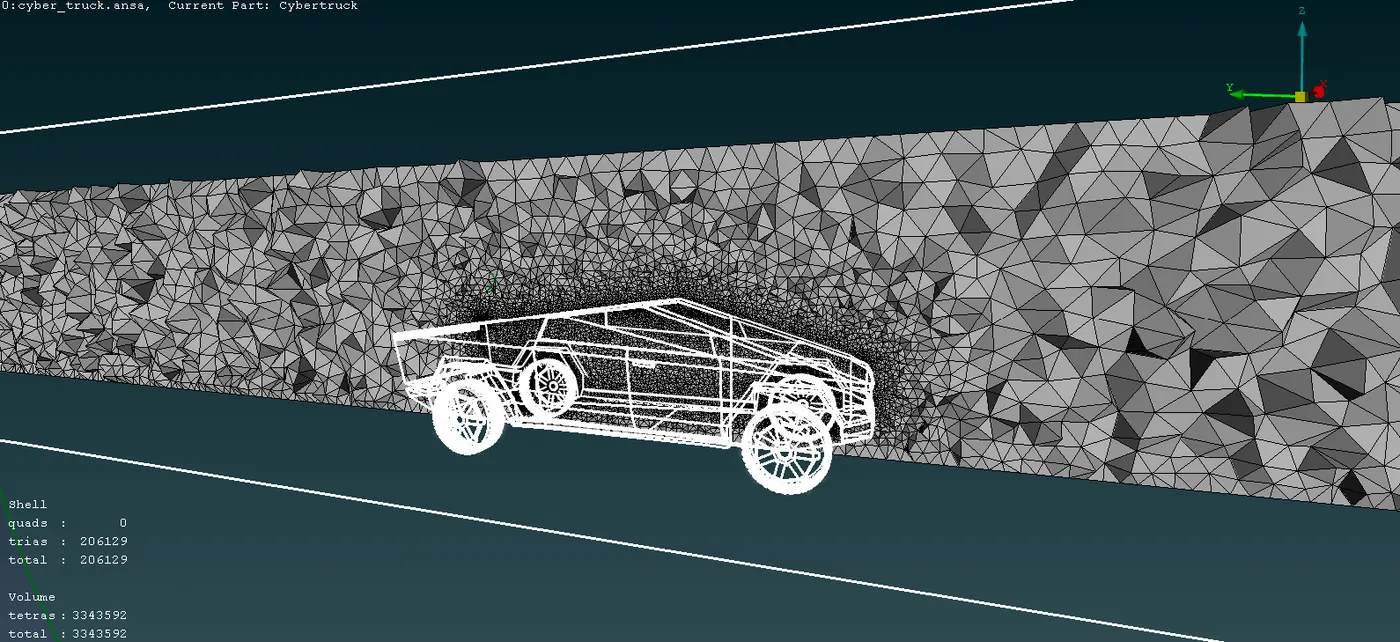
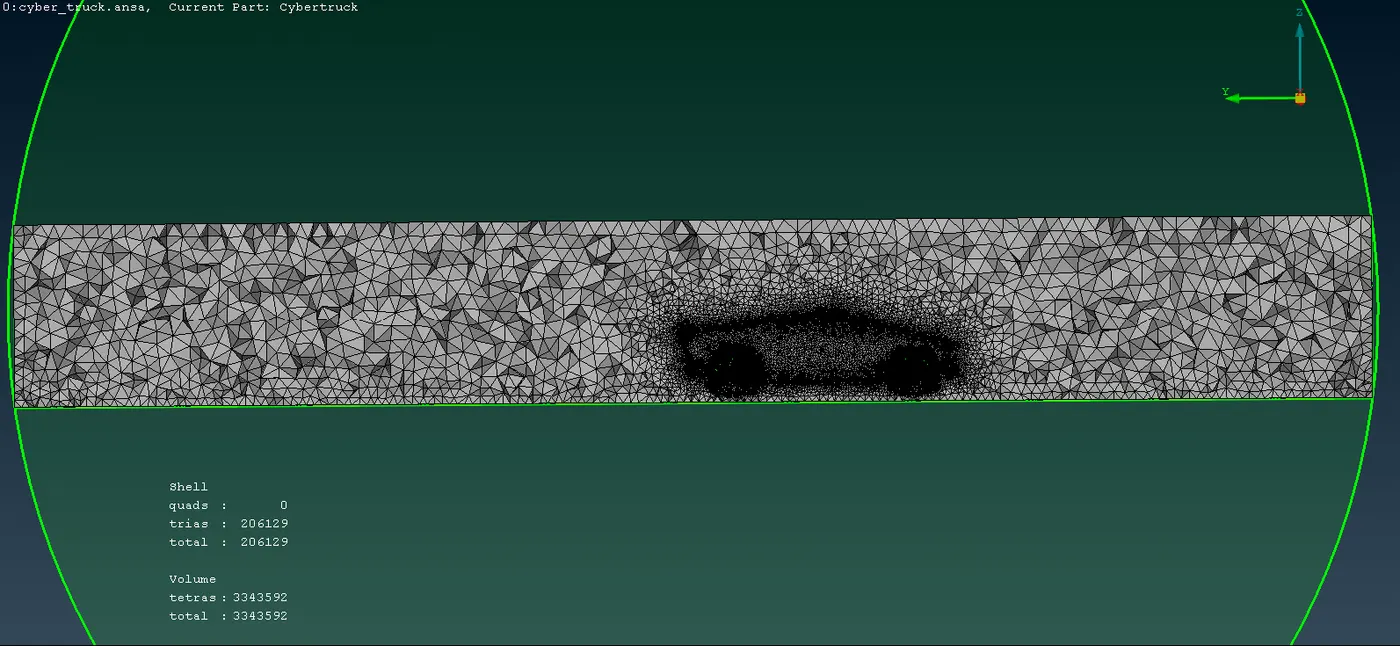
The total 2D shell elements created are 206129 and 3D Tetrahedral elements are 3343592, approximately 3 millions.