CFD Meshing for Tesla Cyber Truck
Aim:- CFD Meshing for Tesla Cyber Truck
Original Geometry:-
This is our raw geometry when we activated single cons we can see whole geometry covered in single cons, To avoid single cons do topo for whole geometry this will solve issue of single cons.
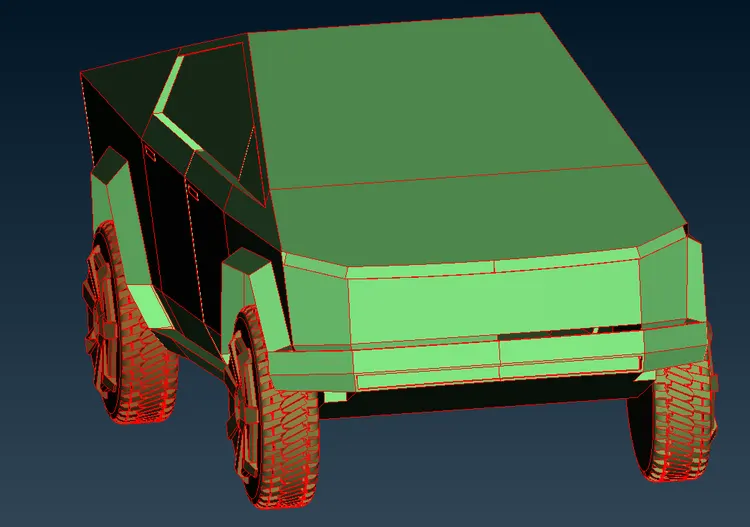
Geometry after applying TOPO tool
All single cons are converetd to double cons
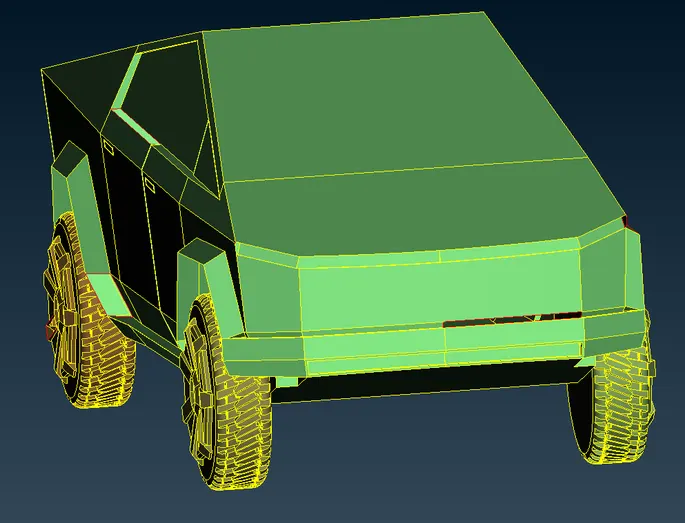
TOPO cleanup
- Create cut on geometry so that geometry could be divided in half
- Delete half geometry, Always delete the side where you see less work had to be done in order to fix geometry.
- Patch open surfaces
- Delete overlapping and extra surfaces
- convert triple cons to double cons
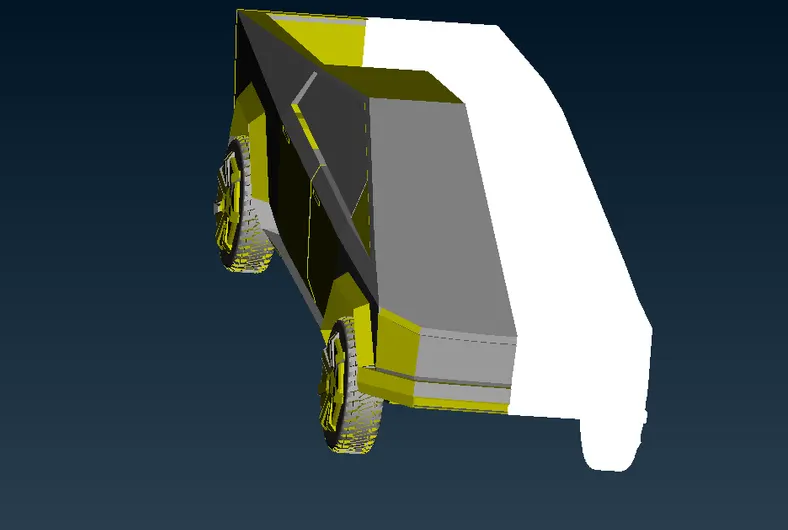
Creating new surface to patch holes and clear single cons:-
Patching First open surface
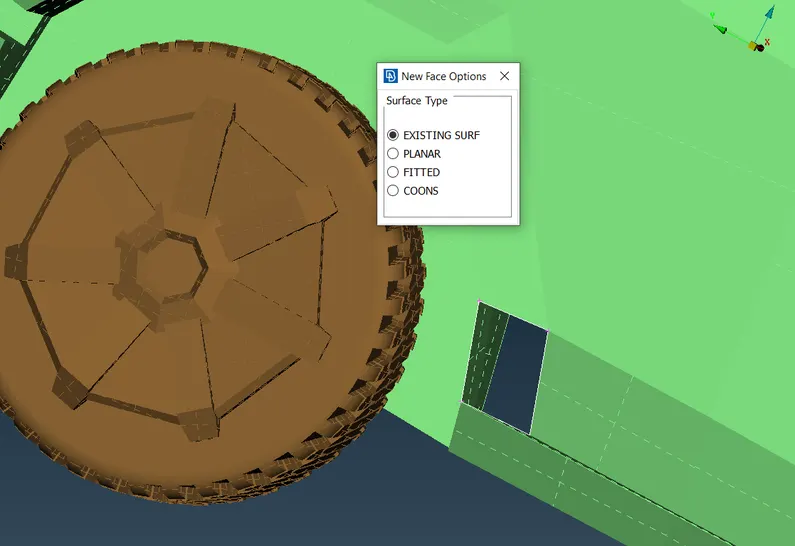
Patching second open surface
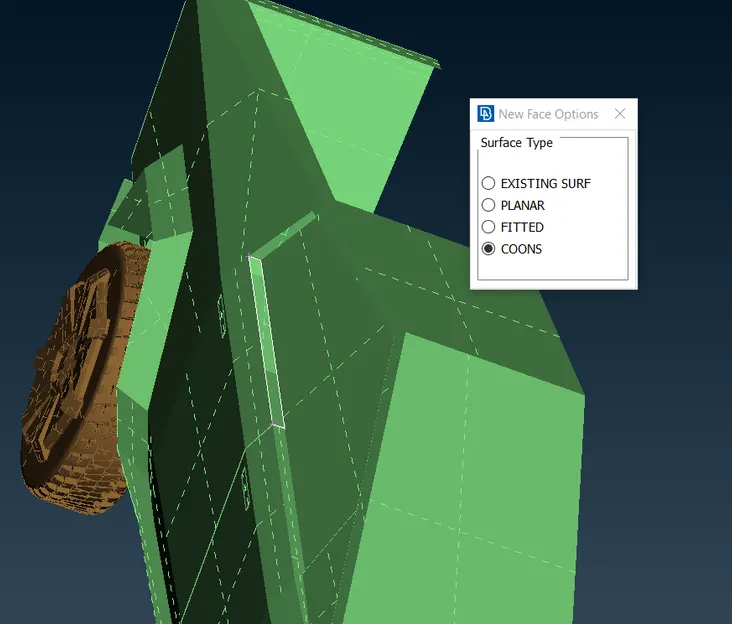
Sharp Edges
You will often face very small sharp edges on geometry which can be seen only when we zoom in or when we do geometry check.
- we can directly delete those sharp edges
- If we cannot directly delete them, create cuts and seperate those edges from large PIDs and tehn delete them
- Delete hot points which are not required
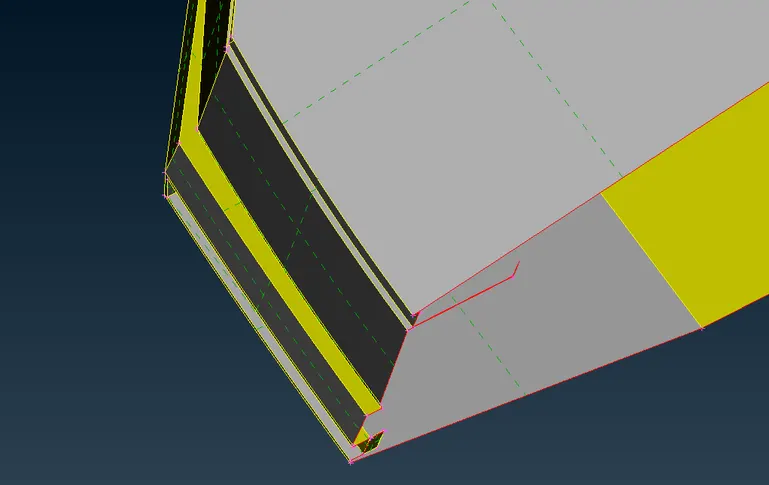
CREATING SYMMETRY
- Go to transform tool and choose copy, a dialogue boz will appear , choose entity and drag your mouse doing right click to select whole geometry and do right click.
- In the new dialogue box which appears choose symmetry and three points plane
- Choose any three points to automatically fill required coordinates.
- Click on apply and tehn click ok in the new dialogue box which appears . Don't make any changes.
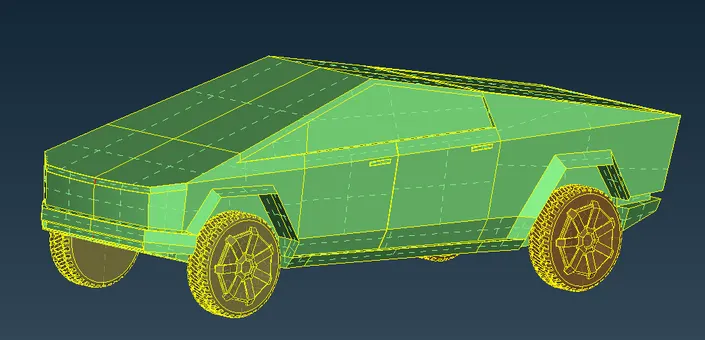
SYMMETRY DONE
Check for single cons as this common error after doing symmetry and solve them by using patch tool or by creating new surface.
PID's Assigned
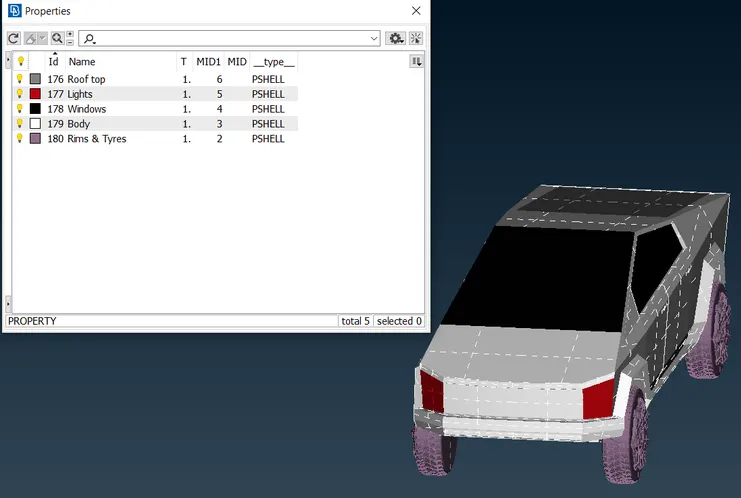
2D MESHING
Mesh length for differnt PID's
Roof top- 3mm
Lights - 2mm
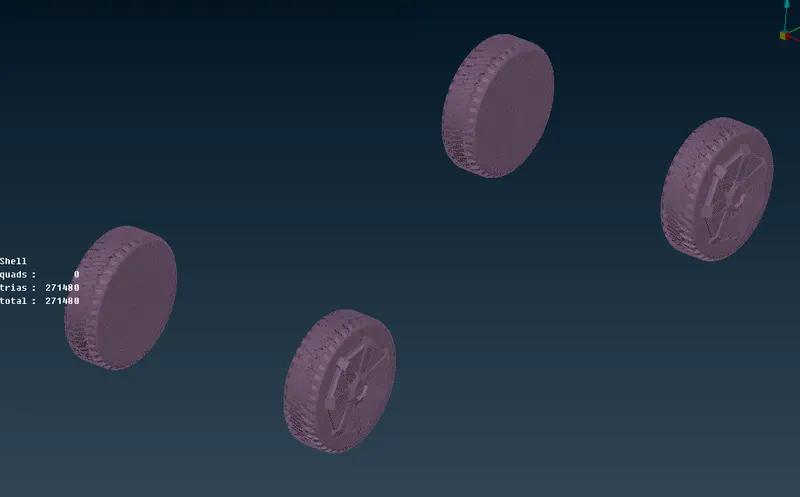
Tyres - 2mm
Windows -4mm
Body- 5mm
Lights meshing:-
Quality criteria and mesh parameters for light
- Mesh length is 5mm
- After giving quality criterias, give length parameters and macros
- select length parameters and choose PID by doing right click and dragging cursor over PID. Then do middle click
- Dialogue box will appear, give mesh length 2mm and click ok
- Similar do for macros
- Then select spot mesh and choose visible mesh, you can see mesh on PID
- In order to check if geometry is failing on quality criteria go to hidden mode and go to entity mode while using hidden mode.
- you will off elements. select reconstruct option and choose visible and execute reconstruct option. Reconstruct option will solve most of off elements and remaining off elements needs to be solved by findind why mesh is failing, mainly this happens due to formation of meshes smaller than specified criteria.
- Go to topo mode and use cut options to cut or recreate cons where mesh is failing.
- Use reconstruct option to automatically solve maximum errors, rest handle by yourself.
- use move tool to change dimension of mesh , this will solve most of off elements, specailly those off elements which are due to min & max length.
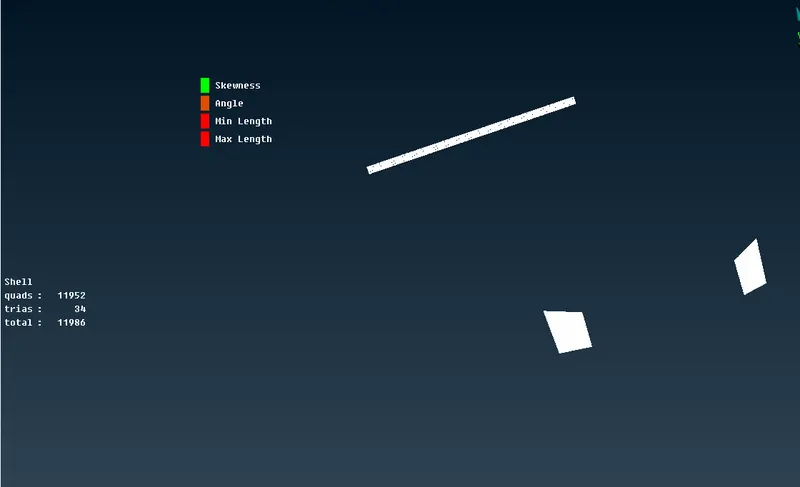
BODY MESHING:-
Quality criteria and mesh parameters for Body
- Mesh length is 20mm, use high value of mesh because geometry has large dimensions.
- After giving quality criterias, give length parameters and macros
- select length parameters and choose PID by doing right click and dragging cursor over PID. Then do middle click
- Dialogue box will appear, give mesh length 2mm and click ok
- Similar do for macros
- Then select spot mesh and choose visible mesh, you can see mesh on PID
- In order to check if geometry is failing on quality criteria go to hidden mode and go to entity mode while using hidden mode.
- you will off elements. select reconstruct option and choose visible and execute reconstruct option. Reconstruct option will solve most of off elements and remaining off elements needs to be solved by findind why mesh is failing, mainly this happens due to formation of meshes smaller than specified criteria.
- Go to topo mode and use cut options to cut or recreate cons where mesh is failing.
- Use reconstruct option to automatically solve maximum errors, rest handle by yourself.
- use move tool to change dimension of mesh , this will solve most of off elements, specailly those off elements which are due to min & max length. Using move tool will eventually solve 98% of off elements.
- To use move tool identify areas where off element is and then drag meshes there too clear off elements.
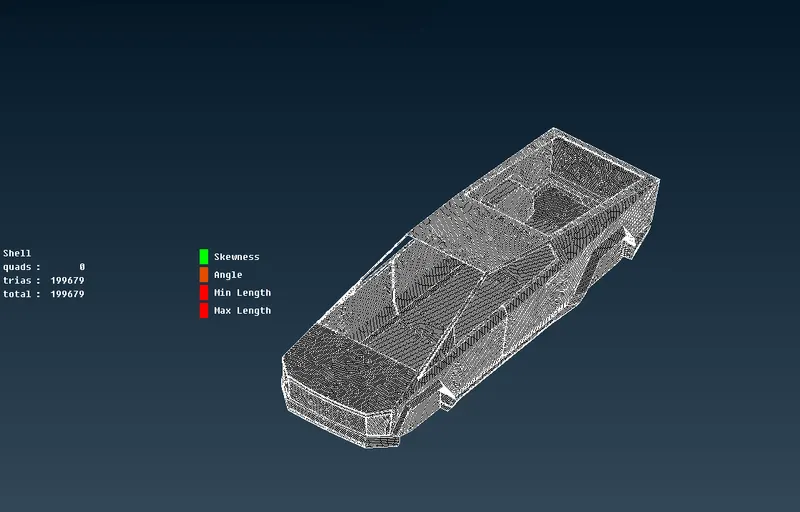
WINDOWS & ROOFTOP MESHING:-
Quality and mesh parametrs for windows and rooftop.
- Mesh length is 20mm, use high value of mesh because geometry has large dimensions.
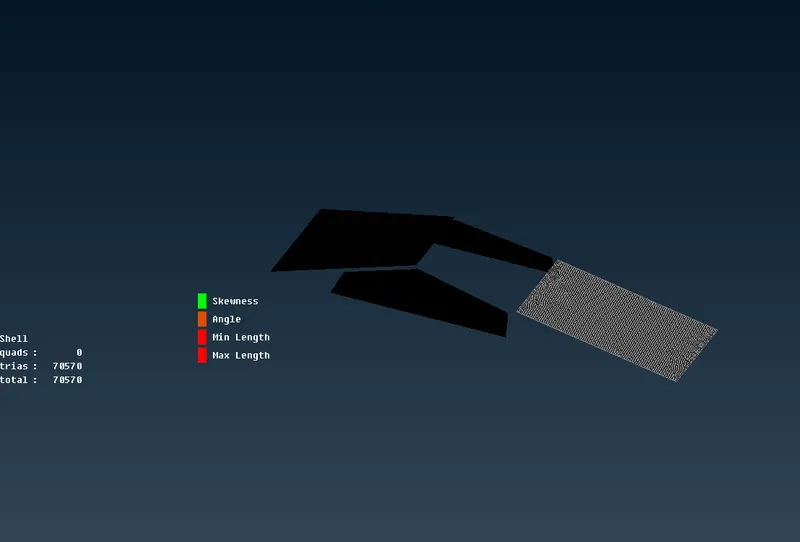
TYRES MESHING:-
CREATING WIND TUNNEL-
We will create a wind tunnel around car
Measurment for wind tunnels are-
- Consider length of car as X
- Keep wind tunnel at 75mm distance from bottom of car
- Length of wind tunnel from front of car should be 4X, total length of tunnel in front is half length of car added to 4X length
- Length of wind tunnel from back of car should be 6X, total length of tunnel from rear side is half length of car added to 6X length
- Height of wind tunnel should be 3X
Dimension of car
Length of car - 5760
Distance from mid of car to front - 2570
Distance of mid of car to back - 3180
Steps Involved-
- Enable cons
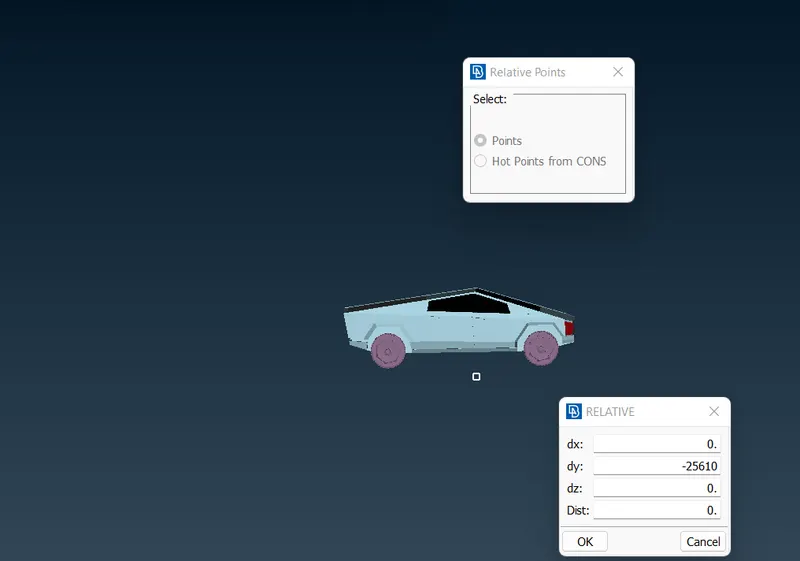
- select relative points option from point tool and select a point in middle of car from bottom side
- A dialogue box will appear, see your coordinate axes, To create a point at bottom of car I will give 700mm with negative sign.
- With reference to that point create a point in front of car at distance 25610mm in X direction & at 37740 in back of car.
- create side ponits atr 5760 on front and back side
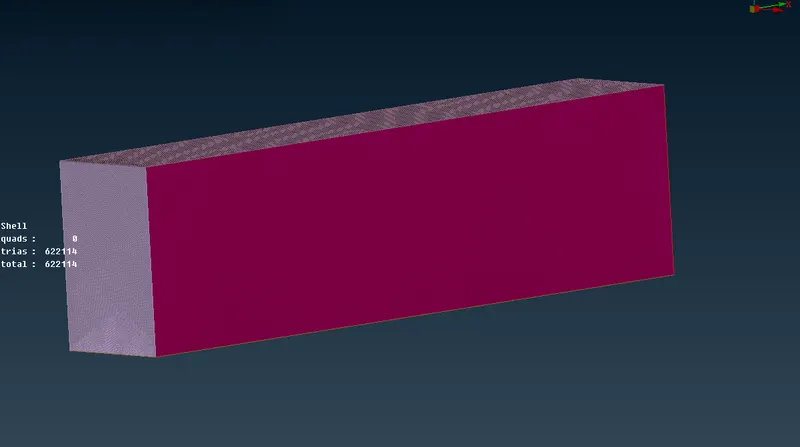
3D Meshing
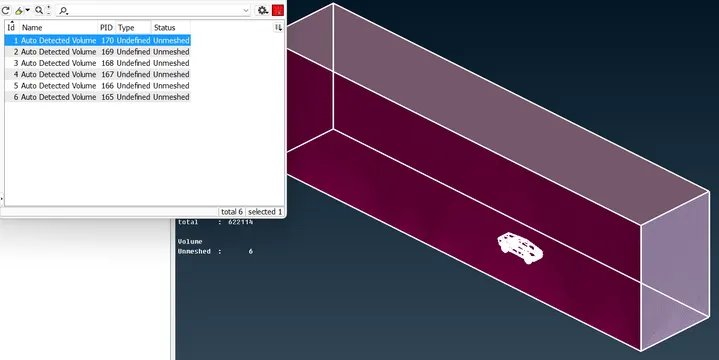
- Choose define option available in volumes tool and select wholedb(whole database) and click on ok.
- Volumes created for 3D meshing will appear in a dialogue box
- From dialogue Box select first volumes this is the volume of tunnel and this is what we require.
- All oher volumes are car volumes which is not required so delete them.
- The one PID with blue color we will keep and delete others.
CONCLUSION:-
- Working on tesla model gave ideas about different meshing tools available in ANSA