Meshing the IP Substrate of an Automobile according to the given Quality Criteria using ANSA
Objective:
To check for the geometrical errors and mesh the given IP substrate with the given element Quality criteria.
After meshing the component the thickness has to be assigned.
Quality Criteria:
|
S.No |
Quality Criteria |
Value |
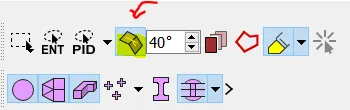
|
1 |
Target/Average length |
4 |
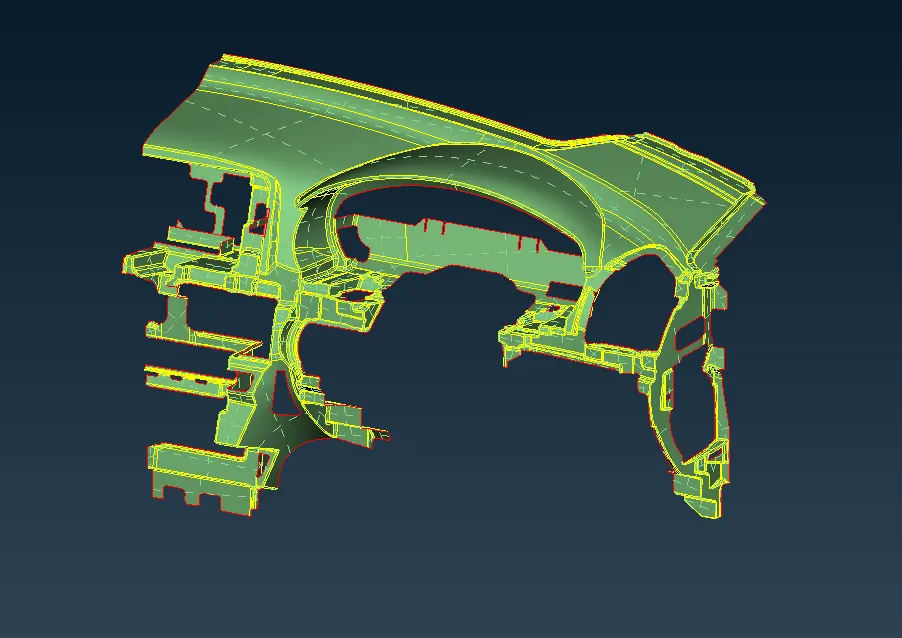
|
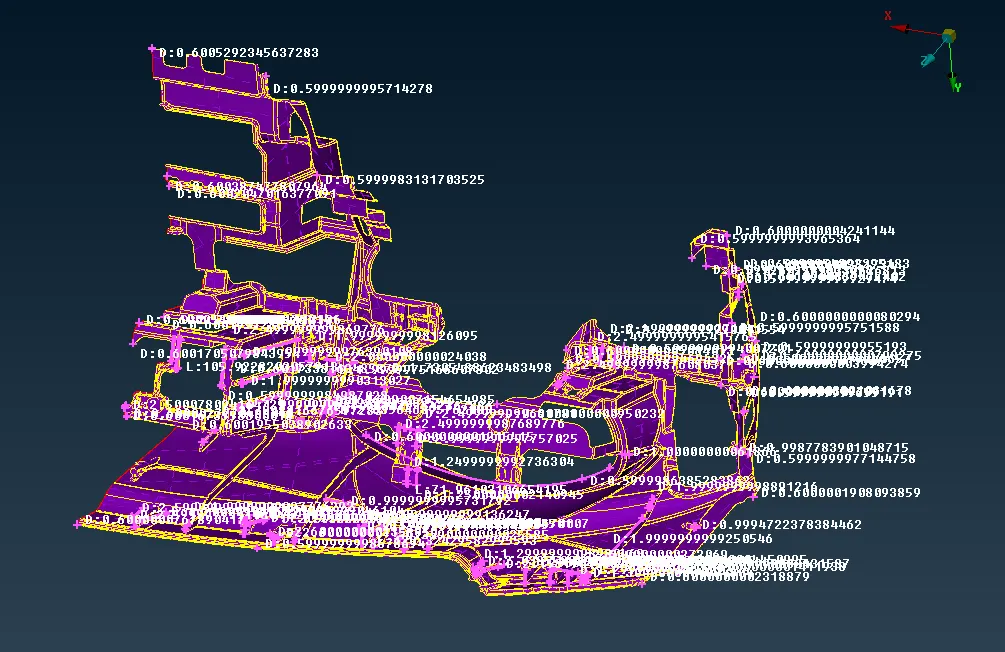
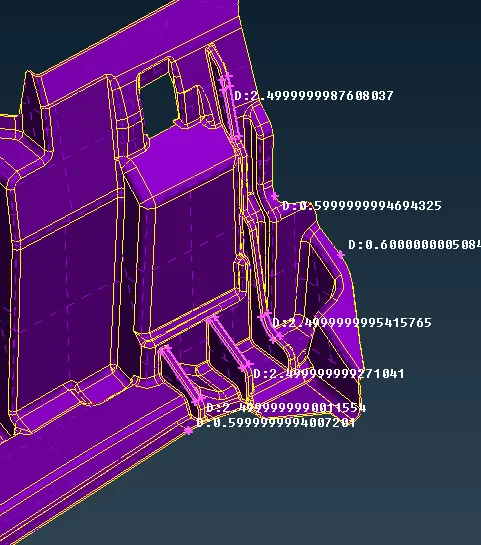
2 |
Minimum Length |
2 |
|
3 |
Maximum Length |
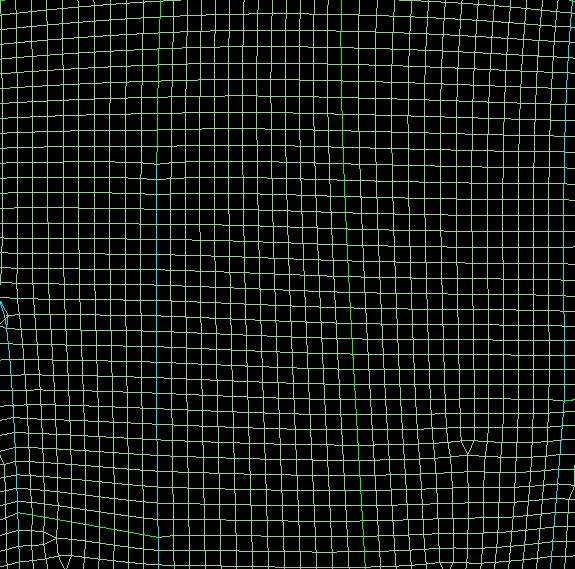
6 |
|
4 |
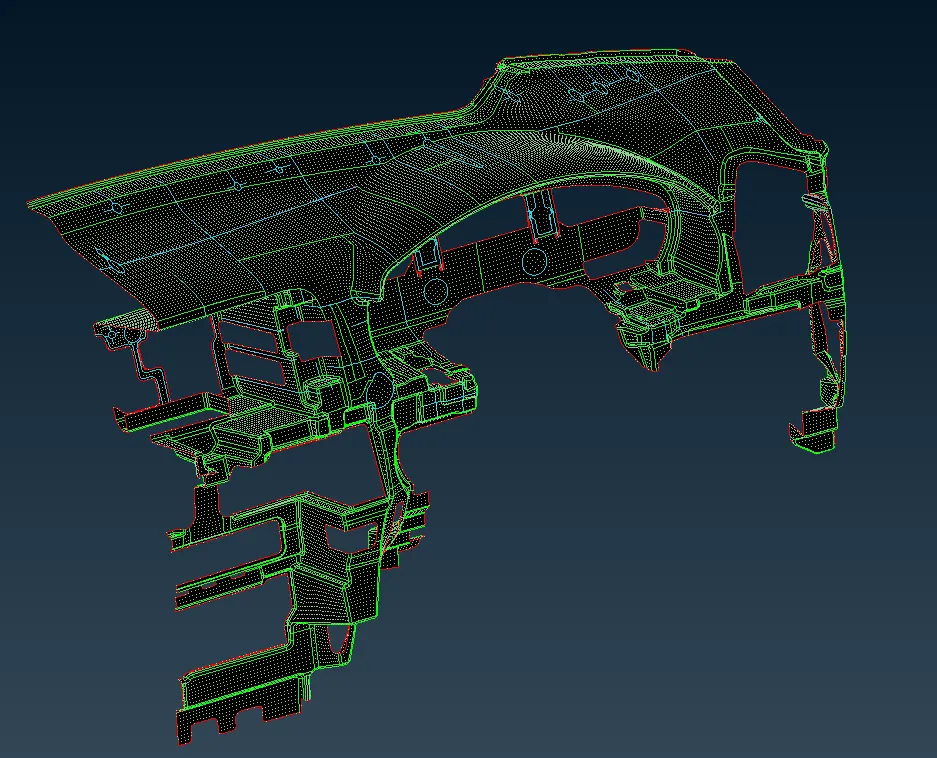
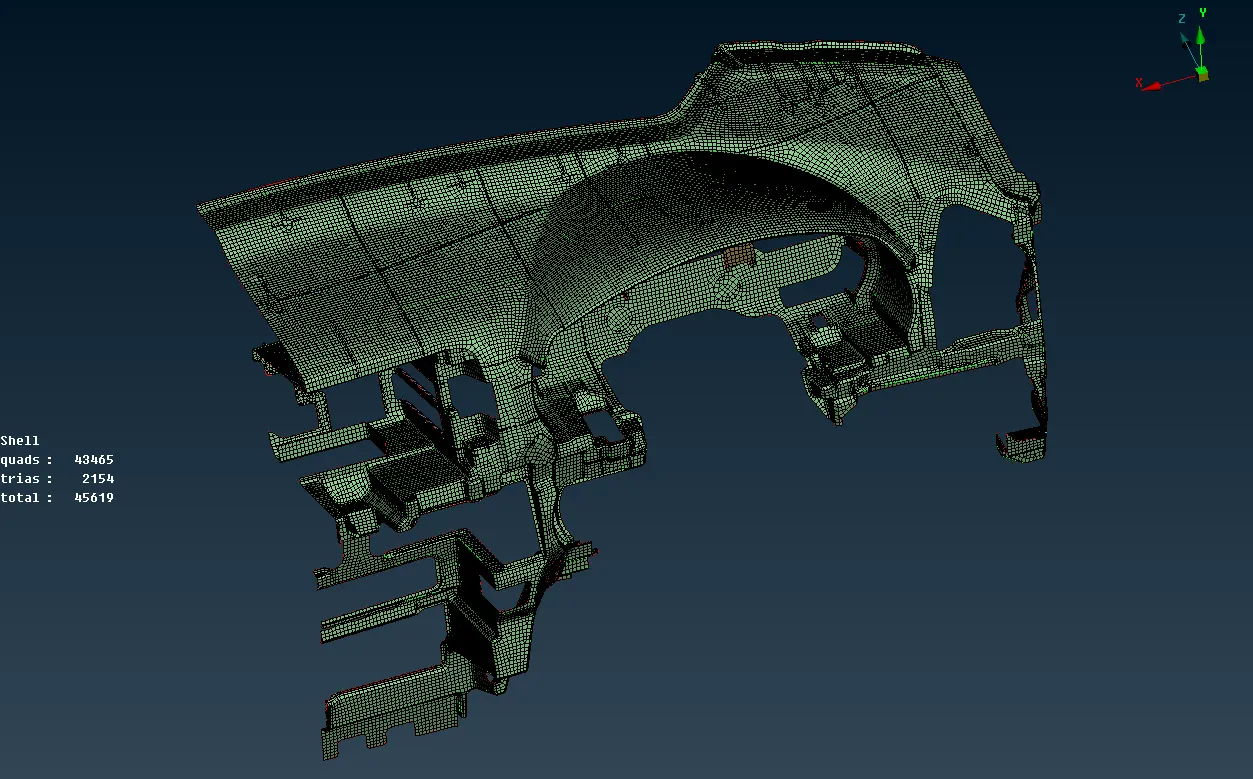
Aspect |
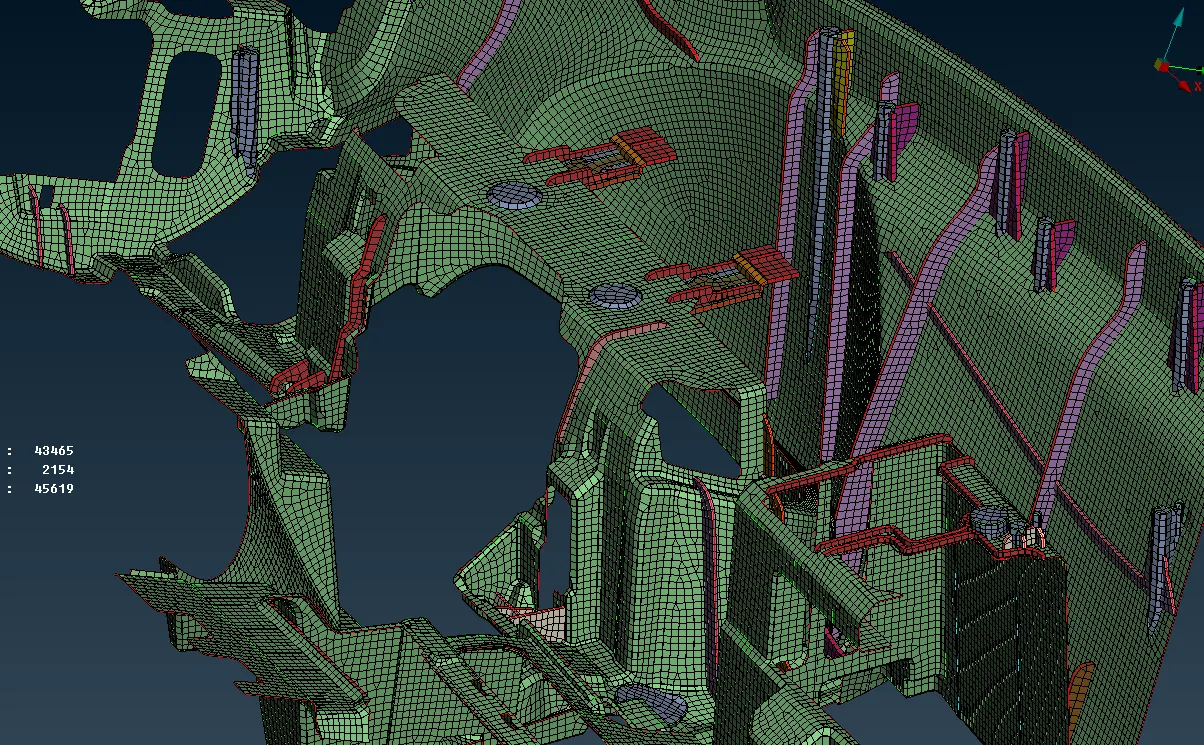
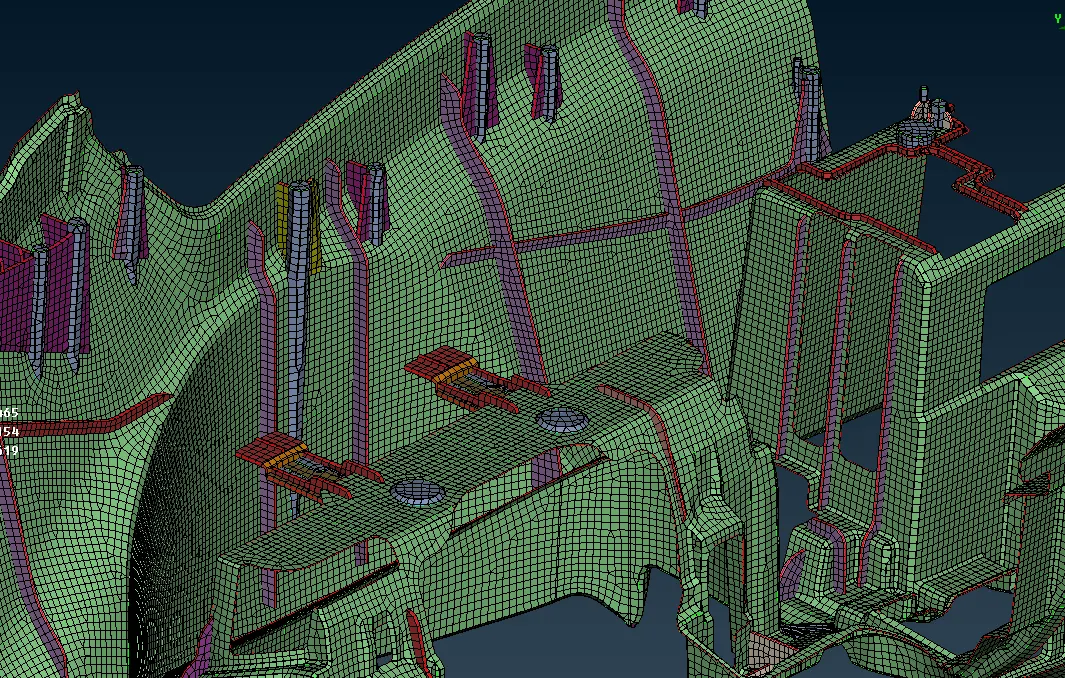
3 |
|
5 |
Warpage |
15 |
|
6 |
Skewness |
45 |
|
7 |
Jacobian |
0.7 |
|
8 |
Minimum Quad Angle |
45 |
|
9 |
Maximum Quad Angle |
135 |
|
10 |
Minimum Tria Angle |
30 |
|
11 |
Maximum Tria Angle |
120 |
|
10 |
Tria Percentage |
15 |
Procedure:
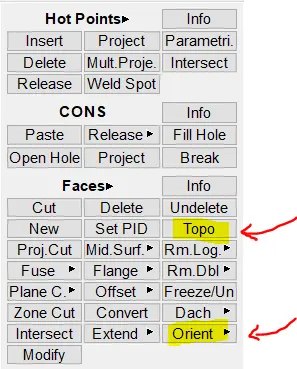
1. Open the given model and perform a Topo on it. This needs to be followed by orienting the surfaces properly.
2. The commands are shown below:
3. A Geometry check is performed and any errors that pop up are fixed.
4. Auto fix can be applied on some, whereas the other need to be fixed manully.
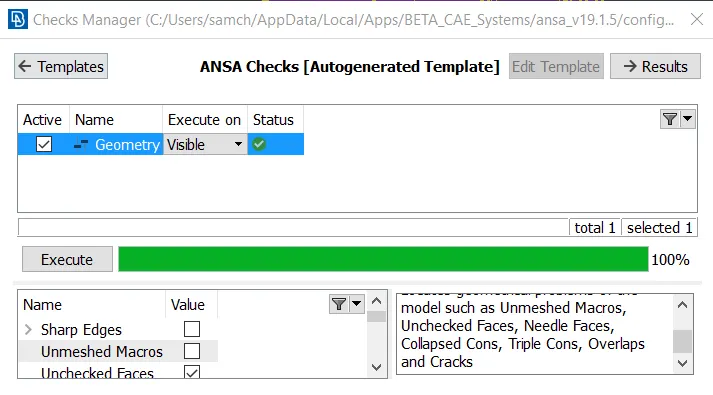
5. After the geometry cleanup, the Check window will show the following:
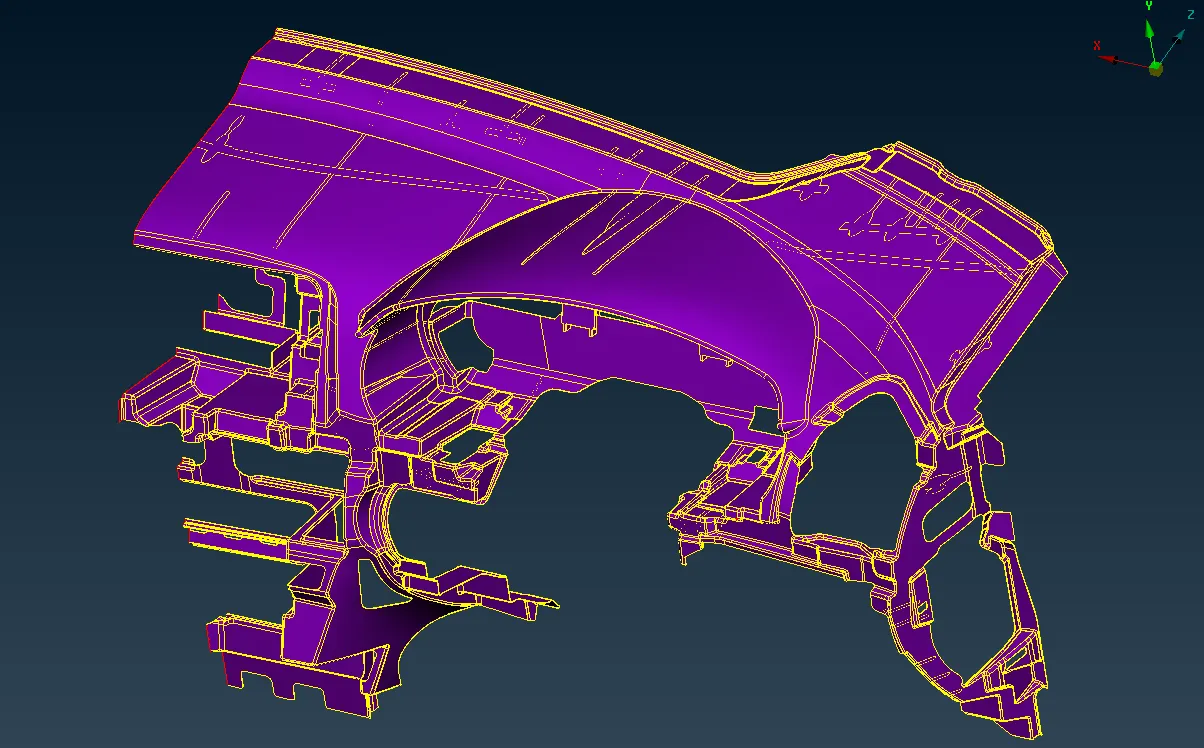
6. The geometry will now look as shown below:
Midsurface extraction:
7. The next step is to extract the midsurface for the given component.
8. ANSA cannot carry out an Auto-mid on such a complex component and so we go for a manual mid-surface extraction.
9. A good tip to select faces quickly is to use the select by feature option such that any feature that lies below the specified angle gets selected.
10. This prevents any of the opposite surfaces from getting selected.
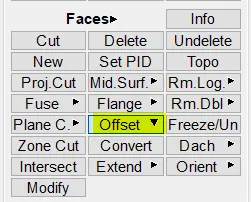
11. The offset command is used after checking the thickness of the component and the faces are offset to half the thickness to get the Midsurface at the correct location.
12. These commands are shown below:
13. After Mid-surface extraction, the component will look as shown below:
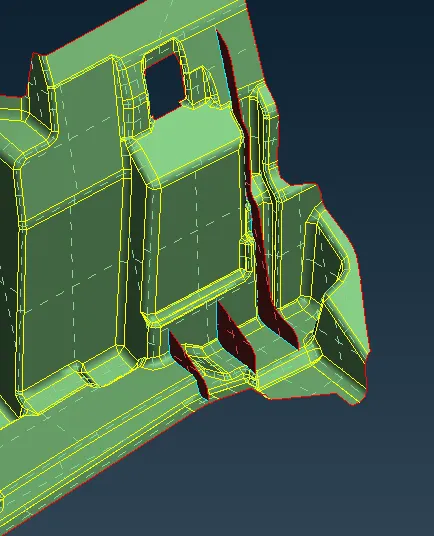
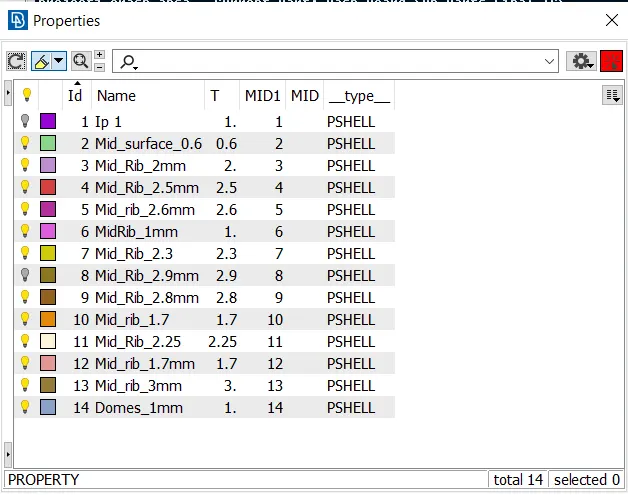
14. The ribs and domes have different values of thickness and hence they need to be mid-surfaces individually and a property needs to be assigned based on the thickness.
15. After mid-surface extraction, the surfaces are extended such that the geometry is captured properly after thickness is provided.
Before Mid-surface
After Mid-surface
16. The assigned properties look as shown:
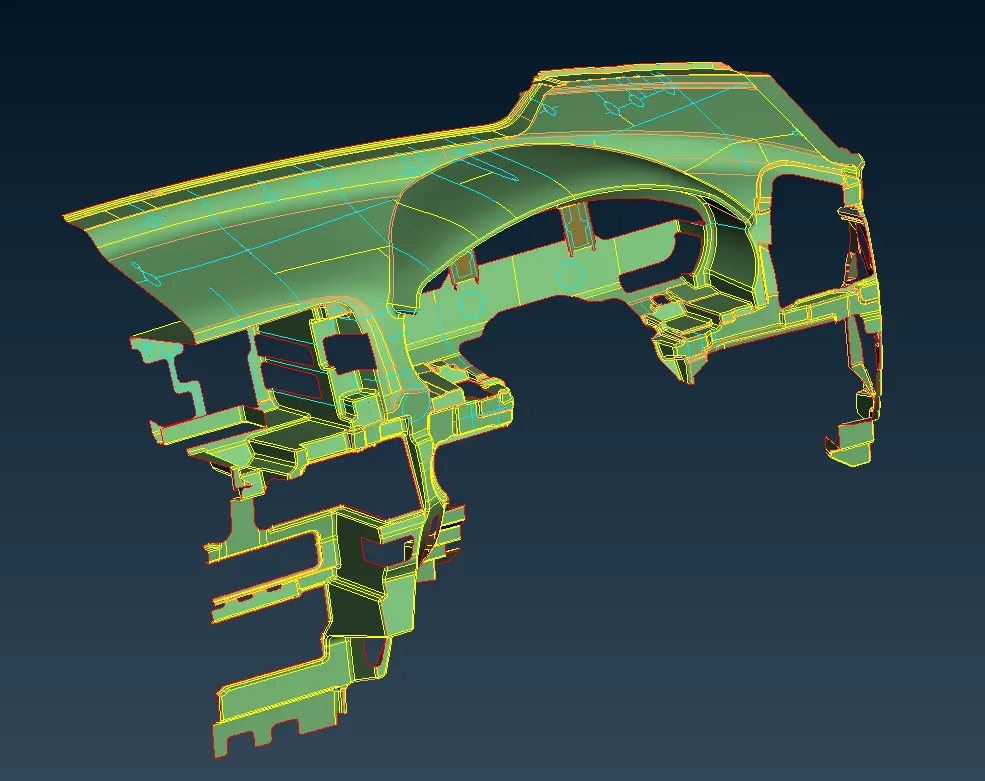
17. The final mid-surface looks as shown below:
Meshing:
18. Next we move on to meshing the component.
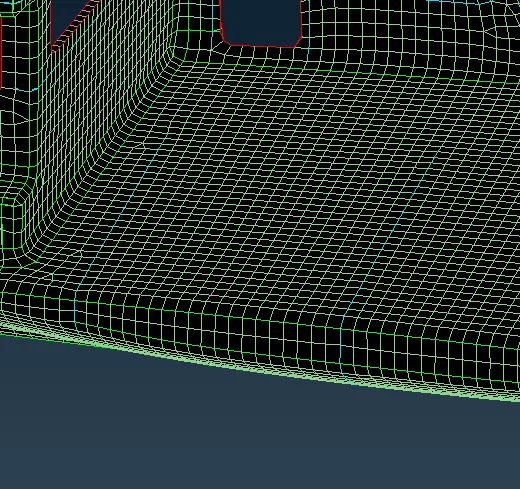
19. The Macros are divided parallel to the perimeter such that a better mesh flow is achieved.
20. Some trias are kept in surfaces that converge to obtain a mesh that is evenly sized as show below:
21. While meshing the following rules are kept in mind:
- No opposite facing trias
- No trias touching each other
- No trias on feature lines
- No trias at fillet regions
- No rotating quads
22. Since this model is a bit complex the number of trias are considerabily larger and trias can be found at certain regions which is usually avoided, for better feature capturing and better quality values.
23. The 2D meshed model will look as follows:
24. After activating show as solid, the thickness is assigned on the shell mesh. The final model is shown below:
Result:
The given IP Substrate model was meshed according to the given quality criteria and thickness was assigned such that the geometry can be captured properly.
Learning outcomes:
- Tips to extract Mid-surface faster.
- Tips to clear quality using the Move command.
- Capturing Dog-houses and Ribs accurately.
Final model: