Project 1 - 2D meshing on the instrumental Panel
Aim- To Model the given component, check for geometrical errors, and mesh it according to the quality criteria given.
Model
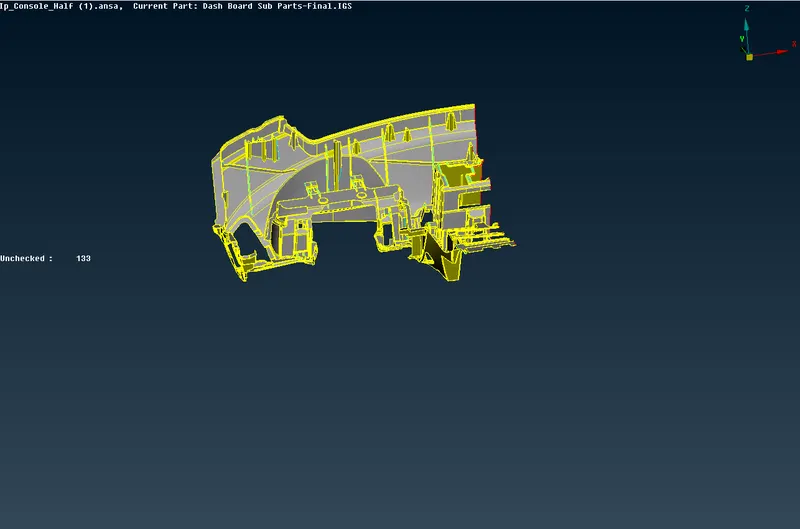
Procedure
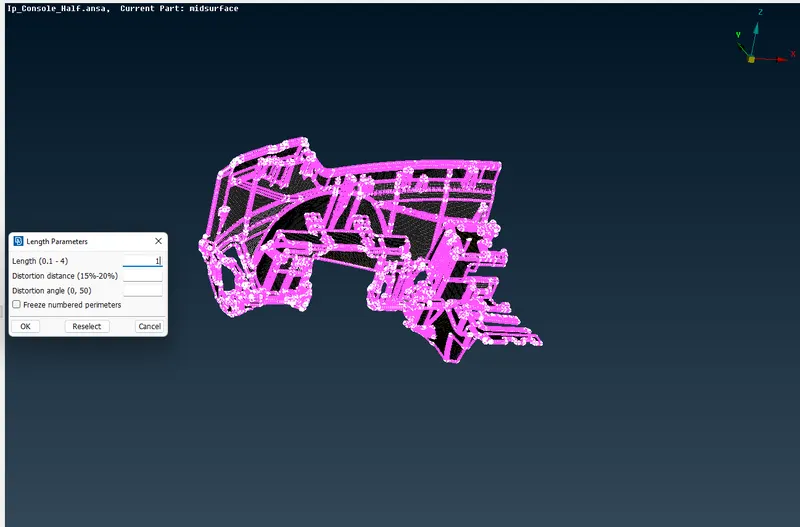
Open the model and got to perimeters give length 1 for perimeters and macros as shown:
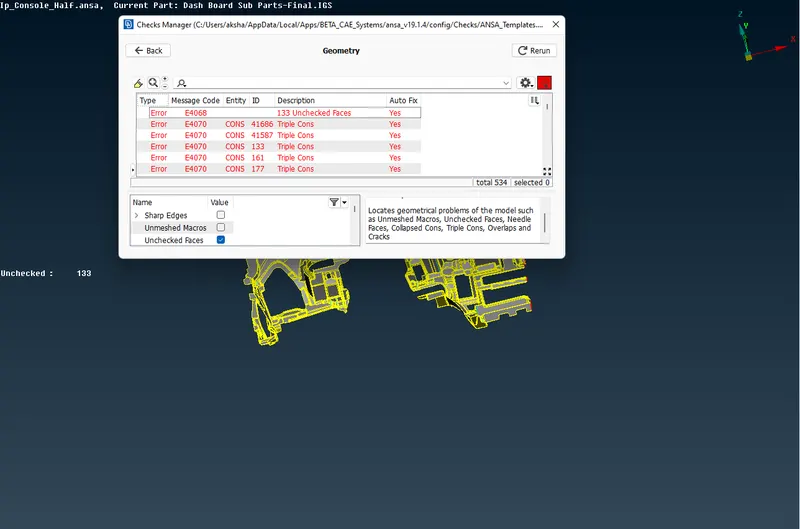
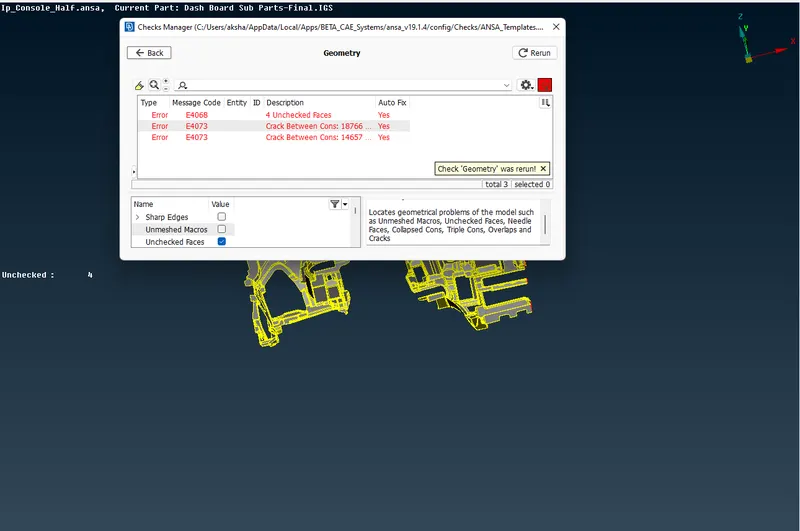
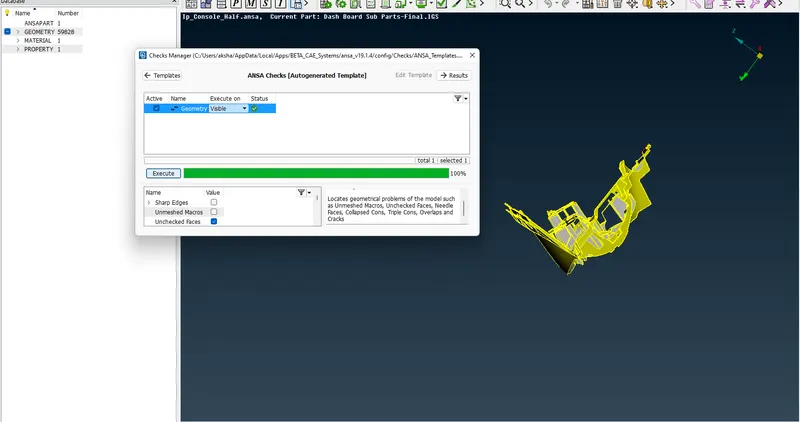
Check for geometrical errors and rectify the errors by using auto-fix, deleting needle faces, and checking as per requirement :
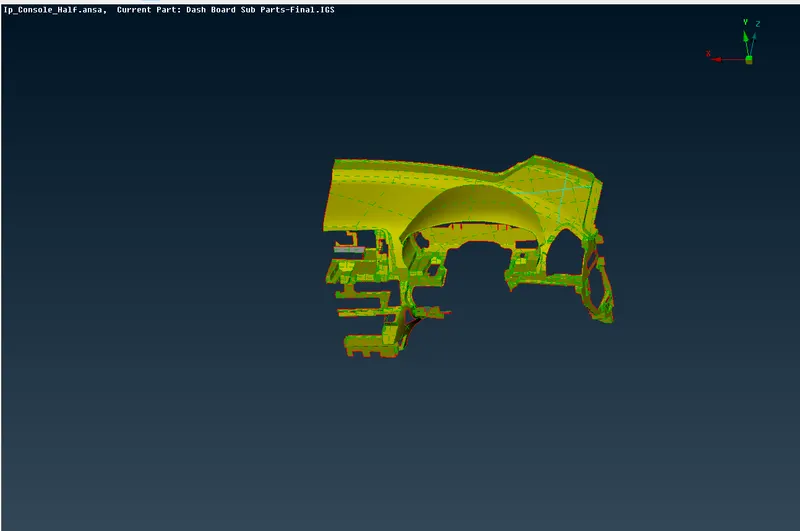
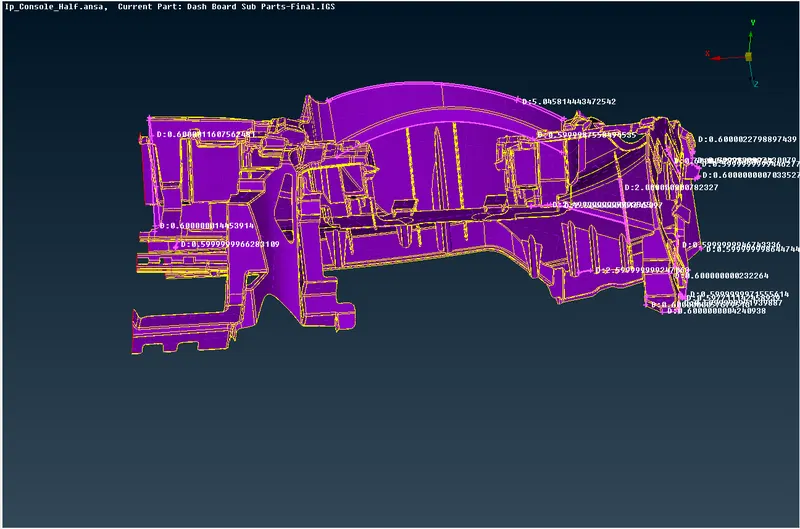
We take measurements at different locations to determine the thickness of the model and its features:
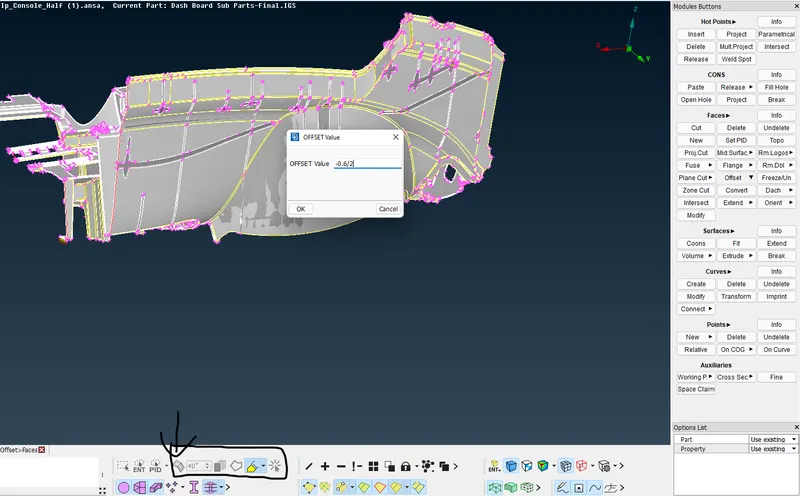
Now we generate the mid surface by manual offset method -
The dashboard body is mid surfaced by offsetting the component using the feature option to capture it perfectly:
The mid surface of the ribs is taken by the faces-middle option as shown :
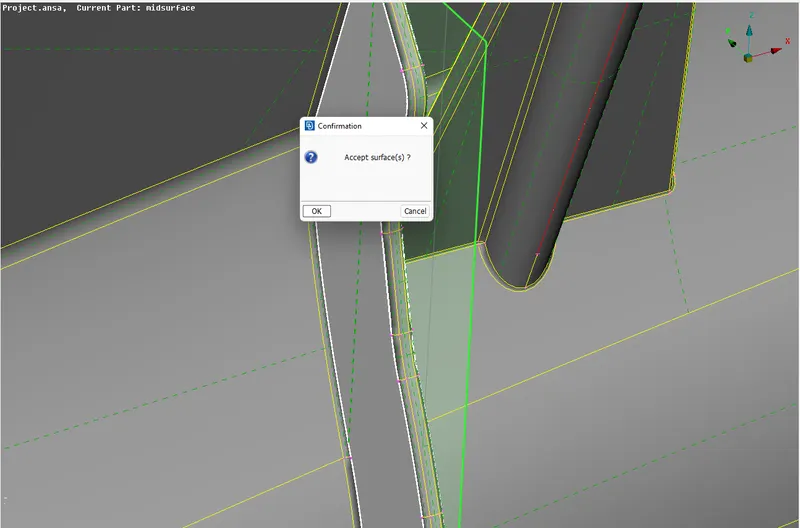
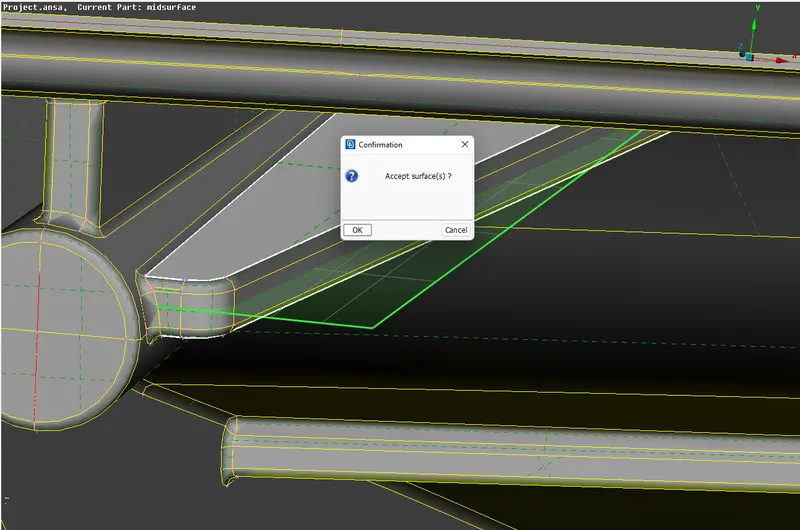
The cylindrical surfaces are mid surfaced for 2-d meshing as shown :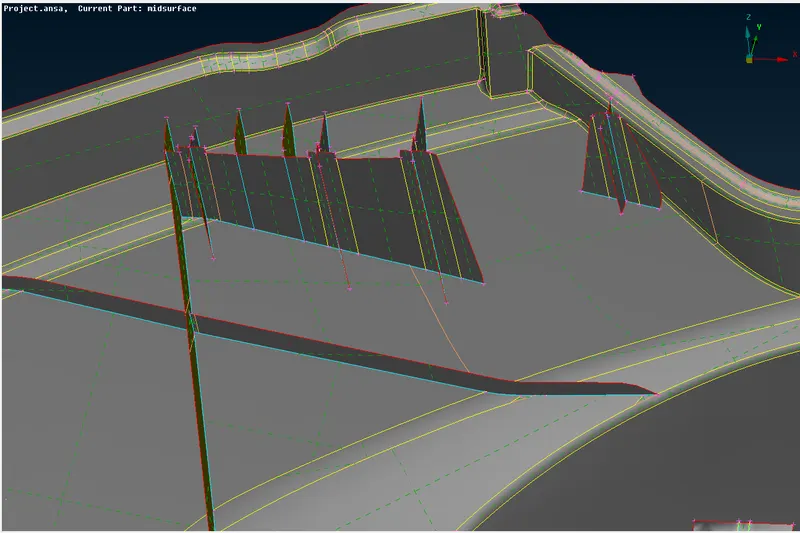
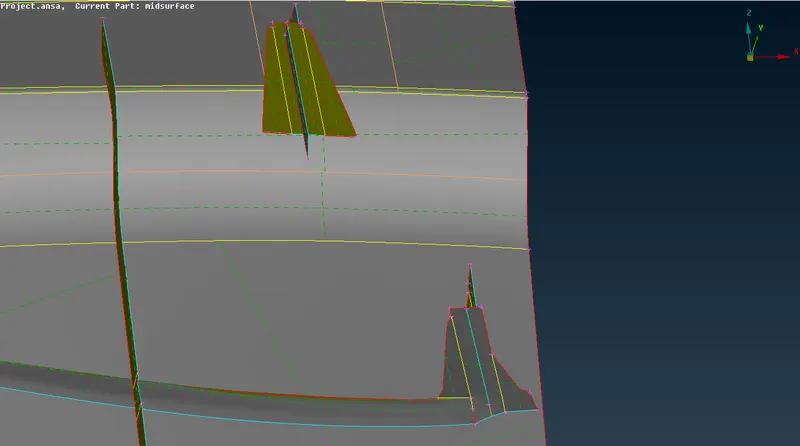
Some features are captured by drawing curves on middle surfaces by using the cons2curves option and creating new faces :
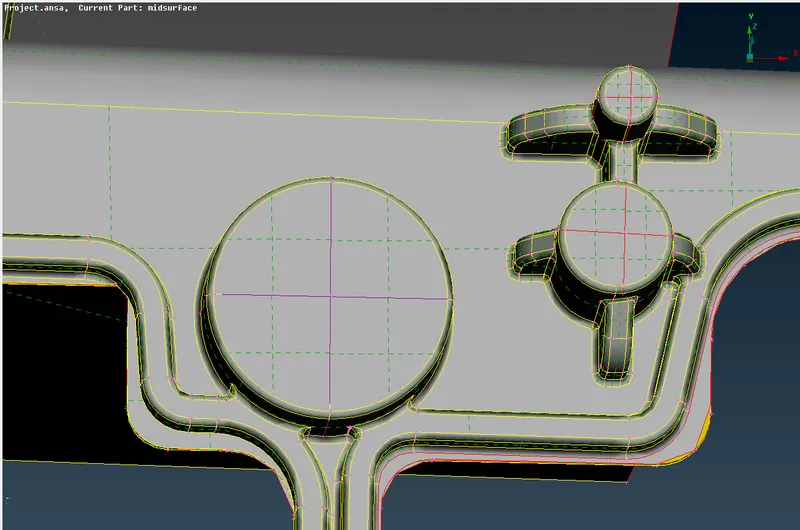
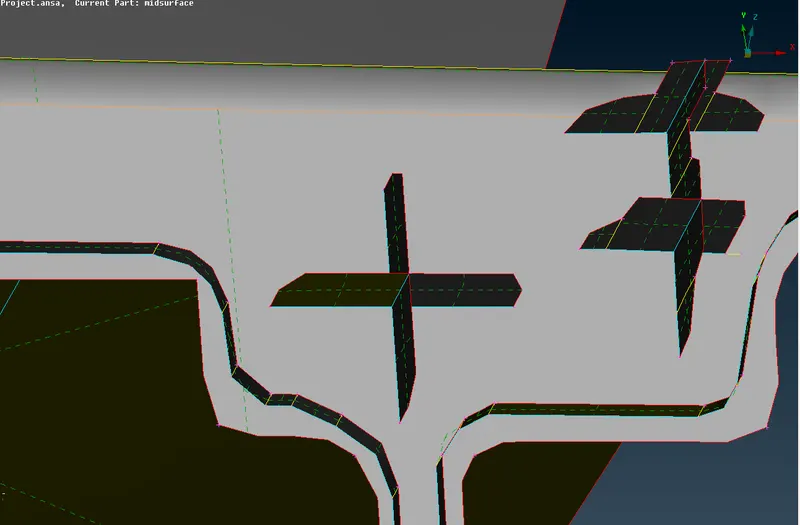
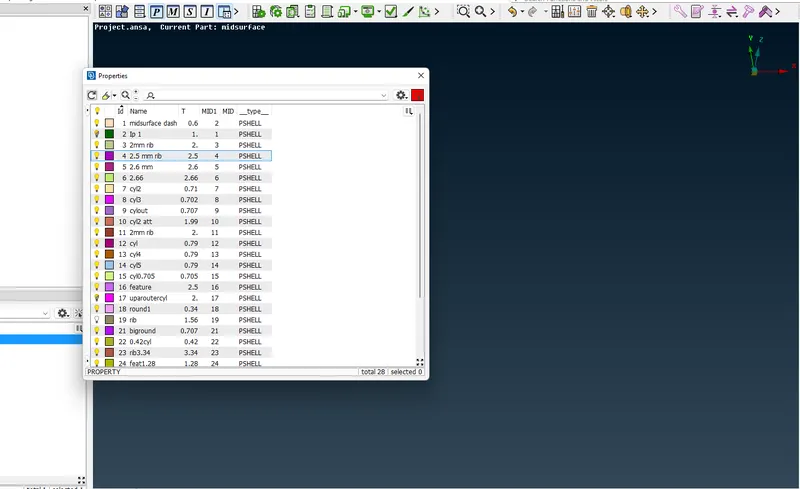
We assign different Pids to every mid surface as shown :
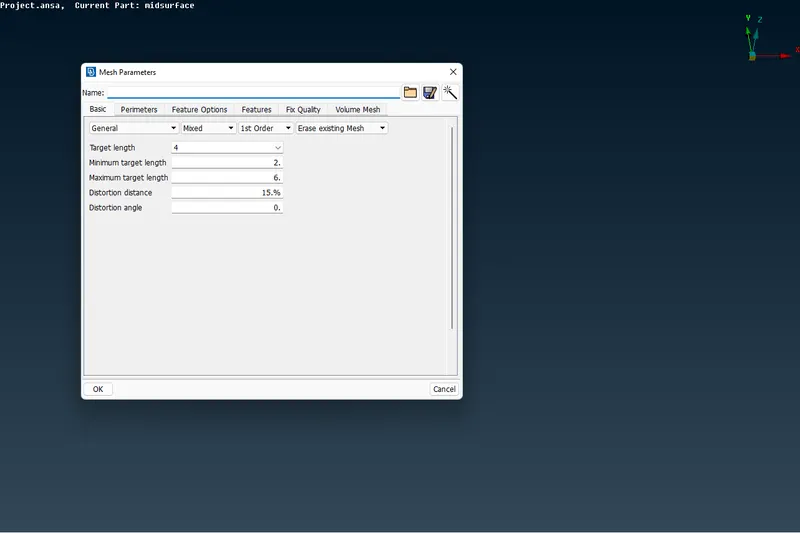
Now we set the mesh parameters and quality criteria as given to us:
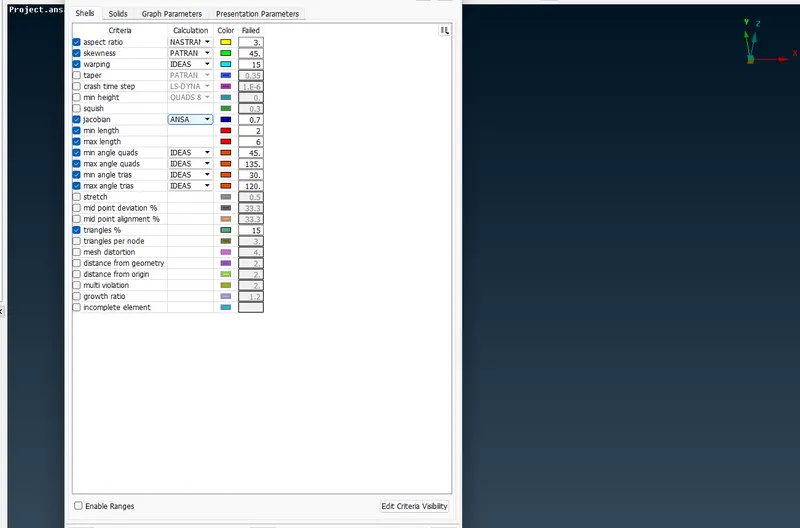
We mesh the component by using spot meshing :
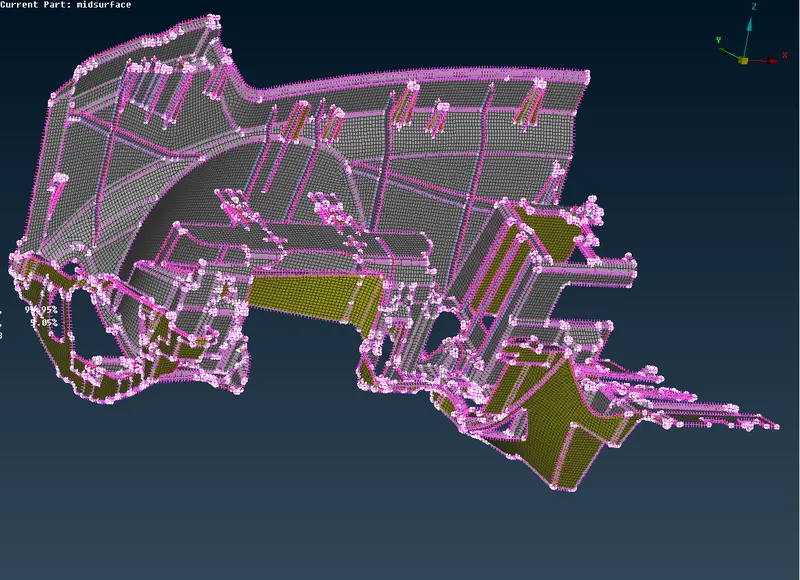
There are a lot of Off elements, we start to reduce them by reconstructing the mesh :
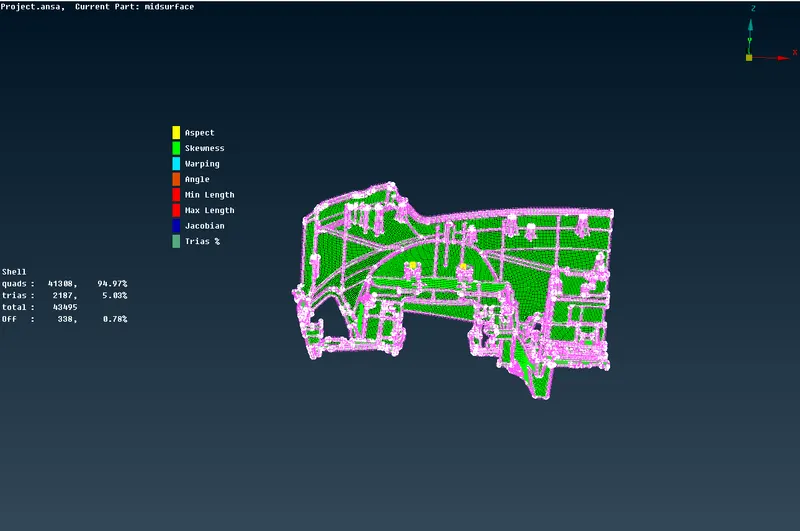
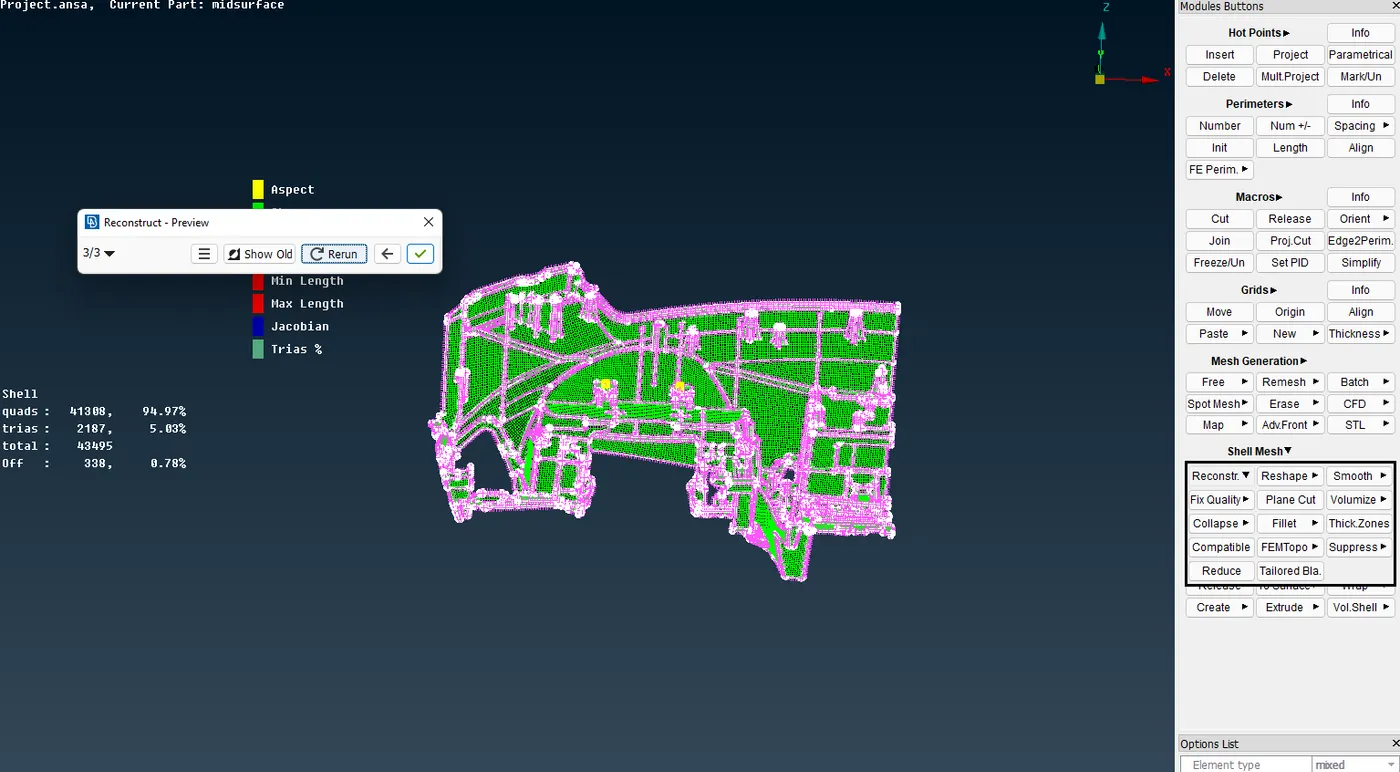
Swap, Split and paste are used wherever possible :
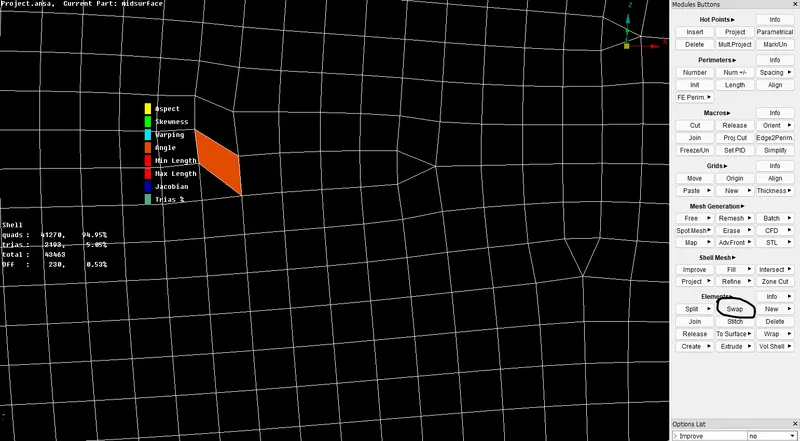
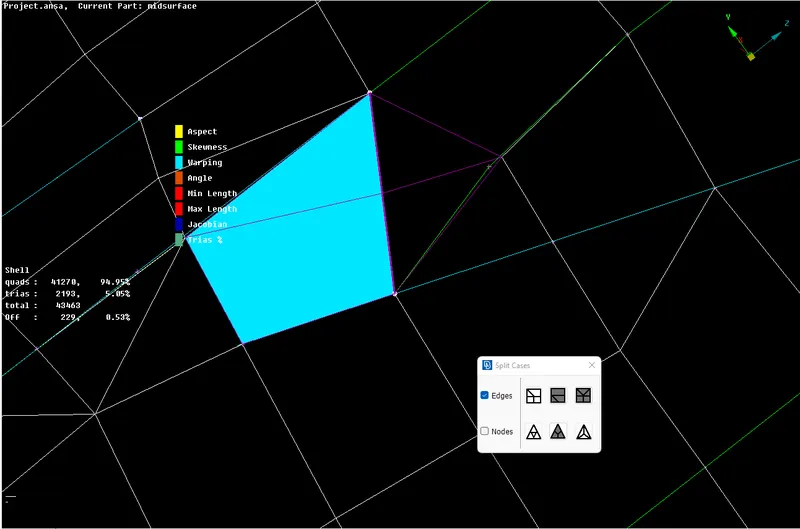
Grids Move option is used to clear off elements with a small amount of deviation as shown:
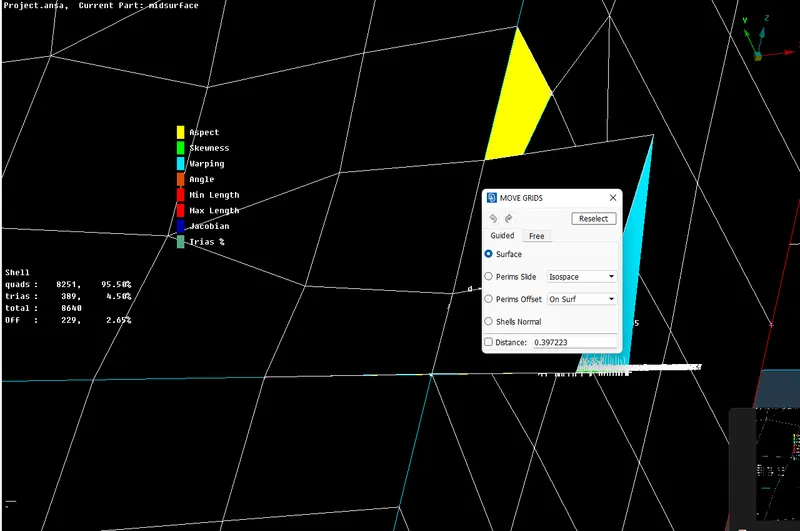
The model is reduced to the least possible off elements :
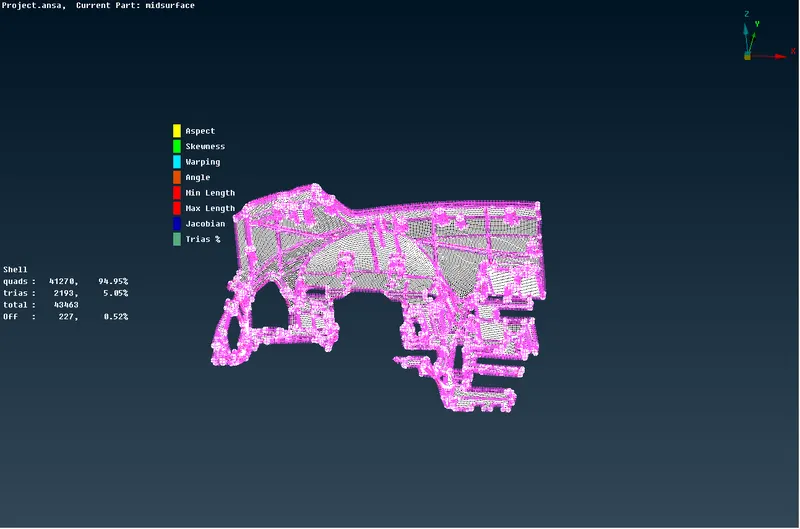
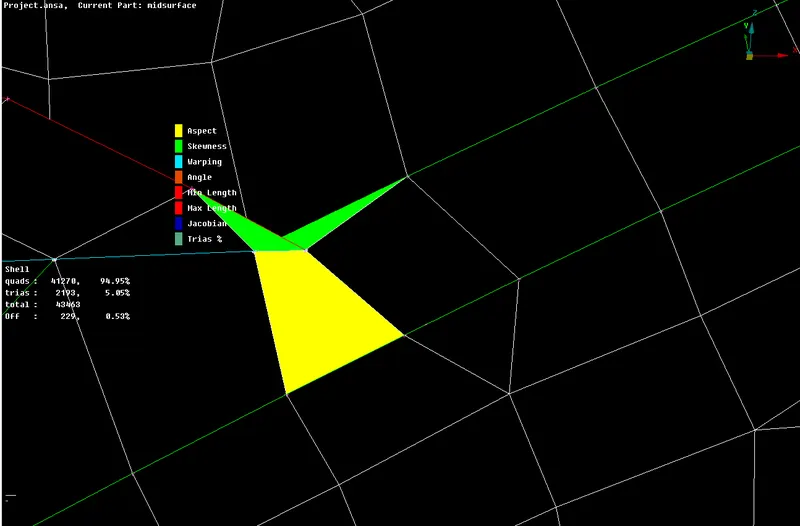
There will be some off elements present due to triple cons where rectification is not advisable.
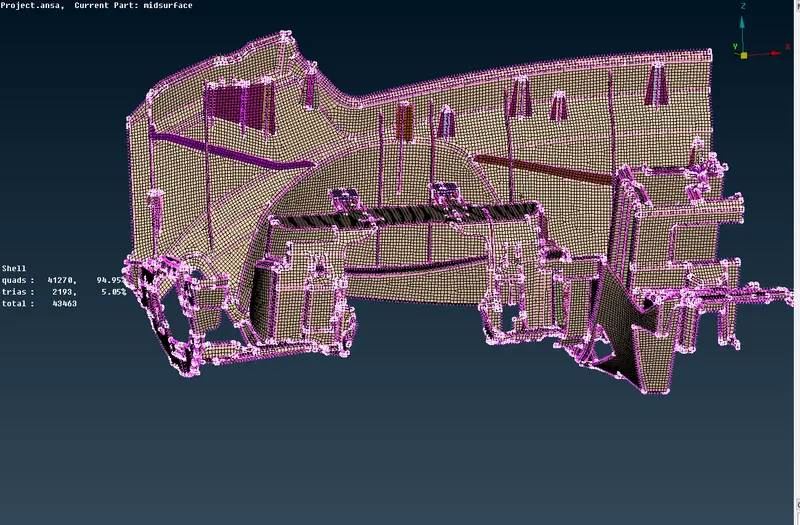
The final mesh is shown after switching on the drawn shell as a solid option in the presentation :
Learning Outcomes:
Learned to clear geometrical errors of different types.
The manual mid surfacing of complex components.
Preparing the model for meshing.
Clearing quality issues wherever possible.
Result :
The given model was mid surfaced and 2d meshing was performed successfully.