Project 1 - 2D meshing on the instrumental Panel
Aim:
This project aims to mesh the instrumental panel with a good flow of elements and to match the given quality criteria and mesh parameters. To mesh the instrumental panel, a mid-surface has to be taken for the given different components which have varying thicknesses.
Procedure:
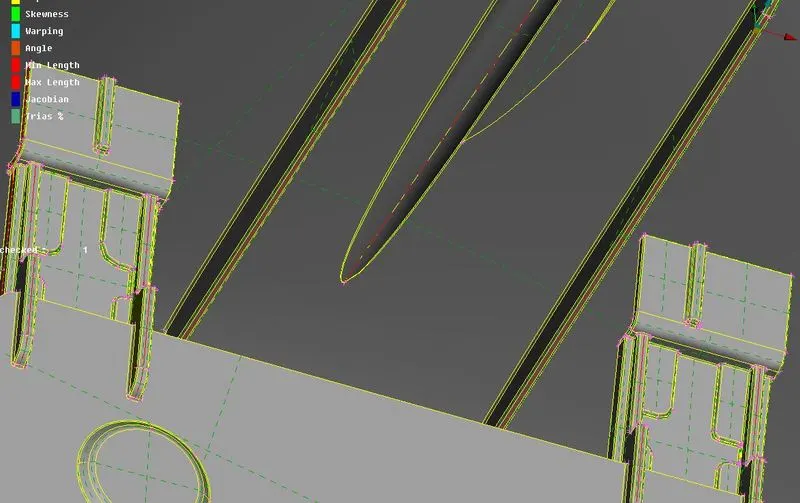
Once the model is imported in Ansa, the model is subjected to various checks to clean up the geometry. Under geometry check, 804 errors have been popped up and most of the single con errors are cleared by giving topo and some of the errors are cleared by specifying the length of perimeter and macros edges to 1. The new surface has been generated by selecting the cons in the region of crack and missing surfaces. Other errors are fixed by using the auto-fix option. since the geometry topo is cleaned up, the material has to be defined in the material card. Orientation is done to get the same grey color all over the surface. The instrumental panel with geometry errors and geometry clean-up is shown in the below figure.
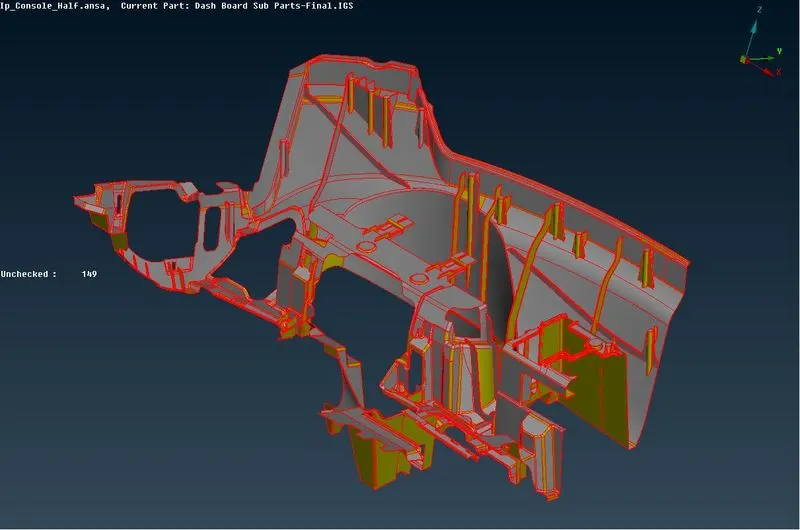
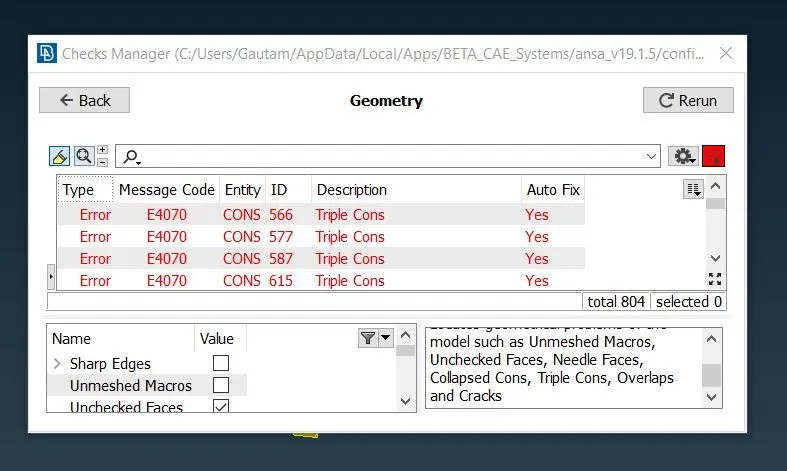
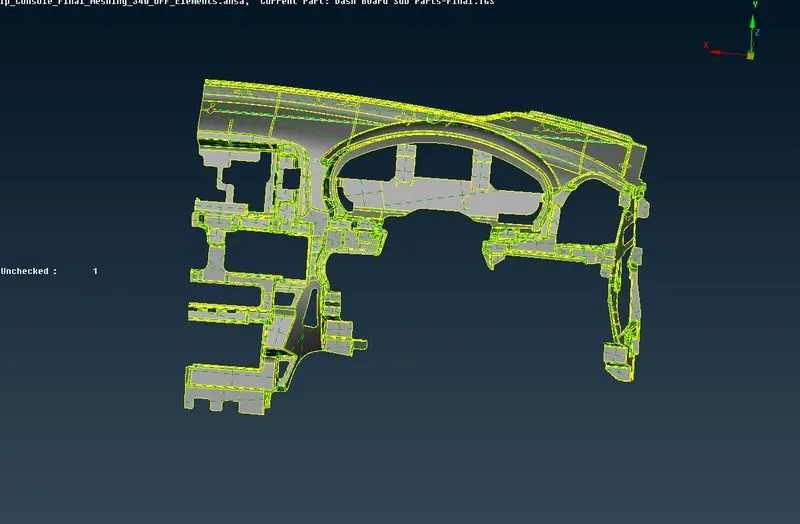
After the geometry clean-up, one unchecked error is popping out because of the graphical representation as it could not able to reflect the surface in the geometry. This error can be cleared by cutting the faces by using the cut command in the topo module. Since it is a graphical error and has no problem in taking the mid surface, it is left unsolved.
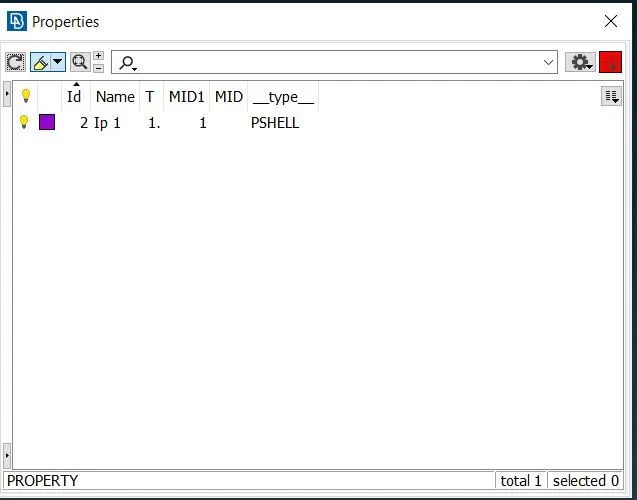
As it has been clear from the property card, the instrumental panel has a single property for the whole instrumental panel model.
The thickness has to be measured all over the faces to ensure uniform thickness. Almost all the faces other than features have a uniform thickness and are measured as 0.6mm. The mid-surface has to be taken for the instrumental panel to proceed further with the meshing.
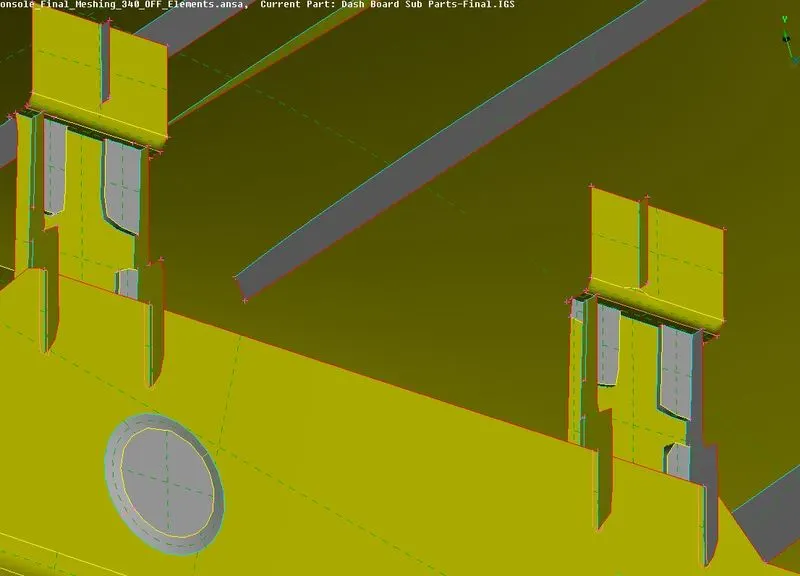
In this project, manual mid-surfacing is adapted to generate the mid-surface for different faces in the instrumental panel. By using the offset and feature area option, the surface has been selected at a single shot and half the thickness value is given to generate the mid-surface. The generated mid-surface has a single con on the outside boundaries since it's not stitched to any other surfaces. As soon as mid-surface is generated, by using !not option, the mid-surface alone is taken out from the main part. The generated mid-surface is subjected to geometry check, if any errors popped up it has been cleared by deleting the face and regenerating it. By using the Set PID option, the new property PSHELL is set up for the Mid-surface. The ribs, dog houses and other features which have different thickness has been studied properly to generate the proper mid-surface.
The features which have a non-uniform thickness, the mid-surface is extracted by using the middle command and by selecting the opposite faces. As soon as the mid-surface is generated, the surface is extended to the parent geometry to match the fillet areas. If the surface is extended away from the parent geometry, the unwanted mid-surfaces are deleted by using the intersect command in the topo module. As the unwanted faces are deleted, the triple cons are formed in the parent geometry. The mid-surface is taken out from the parent geometry and the triple cons are released by using the release command in the cons module, which in turn changes to a single con. The other side of the generated mid-surface is extended to the base mid-surface to form the closed system. If the extended mid-surface goes away from the base mid-surface, the unwanted faces are deleted by intersecting the extended mid-surface and the base mid-surface. As soon as the unwanted face has been deleted, the extended mid-surface forms a triple con on the base mid-surface. Triple con is generated because the con shares triple surfaces.
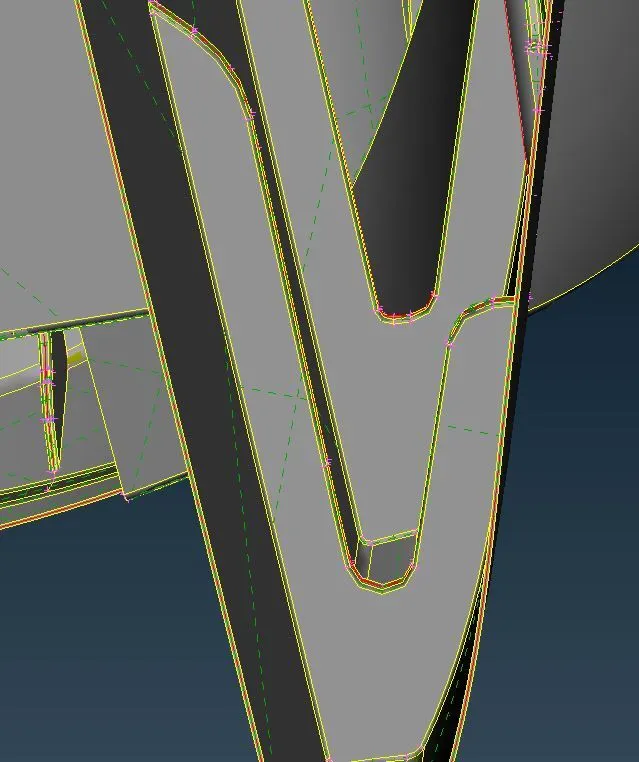
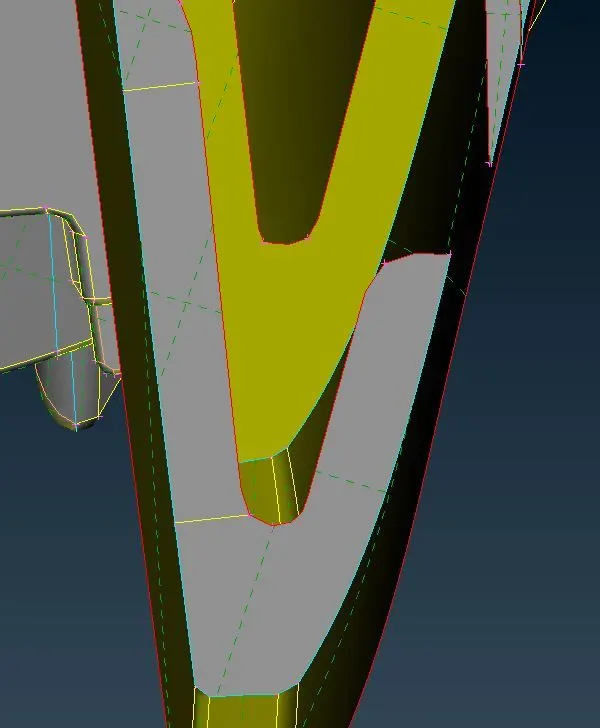
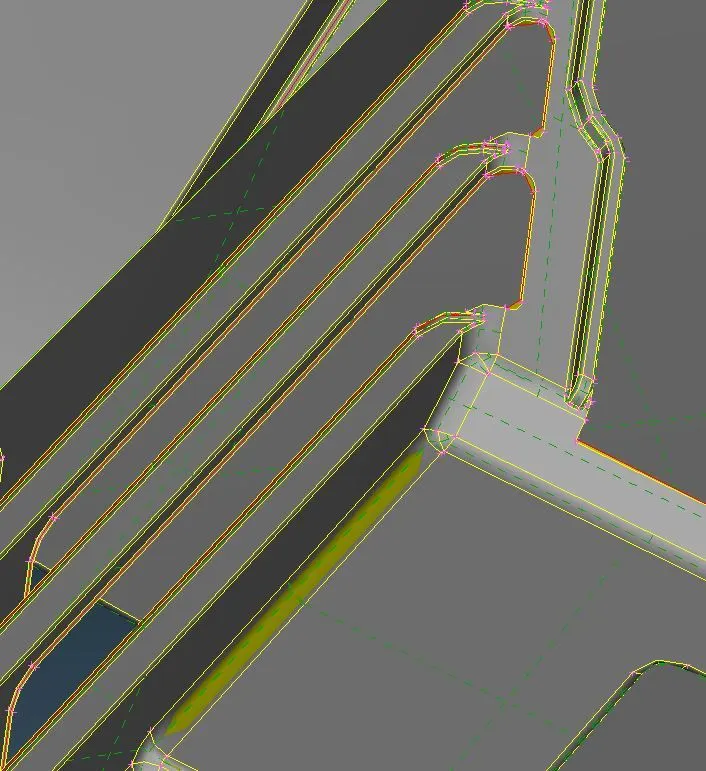
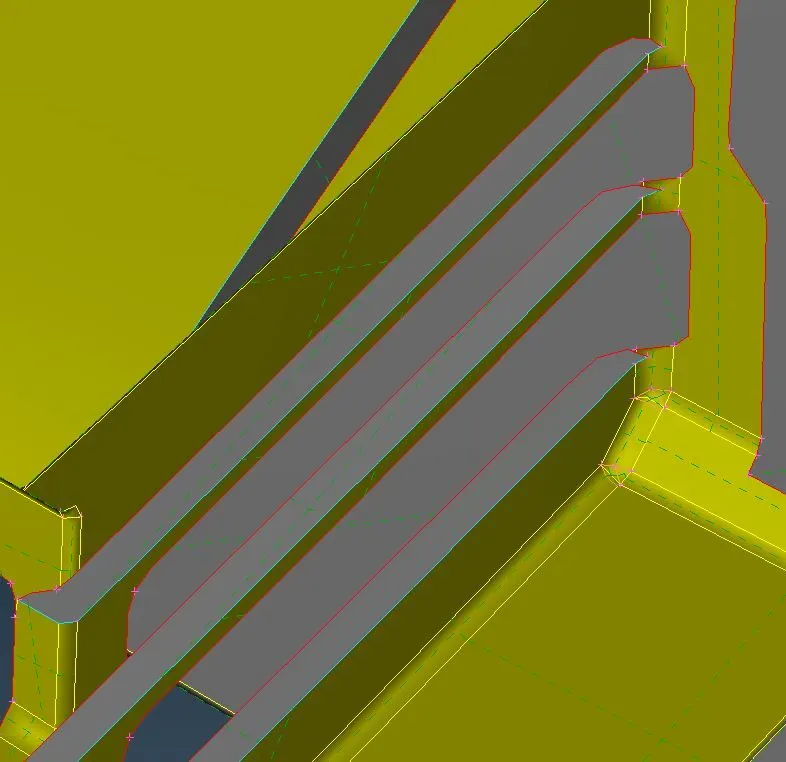
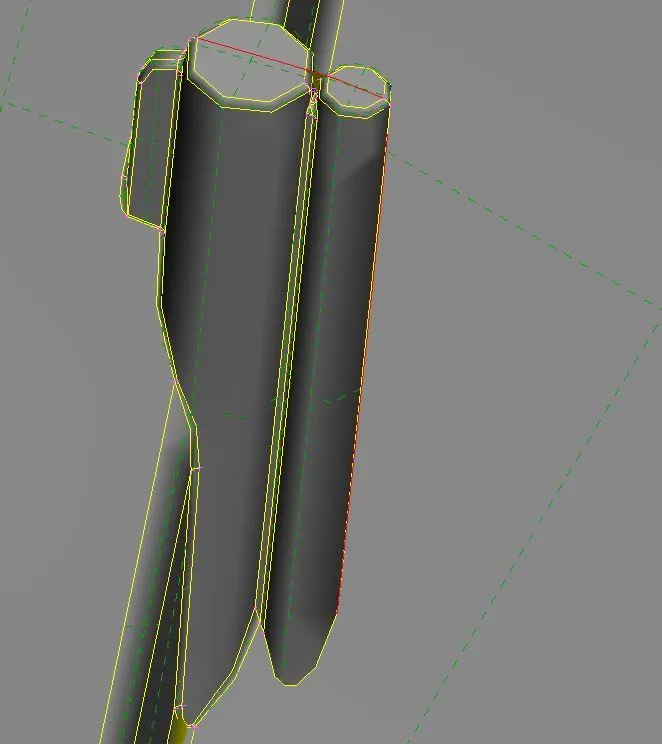
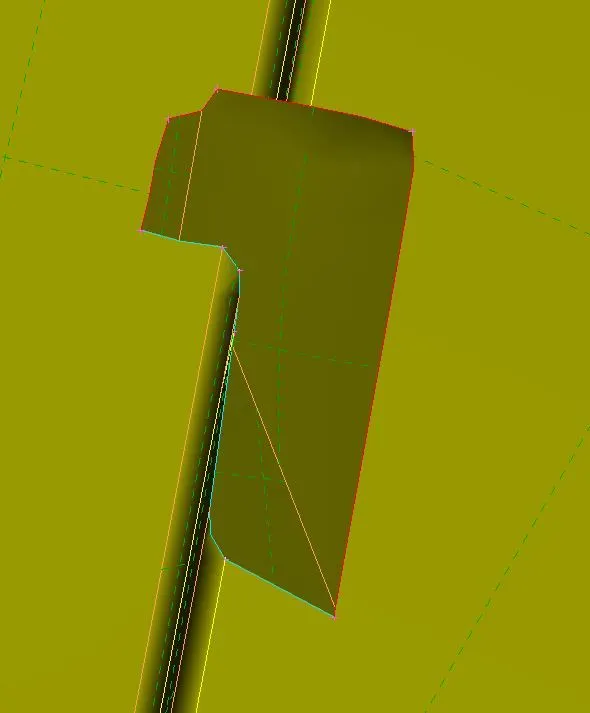
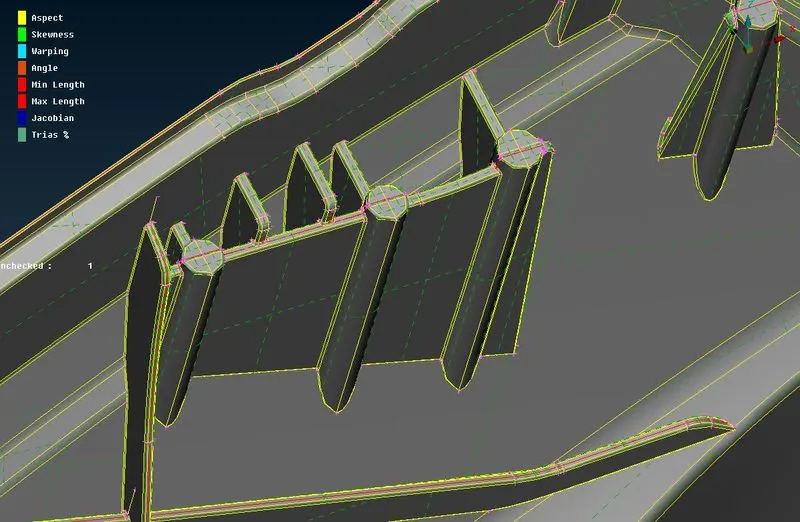
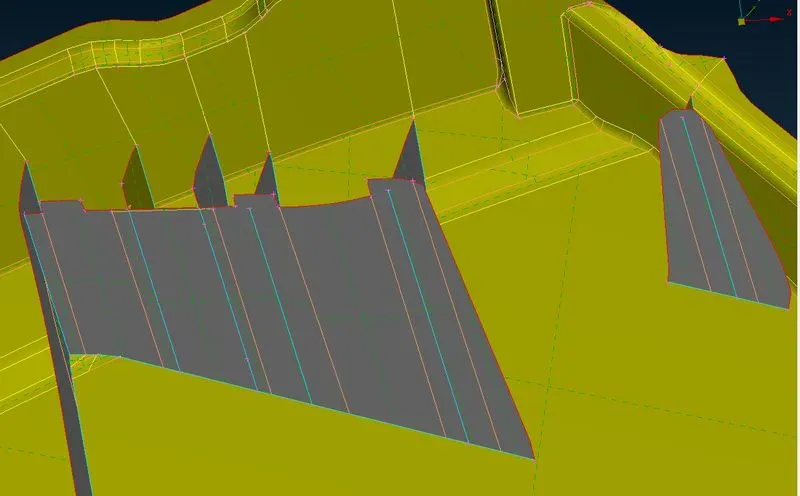
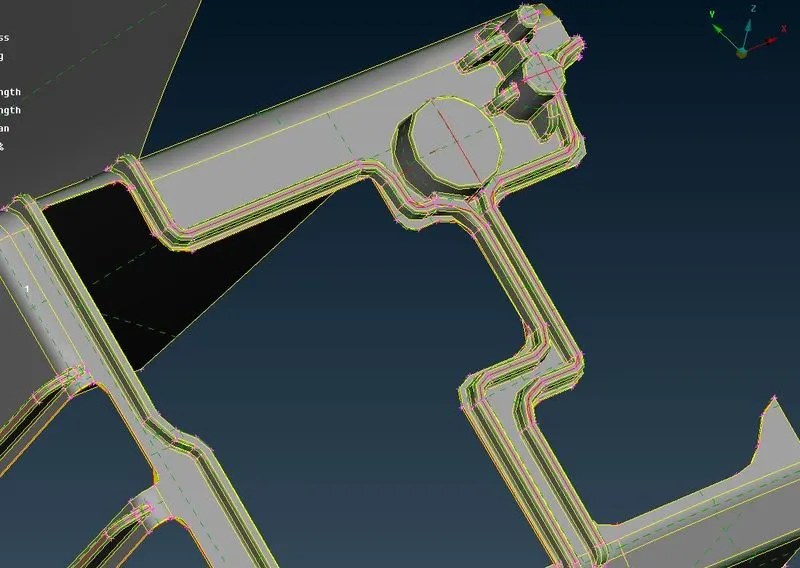
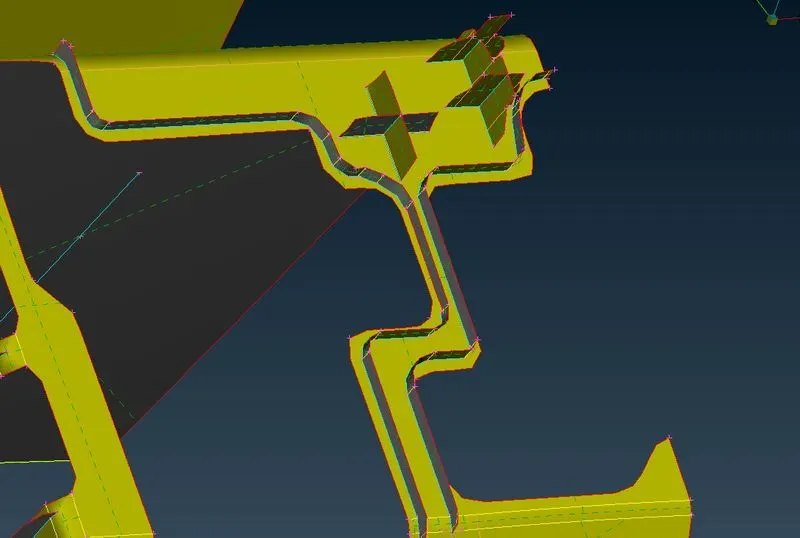
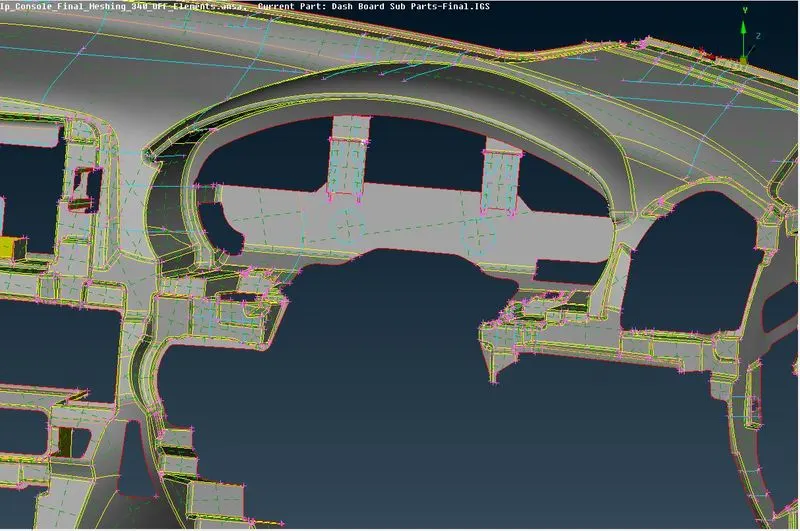
For the feature in the below picture, the curve is generated in the middle, by using the middle curve command in the topo module. The new surface has been generated by clicking the cons of generated mid-surface and the curve to achieve a proper mid-surface for this specific feature.
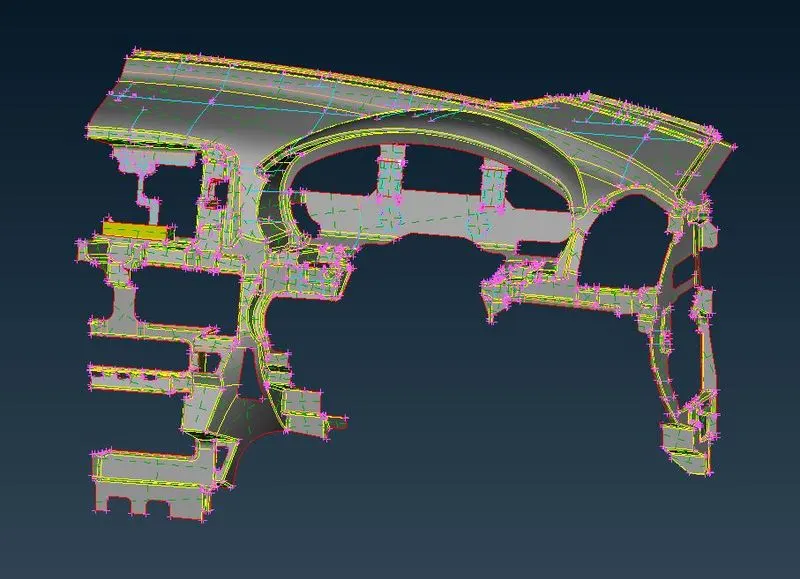
The above procedure is carried out to all features in the model to generate the mid-surface. Once the mid-surfacing is generated for all the non-uniform parts and features, the model is ready for meshing.
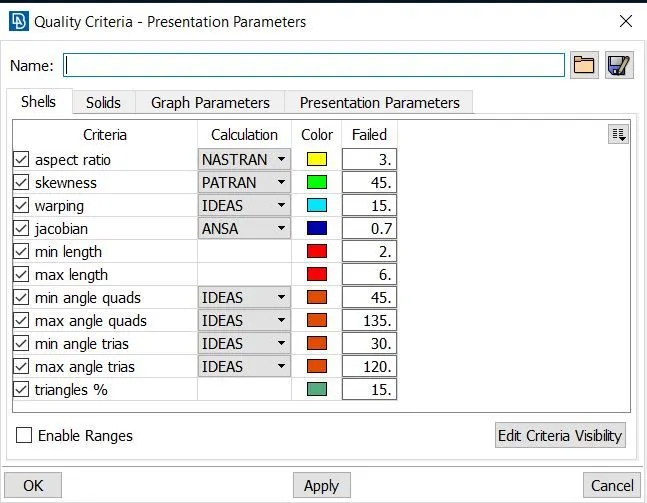
Before going to the mesh module, the mesh parameters and quality criteria have to be set up as per the given conditions. Once the conditions have been set up, the mesh can be generated in the mesh module. Before meshing, the perimeter and macros edges should have the given element of 4. The distance between the nodes has to be checked at critical surfaces to avoid quality failures. If the distance between the nodes falls below the minimum length the defeaturing of the surface should be done. when the mesh is generated and it falls for minimum length by using the edge2perimeter option, the new con is generated, and joining the cons helps to avoid the quality failure at the critical points like fillets and curvy areas.
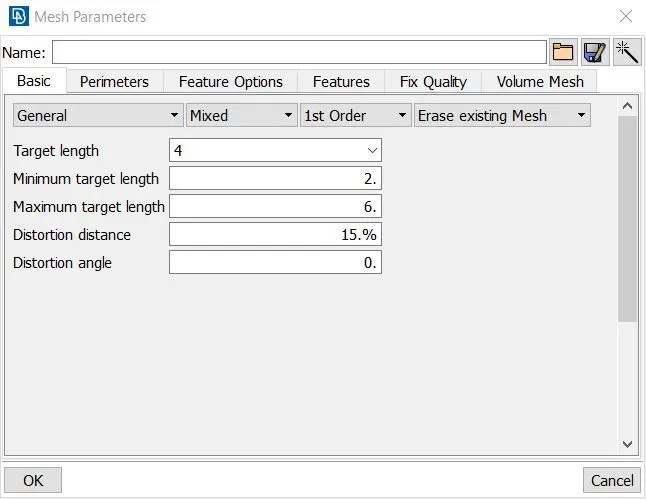
The mesh is generated by using the Best mesh option. To obtain the quality elements and good mesh flow, the different cuts are introduced in the mid-surface. that parts with manual cut have a good element quality and good mesh flow. After the generation of mesh, reconstructing it helps to get a greater quality element.
The hot points on the features like circle holes have to be set up in even number by using num+/- to avoid the bad patterns and it should be kept parallel to any one of the perimeter edges and it should be marked to avoid the changes in its own position. The opposite trias and trias at the perimeter should be eliminated by using split, reconstruct, and smooth options. As soon as the mesh has been generated, shadow mode should be shifted to hidden mode. In hidden mode the falling elements are visible for different qualities and care should be taken to avoid the off elements. All the off elements on the different parts should be cleared and each part should have good mesh flow and patterns.
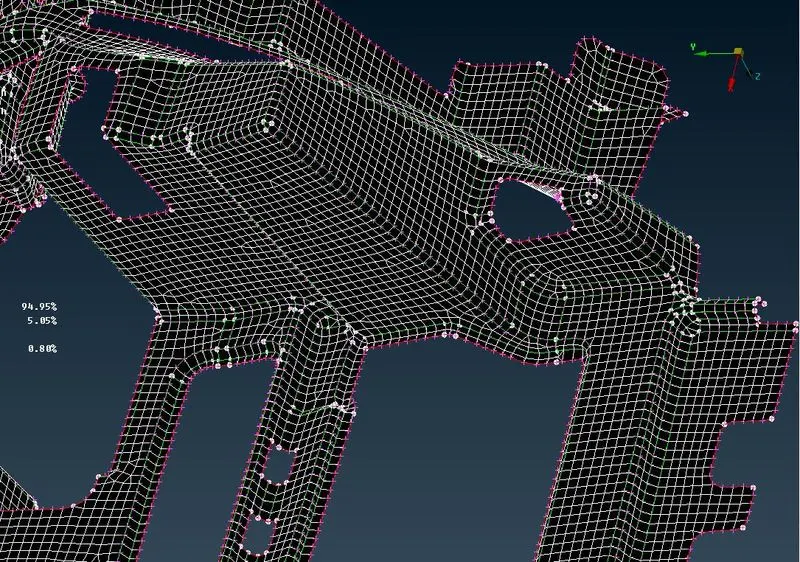
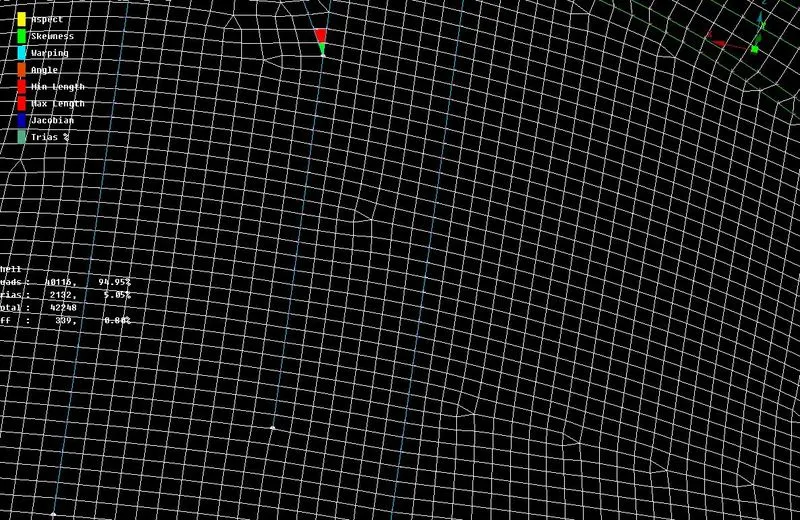
All parts should be checked for element quality, mesh parameters, opposite trias, trias at the perimeter. From the meshed parts, it is understandable that tria elements are present in the convergence area. The off elements next to the triple con couldn’t be cleared since it has a smaller area and failing for the minimum distance and other parameters. The off elements are cleared in the other areas where the model doesn’t have triple cons. Out of 42512 elements, 339 elements are failed to satisfy the quality parameters and it clearly understandable, these off elements are found next to the triple cons where the area is small to satisfy the quality parameters. The off elements are higher since the surface has a lot of triple cons are formed in the generated mid-surfaces.
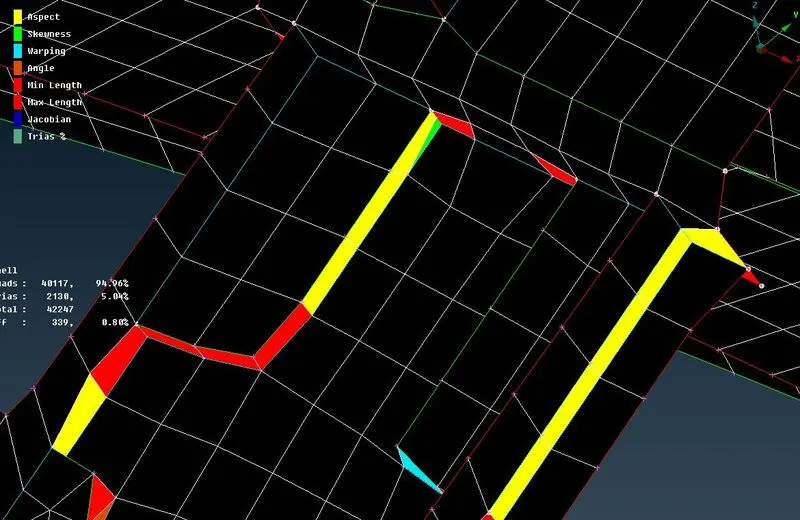
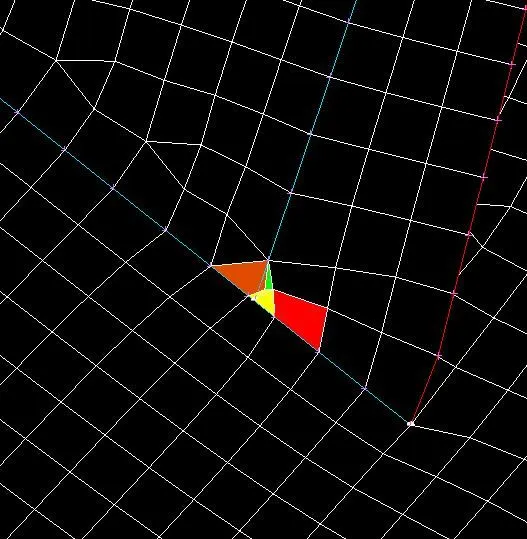
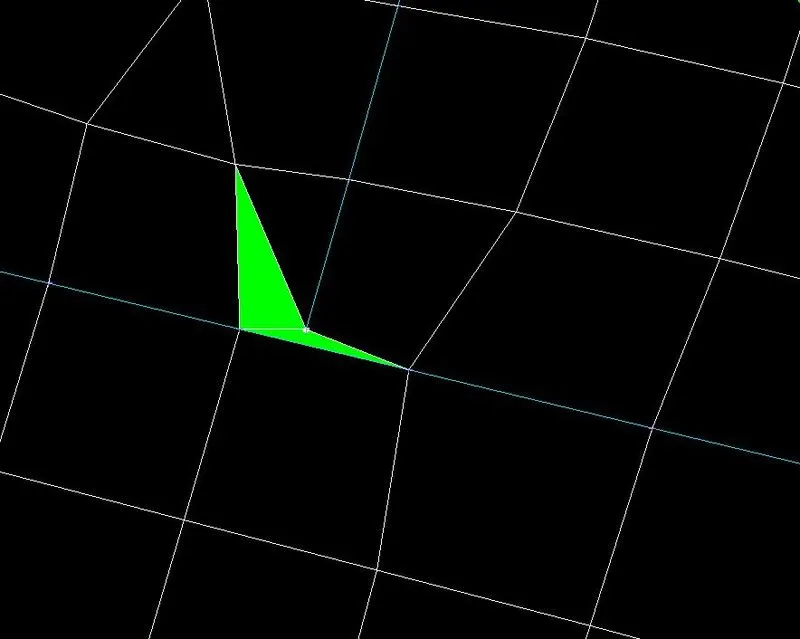
The above picture shows the off elements near the triple cons. the following image shows the good mesh flow and the off elements next to triple cons.
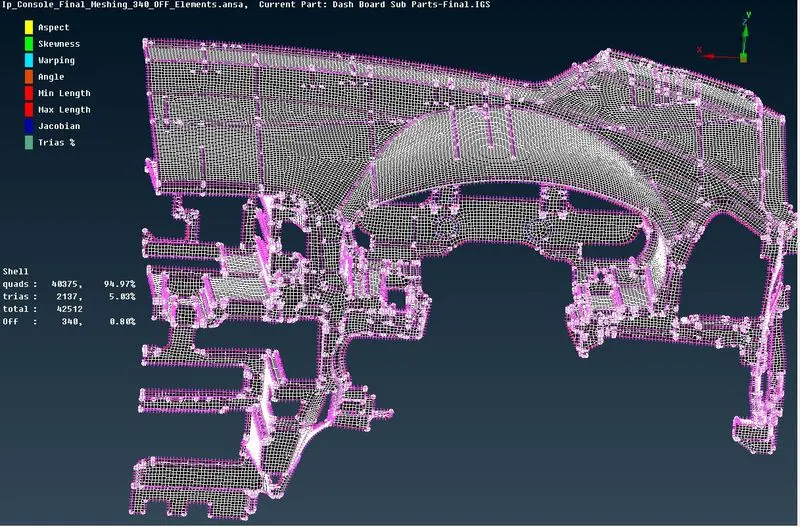
The above picture shows the meshing of the instrumental panel and the number of elements and off elements.
Learning Outcomes:
I learnt how to clean up the geometry in the topo module, how to take the mid-surface for the parts which has a uniform and non-uniform thickness, setting up the mesh and quality parameters, how to deal with the critical surfaces such as defeaturing, and how to achieve good mesh flow by giving manual cuts and I learnt how to deal with the generated trias. I learned how to extend the generated mid-surface and how to use the intersect command to delete the unwanted extended faces. I learned very well how to generate mid-surface for any components with respect to the thickness. More I worked I got familiar with the different options in the topo and mesh module.
Conclusion:
After completing this project, I would like to conclude that I got confident that I will clear any geometrical errors. Furthermore, I could generate mid-surface for any component given and I could achieve a good mesh flow and quality on any parts which has features and fillets. I conclude that it’s great learning and I could work on any projects. I thank the skill-lync for providing such a great platform to learn the pre-processor from base to get confident that I could work on any project without any hesitation. Great work and many thanks to Harsha for helping me out under any circumstances!