Project 1 - 2D meshing on the instrumental Panel
Aim: To the given dashboard component, check for geometrical errors and mesh with the given element Quality criteria. After meshing the component the thickness has to be assigned.
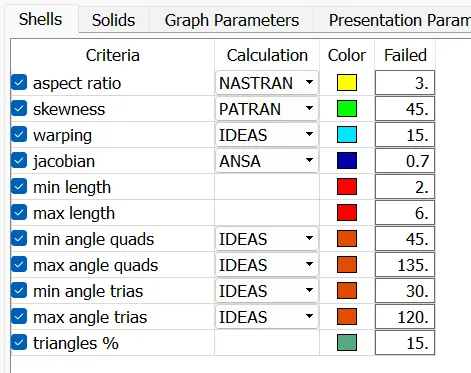
Quality criteria:
|
S.No |
Quality Criteria |
Value |
|
1 |
Target/Average length |
4 |
|
2 |
Minimum Length |
2 |
|
3 |
Maximum Length |
6 |
|
4 |
Aspect |
3 |
|
5 |
Warpage |
15 |
|
6 |
Skewness |
45 |
|
7 |
Jacobian |
0.7 |
|
8 |
Minimum Quad Angle |
45 |
|
9 |
Maximum Quad Angle |
135 |
|
10 |
Minimum Tria Angle |
30 |
|
11 |
Maximum Tria Angle |
120 |
|
10 |
Tria Percentage |
15 |
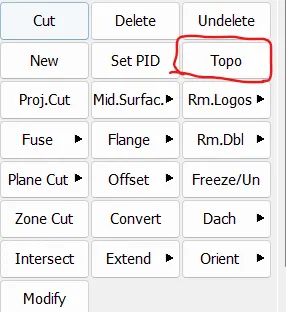
1. First we have to import the model after that we have to do the topo by using the command Topo deck > Faces > topo. The geometry refinements have been done by using the command perimeter in the classic mesh deck.
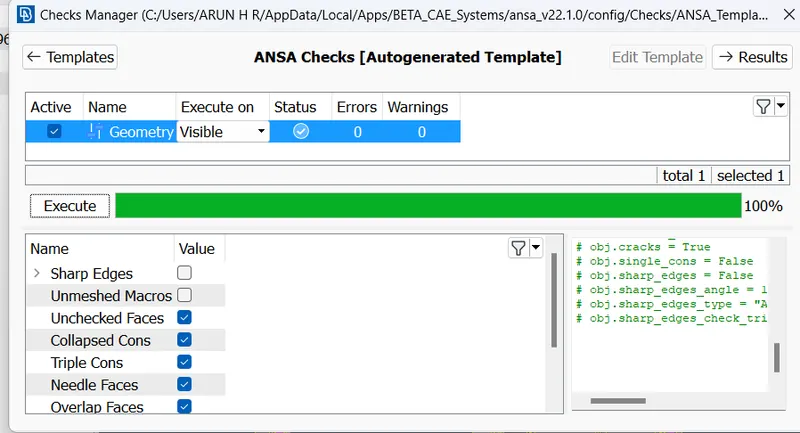
2. Next is to clean the geometry to get a proper mesh in the given component. The errors and the openings in the geometry has been done by using the commands in the topo deck. finally we check the geometry by using the command checks > geometry.
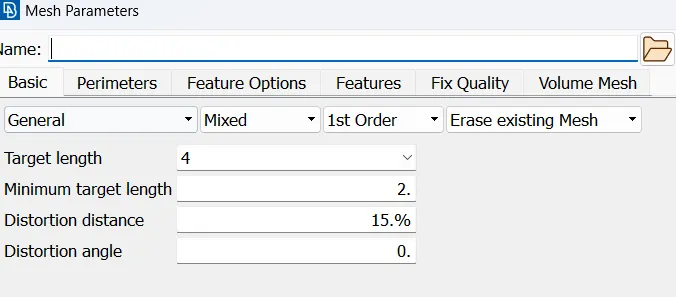
3. The given quality criteria for the given component have been updated in the quality criteria, and also upload the mesh parameters.
4. In this project we used the auto midmesh by using the command Topo deck > Faces > midsurface > casting/extrusion.
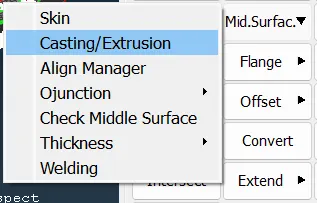
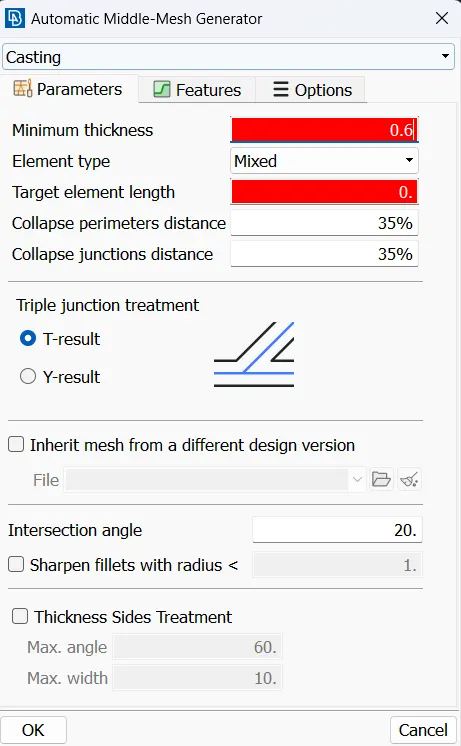
In the casting process we have to give the minimum thickness has 0.6mm and select the mesh type has mixed.
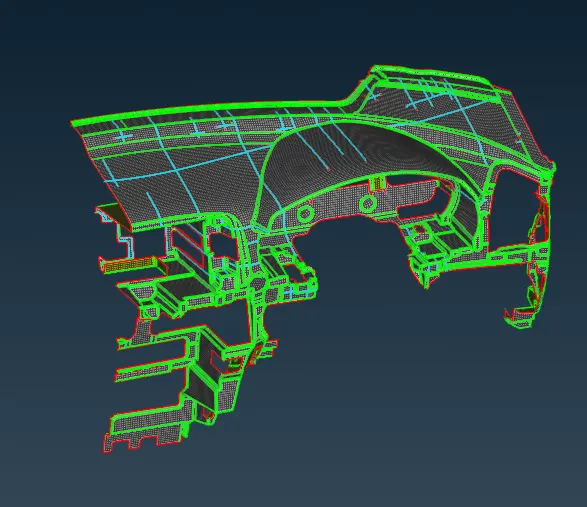
finally, we got the middle mesh as per the given below,
5. After getting the middle mesh we done the mesh alignment by using the align manager which is very help tyo get the mesh in the proper flow.
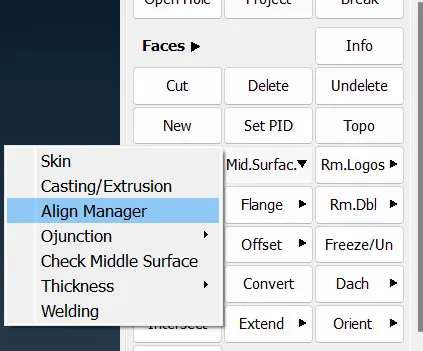
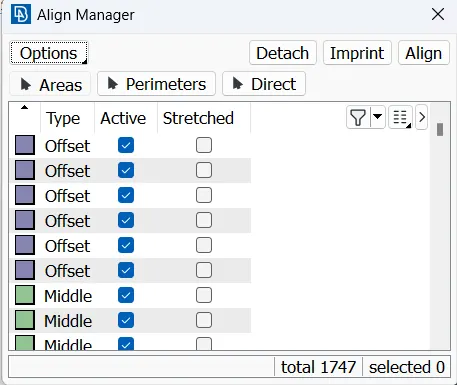
In the align manager we have done the alignment of the elements. The empty areas should add to the existing ones or we have to create a new alignment for the elements of the empty area. The command is used is Align manager > Areas > right click > new > middle / offset/ plane.
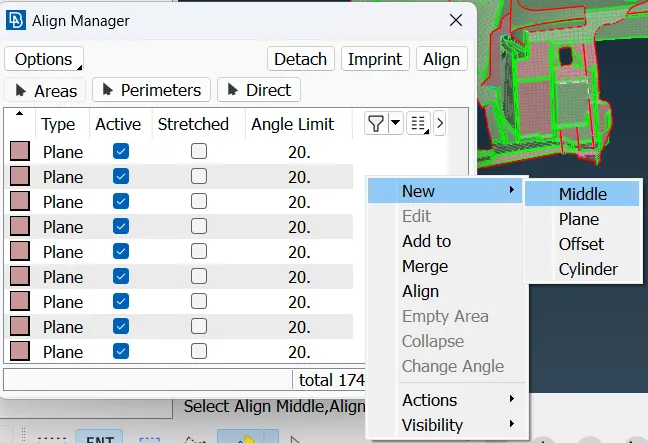
6. After the alignment of the element we have to clear the off element which is present on the component.The off elements are cleared by using cleaning tools like smooth , paste, reconstruct and improve,and split. etc.
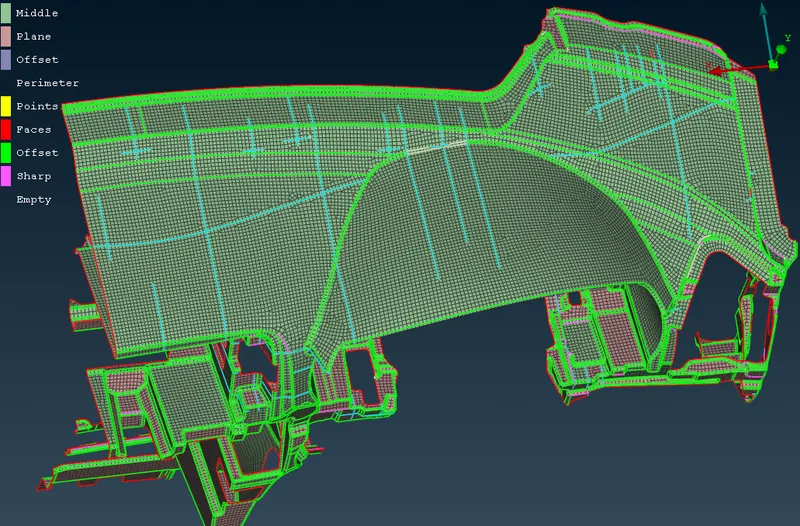
Final model:
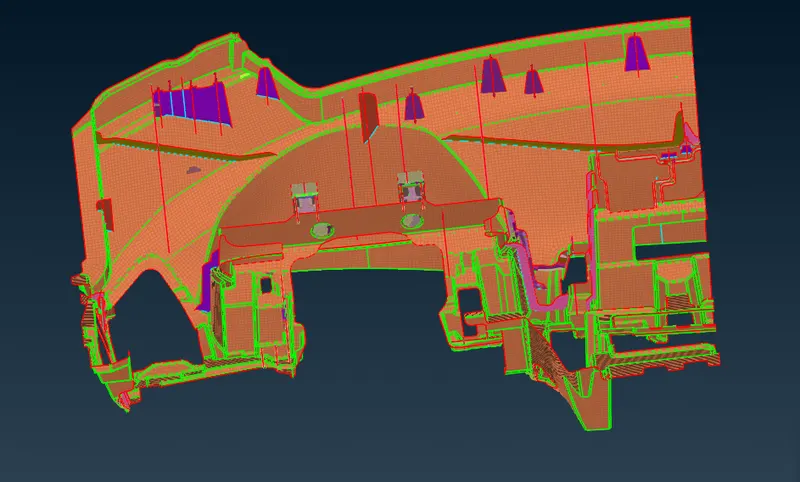
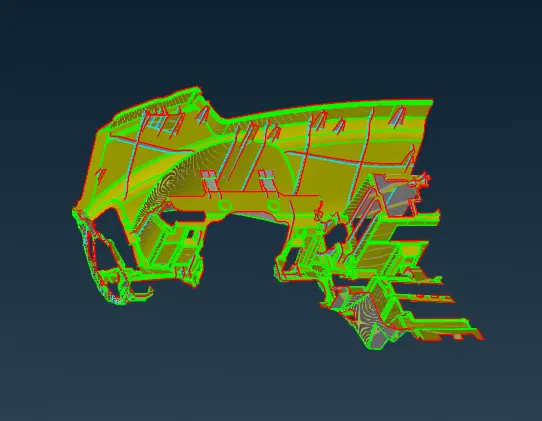
Result:
The given component has been meshed with the given quality criteria. In the some of the regions some elements are failed due to the surface capturing. The thickness is assigned ny using the automatic thickness.
conclusion:
1.In this project learned about how to use the allign manager.
2. How to align the empty areas and capturing the base surface.
3. Finally got the experinces the applying of the automatic thickness to the given component.