Project 1 - 2D meshing on the instrumental Panel
Aim:
For the given component, check for the geometrical errors and mesh with the given element Quality criteria. After meshing the component the thickness has to be assigned.
Below are the quality parameters to be achieved.
|
S.No |
Quality Criteria |
Value |
|
1 |
Target/Average length |
4 |
|
2 |
Minimum Length |
2 |
|
3 |
Maximum Length |
6 |
|
4 |
Aspect |
3 |
|
5 |
Warpage |
15 |
|
6 |
Skewness |
45 |
|
7 |
Jacobian |
0.7 |
|
8 |
Minimum Quad Angle |
45 |
|
9 |
Maximum Quad Angle |
135 |
|
10 |
Minimum Tria Angle |
30 |
|
11 |
Maximum Tria Angle |
120 |
|
10 |
Tria Percentage |
15 |
Procedure:
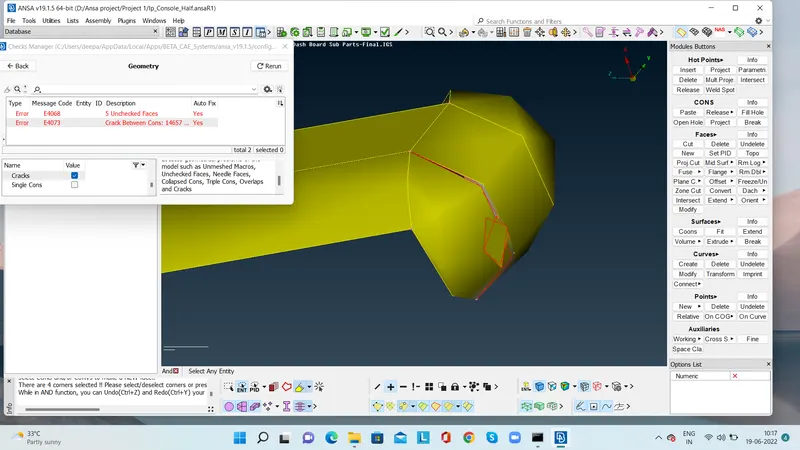
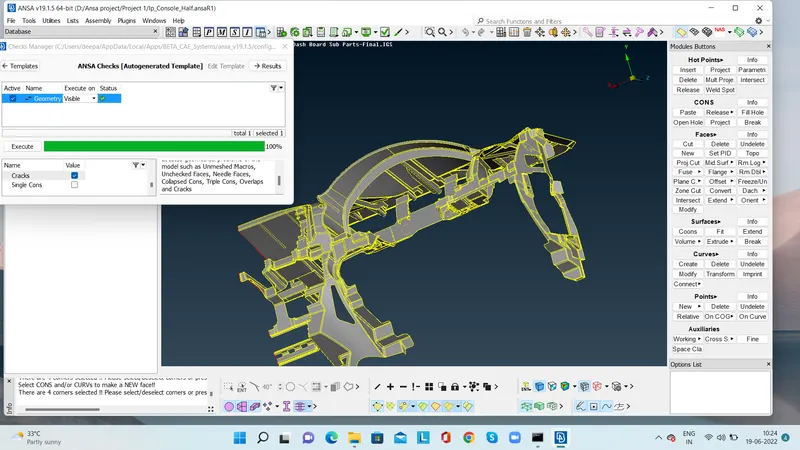
The intial step is to check that the given model doesn't have any design damage.
Then check the geomtry of the given model.
Below are the list of erros may occur and clear the errors and make the model 100% clean.
- Needle face
- Crack between faces
- Triple cons
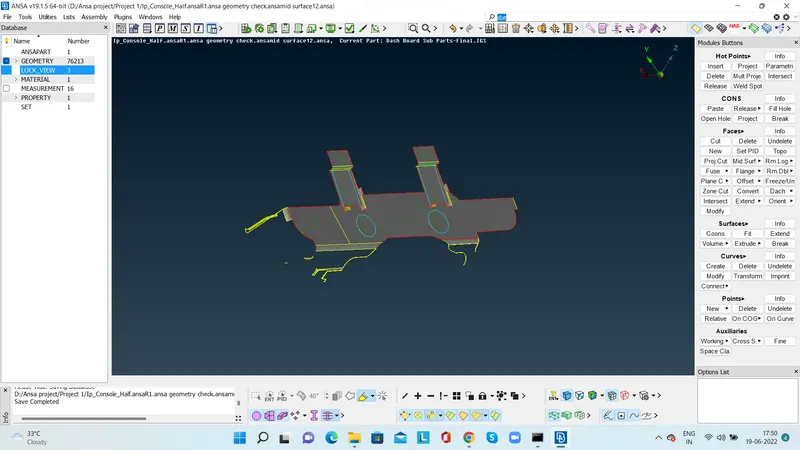
For the 100% geometrically cleared model extract the middel surface.
As this is not a closed volume automated midsurface extraction will not work.
With the tool offset extract the midsurface of each componenet step by step and assign the thickness to the model.
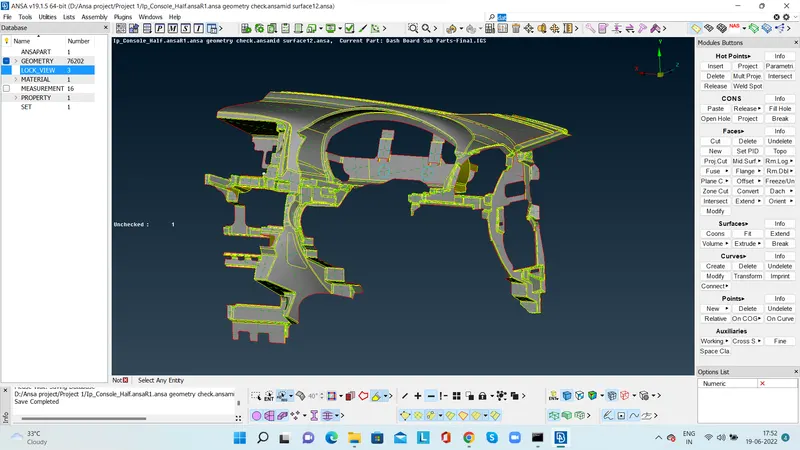
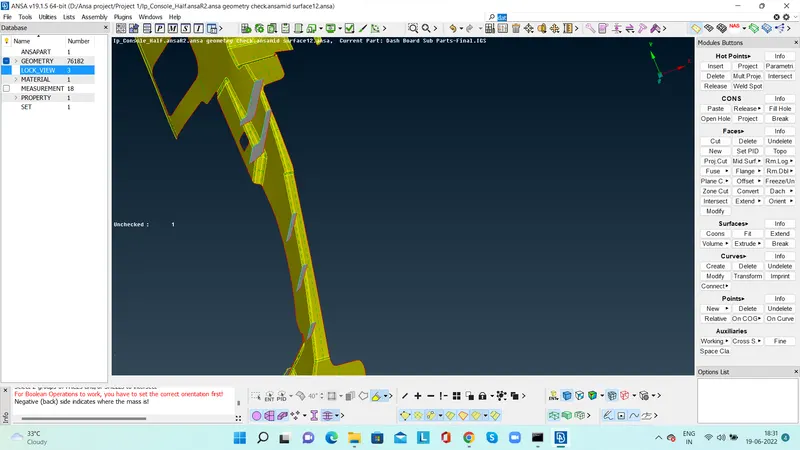
After completion of the middle surface extraction next step is meshing.
For meshing we can go with batch meshing. For that in the model tab make new part for the middle surface.
Select the model from the tab and complete meshing also feed the required quality parameters to the model.
Go with hidden model and check the quality parameters and improve the quality parameters.
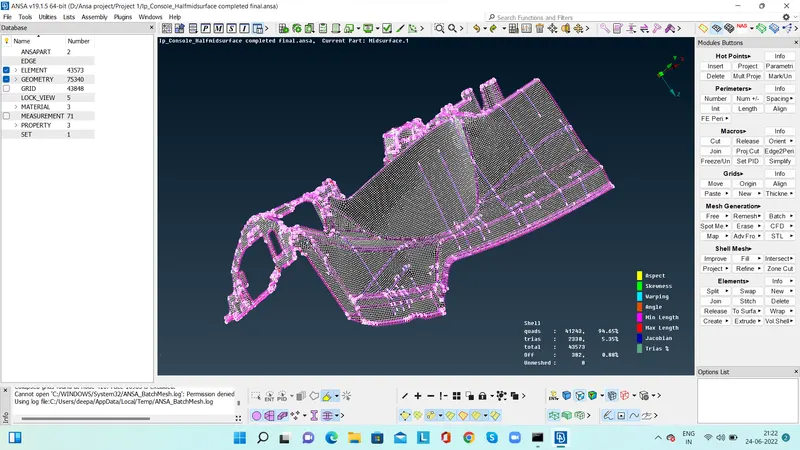
For the given model meshing is completed Zero off element is not possible because at some elements we can't compromise the geometry of the odel.
Make sure minimum off elements and draw the model as solid model.
Learning outcome;
In this project the steps and some technics to achieve good mid surface and minimum off elements.
Conclusion:
For the given model meshing is completed.