Project 1 - 2D meshing on the instrumental Panel
(PROJECT -1)
PreProcessing of Car Instrument Panel Model Using ANSA Preprocesser Software
AIM:
To check for the geometrical errors and mesh the given component with the given element Quality criteria also after meshing the component the thickness has to be assigned.
The quality parameters for the component is given below:
|
S.No |
Quality criteria |
Value |
|
1 |
Target/Average Length |
4 |
|
2 |
Minimum Length |
2 |
|
3 |
Maximum Length |
6 |
|
4 |
Aspect |
3 |
|
5 |
Warpage |
15 |
|
6 |
Skewness |
45 |
|
7 |
Jacobian |
0.7 |
|
8 |
Minimum Quad Angle |
45 |
|
9 |
Maximum Quad Angle |
135 |
|
10 |
Minimum Tria Angle |
30 |
|
11 |
Maximum Tria Angle |
120 |
|
12 |
Tria Percentage |
15 |
ABSTRACT:
In this Project-1, ANSA pre-processor is used to generate mid surface using various options like offset, middle etc. Extended mid surfaces in order to connect all the generated mid surfaces. Mesh the component using spot and best mesh options with given quality criteria also tried to clear off elements present with any kinks or raised edges.
INTRODUCTION:
A dashboard or Instrument panel(I.P.) is a control panel usually located directly ahead of a vehicle's driver, displaying instrumentation and controls for the vehicle's operation. The dashboard originally included an array of simple controls for e.g. steering wheel and instrumentation to show speed, fuel level and oil pressure, the modern dashboard may accommodate a broad array of gauges, and controls as well as information, climate control and entertainment systems.
Contemporary dashboards may include the speedometer, tachometer, odometer, engine coolant temperature gauge, fuel gauge, turn indicators, gearshift position indicator, seat belt warning light, parking-brake warning light and engine-malfunction lights. Other features may include a gauge for alternator voltage, indicators for low fuel, low oil pressure, low tire pressure and faults in the airbag (SRS) systems as well as heating and ventilation systems, lighting controls, safety systems, entertainment equipment and navigation system etc.
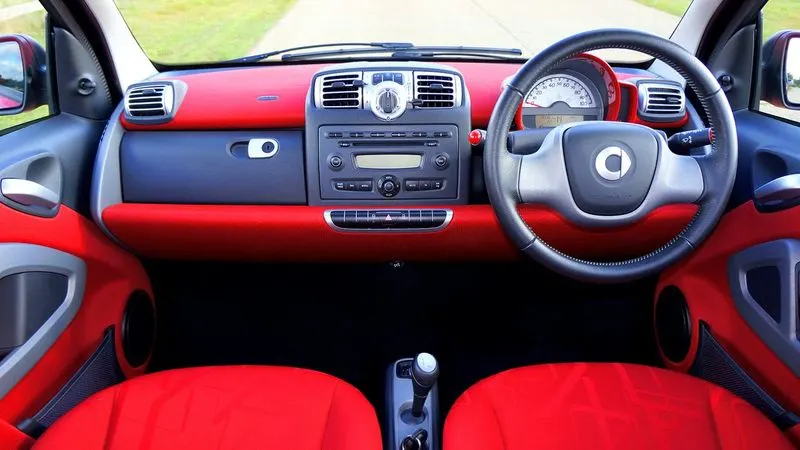
Fig: An Actual Car Dashboard
PROCEDURE:
Step-1
Import the geometry into ANSA and do topo to stitch the surfaces. Now go to Mesh Module > Parameters > Length and set the peremeter and macro length to 1 from 5 to fine the resolution and make the model geometry look proper.
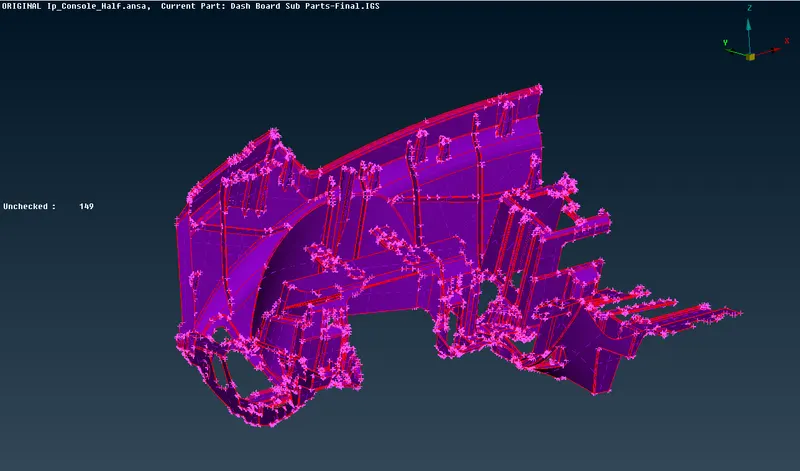
Fig: CAD Model
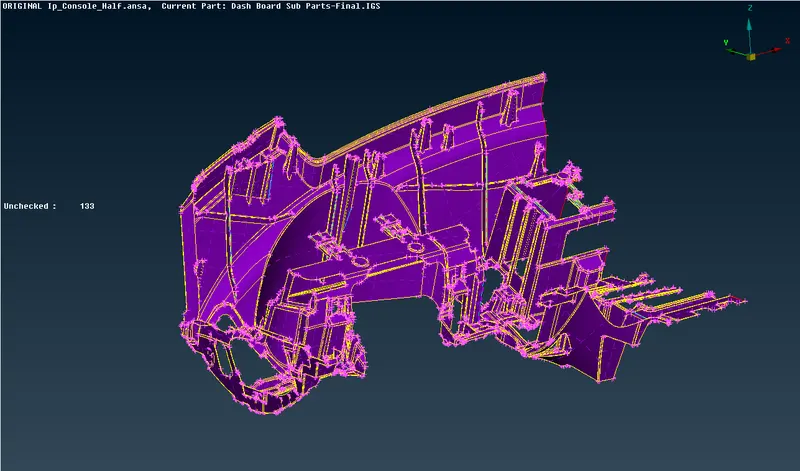
Fig: Model After Topo
Step-2
Check for any error present in the geometry using checks manager and resolve them either by autofix or manually or both.
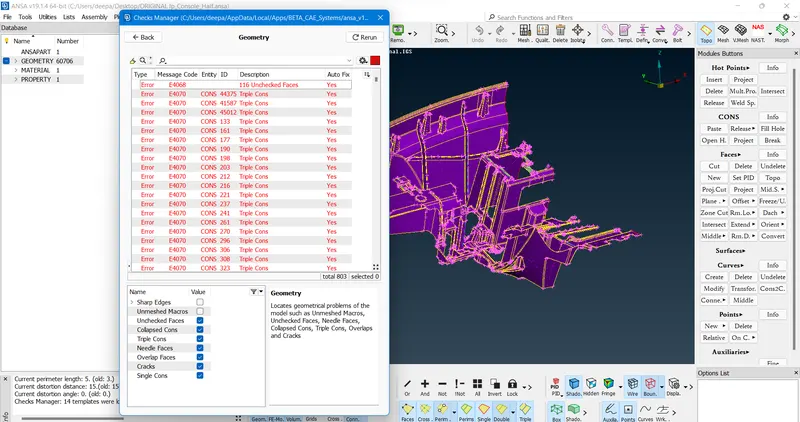
Fig: Before Fixes Applied
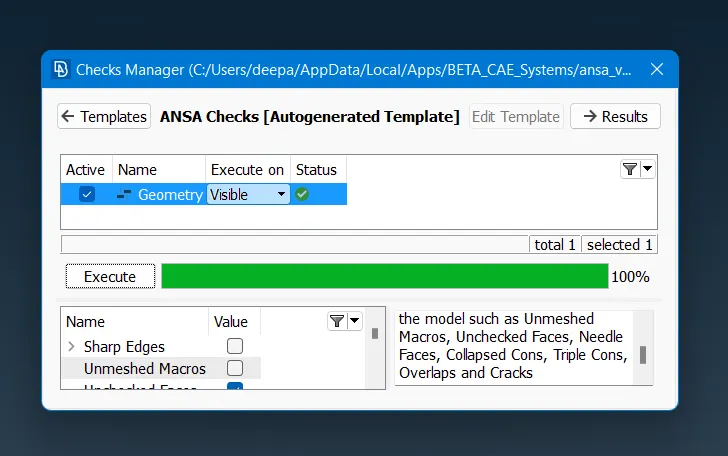
Fig: After Fixes Applied
Step-3
measure the feature thickness at different regions of the geometry and store them for reference.
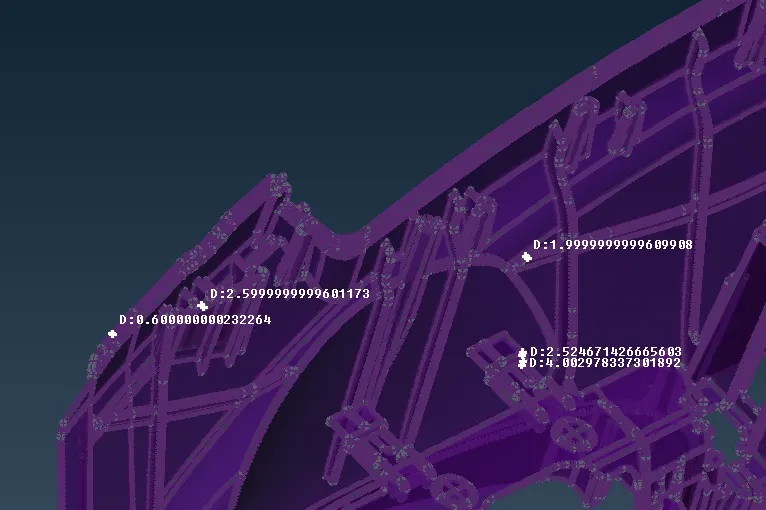
Fig: Thickness Measurement
Step-4
Extract the mid surface of the model geometry and features like ribs and dog houses using suitable approaches respectively.
1. Mid surface extraction of IP base-
Mid surface of Instrument panel base is extracted using offset option and since the base has a large surface area to cover so feature area selection tool is used to cover the entire surface in number of instances, selecting faces as many possible in one instance. After Midsurface generation, thickness and PID is assigned to the extracted mid surfaces.
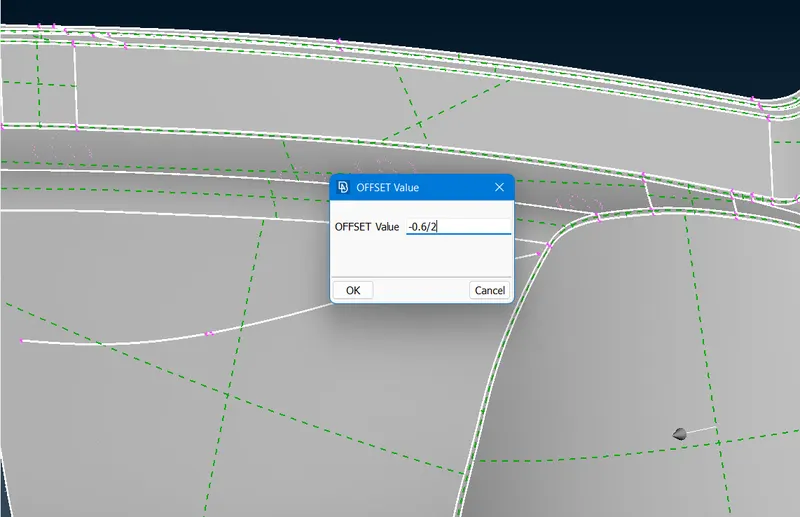
Fig: IP Offset
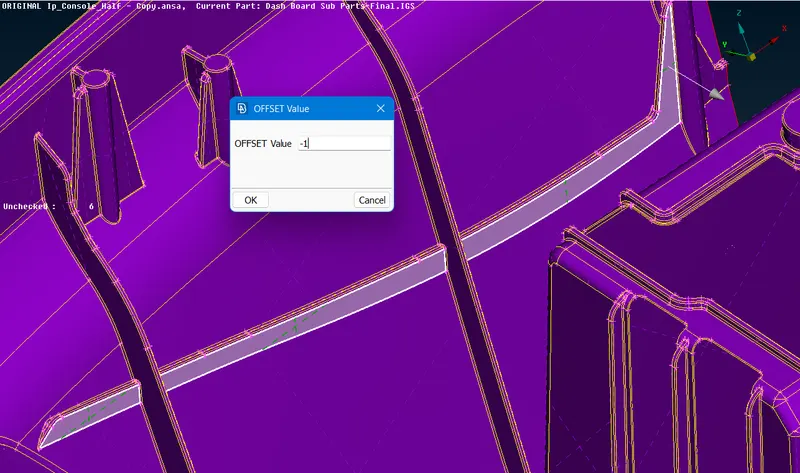
Fig: IP Mid Surface Generated
2. Mid surface generation for ribs and other features-
Most of the mid surfaces of long ribs are extracted using offset option and some of them are extracted using Middle Single option. First we have to measure the rib thickness and then use this data to offset the face accordingly as shown in the images below.
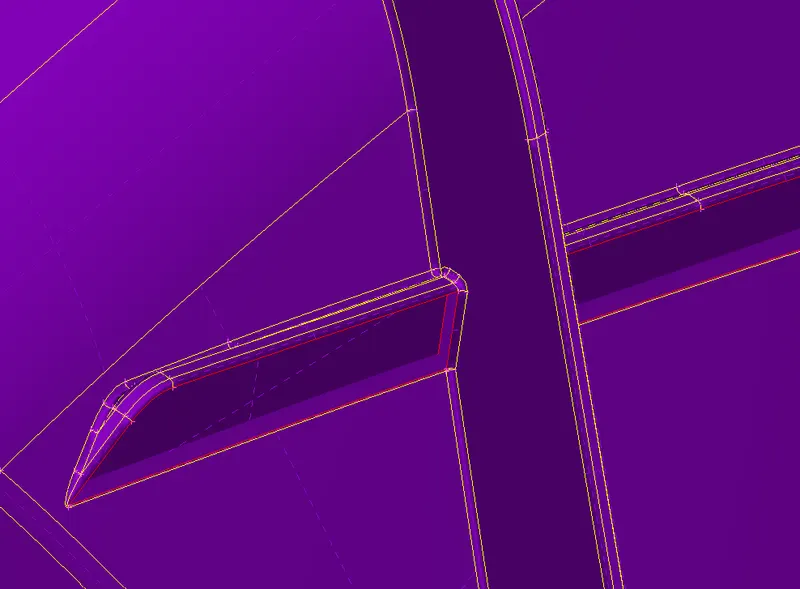
Fig: Rib Offset
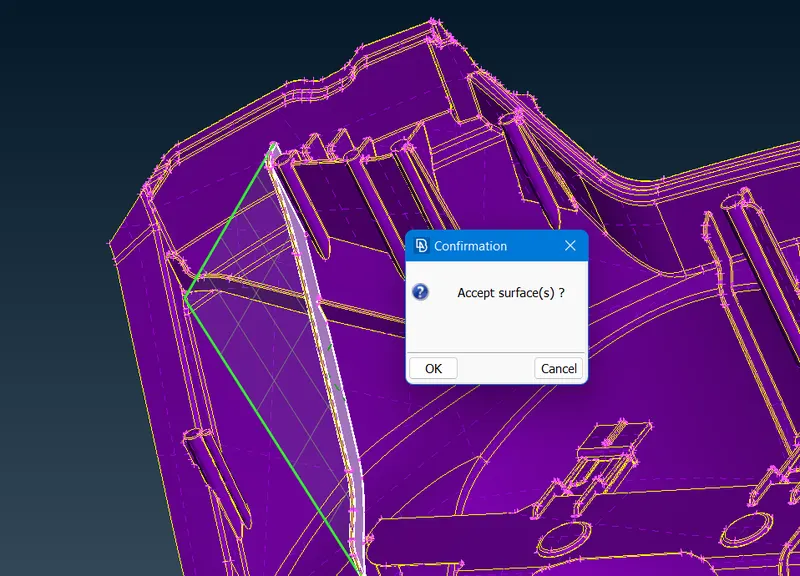
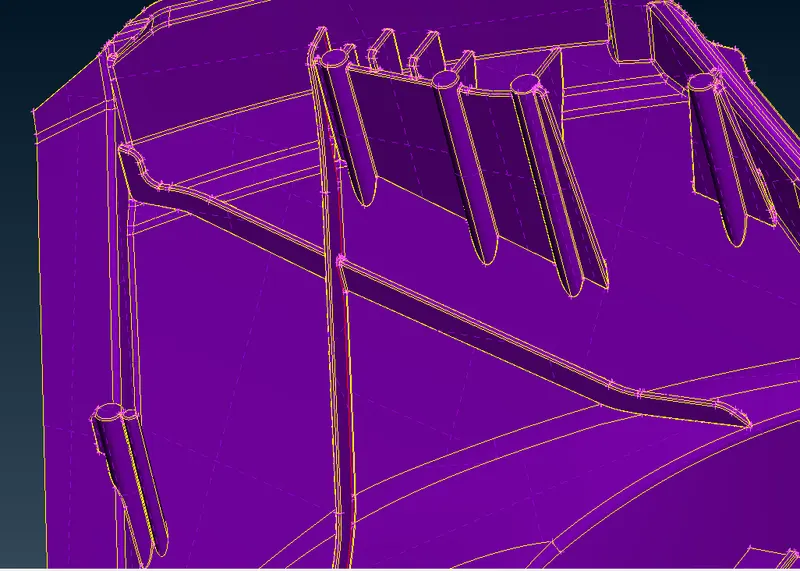
Fig: Mid Using Middle Single
Other mid surfaces for ribs, be it long rib or a short one, are also extracted using offset and middle single option. After Midsurface generation, thickness and PID is assigned to the extracted mid surfaces.
3. Mid surface extraction for dog houses-
Dog houses in this model are captured as "Cross pattern" in Mid surface since dog houses are solid (Hollow from inside) and is not having any thickness. Mid surface generation for dog houses is a bit tricky so what we can do is, we can use middle single or offset option to get mid surface of the connection surfaces between the cylindrical entities and ribs attached to them.
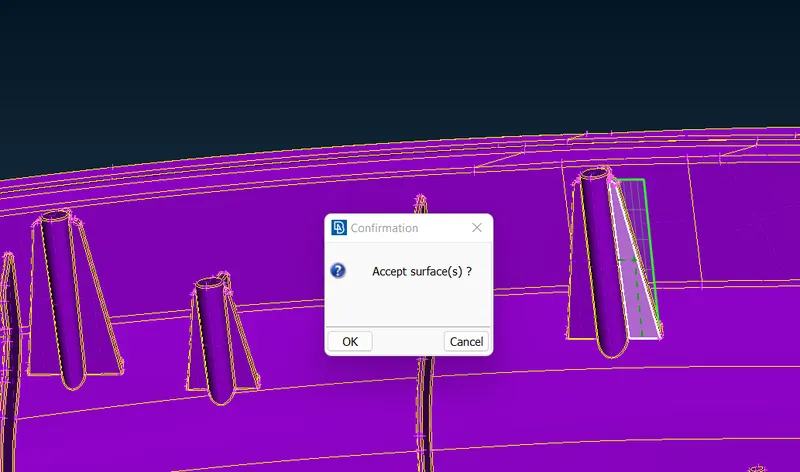
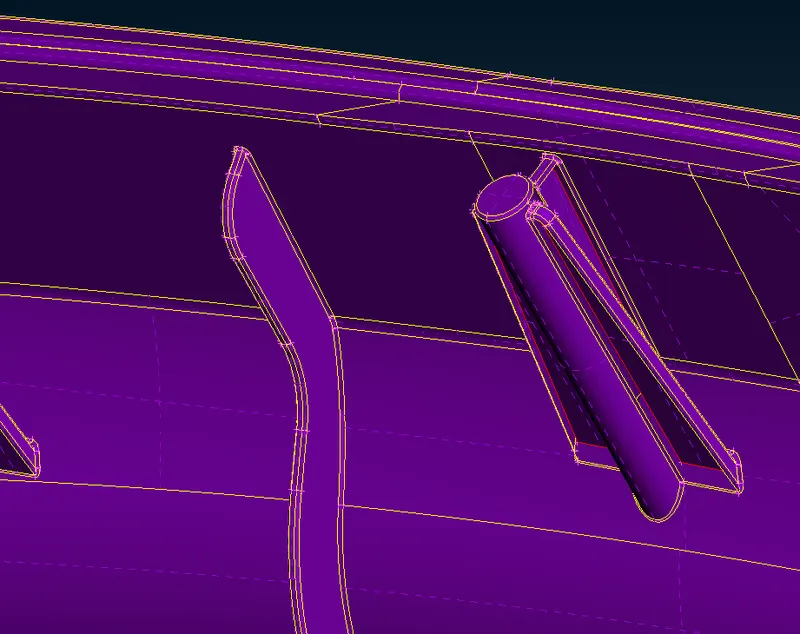
Fig: Mid Surface of Ribs Attached
The cylindrical feature is captured as two ribs intersecting each other in cross pattern, for this we have to ceate cuts on the parent geometry and then convert these cuts into curves using Cons2Curves option. after that new surfaces are created in cross pattern as intended with the help of the curves created.
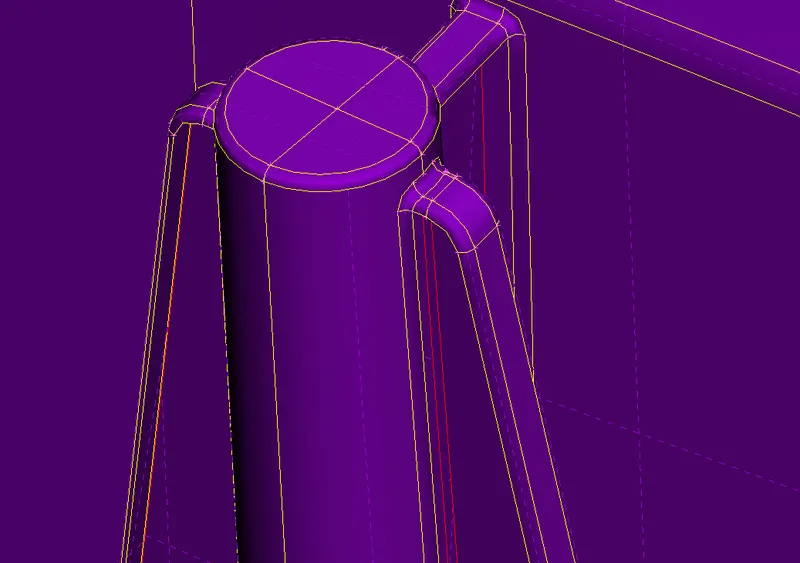
Fig: Cuts Made
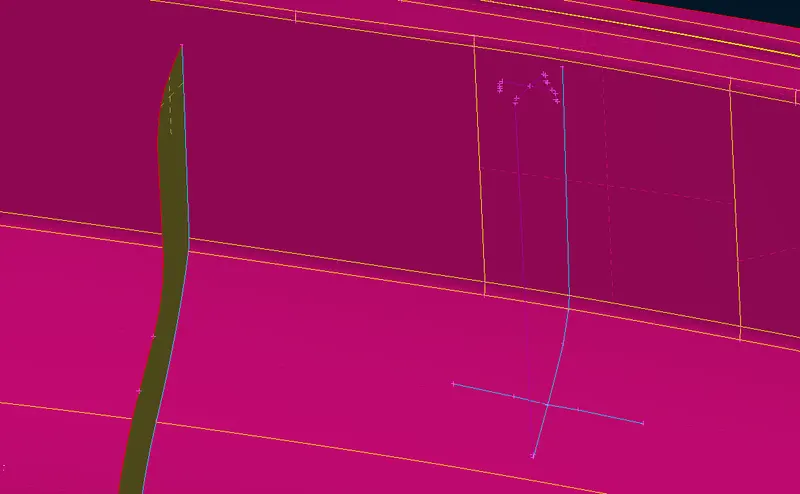
Fig: Curves Created
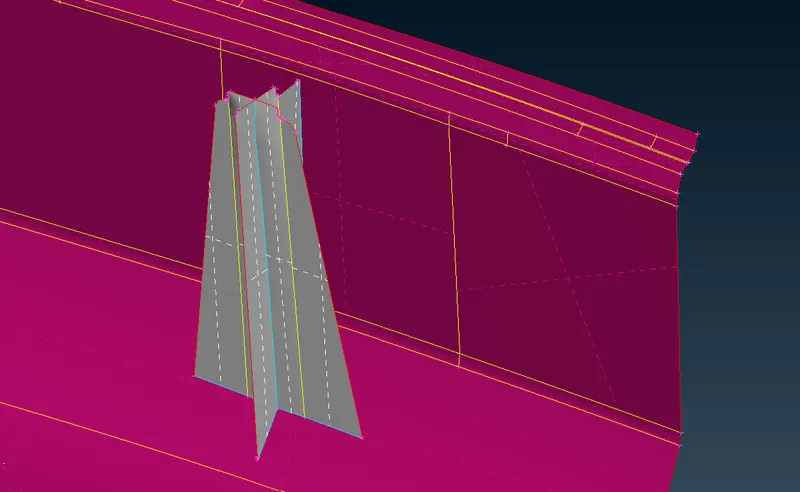
Fig: Dog House Mid
All the dog houses are captured in the same manne After Midsurface generation, thickness and PID is assigned to the extracted mid surfaces.
all the mid surfaces extracted can be seen together after extraction in the image below.
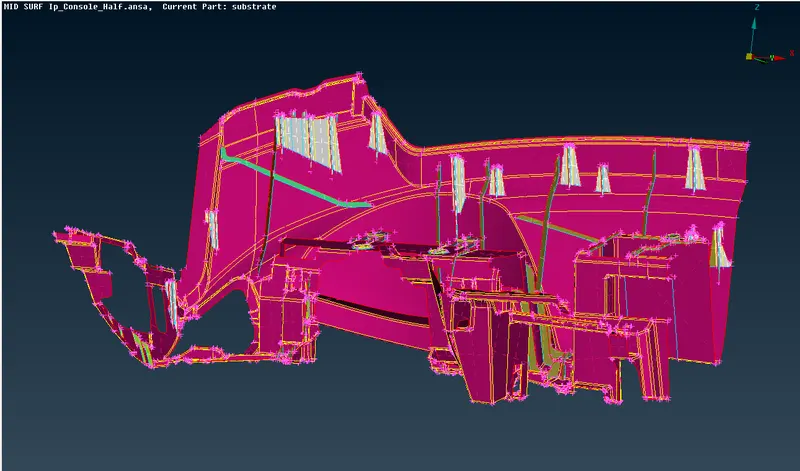
Fig: Final Mid Surface
Step-5
Setup quality criteria given for the meshing of the mid surface extracted.
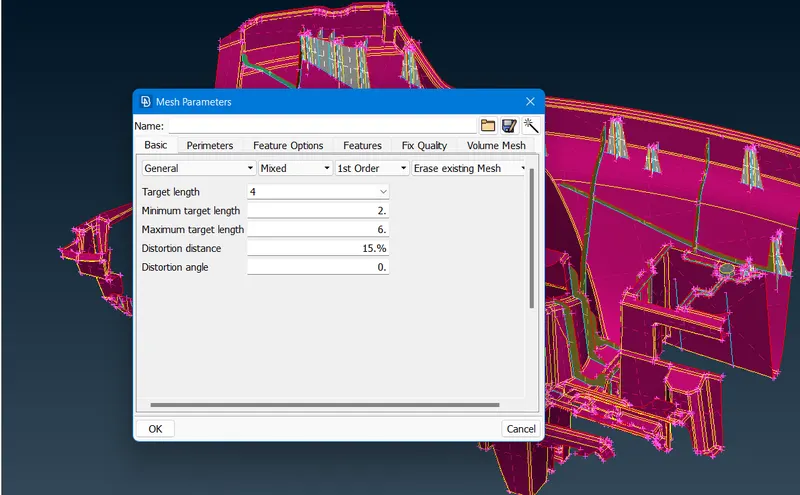
Fig: Mesh Parameters
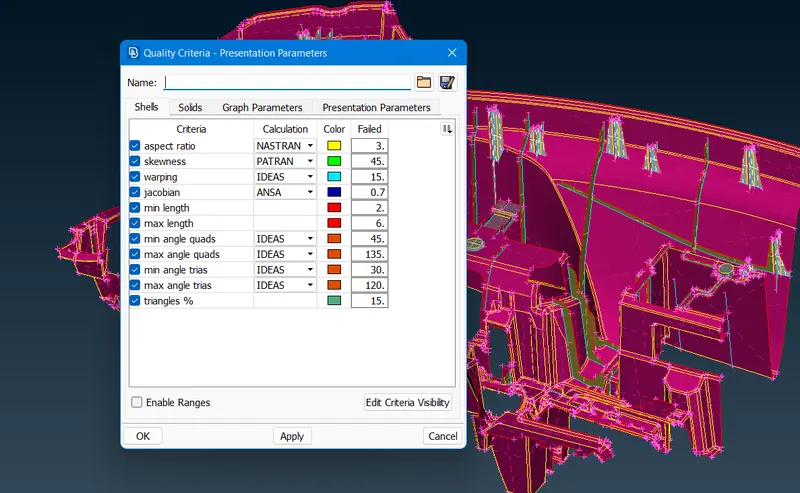
Fig: Quality Criteria
Step-6
Mesh the mid surface extracted using suitable options.
1. Meshing of the IP base part-
Meshing of the Ip base part is done using the batch mesh option. for this, IP base midsurface is set as a part seperately in the model browser to perform batch mesh on it.
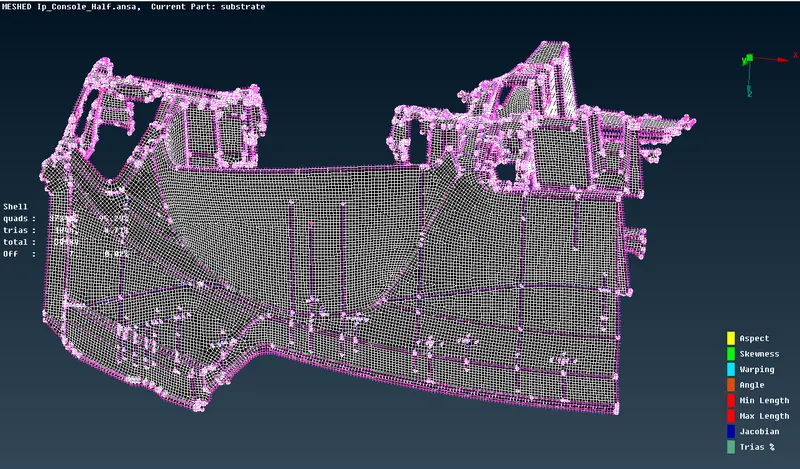
Fig: Meshed IP Base
All the other entities are meshed using best mesh and spot mesh options.
For better mesh flow reconstruct option can be used and opposite trias and trias at the edges are removed using options like swap, split and paste. There are some failing elements present after meshing as they can not be eliminated due to falling between two triple cons.
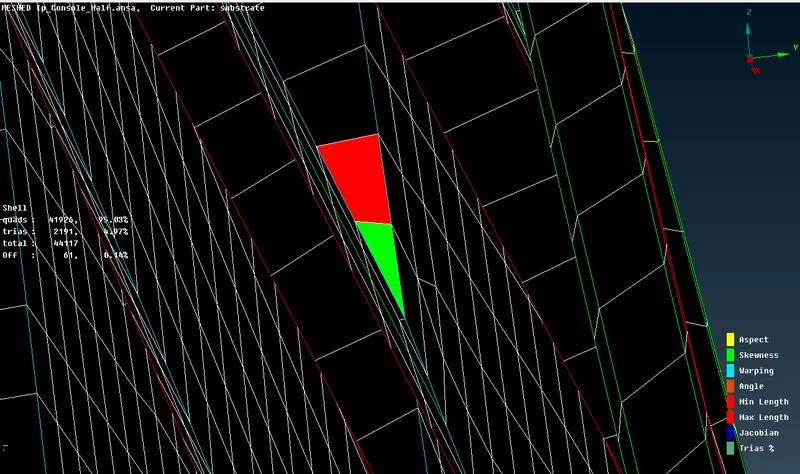
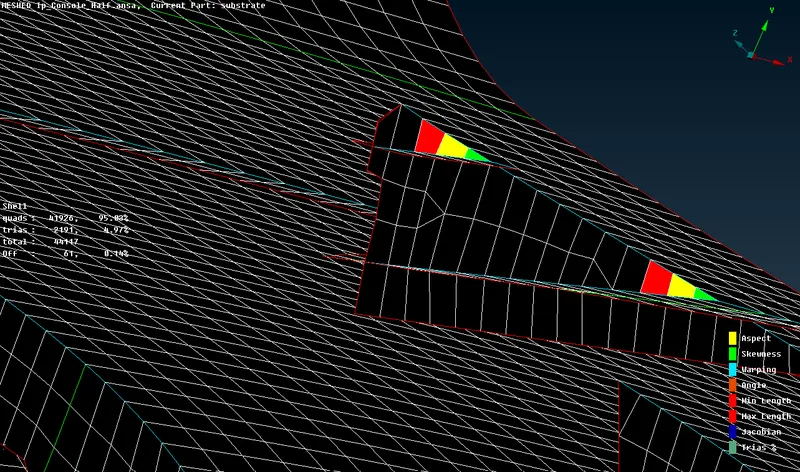
Fig: Failing Elements
The entire mid surface can be seen after meshing in the image below.
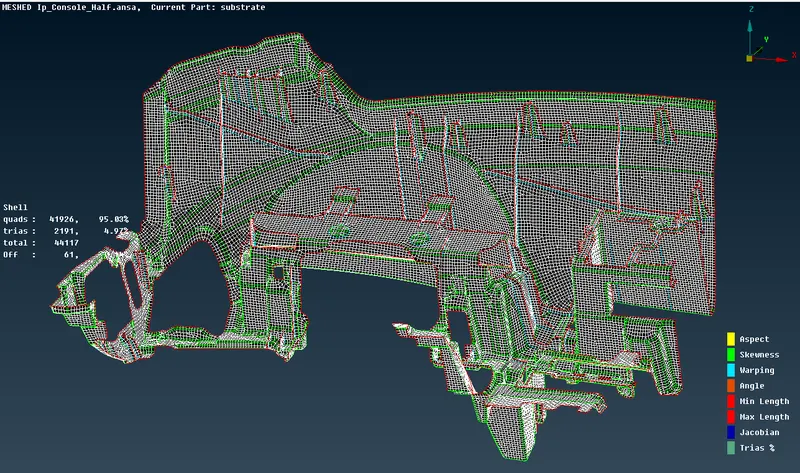
Fig: Final Meshed Model
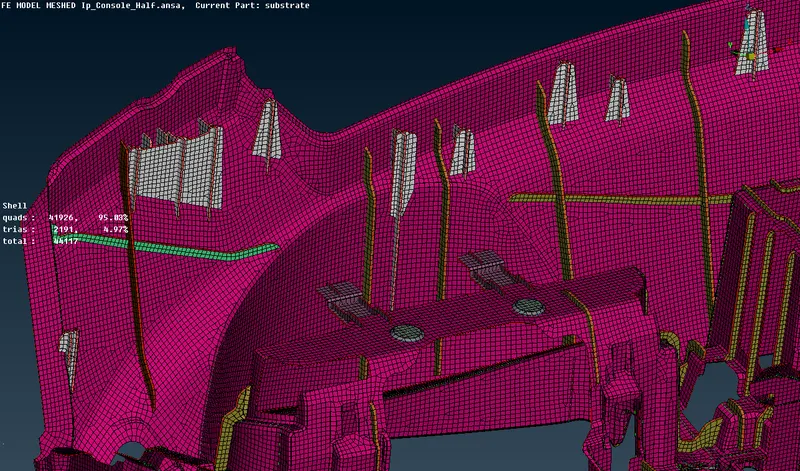
Fig: FE Released Shell As Solid
CONCLUSIONS:
Successfully extracted mid surface for given IP Panel Model, assigned thickness and PID's for different parts and meshed it as per quality criteria given.
LEARNING OUTCOMES:
- Assigned separate PIDs for different surfaces.
- Able to generate mid surface for complex geometry with varying thicknesses.
- Aware of all the quality criterias and quality parameters during mesh generation.
- Understood about mesh generation and implemented mesh generation for complex geometry.
- Learned how to improve mesh flow and remove trias to achieve better mesh flow