Project 1
1. Create Civil 3D Design File
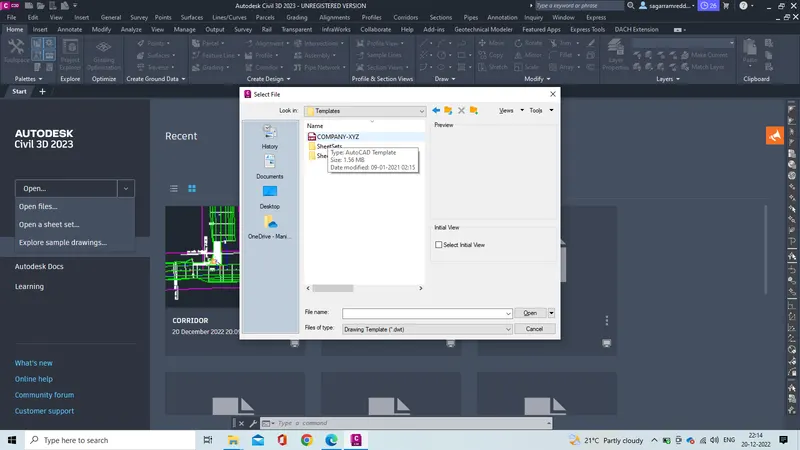
1.Open new file and select the COMPANY XYZ templete .dwt file and open
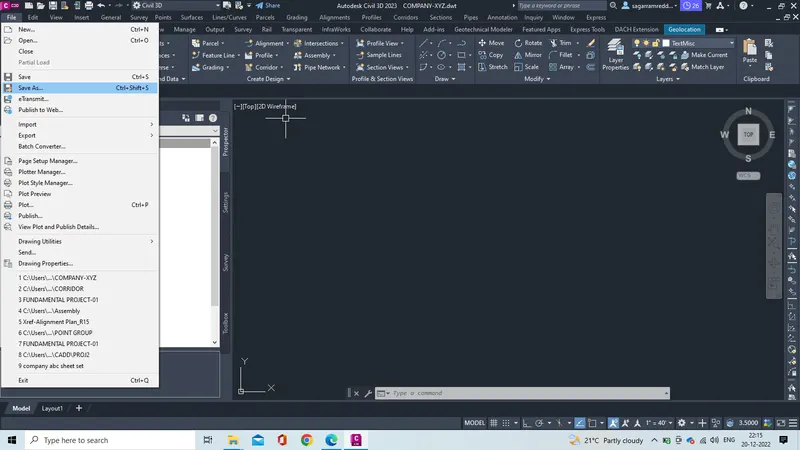
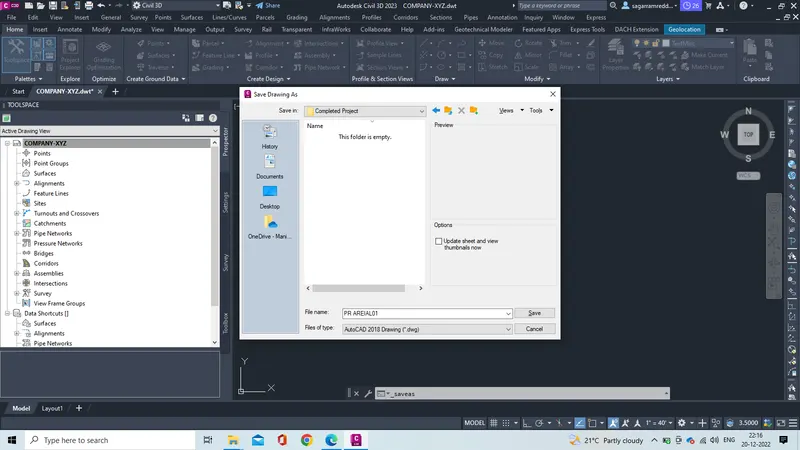
2.Then go to save as and select the location where the file should to be saved and name it as PR ARIAL01 file.
3.Save that file in .dwg file and the civil 3D design file is ready.
2.Create surface File & Create Surface by using given Survey Data.
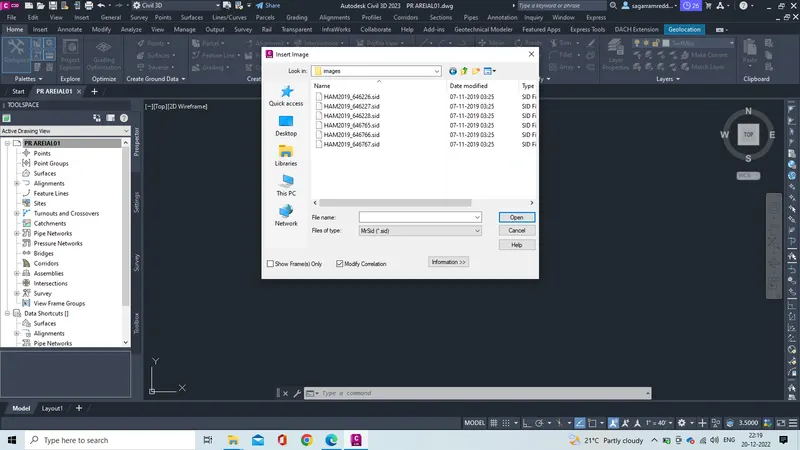
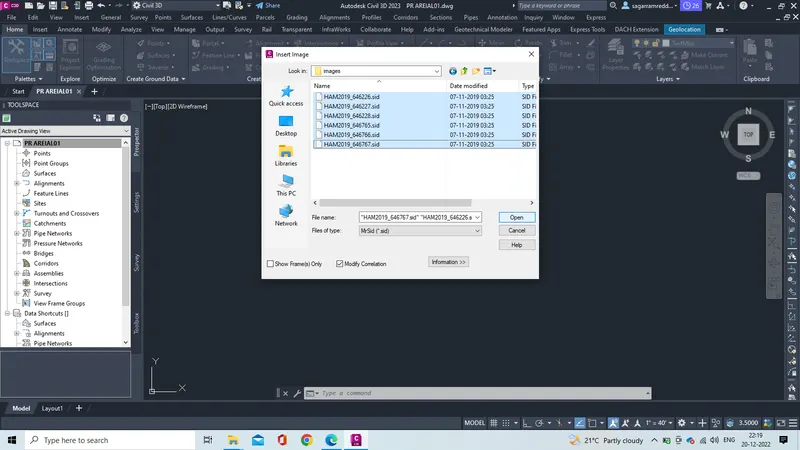
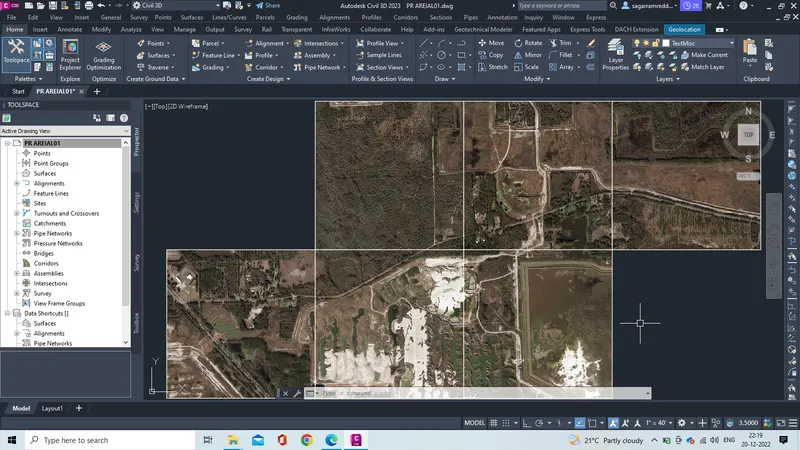
1.Use the sid files provided in the course, by typing the command MapiInsert command open the provided sid(image files) ARIAL FILE IMAGES IN THE creadted areial templete file.
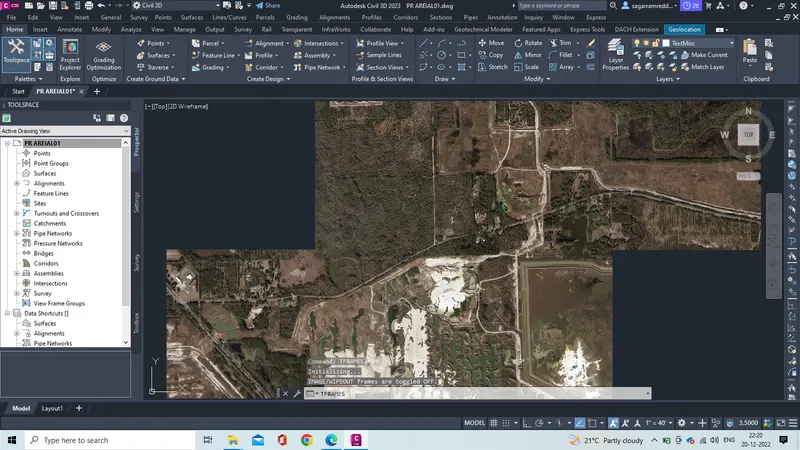
2.By typing Iframe command off or hide the image frames.
3.The select the image and fade it to 50 percent for clear view.
3. Create Alignment by Using Proper Geometry Standard & apply Supeelevation.
1.Open the company xyz provided file and save it as PR DESIGN file and save it
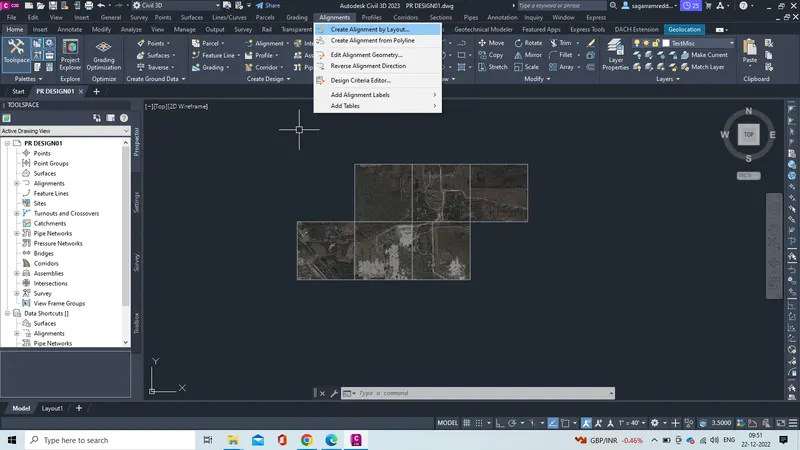
2.Now xRefrence(xref) the PR Arieal file in the PR DESIGN file and save it.
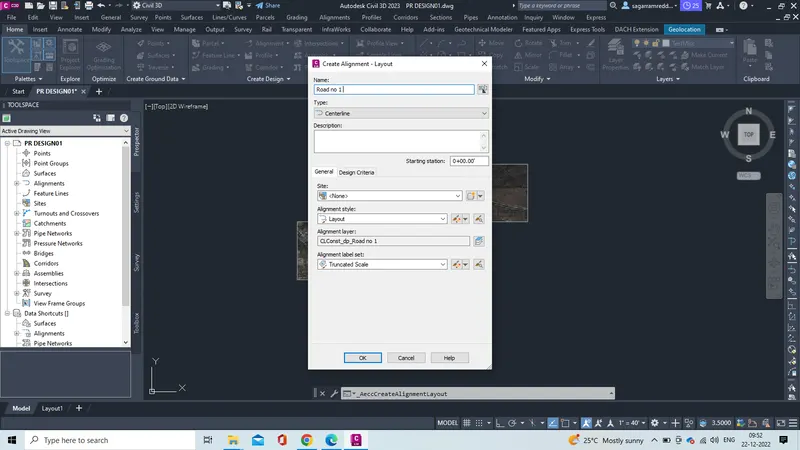
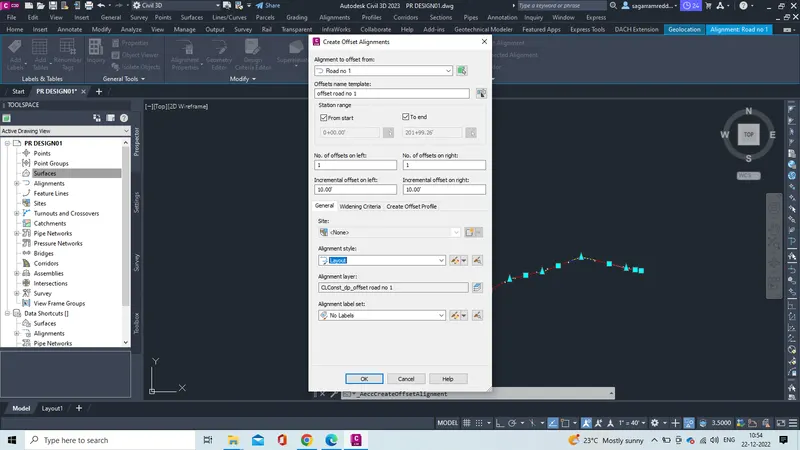
3.Go to alignment option in menubar and click on create alignment by layout.
4.Then create alignment tab opens and name the alignment as NH-o4
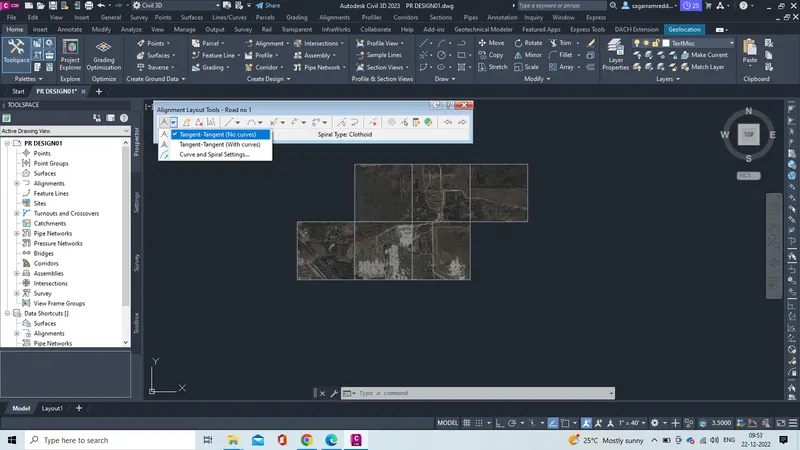
5.Then a panrama window open which has alignment creation tools
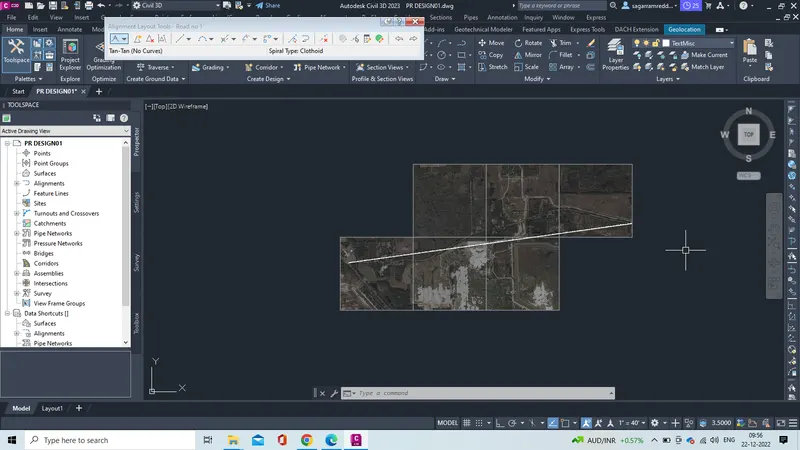
6.Then click on the line command and select the fixed line (two point) option and draw the lines .
7.Then add the curve to it so click on free spiral-curve-spiral ( between to entities ) based on the curve radius select the lenght from the table 9
8.Now to the changes in curve radius and adjust if required then the alignment is ready
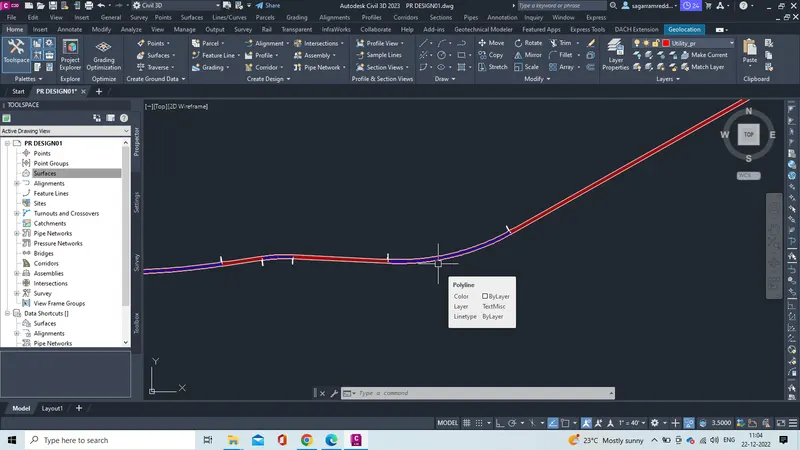
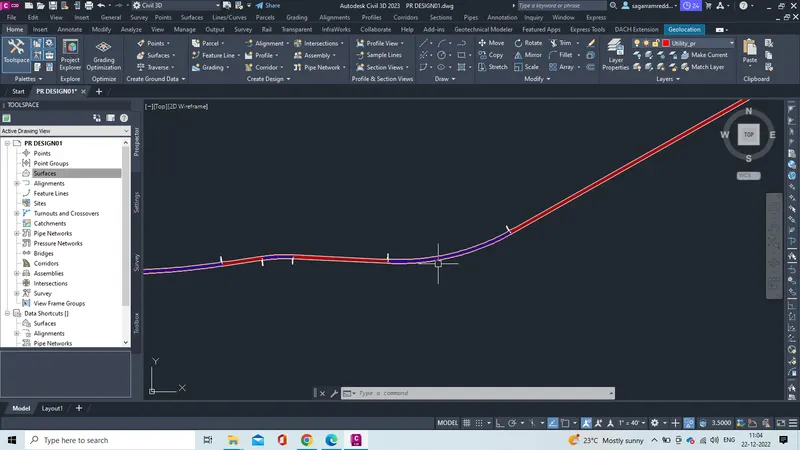
9.Select the alignment and go to alignment properties and assign design speed to the curves
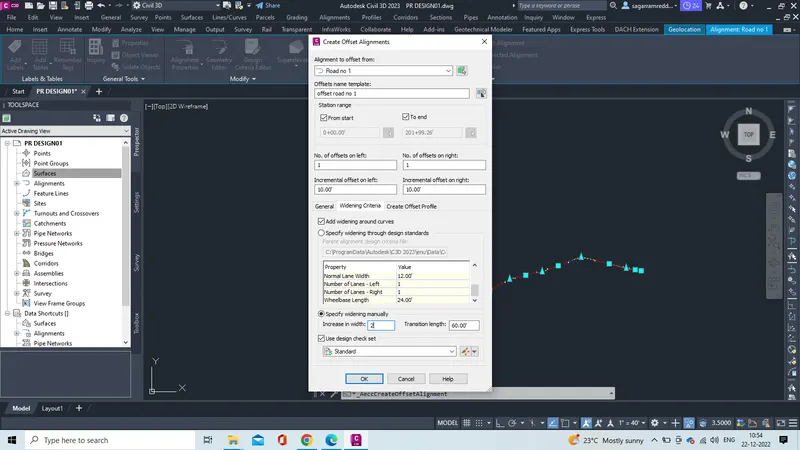
10.Then again select the alignment and click on superelevation and tab opens set the standards of IRC and check the other standards also then click assign superelevation
11.Then the assigned superelevation values tab opens , then copy the radius and superelevation values in the execel sheet provide.
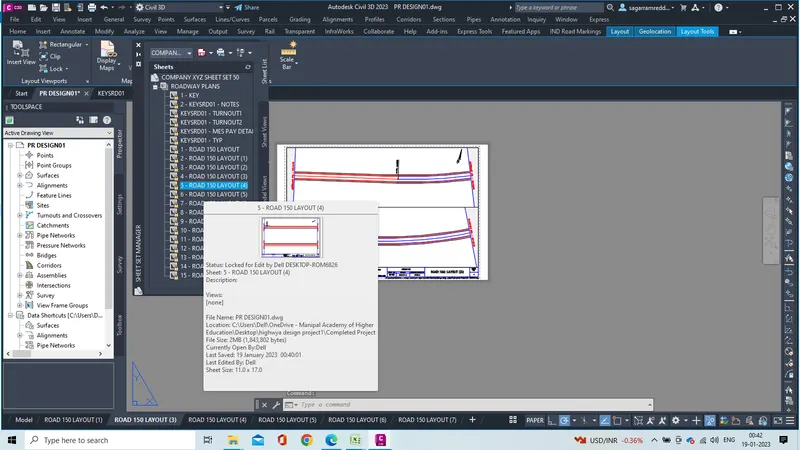
4.Create View frames & sheet & create seperate .dst file for the same.
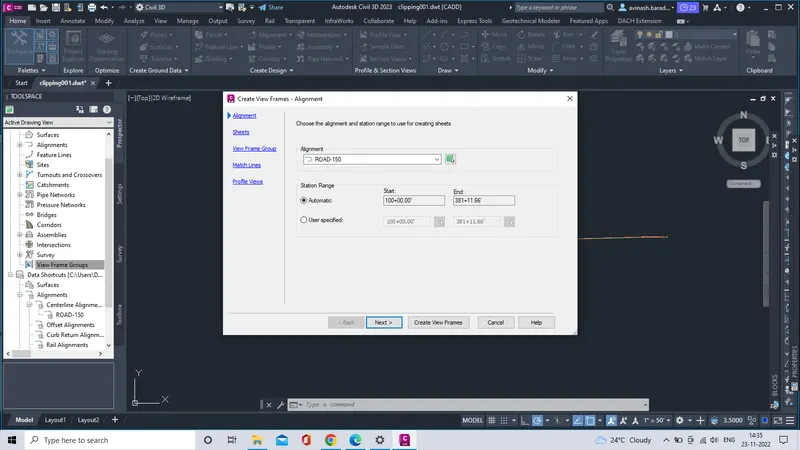
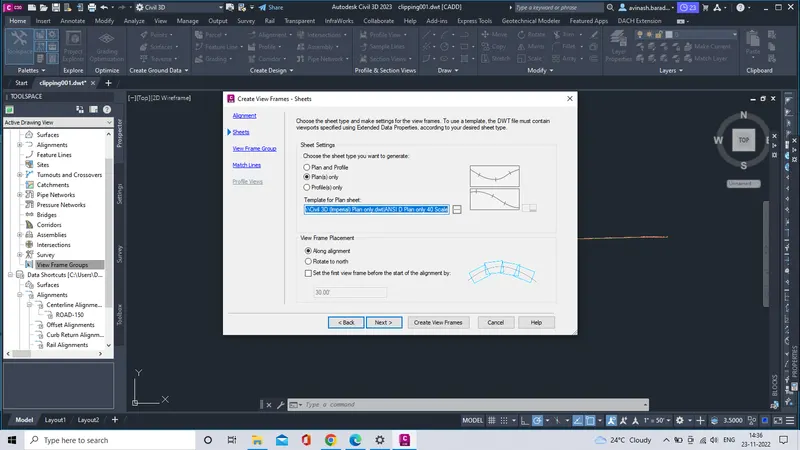
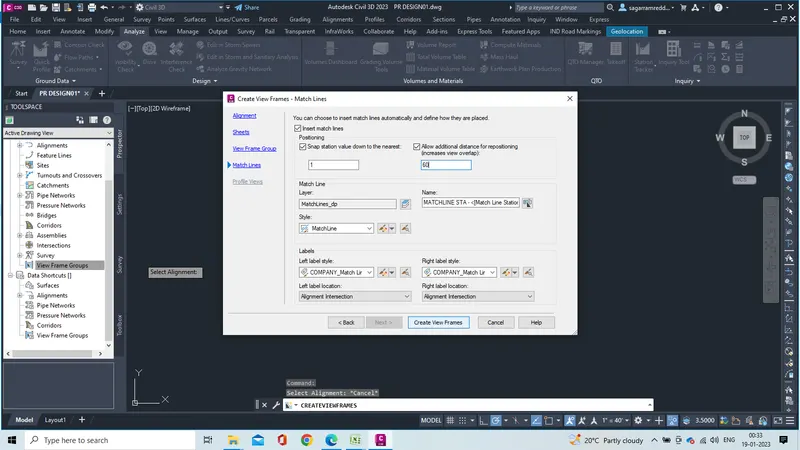
1.Go to View frames and select on create View frames option and do the necessary View frame creation settings and click on create view frames
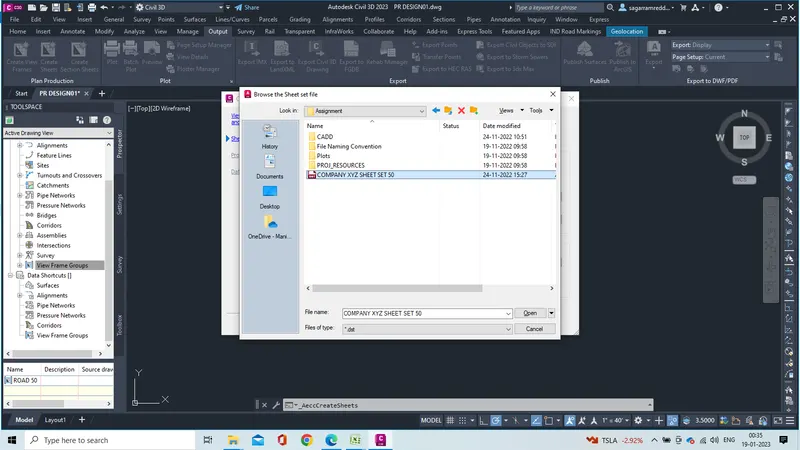
2.Then click on create sheets in the and select the layout to create the sheet then the sheets are created by clicking ok
3.Now open sheet set manager by pressing the control +4 key
4.Now go to open and click on new to create new sheet set file and name it as company abc sheet set and select the location where it is saved .save it in cadd folder now .dst file is created.
5.NOW Click on sheet set properties and click on edit coustom properties and add company name and project name .The default value should be alt0160
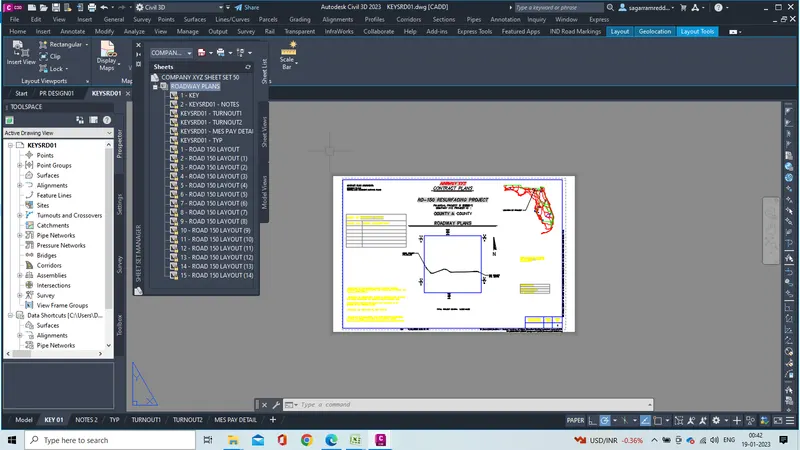
6 In company sheet set manager click on left click on company name and click on subset and create two subset naming roadway plans and signing pavement marking plans.
7.Then click import drawings to sheet set manager then the sheet set files are created.
5.Workout quantity by using civil 3d.
1.Click on analyze in ribbon bar and then click on QTO manager a new panaroma window opens
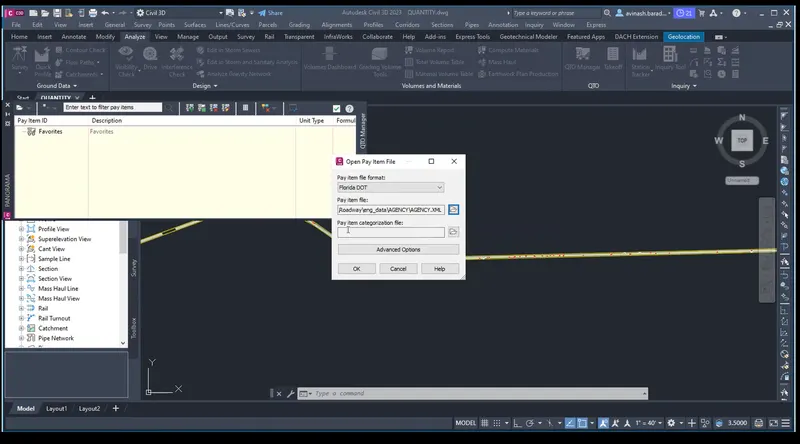
2.Now add the pay item files to click on pay item file option and select the pay item file format and florida Dot format
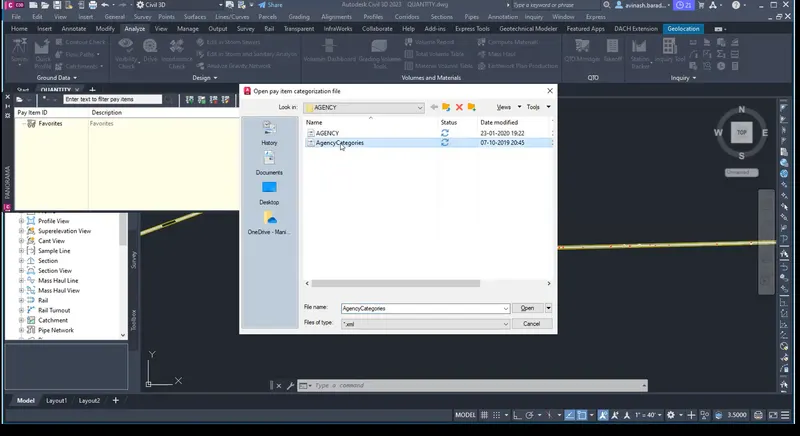
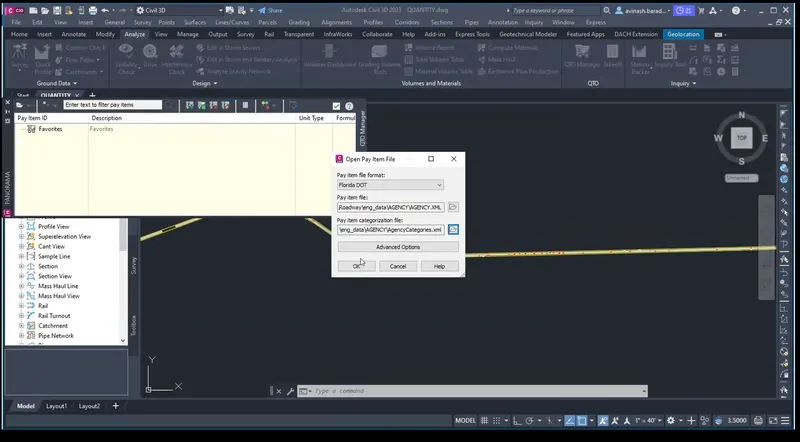
3.Then add the pay item file and pay item catazorization file which are agency file and agency catogiries file respectively .
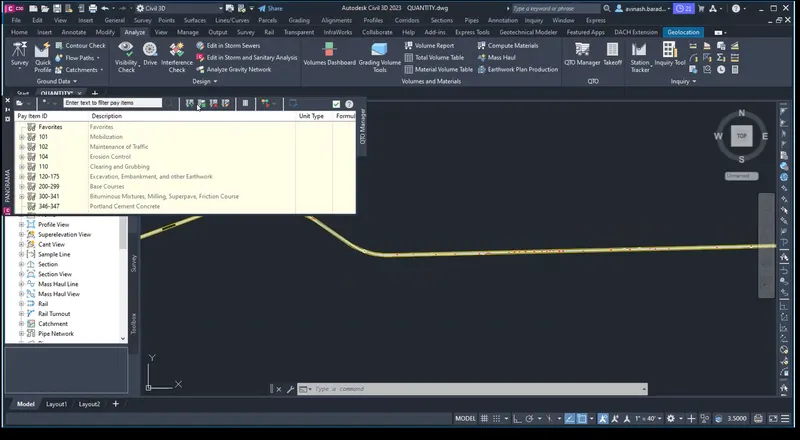
4.Now the pay items are assigned to the fil
5.Now go to calculation file and check the pay items which are to be assigned .
6.Create data shortcut of alignment file and add to the drawing
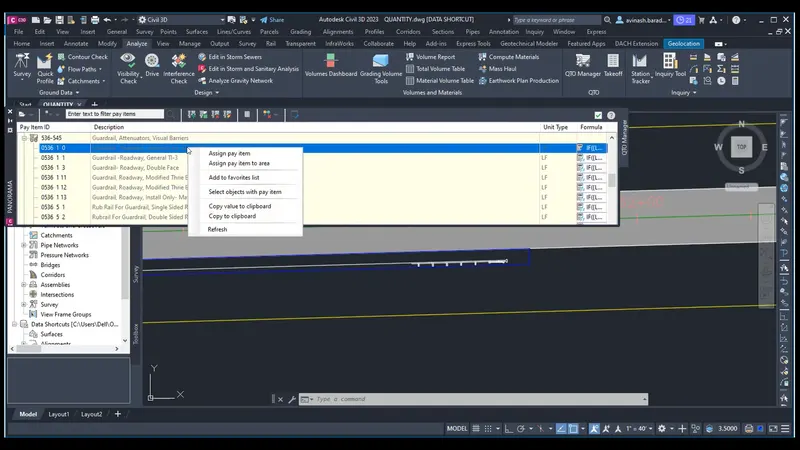
7.First item to assign is guardrails ,go the drawing and open QTo manager and go the item number of guardrails
8.Then right click on item and click on assign pay item and select the item and click enter to assign
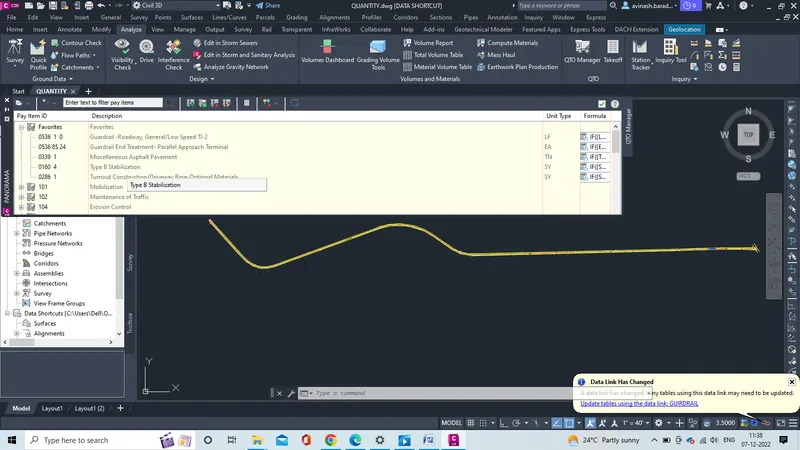
9.Now click select object with pay item and check its selected and add the item to the favourites,
10.Then the item which is assigned is added to the favourites list.
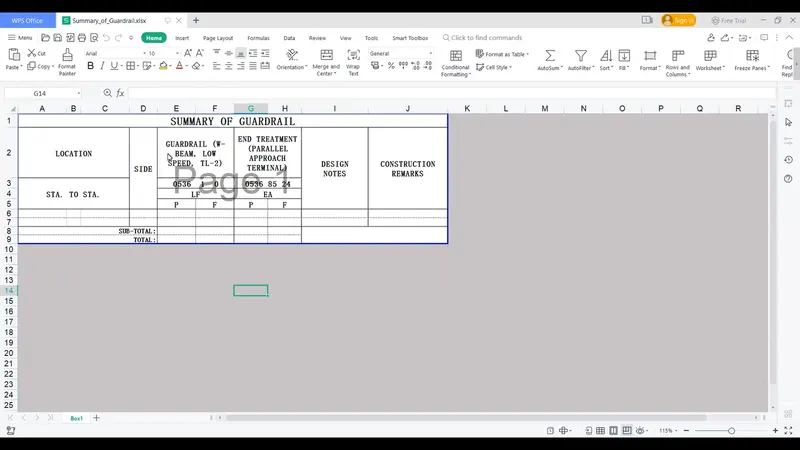
11.Now similary apply the all the pay items to the different item shown in the summary list.
12.As all the items are added to the favourites after the object with pay items are assigned
13.Then the quantity takeoff is done
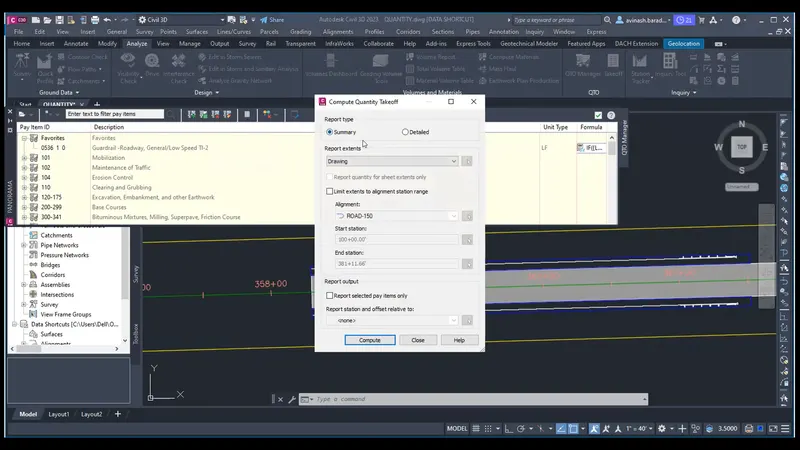
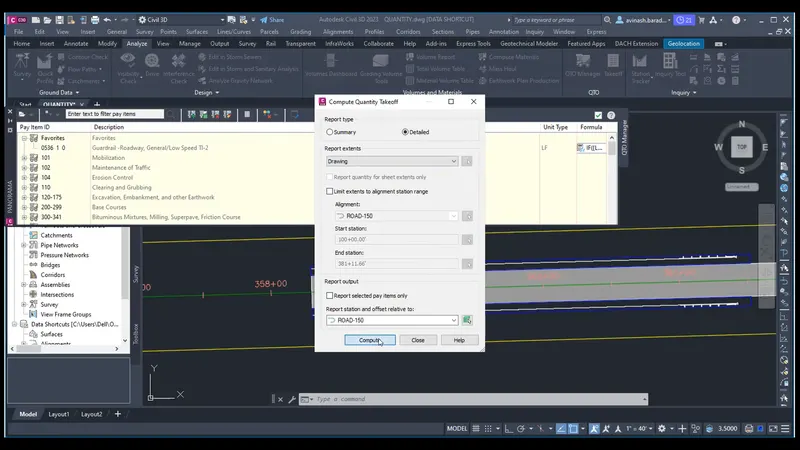
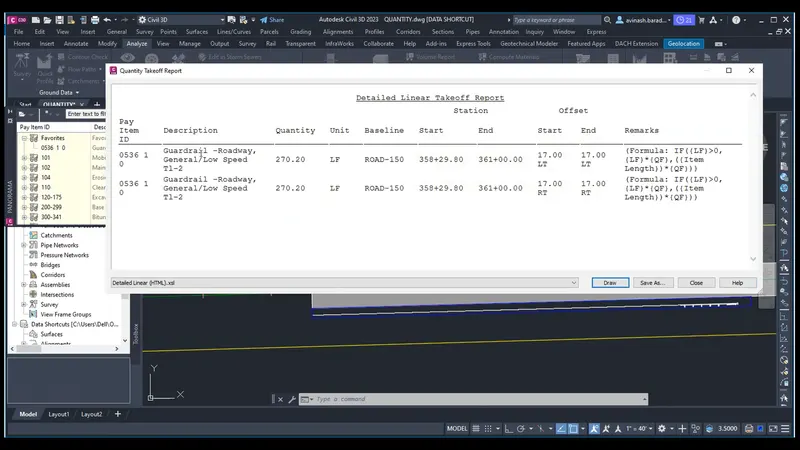
14.Click on the execute takeoff command and then click on detailed quantity from drawing then click compute and a window opens
15.Then selsect the format in which u want quantity ,then copy the quantity and paste it in your execel file were u want to create the summary file.
16.Now similarly take off the quantitys of all the items added in the favourites.
17.First do the page setup and copy the layout to drawing ,and create layout
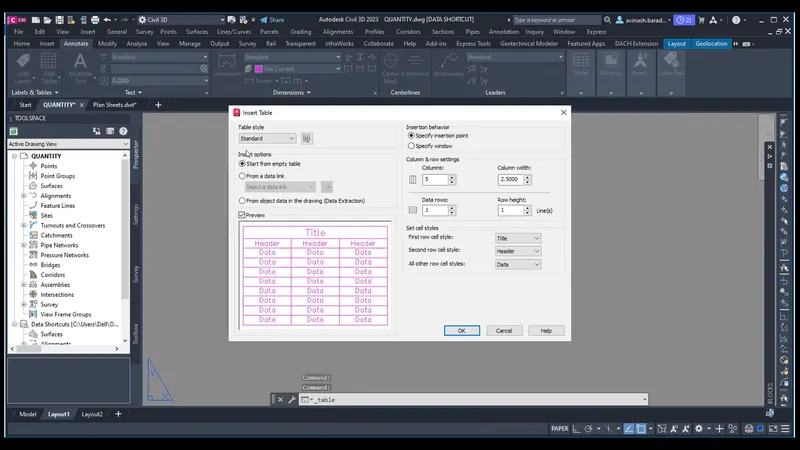
18.Then in ribbon click on annotate and click on table and click on link data
19.Then new window opens and click on new excel sheet link and name the file and select the location of the file select the file
20.Then new tab opens select the sheet in the excel sheet then click ok
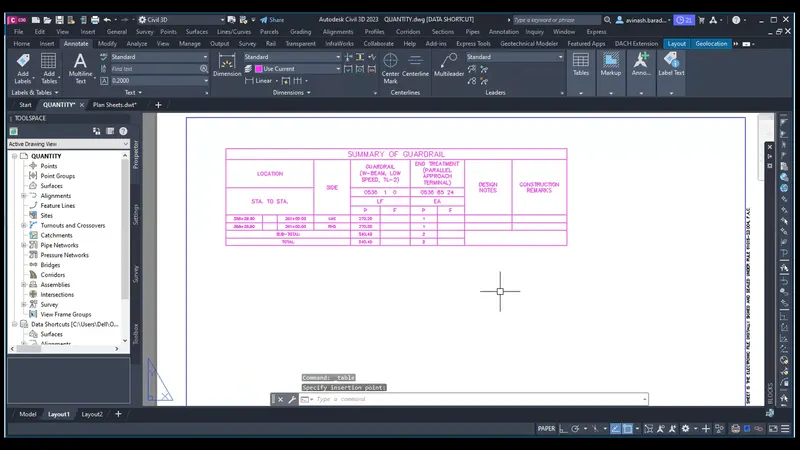
21.Then again click on table then tab opens insert table click on from linked data and click ok the sheet appers select location where u want to paste.
22.Now similarly link all the sheets in the layout