Preparing Schedule & Cost Estimation for a building using REVIT
CHALLENGE WEEK - 9
REVIT
Question no. 1: Use the shortcut keys in Revit discussed in class to complete the following tasks and list them below
a. Using 3D model create a section box
b. To create similar doors and windows in a floor plan layout
c. To reduce the thickness of lines visible in plan views
d. To apply override settings to a floor in the model section view
e. To increase the range of visibility in a plan view
f. To select the previously selected items
g. To add annotations to the model views
h. To bring the model elements in line
i. To rotate the model elements
j. To move an object to another location
k. To copy a model element
l. To mirror an element about an axis
m. To create an array of model elements
- Aim:
- To Use the shortcut Keys in the revit software.
- Procedure:
- Initially open a Revit software that has a model.
- Then the usage of the shortcut keys.
- First Shortcut key is:
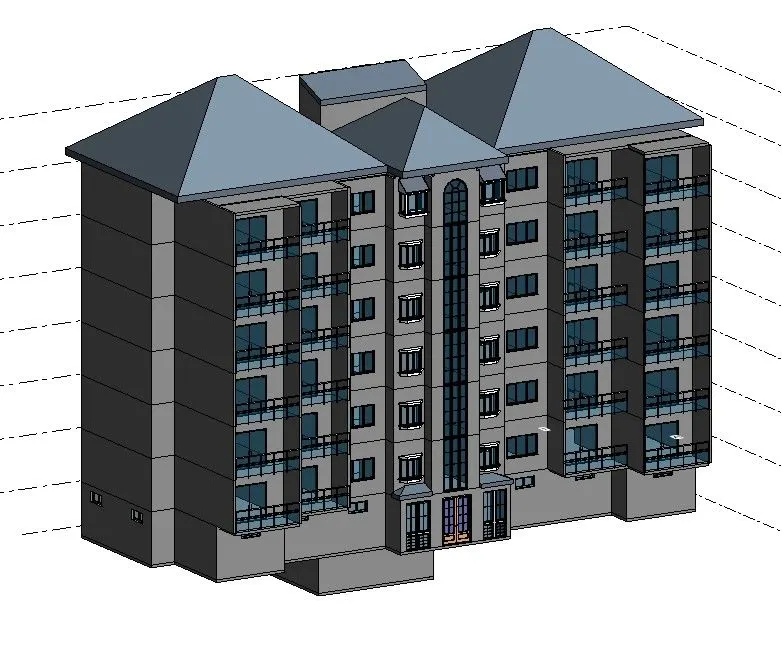
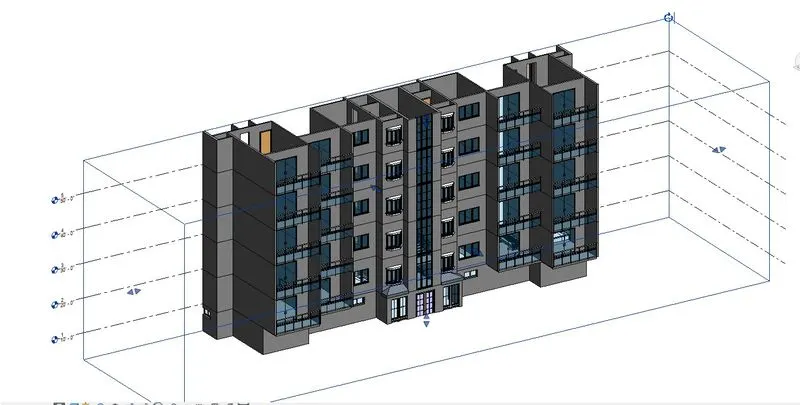
- Using 3D model create a section box
- Which is BX.
- the image without and Section Box is shown below.
- To create similar doors and windows in a floor plan layout
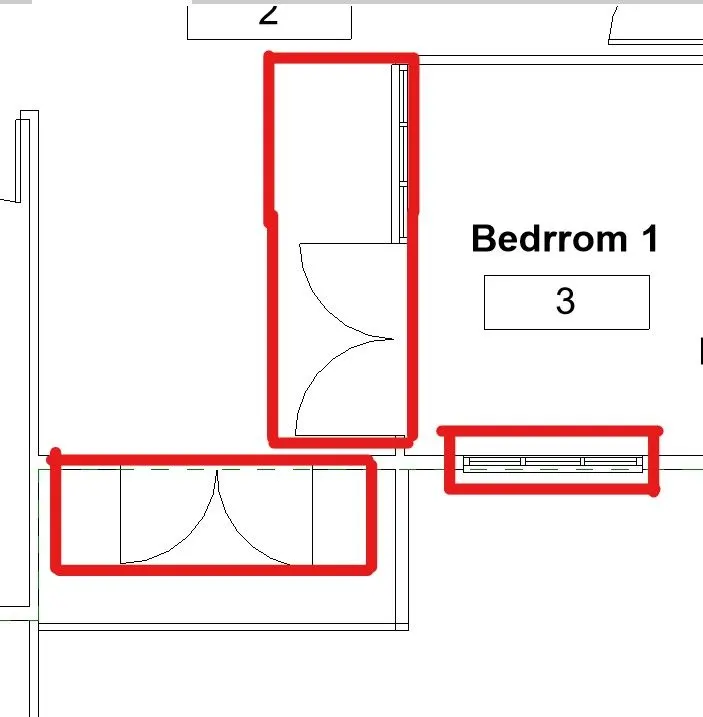
- Which is CS create similar:
- The objects taht are created similar are show below:
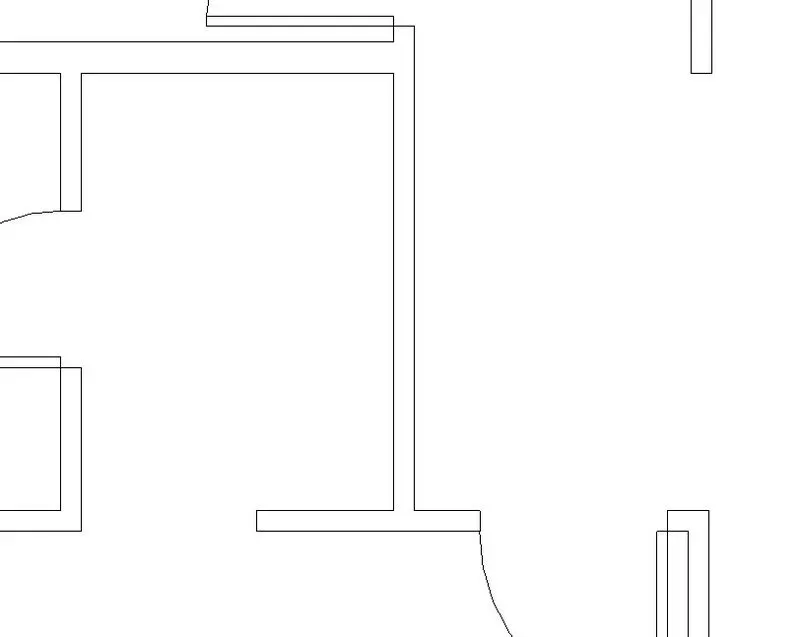
- To reduce the thickness of lines visible in plan views
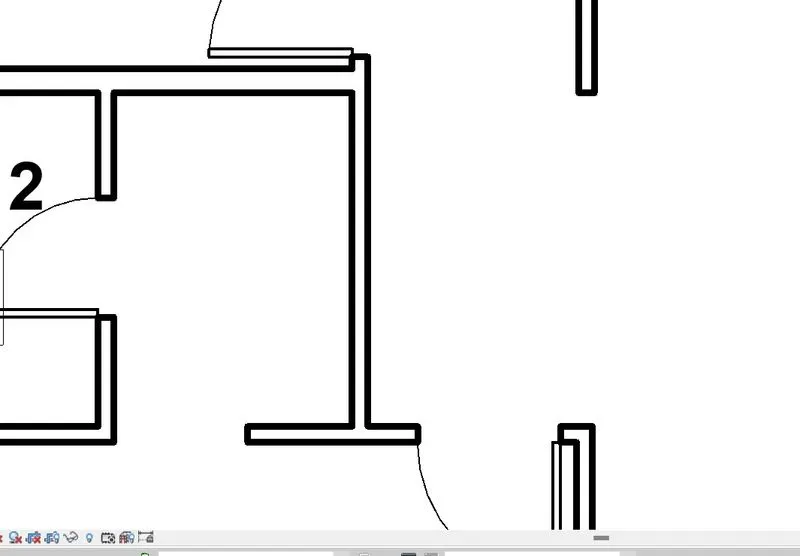
- Which is TL.
- The image with and without thick lines are shown below
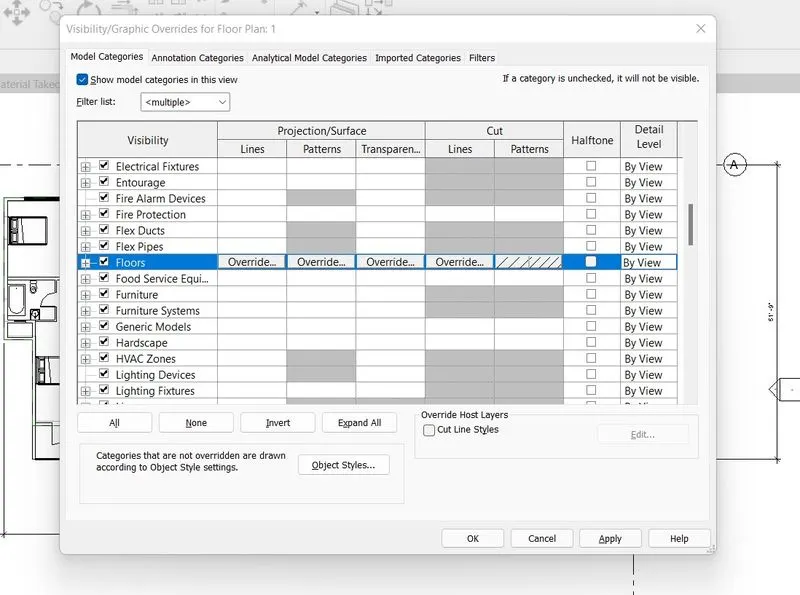
- To apply override settings to a floor in the model section view
- To apply override setting the visuality graphics is used whic is VG'
- The floor with altered VG is shown below
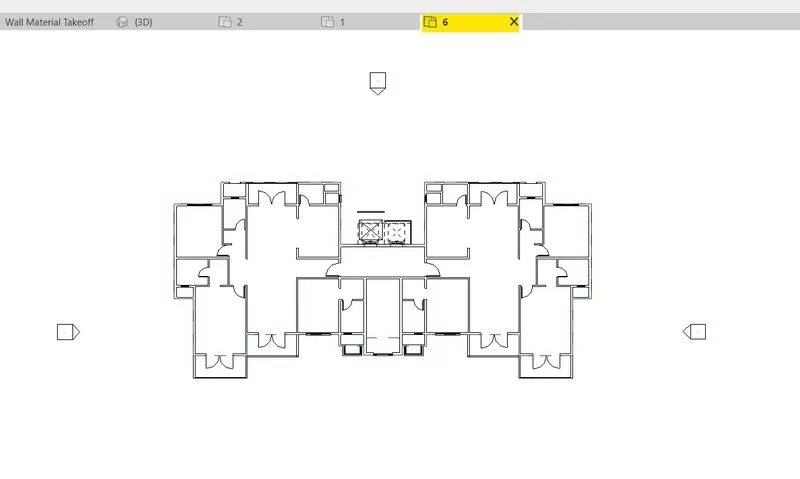
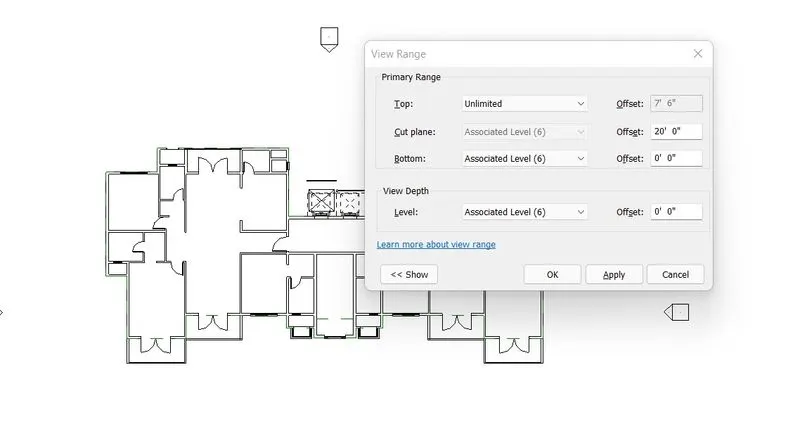
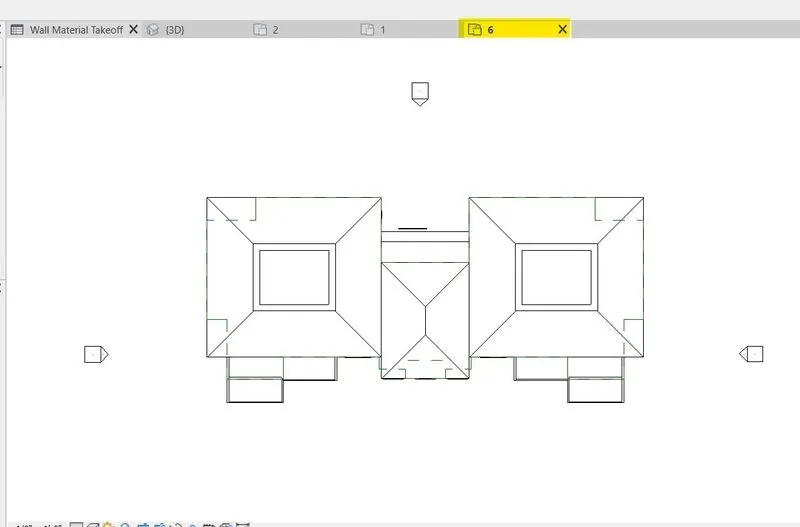
- To increase the range of visibility in a plan view
- To change the range of visibiulty it is View Range VR.
- The changed VR is shown below.
- To select the previously selected items
- To select the perviously selected items the shortcut key is control(ctrl) key and ledt arrow key thogether.
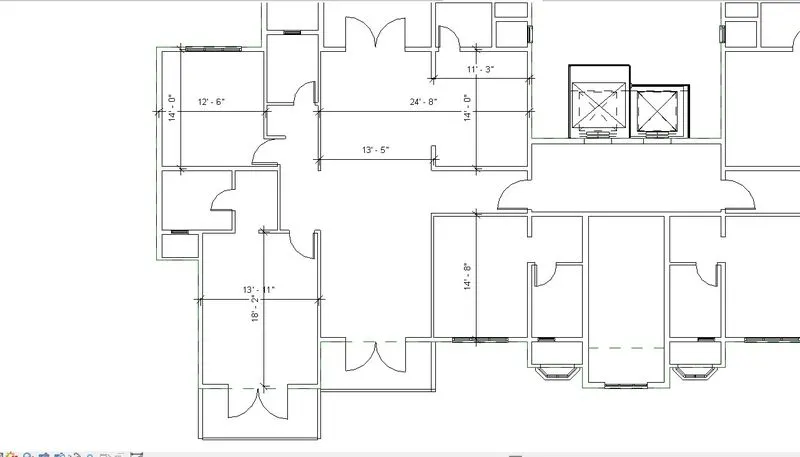
- To add annotations to the model views
- To add annoation to the drawing the key is DI.
- The drawing with applied dimesions is shown below.
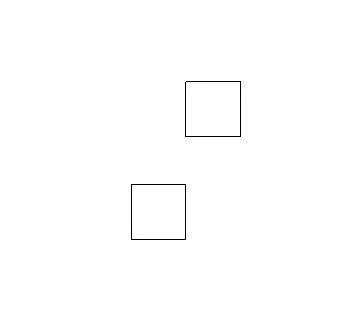
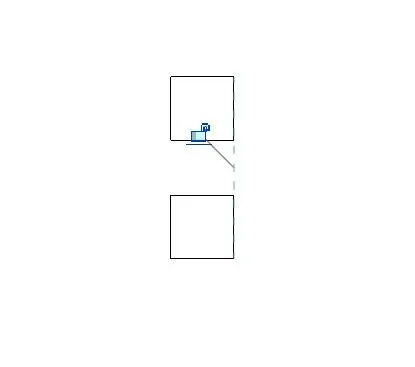
- To bring the model elements in line
- To bring the model elements in line the tool used is align tool
- The shortcut key is AL
- The alignments used is shown below.
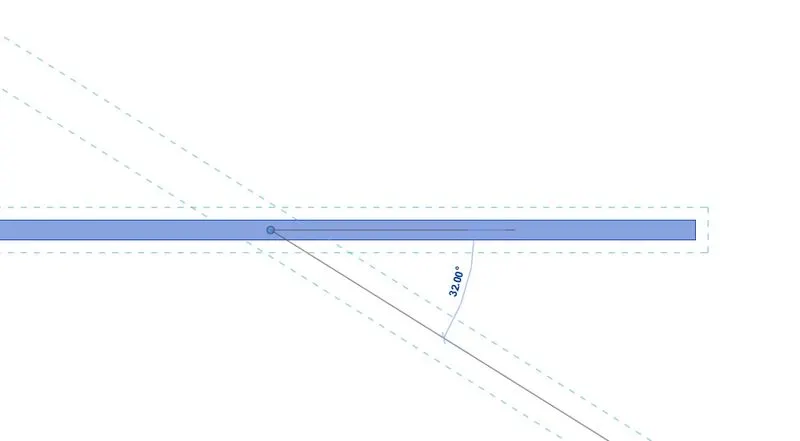
- To rotate the model elements
- The key used for rotation of element is RO
- The elemet tried to be rotated is shown below
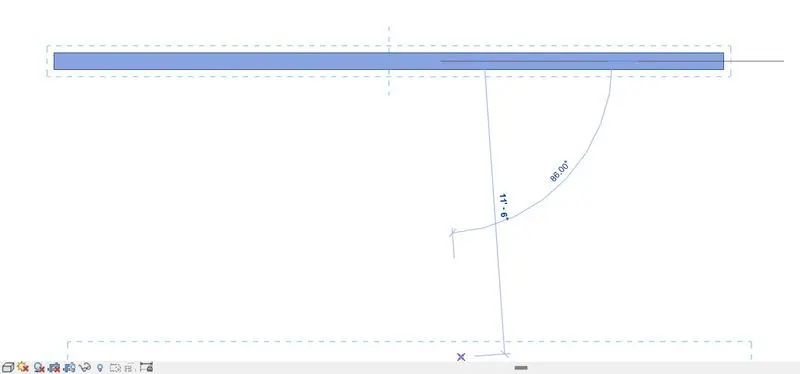
- To move an object to another location
- To move an object the key used is MV
- The object moved is shown below
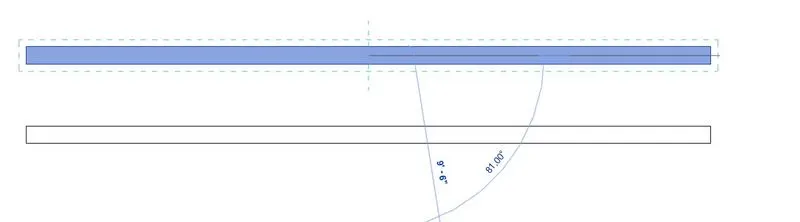
- To copy a model element
- To copy an object the key used is CO
- The object copied is shown below
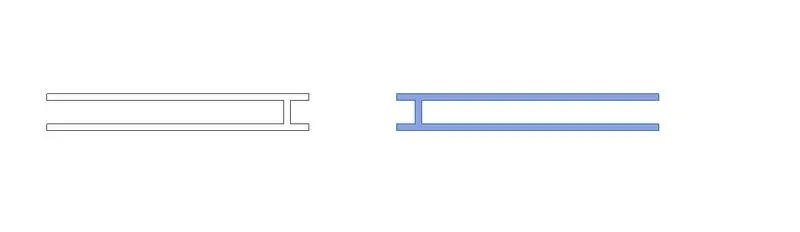
- To mirror an element about an axis
- To mirror the tool used is DM and MM.
- By drawn line it is DM
- And by axis it is MM
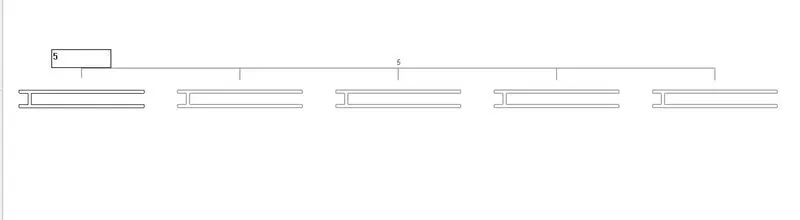
- To create an array of model elements
- To array the key used is AR
- The element arrayed iss hown below.
- Result:
- Hence the shortcut keys were used and the output was displayed.
Question no. 2: Using Revit and the project used from week 6 to 8 prepare a schedule for the following
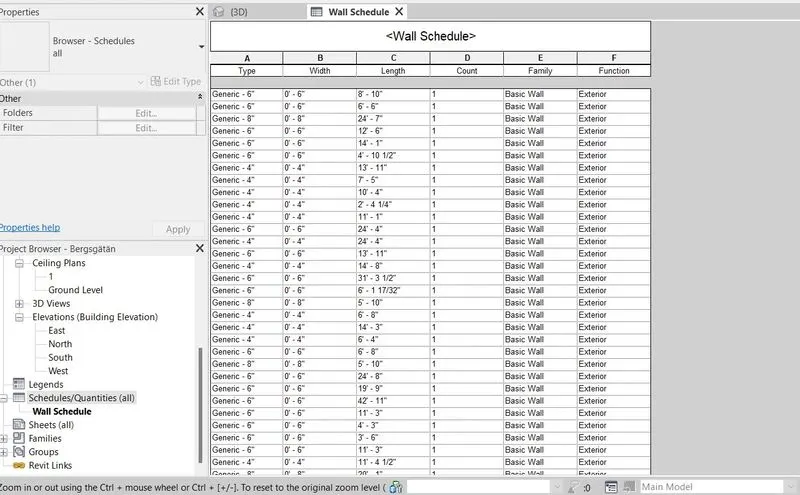
a. Walls
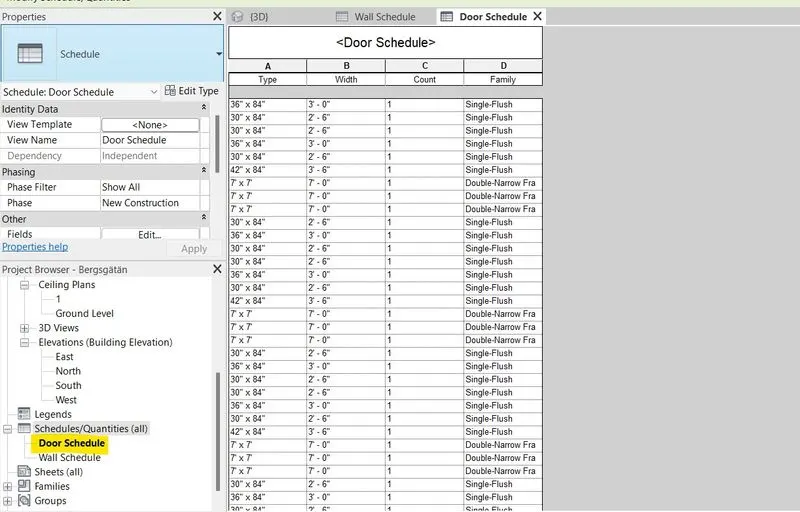
b. Doors
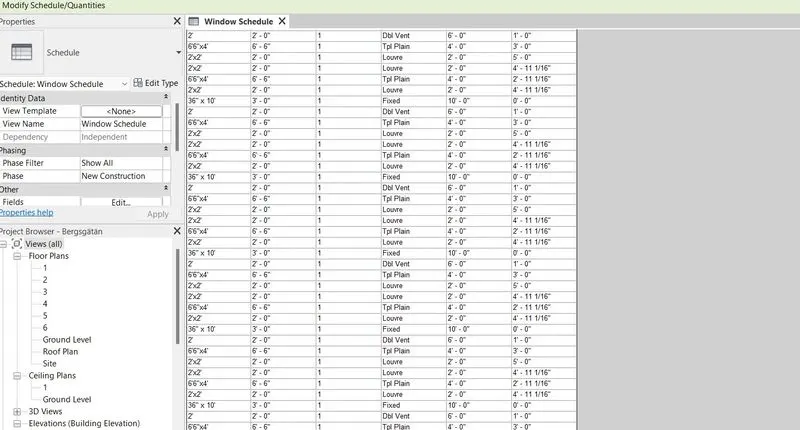
c. Windows
d. Material – Concrete/Wood
- AIM:
- To create schedule for said categories.
- Procedure:
- Wall:
- Door Schedule:
- Window Schedule:
- Material Take off:
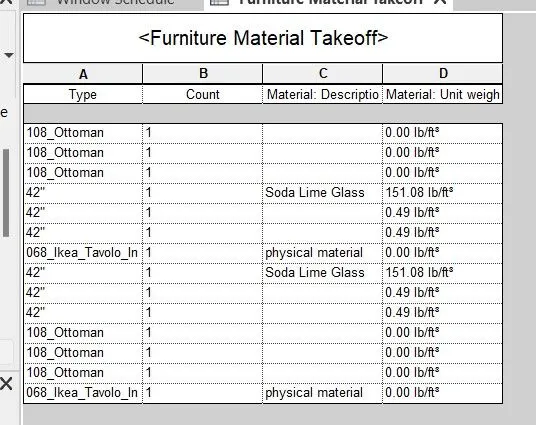
- Result:
- Thus the said Schedules were created.
Question no. 3: Using Revit Calculate area and volume of each room in the model with appropriate room tags applied to each room. Prepare a schedule report for area and volume of each room.
- Aim:
- To Create room tags.
- To prepare prrom schedule.
- Procedure:
- First after opening the software .
- In architecture tool tab.
- We have a tool call called room.
- Using the tool create room on the requires areas.
- And name the rooms accordingly.
- Thus created room tags are.
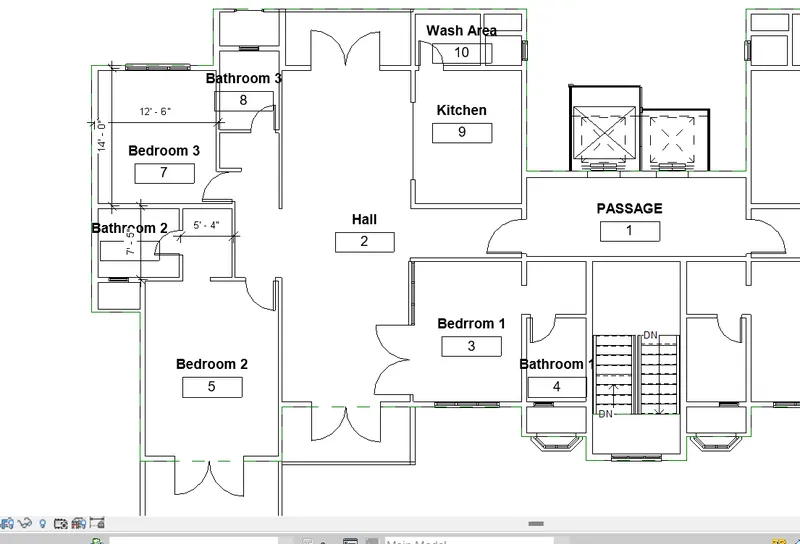
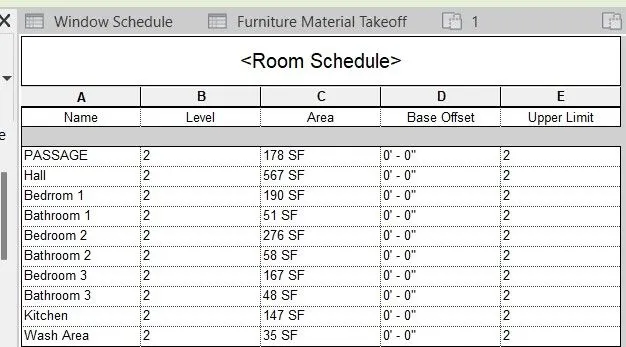
- And then using this room schedule was created.
- thus created schedule is shown below.
- Result:
- Thus the said room schedule and the room tags were created.
Question no.4 : Using the same schedule using the unit cost rate for materials available in the internet, prepare total cost of materials used in the project
a. Total Cost of Materials
b. Individual Material Take off
- Aim:
- To creat schedule foe cost of materiasl.
- Procedure:
- After opning teh software.
- Go to teh schedule creation in the view panel.
- After creating a schedule.
- Check sure all the material that is in model is given with cost in its identity data.
- then in teh schedule select a required column.
- An dthen give calculation terms.
- And then the cost parameter and the count parameter are given tio takeodff the auantity and its cost.
- thus derived take off is shown below.
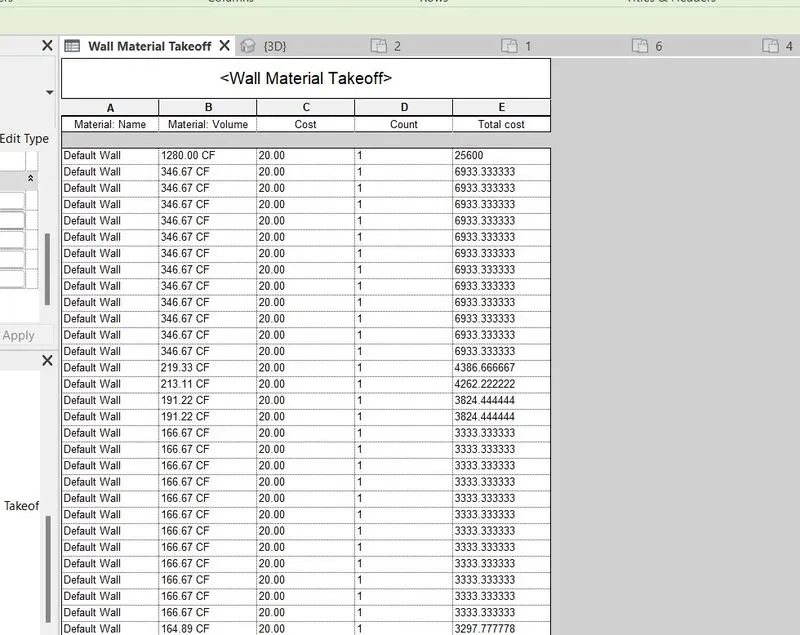
- Result:
- Thus the schedule was created and displayed.
Question no.5 : Using the concept of Visual Programming discussed in class, list a flowchart for the following scenario
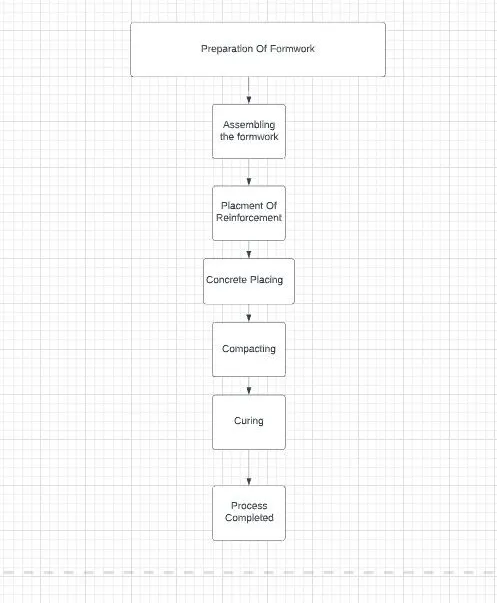
a. How to decide framings for a structure using Dynamo ?
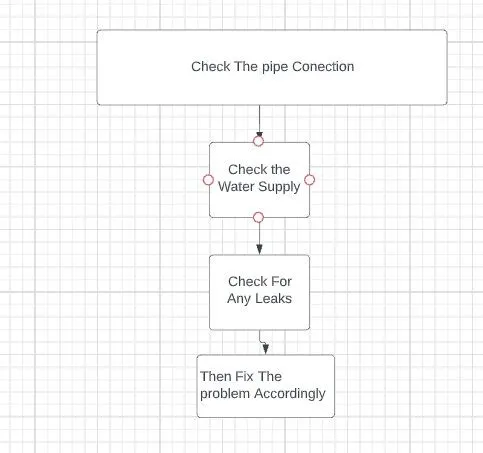
b. If there is no water coming from the pipes
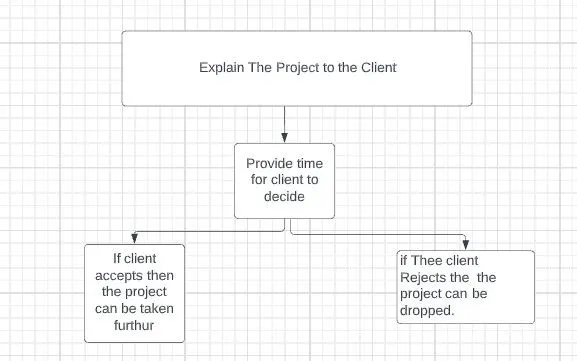
c. If request for money from client has been declined for the project
- Aim:
- To create flowchart for said conditions:
- Procedure:
- The flowchart for the conditiosnwas done and shown below.
- How to decide framings for a structure using Dynamo ?
- If there is no water coming from the pipes
- If request for money from client has been declined for the project
- Result:
- Thus the said flowcharts were created
Question no. 6: List the parameters associated with each model element
a. Wall
b. Floor
c. Door`
d. Window
e. Table
f. Building
- Aim:
- To list the parameters associated with each model element
- Procedure:
- Wall
- Material.
- Type
- Width
- Height
- Constrainst.
- Offset
- Cost
- Crossecetion
- Floor
- Material
- Thickness.
- Offset.
- Level of placing
- Room bounding
- Mass.
- Slope.
- Area
- Door:
- Material.
- Swing
- height.
- Width.
- Frame widtgh
- Inset
- Sill height.
- head height
- Window:
- Material.
- Swing
- height.
- Width.
- Frame widtgh
- Inset
- Sill height.
- head height
- Result:
- Thus the parametres of the components were shown.