Photo Realistic Rendering
TITLE:- Designing Of American Chopper
OBJECTIVE:- Creating Individual Part Files and then Assembling of all the parts into one model
INTRODUCTION:- In this Project,we are gonna make an assembly of american chopper. This project is divided into part
files of the model and then we will assemble all the parts into one assembly file were we will also add decals and
materials in the chopper.
DESIGN METHODOLOGY: Design of American Chopper
1. Creation of individual aprt files.
- Use Sketch Tools to make a 2D Sketch
- Converting 2D Sketches Into 3D Objects by adding some material into it
- Adding Appearences
2. Assembly.
- Adding Mates To The Parts
- Adding Tengents
- Creating Relations
3. Decals
4. Rendering
- Adding Environment
- Adding Scenes
- Adding lights
- Adding Cameras
DISCRIPTION:-
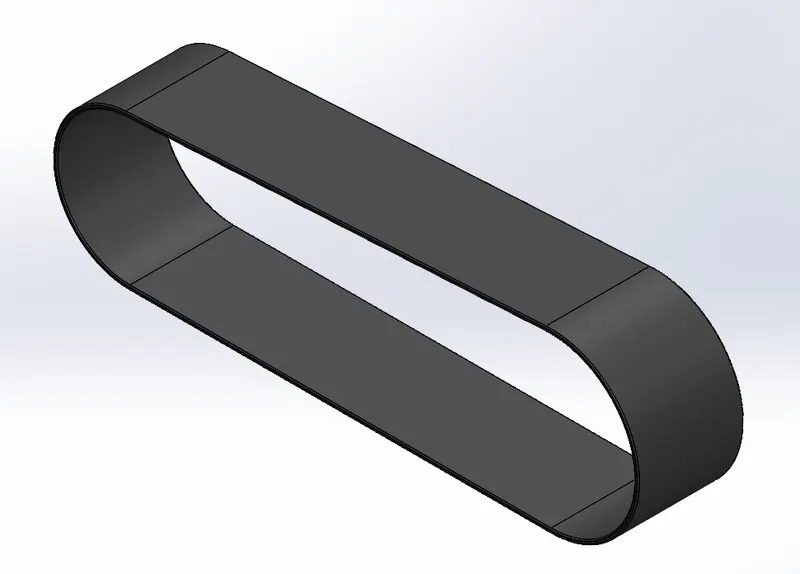
1. Transmission Belt: It is used for the transmission of rotary motion from one pulley to another. The features used for making the belt are, a. Bose Extrude is used for converting 2d drawing into 3d object by adding materials into the drawing, b. Fillets are used for curving the ends of the objects.
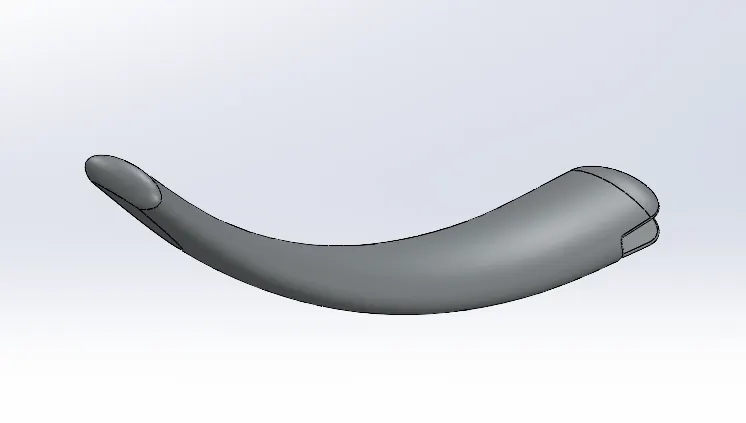
2. Kick Stand: It is used for supporting the bike while parking. The features used for making the stand are, a. Loft is used for making surfaces by connecting two different surfaces, b. Dome feature makes a sperical exdrude at the faces, c. Cut Extrude is used for removing material from the parts, d. split is used for creating multiple parts from a single part.
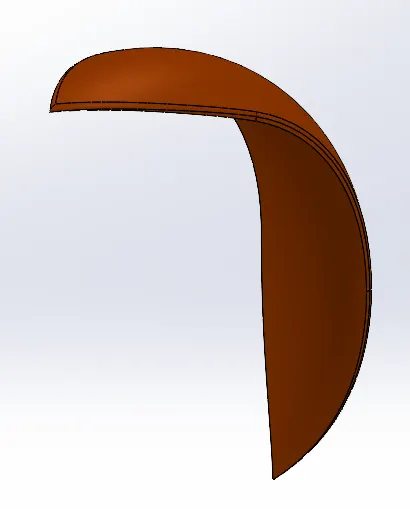
3. Front Fender: It protects the rider from getting dirty by stopping all the mud and dirt coming out of the rotating tire. The features used for making the fender are, a. Revolve converts 2d sketch into 3d objects by revolving the profile around the axis.
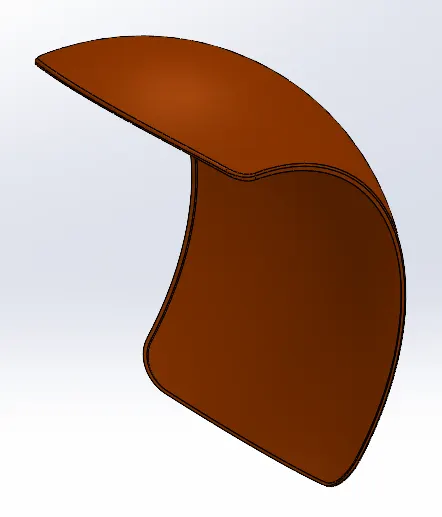
4. Rear Fender: It works just like the front fender but it is attached at the rear wheel.
5. Oil Tank: It stores the oil for the chopper. The features used for making the oil tank are, a. Combine joins two parts into one solid body by merging the solids, b. Shell feature converts a solid body into a hollow body with some thickness by removing material from the inside.
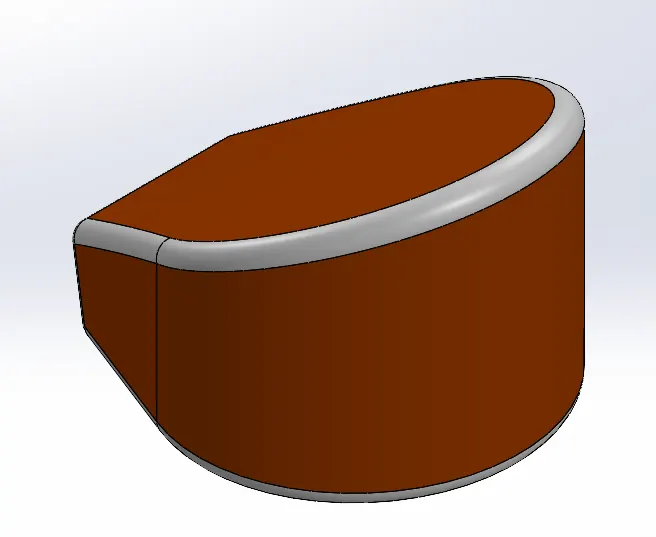
6. Paddle: It is used for shifting gears in the chopper. The features used for making paddle are, a. Chamfer makes the corners of the body flat by the mentioned value, b. Linear Pattern is used for creating multiple instances of one or more features along a linear path.
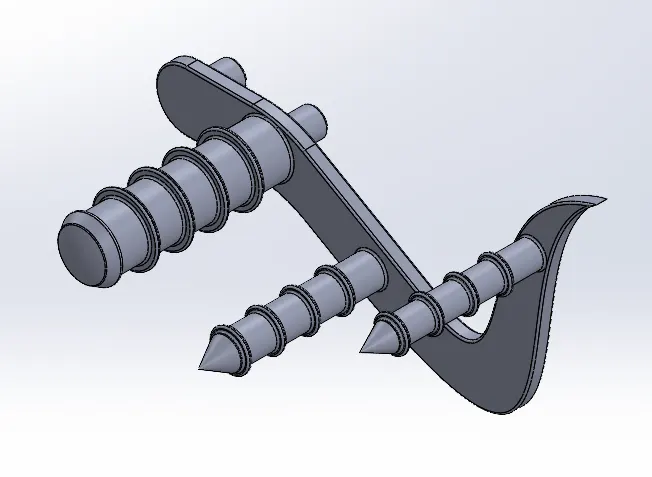
7. Chain: It is used for transmitting rotary motion from one sprocket to the other in a chain drive. The feature used for making the chain are, a. Circular Pattern is used for creating multiple instances of one or more feature along a circular path, b. Mirror creates the selected feature about the axis in a mirrored form to make a solid.
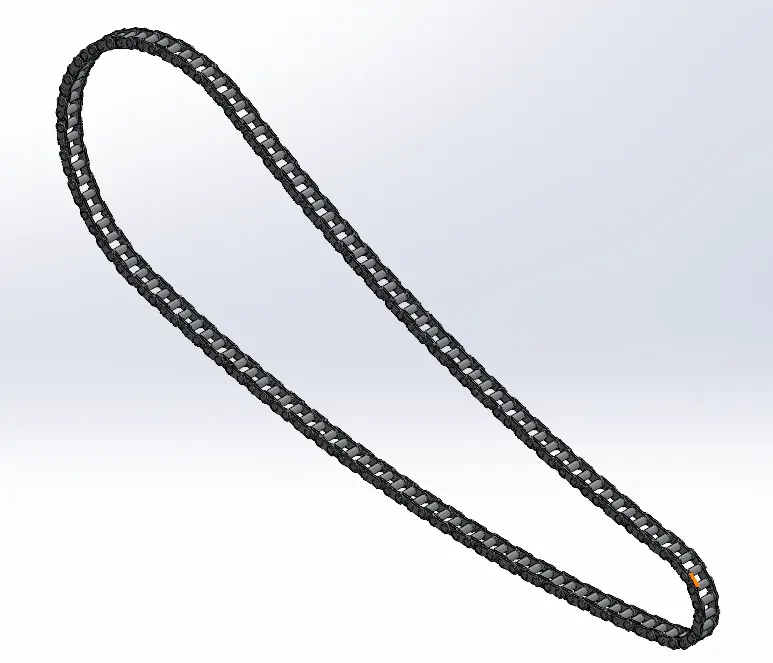
8. Front Wheel: This is the free rotating wheel which rotates as the vehicle moves forward. It also has a front brake. The feature used for making the front wheel are, a. Cut Revolve is used for removing material from the body.
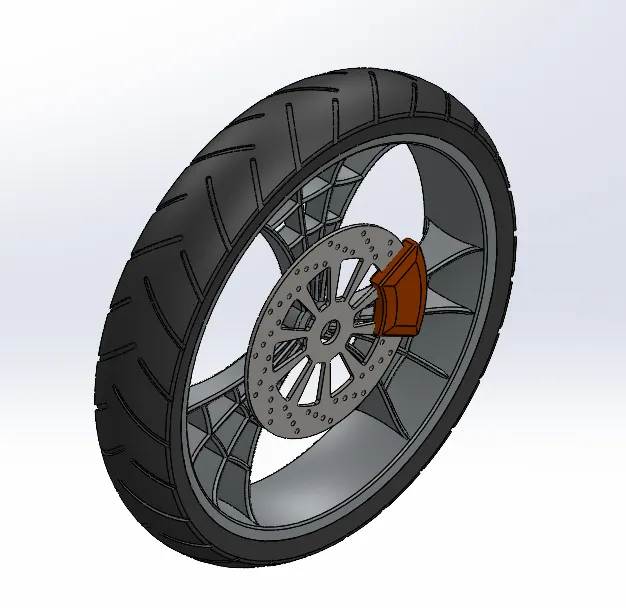
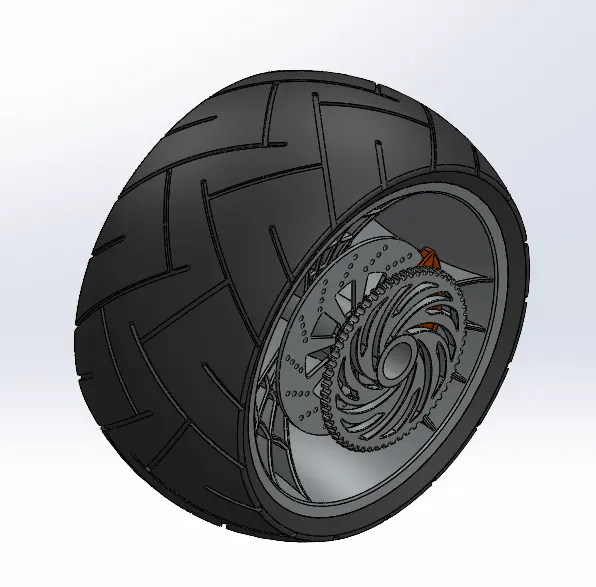
9. Rear Wheel: This is a Broader wheel that is attached at the back side of the chopper which is connected with the main engine using chain drive it includes a sprocket, a disk and a brake calliper.
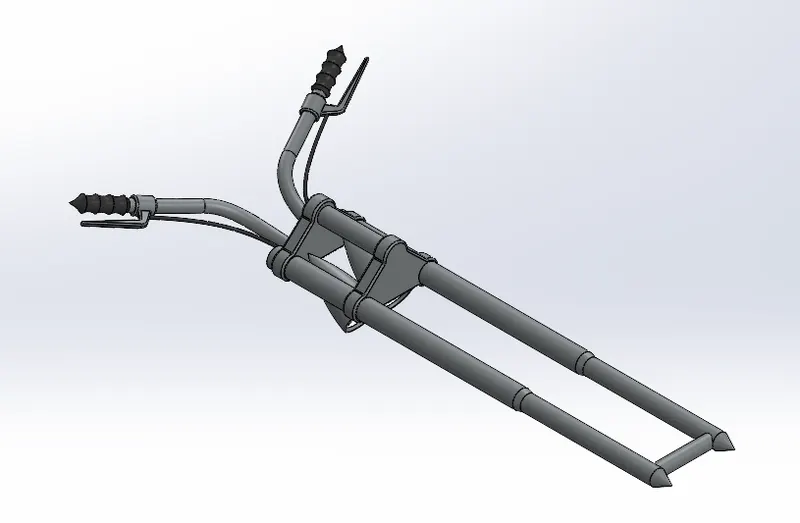
10. Front Fork: This is the part of the bike where the headlights, accelarator and brackes will go also the front wheel will be attached on the front fork spindel, this is the part thats guides the bike. The features used for making he front fork are, a. Curve is made by extenting two linear sketches at there intersecting point, b. Sweep makes a solid body by sweeping a sketch over a linear path.
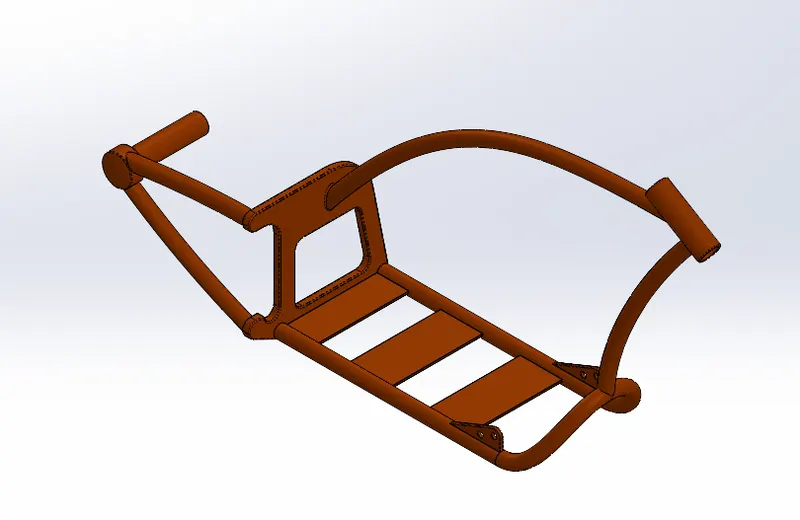
11. Chassis: This is the main body/frame of the bike where every other parts are assembled to work properly, this is the most important part of the chopper.
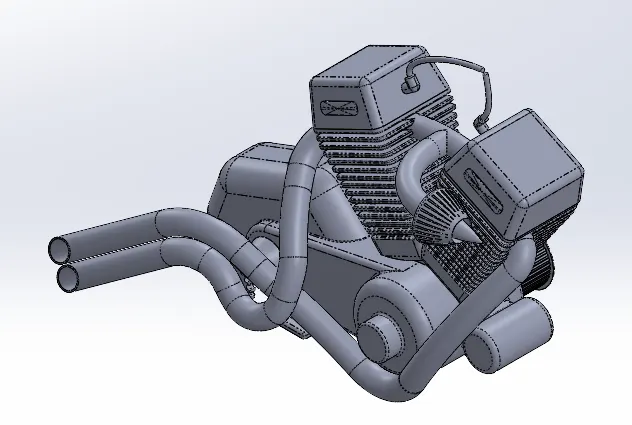
12. Engine: This is the heart of a bike where all the gas from the tank is burned to achieve mechanical rotary motion that will be transfered to the rear tire through the mounted chain sprocket.
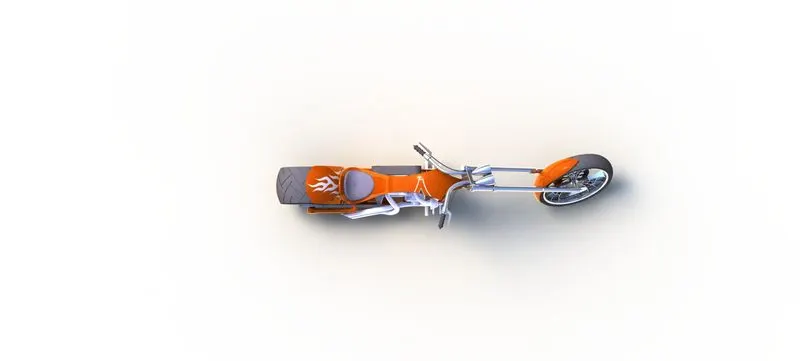
ASSEMBLY PHOTOS OF THE AMERICAN CHOPPER:
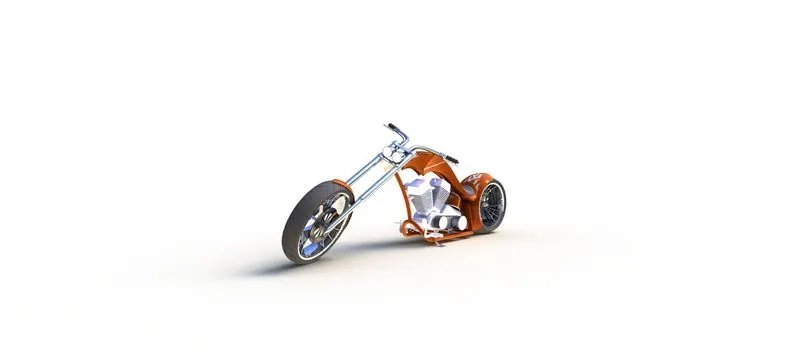
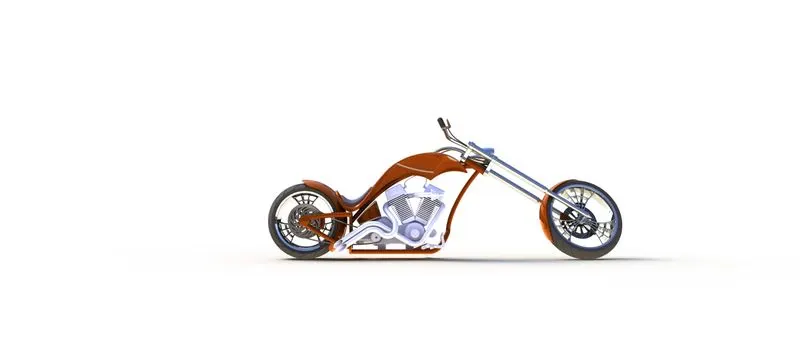
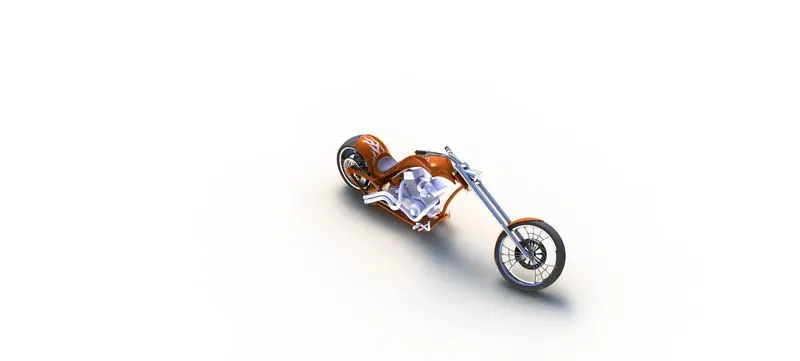
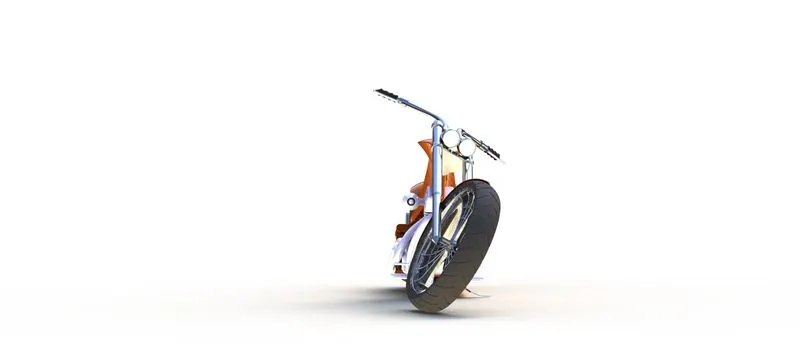
RENDERED IMAGE OF THE AMERICAN CHOPPER:
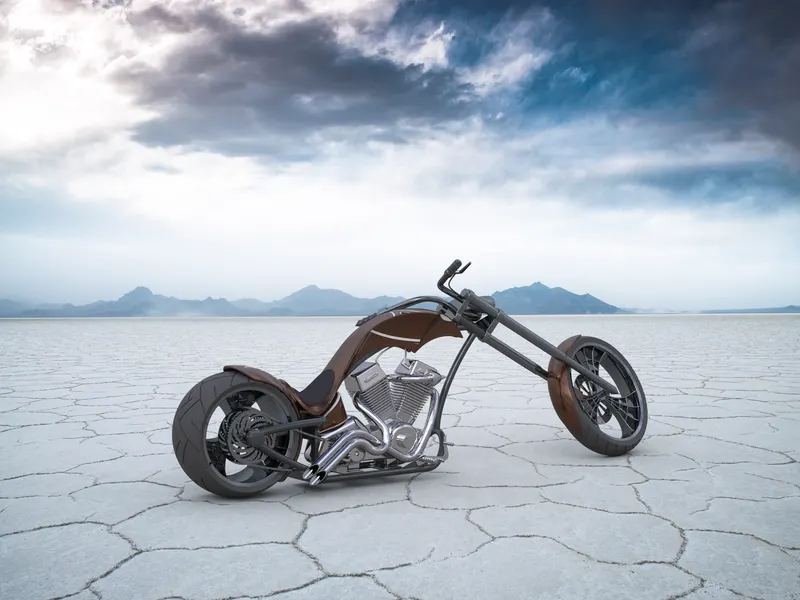
CONCLUTION: We made an american Chopper By using most out of the features os the solidworks, We saw how to convert a 2d sketch into a 3d objects by adding some features into it. We added some Appearences, decals Scenes to make our chopper more realistic.