Aston Martin ONE-77 Challenge-11 (Project) Final Assembly
PROJECT REPORT
TITLE:- Design of an Aston Martin One-77
OBJECTIVE:- Creating individual part files and then assembling all the parts into one model
INTRODUCTION:- In this project, we are going to make an assembly of AstonMartin_One-77. It is divided into part files of the model and then we will assemble all the parts in an assembly file where we will do our final render.
DESIGN METHODOLOGY:- Design of AstonMartin One-77
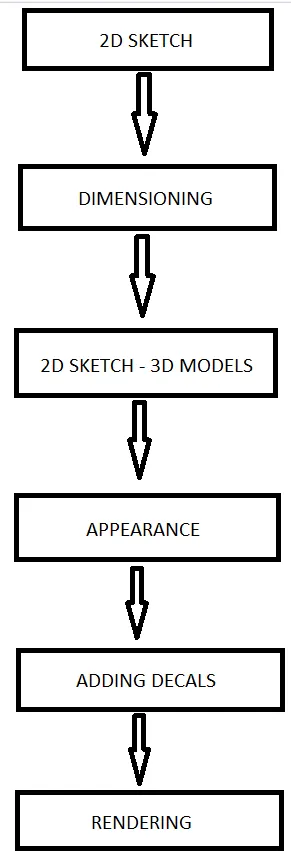
COMMANDS USED FOR MAKING YACHT:-
1. Solid Modelling:-
a. Boss-Extrude is used for converting 2d drawing into 3d object by adding materials into the drawing.
b. Boss-Revolve converts 2d sketches into 3d objects by revolving the profile around the mentioned axis.
c. Swept-Boss makes a solid body by sweeping a profile over a sweep path.
d. Lofted-Boss is used for making solid bodies by connecting two different profiles.
e. Cut-Extrude is used for removing material from a solid body.
f. Cut-Revolve removes material by revolving one or more profile around a centerline.
g. Fillets gives radius to the edges of the solid body.
h. Chamfer makes the corners of the solid body flat by the mentioned value.
i. Linear-Pattern is used for creating multiple instances of one or more features along a linear path.
j. Circular-Pattern is used for creating multiple instances of one or more feature along a circular path.
k. Shell converts a solid body into a hollow body with some thickness by removing material from the inside.
l. Mirror creates the selected feature about the axis in a mirrored form to make a solid.
m. Split-Line tool projects an entity to surfaces, or curved or planar faces. It divides a selected face into multiple separate faces.
n. Projection-Curve creates a 3D curve that represents the intersection of two extruded surfaces generated by creating sketches on two intersecting planes.
o. Dome makes a sperical extrude at the faces.
p. Draft is used for tapering of a surface with respect to the reference we selected.
q. Flex is used when we want to bend, twist, taper or to strach our model at a particular degree, this effects the whole body.
r. Move/Copy Body lets you move or copy the selected body anywhere in the 3d space.
s. Keep/Delete Body lets you delete or keep the selected body in your model.
2. Surface Modelling:-
a. Surface-Extrude is used for making 3d surfaces by adding some material into it.
b. Surface-Revolve makes a surface by revolving one or more profile around a centerline.
c. Swept-Surface creates surface by sweeping the 2d profile along a sweep path.
d. Lofted-Surface is made by joining two edges or profile, we can use guide curves if needed to.
e. Filled-Surface constructs a surface patch with any number of edges within a closed boundary.
f. Offset-Surface creates a copy of the selected surface at the mentioned offset distance.
g. Ruled-Surface creates surfaces that extend out in a specified direction from selected edges.
h. Fillets gives radius to the edges of a surface.
i. Delete-Face is used for deleting the selected surface from the part.
j. Extend-Surface creates an extended surface of the selected edge by some value.
k. Surface-Trim is used for removing the extra surfaces we dont need.
l. Knit-Surface is used for knitting/joining two or more surfaces.
m. Split is used to create multiple parts from an existing part.
n. Thicken is used for applying some thicknedd to a surface by adding some material into it.
o. Boundary Surface lets you create surfaces that can be tangent or curvature continuous in both directions and you can also trim the unwanted parts.
p. Cut With Surface helps you cut a solid model by removing material with a surface or plane.
DISCRIPTION:-
- In this project we are going to make a surface model of an astonmartin car step by step to explain all the different parts we created by exporting the surface of the main body. we will also do some solid modelling to make tires, rims, brake calipers etc. the first thing we are going to do is setup up all the blueprints in our main body environment so that we can have some referance while making the model.
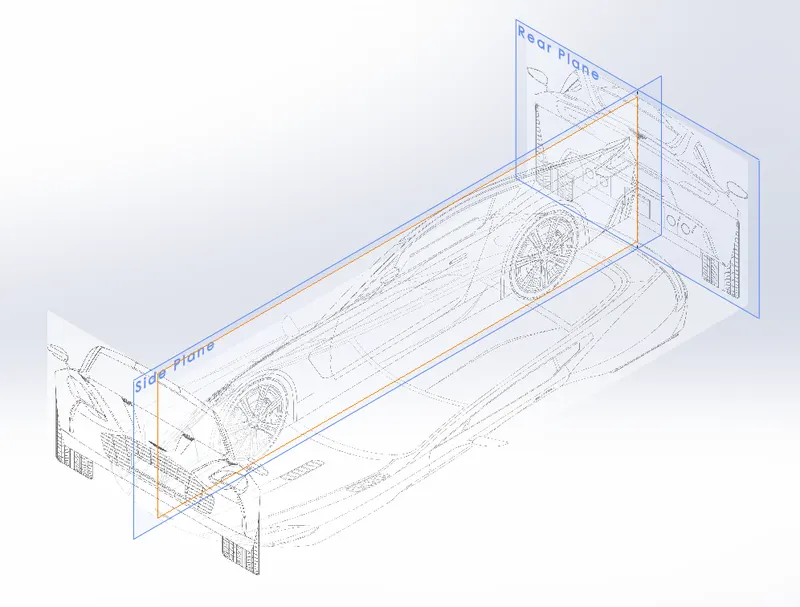
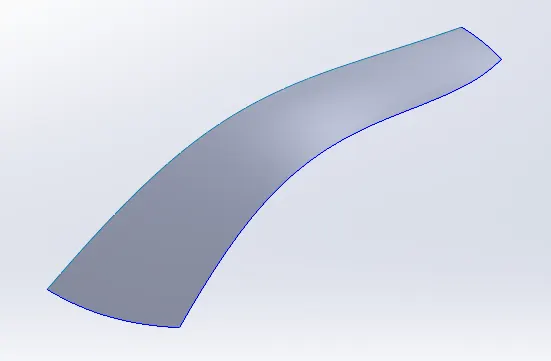
- After setting up the blueprints in our environment we are going to make the surfaces of roof, side and fender for our car model. The features used for making this surfaces are, a. Projected Curves, b. Boundary Surfaces, c. Surface-Extend, d. Surface-Trim, e. Surface-Fill, f. Surface-Knit.
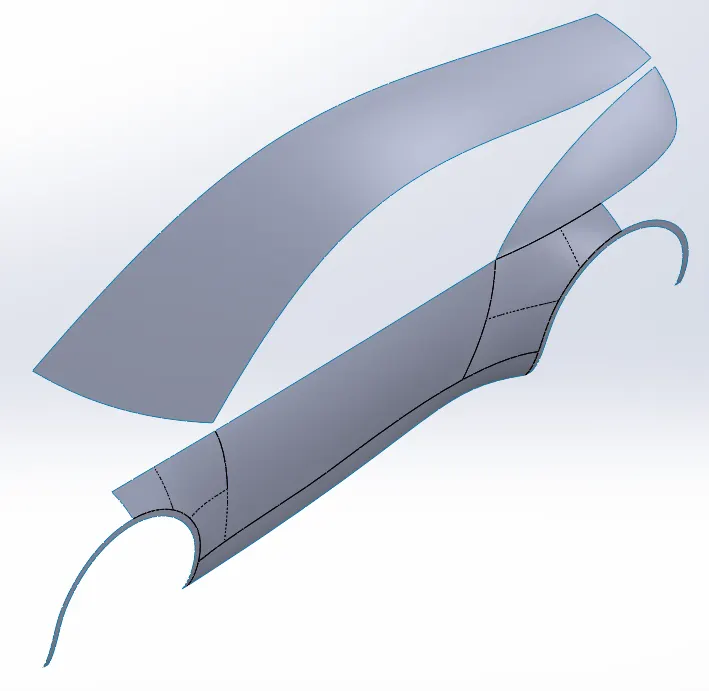
- After fenders we are going to create the rear and front bumpers for our car model which we will extract later for more detailing. The features used for making the bumpers are, a. Projected Curves, b. Boundary-Surface, c. Surface-FIll, d. Surface-Trim, e. Surface-Knit, f. Surface-Offset, g. Delete-Face, h. Ruled-Surface, i. Fillet, j. Delete Face, k. Move/Copy.
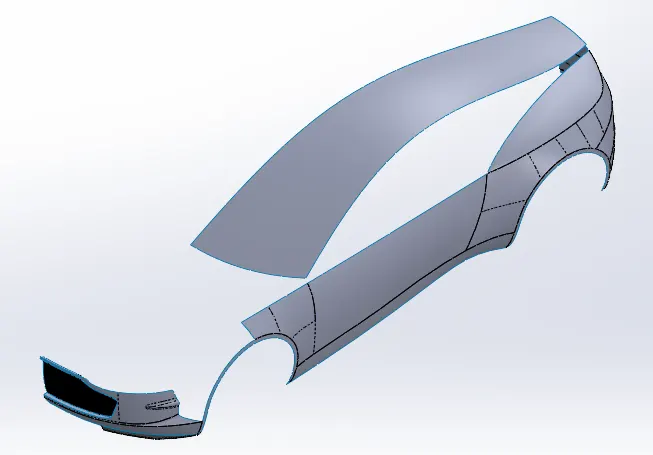
- Now we will make the surface for hood and windows that we will extract later for more detailing this are only for reference after exporting the surfaces we will hide it in the main body. The features used for making the hood and window surfaces are, a. Projected curves, b. Boundary-Surface, c. Surface-Trim, d.Surface-Fill, e. Surface-Knit.
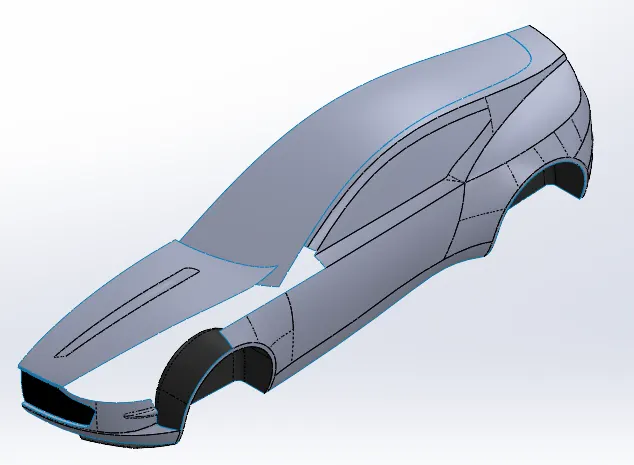
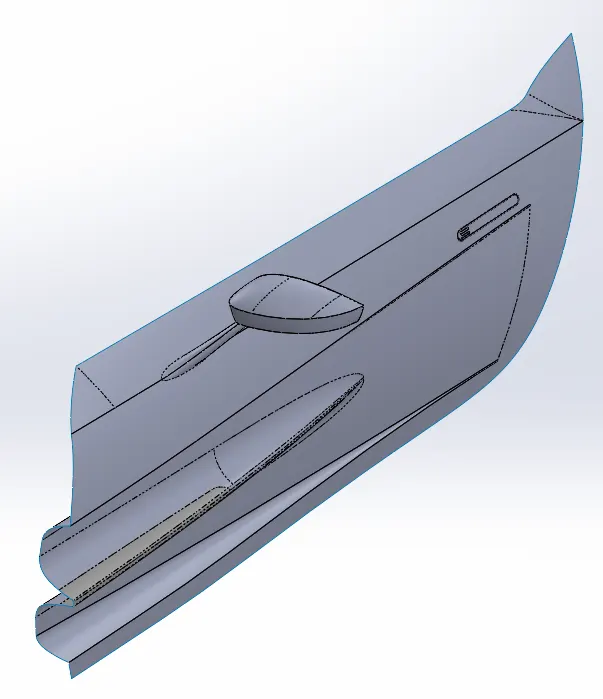
- The next step is to make the curves on the door and front wings for placing the headlights. Features used for making the doors and front wings are, a. Split-Line, b. Projected Curve, c. Boundary-Surface, d. Fillets, e. Surface-Fill, f. Surface-Knit, g. Surface-Trim, h. Delete-Face
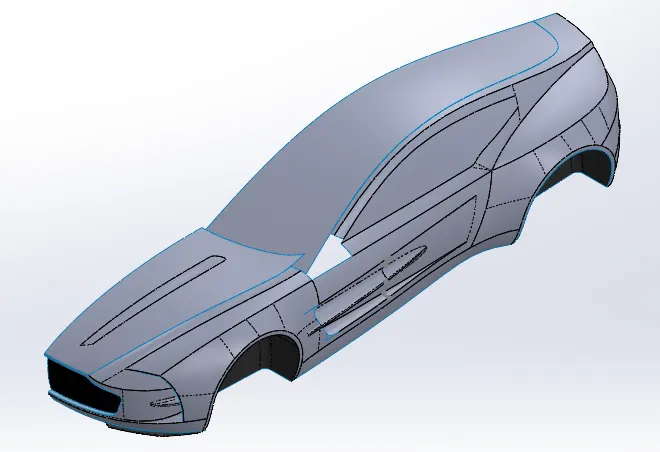
- Now we will make Windows and side mirrors by exporting the surfaces we created earlier. Main purpose of mirrors is to help us see the surrounding while driving the car so we dont crash, the windshield is shaped such a way that the drag applied on car by air will be minimum. The features used for making the mirrors are, a. Surface-Offset, b. Delete Surface, c. Thicken, d. Boundary-Surface, e. Fillets, f. Surface-Trim, g. Cut With Surface, h. Boss-Extrude, i. Projected-Curves.
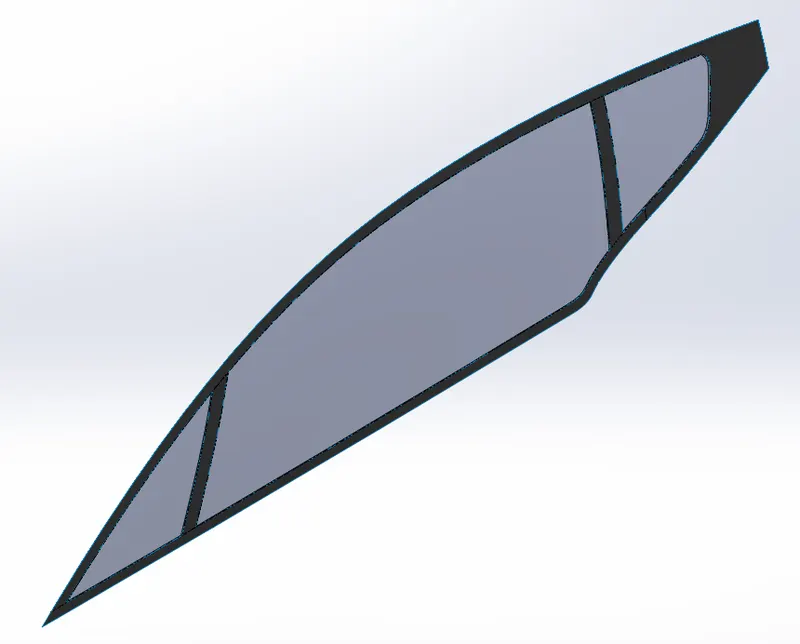
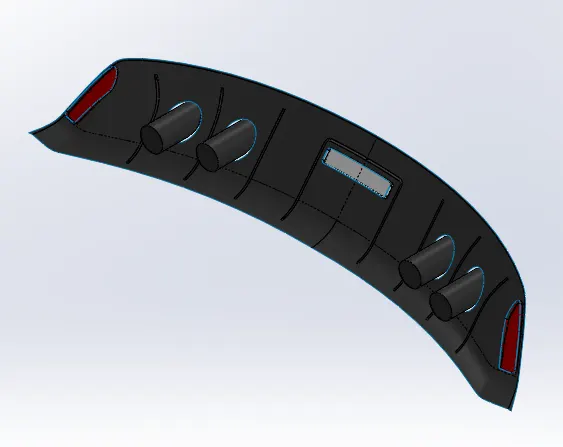
- The rear Bumper is where the Exhaust will be that releases all the burned fuels residues into the environment. The features used for making the bumper are, a. Projected Curve, b. Boundary -Surface, c. Delete body, d. Surface-Trim, e. Boss-Extrude, e. cut-extrude, f. Shell, g. Fillets, h. move/copy body, i. Split, k. Ruled-Surface, l. Surface-Knit, m. Offset-Surface, n. Mirror.
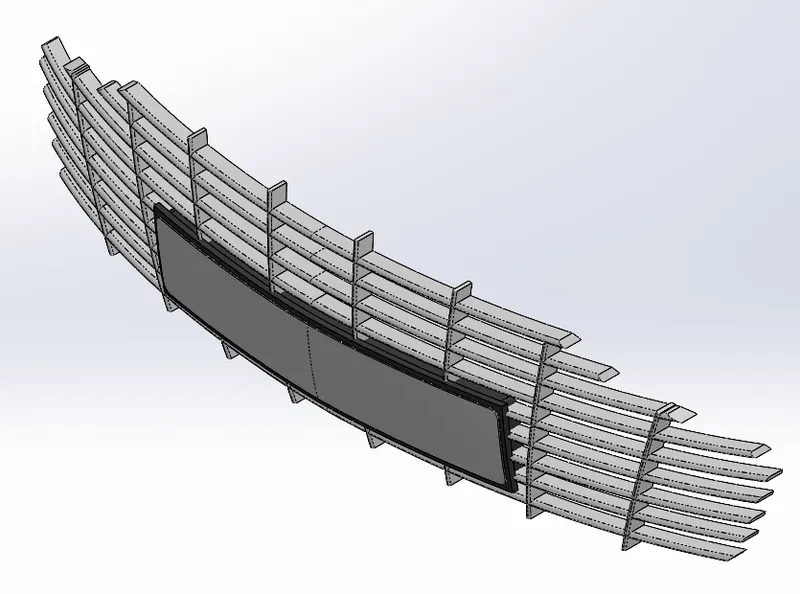
- Next step is to make the frontgrill which is used for the airflow inside the engine and the headlight which is used for projecting light on the road to see it clearly at night while driving. Featre used for making the Grills and HeadLight are, a. Projected Curve, b. Boundary -Surface, c. Delete body, d. Surface-Trim, e. Boss-Extrude, e. cut-extrude, f. Shell, g. Fillets, h. move/copy body, i. Split, k. Ruled-Surface, l. Surface-Knit, m. Offset-Surface, n. Mirror, o. Combine, p. Cut with surface, q. Split-Line.
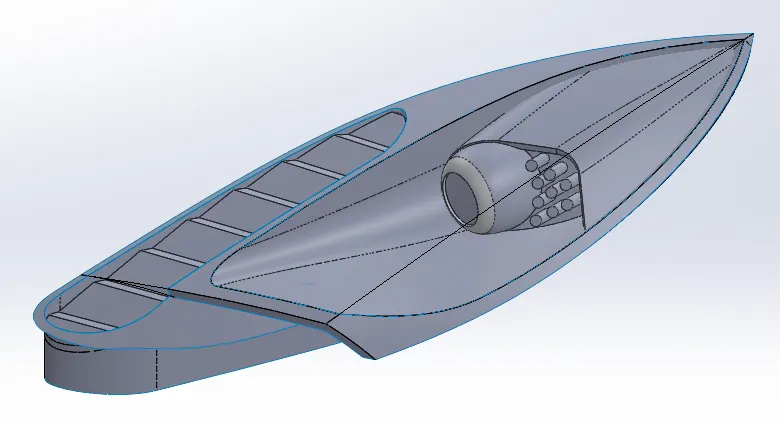
- We will make a new part file for Rims , Tires, and brakecalipers and then assemble it in a new assembly file which will be then added to the main assembly file. The rims are the main mounting of both tires and brakes. the brake plates are attached at the center of the rim and the caliper is attached at the top the those plates. When the brake is applied the calipers will activate and it will try the stop the rotation of the wheel by gripping the plates. Features used for making this bodies are, a. Boss-Extrude, b. cut-extrude, c. Fillets, d. Mirror, e. Combine, f. Circular-Pattern, g. Bose-Revolve, h. Cut-Sweep, i. boss-Sweep, j. Chamfer.
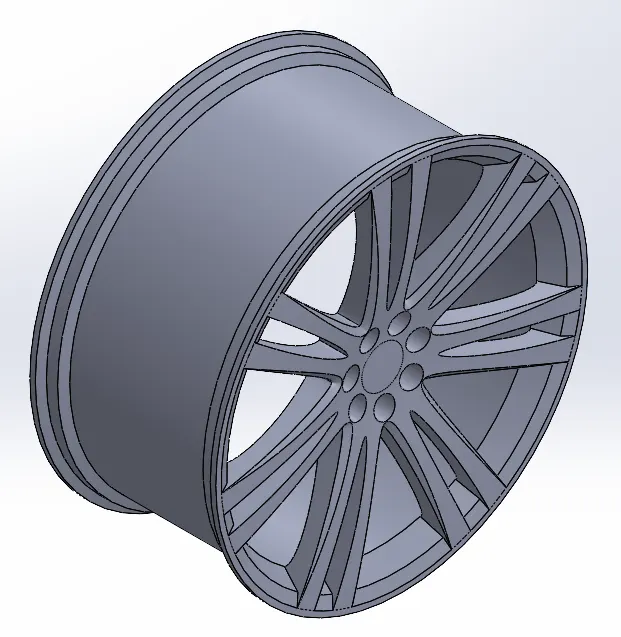
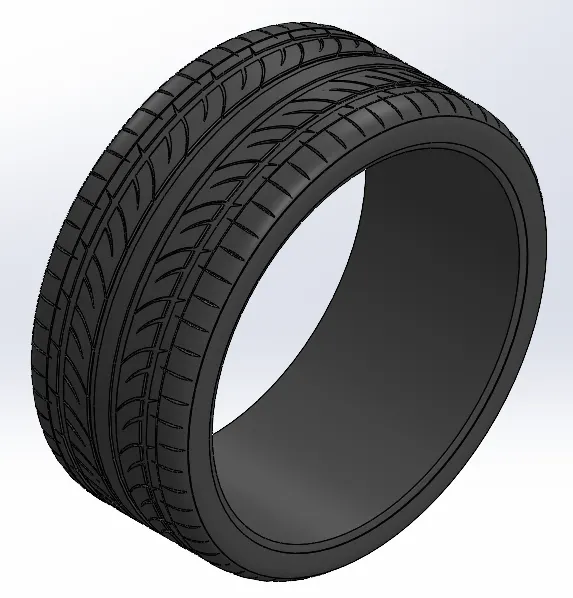
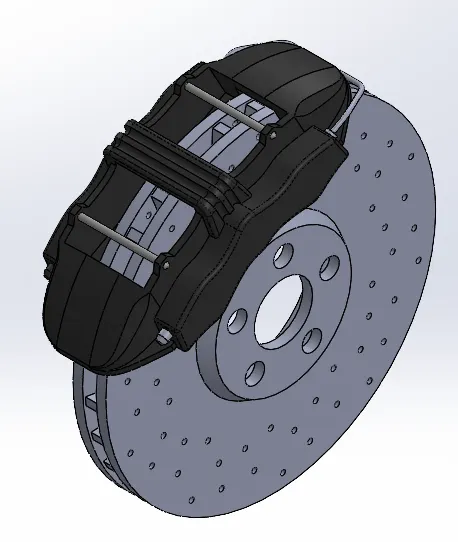
SCREENSHOTS OF THE ASSEMBLY MODEL:
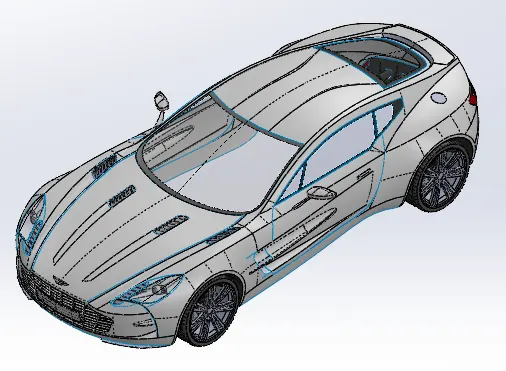
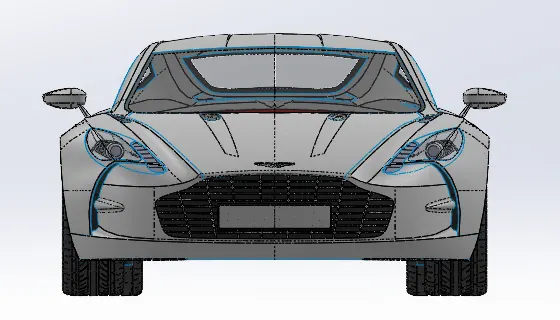
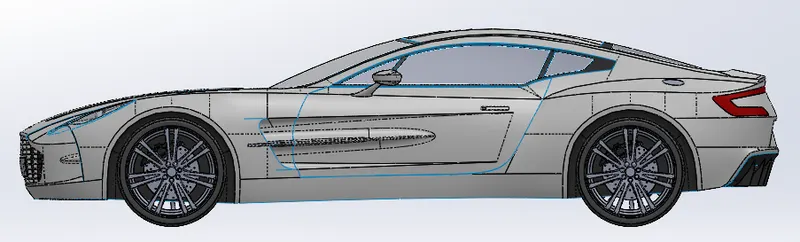
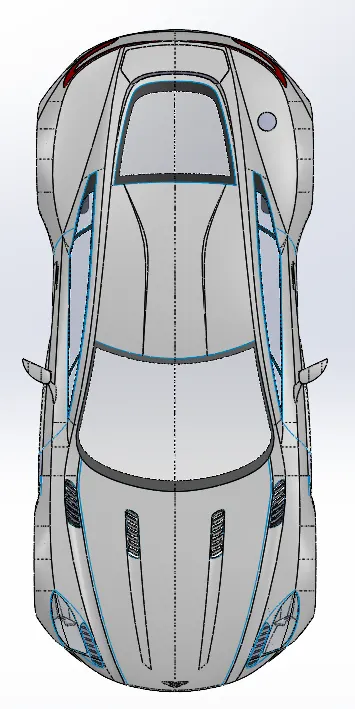
RENDERED IMAGES OF THE CAR ASSEMBLY:
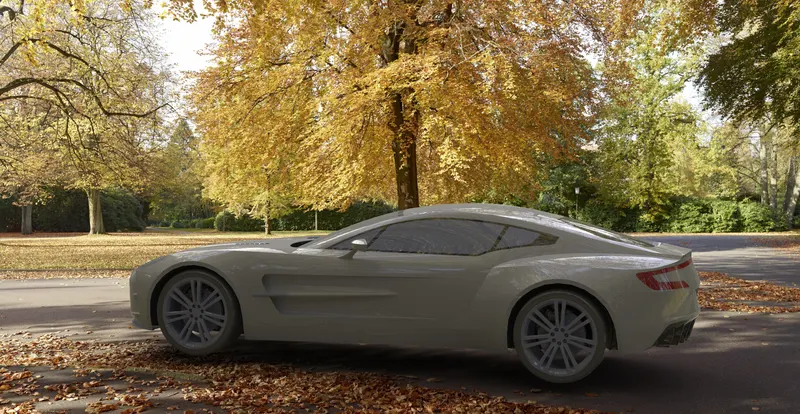
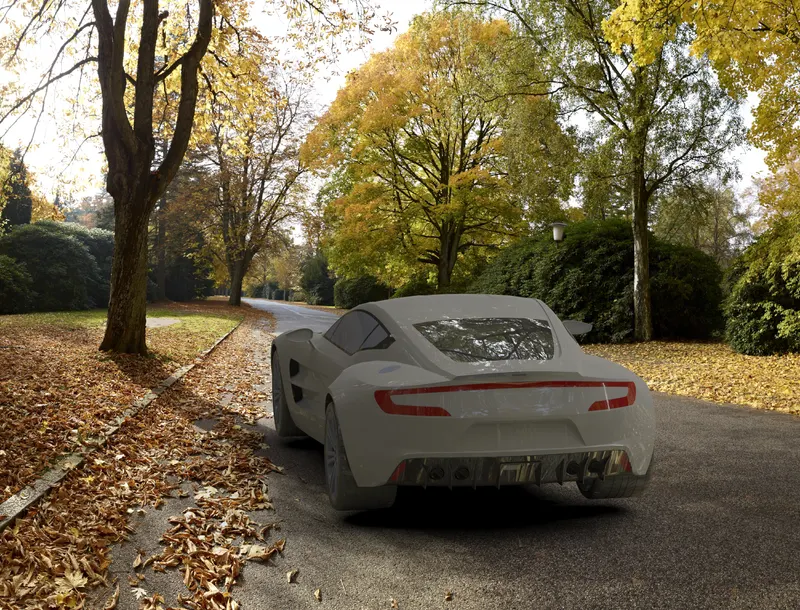
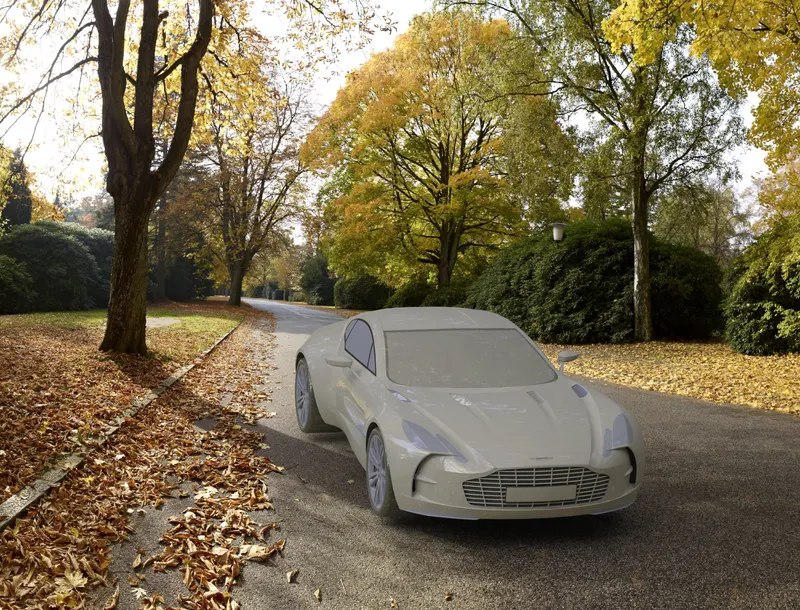
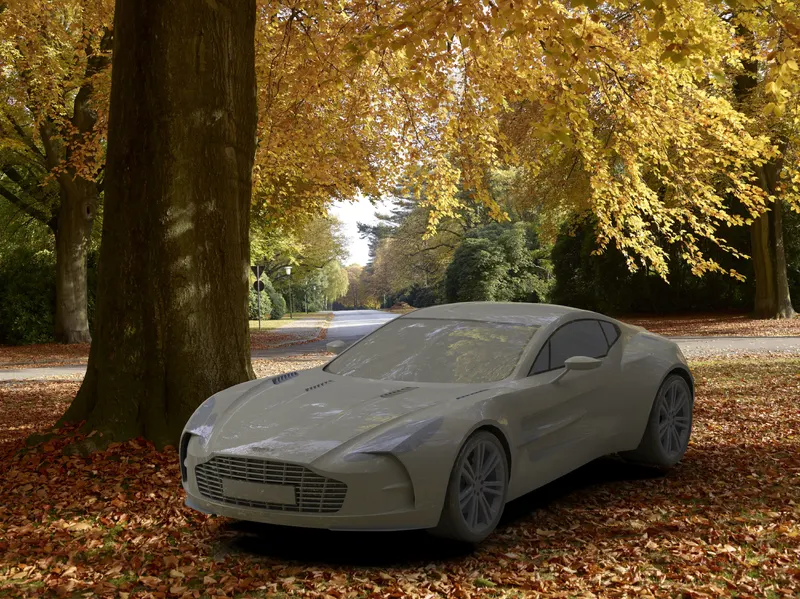
CONCLUSION: We made an AstonMartin-177 By using most of the features of the solidworks, We saw how to convert a 2d sketch into a 3d objects by adding some features into it.We also saw how to deal with surfaces. We added some Appearences to make our car more realistic.