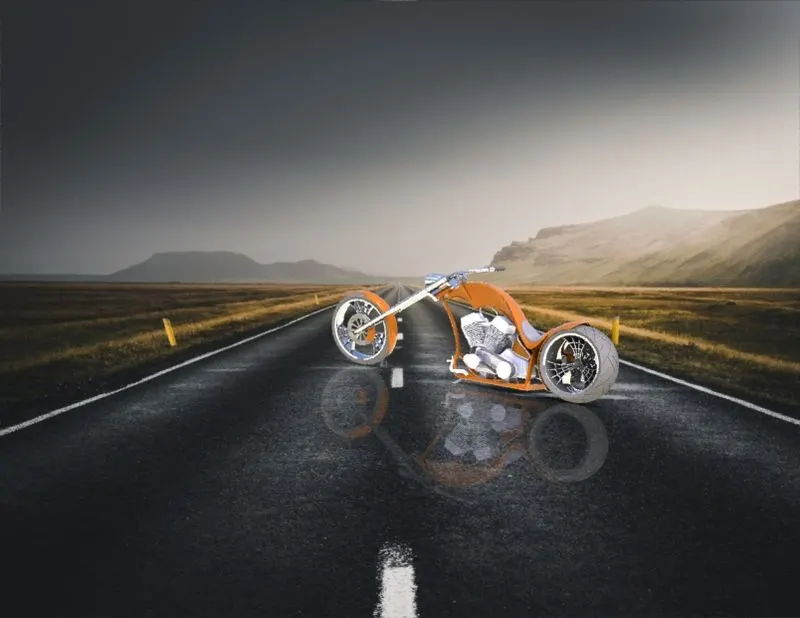
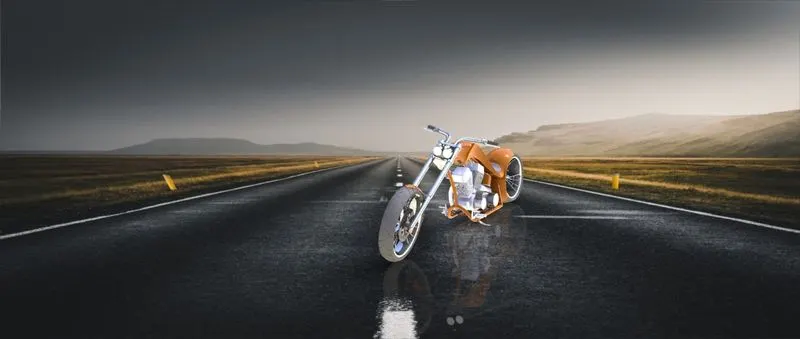
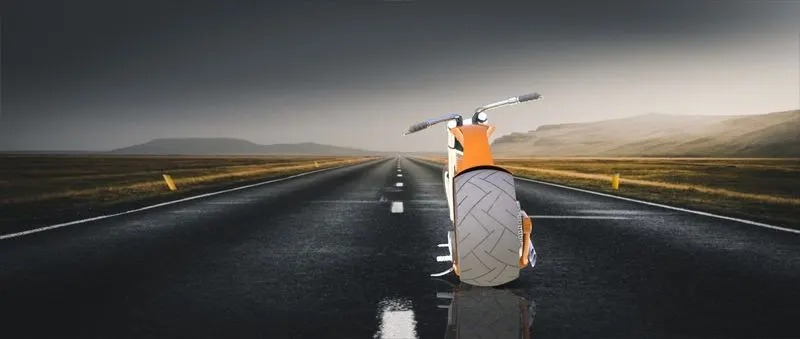
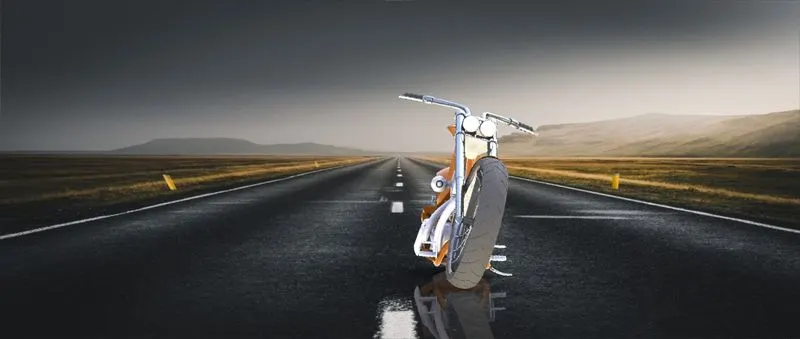
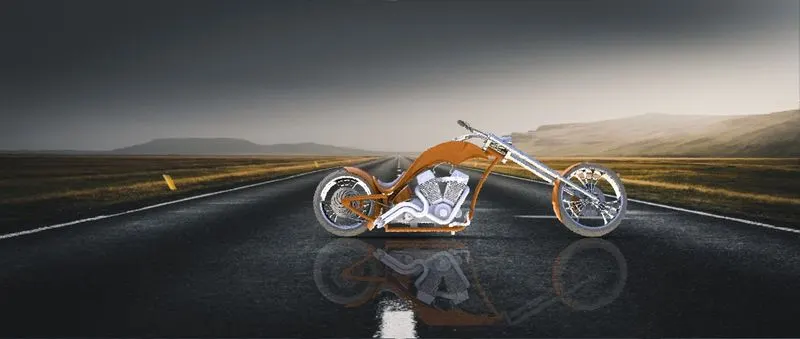
Photo Realistic Rendering
DESIGNING AMERICAN CHOPPER USING SOLIDWORKS
Objective:
To create and assemble the parts of an American chopper.
Introduction:
In this project I have modeled an American chopper. Firstly I have designed all the components of the chopper individually and then later assembled all of them using solidworks. In the end I used photoview 360 to render my chopper and give it a realistic finish.
FLOW CHART:
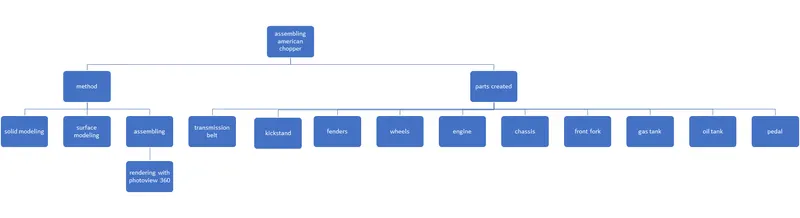
Designing:
TRANSMISSION BELT:
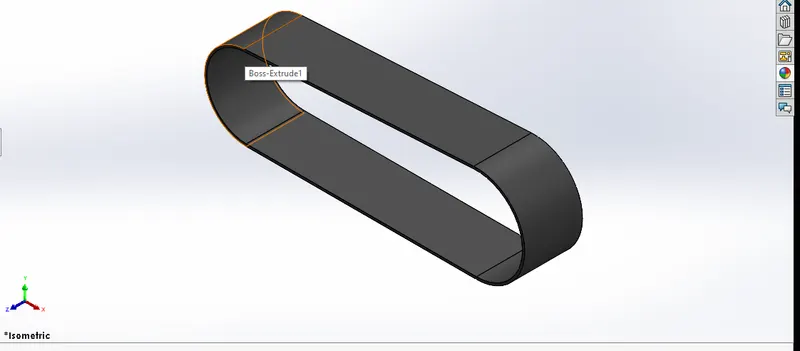
Tools used: boss extrude, sketch line,3point arc.
First create the outline of the sketch, and then later extrude using the boss extrude option. Finally go to appearance and change the color of the belt.
Kick stand:
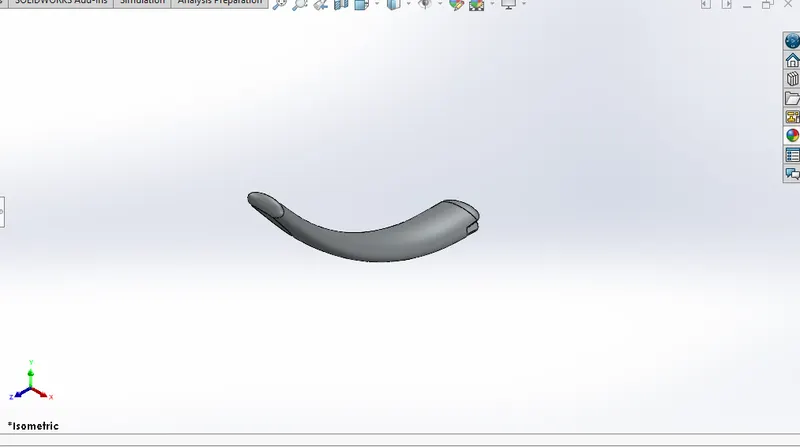
Tools used: dome, boss extrude, cut extrude, loft , split , fillet.
Create the base sketch, and then loft it using the lofted boss base. Dome the top part using the dome feature. Now cut the inside part using the cut extrude feature. Make a flat base using the split tool. Finally change the color of the kickstand using the appearance option.
FRONT FENDER:
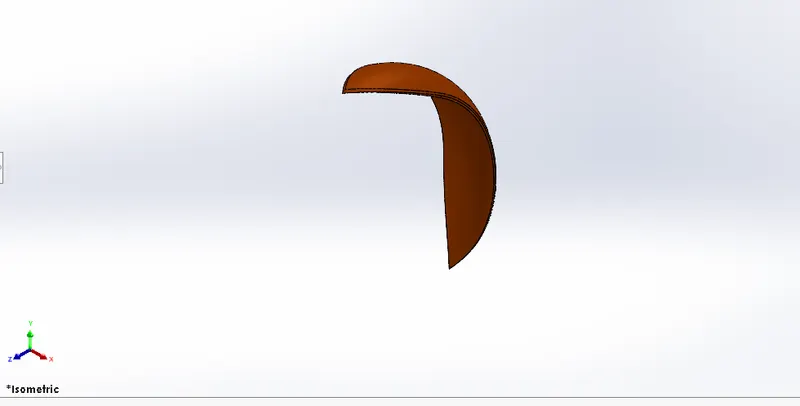
Tools used: revolve boss base, split, fillet.
Create the base sketch and then use the revolve boss base to create the 3D model of the fender. Now use the split tool to get the appropriate design at the top and bottom of the fender. Finally apply fillets to make the edges smooth.
Rear fender:
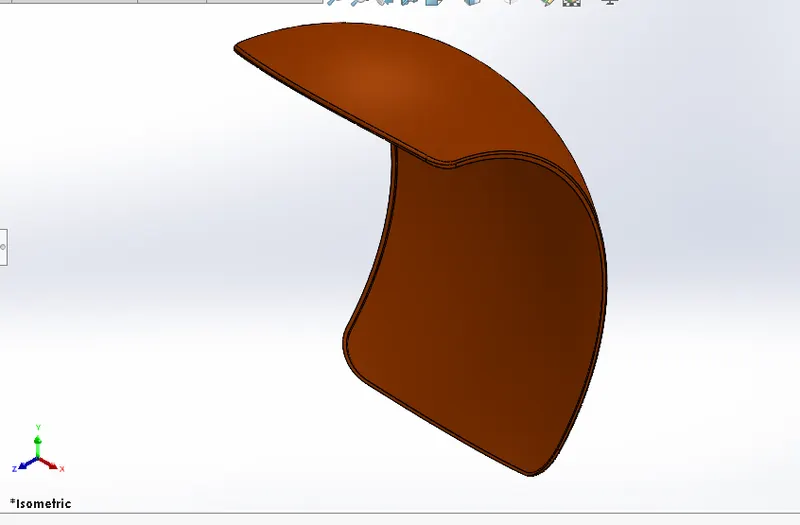
Tools used: revolve boss base, split, fillet, shell.
Create the base sketch and use the revolve boss base to get the 3D model of the fender. Now use the split tool to get the appropriate shape at the top and bottom of the fender. Use the shell feature to make it a shell.
Chain :
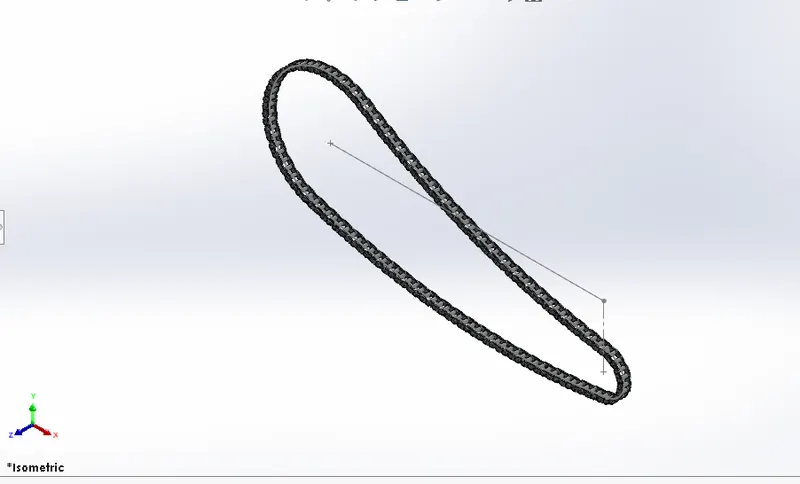
Tools used :boss extrude, curve pattern, fillet, mirror.
First create two blocks for the outer chain block and inner chain block by extruding the required sketch using boss extrude. Later use these blocks to create the entire chain by placing them over the curve. Use the fillets to make the chain nice and smooth. Finally mirror the chain to its back to get the final chain.
Oil tank :
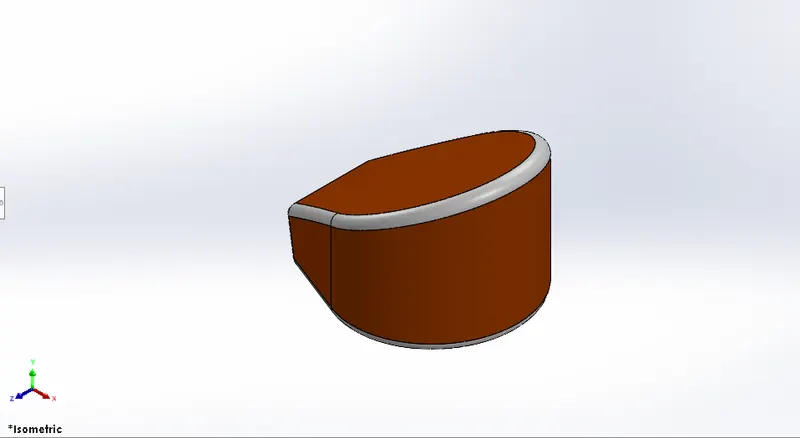
Tools used : boss extrude, fillet, combine, shell.
Create the required sketches and extrude them individually. Use the fillets to make the edges nice and smooth. Finally use the shell feature to make a hollow oil tank from the inside. finally combine all the parts and make it one solid. Now go the appearance and change the color of the oil to sienna.
Pedal:
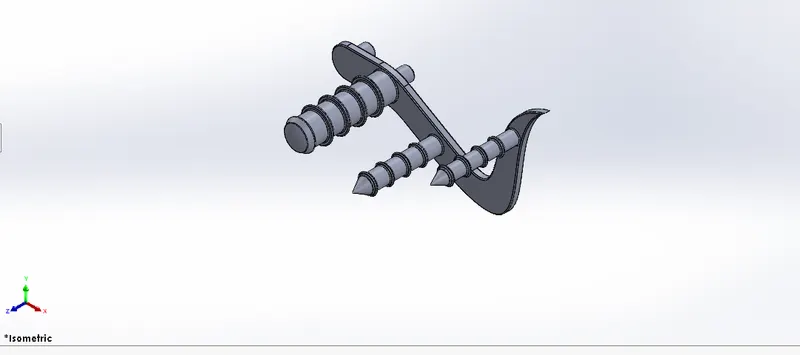
Tools used: boss extrude , fillets, linear pattern , chamfer, dome.
Create the requirement sketch and extrude the sketch. Use the revolve feature to create the cylindrical part of the pedal. Apply dome to the end of the cylindrical parts of the pedal. Use the linear pattern to create the pattern on the pedal. Apply the fillets to make smooth edges.
Front and rear wheel:
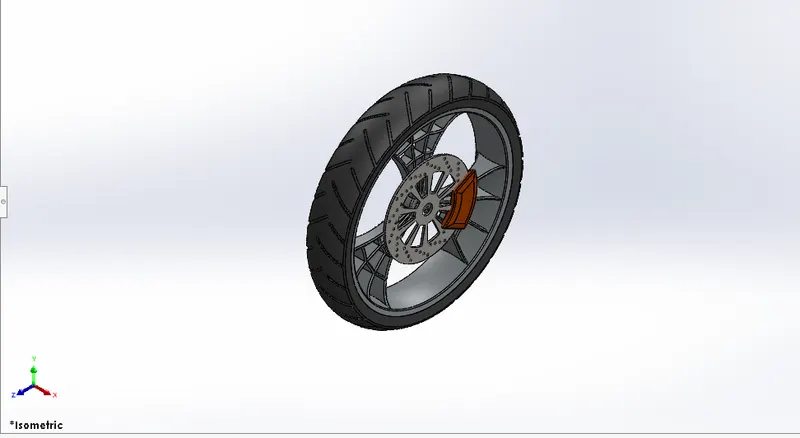
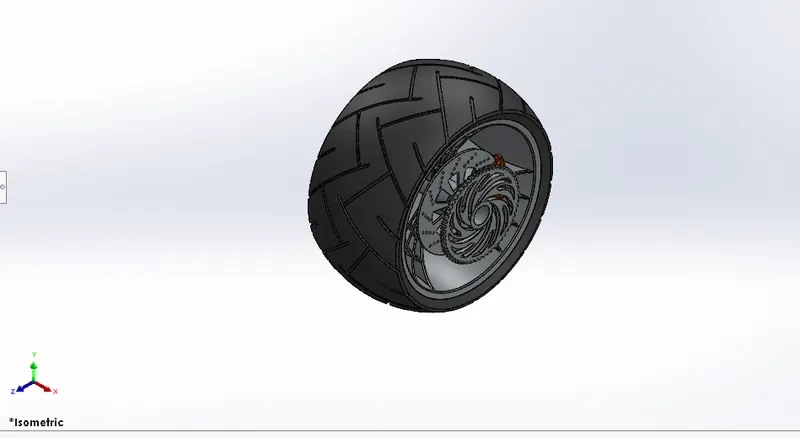
Tools used: boss extrude, cut extrude, revolve boss base, circular pattern, fillet, chamfer, combine.
Create the circle and revolve it to get the wheel. Later sketch inside the wheel to get the rims by extruding the sketch. Also use the circular pattern feature to create a pattern in the rims as well as the sprocket. Use the cut extrude option to remove the extra extruded part of the component. Apply the chamfer to the caliper. Use the combine option to combine the necessary parts and make them as one solid body. Finally go to the appearance and apply the color to the wheel and tyre.
Front fork:
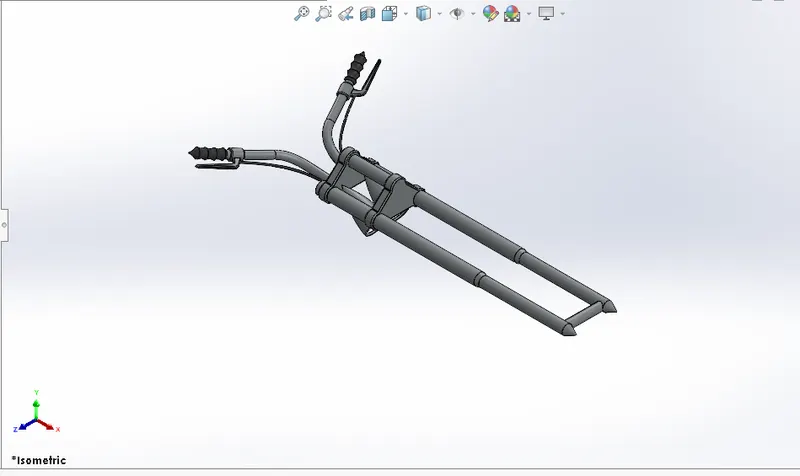
Tools used : boss extrude, sweep, cut extrude, projected curve, fillet, mirror, linear pattern, revolve, combine,sweep.
In this we are going to make only half of the fork and then later mirror it. First, Create the base sketch required to make a revolve for the fork and revolve it using revolve boss base. Later make the base for the top part of the fork using boss extrude. And then create the head lights using revolve feature. Use the cut extrude to remove the extra part. Create a projected curve to make the handlebars of the fork and then sweep it. In the end go to mirror, and mirror the part to get the complete fork. Finally go to appearance and change the color of the hand grips.
Chassis:
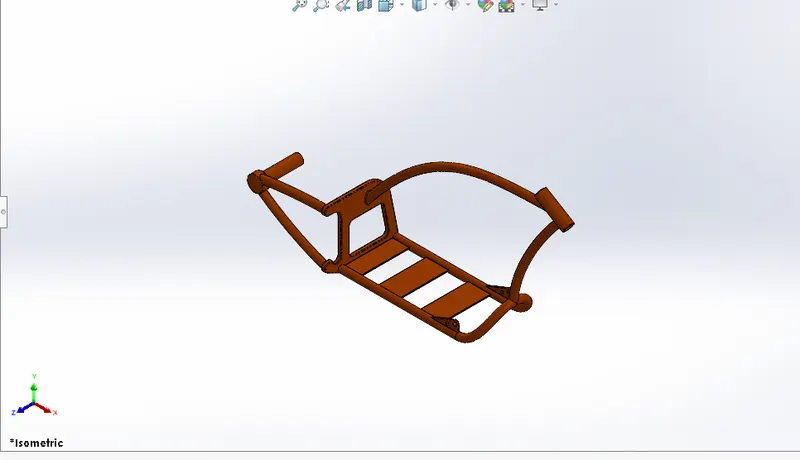
Tools used: boss extrude, split, combine, fillets, chamfer, sweep, revolve, mirror, cut extrude, projected curve.
For creating the chassis, first upload the blueprint of the chopper to get a better understanding of the design. Now create the of the chassis, using the projected curve feature and sweep it. Mirror it to get the complete base. Later create the required sketch and extrude/revolve it appropriately. Use the dome feature to dome the end parts at the rear and front of the chassis. Apply fillets to the edges to make it smooth and nice. Use the combine feature to finally combine all the parts and make it one solid body.
Engine:
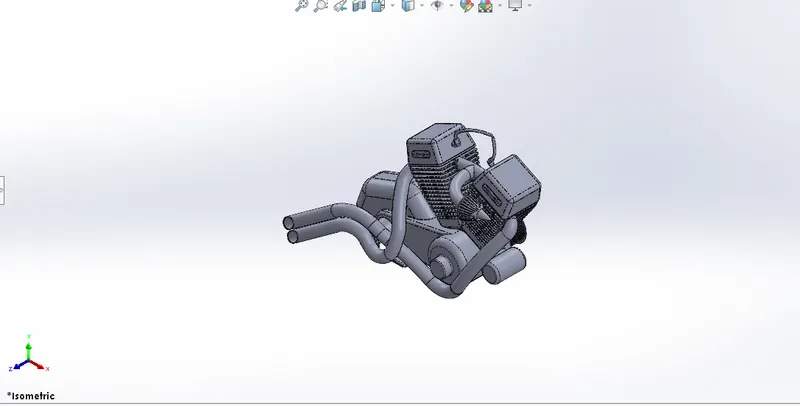
Tools used: boss extrude, sweep, revolve, projected curve, composite curve, fillet, chamfer, combine, cut extrude, mirror, dome, linear pattern, circular pattern.
Like for the chassis, we start by adding the blueprint in order to get a clear idea of the engine. We start by making the base of the engine by creating the extrude for placing the transmission belt. From there on we built the engine eventually by using the extrude and revolve. For the patterns we use the linear pattern and circular pattern option. To the cut the extra extruded part we use the cut extrude option. For the silencer we use the projected curve and sweep them. For the cylinder, we use the mirror option. Apply fillets to all the edges and make them nice and smooth, finally use the combine feature to combine all the parts and make it one solid body.
Gast tank:
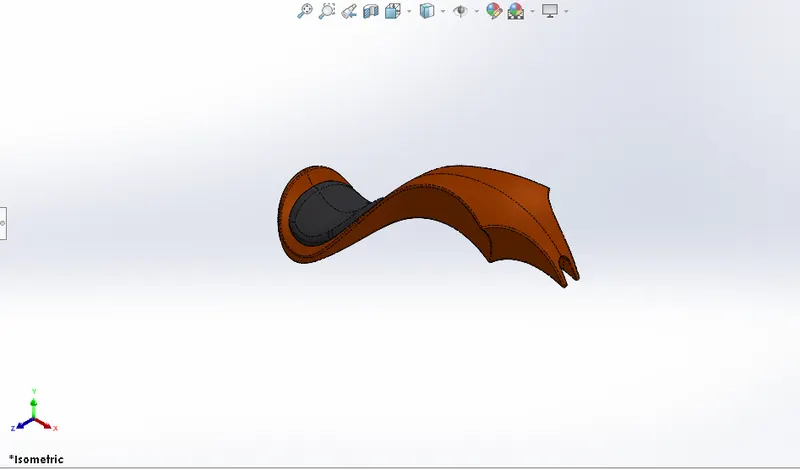
Tools used: surface sweep, surface trim, surface loft, surface knit, projected curve, mirror, fillet, cut sweep, shell.
Firstly, add the blueprint of the gas tank. Create the sketch to make a surface sweep to get the base of gas tank. Use the surface trim to remove the unwanted surface. Use the surface loft to create the side of the gas tank. Use the knit surface to knit all the surfaces and make them as one surface. Make use of the curve feature to get the appropriate curvature in the gas tank. Use the mirror feature to mirror the boundary surface. Apply fillets to all the edges. Now make it a shell using the shell feature. Finally go to the appearance and change the color of the seat and the gas tank.
Assembling and rendering:
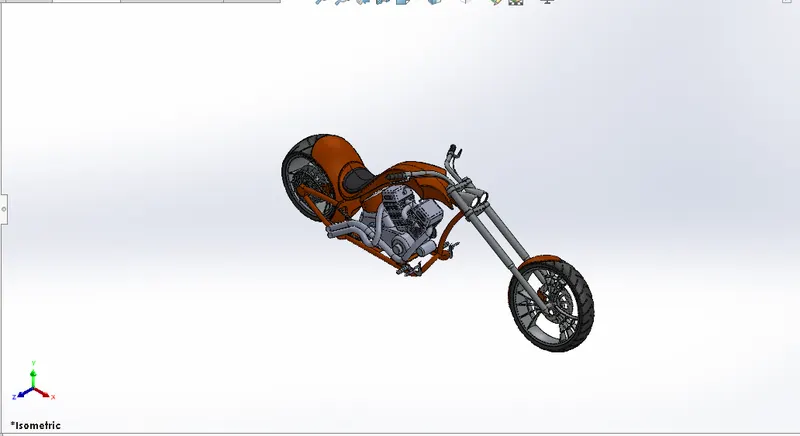
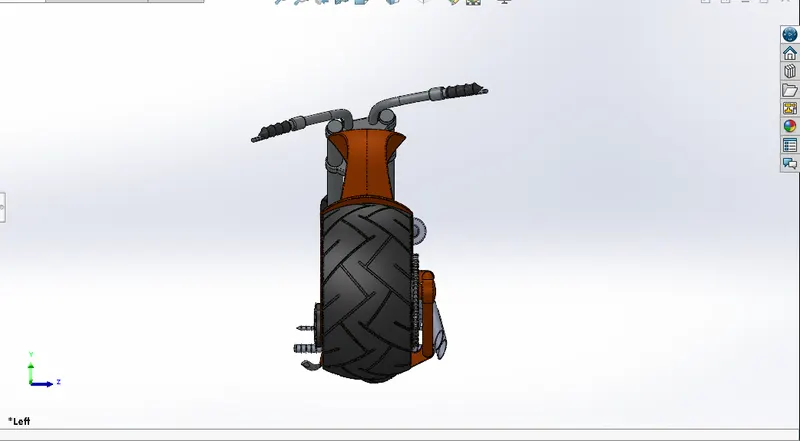
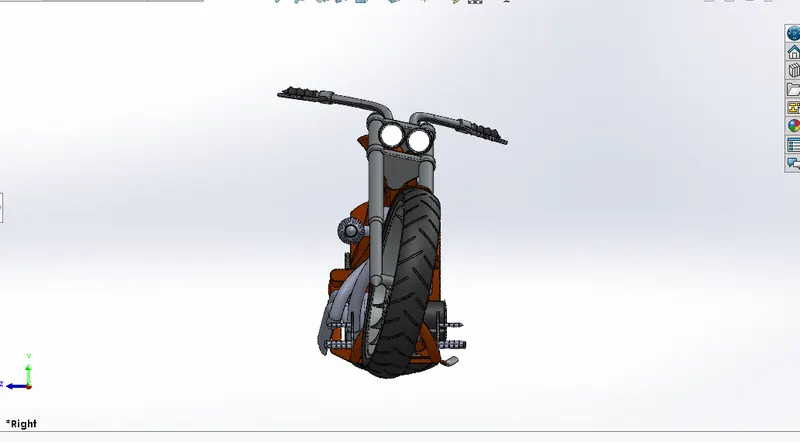
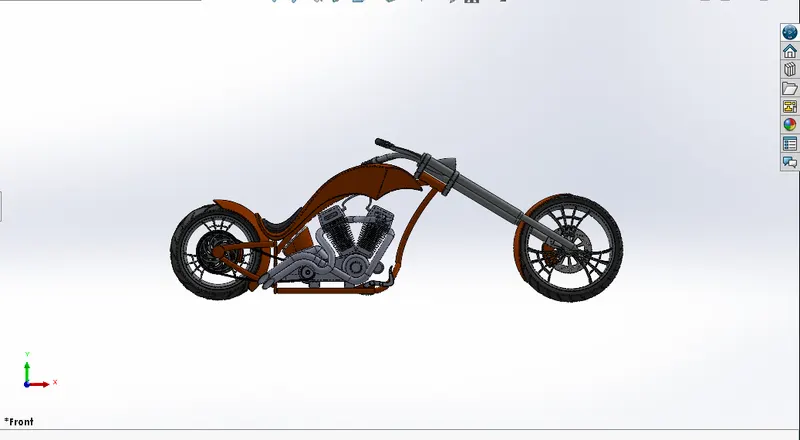
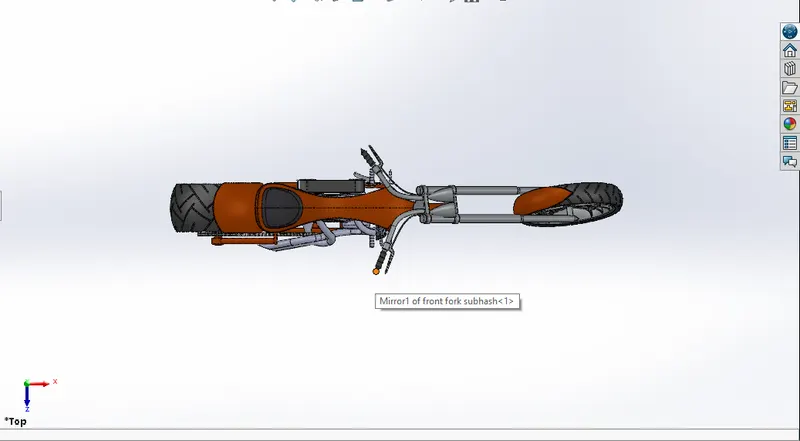
Finally import all the part files and assemble the chopper. Starting with chassis, followed by the engine and so on. Give appropriate mates to the chopper. After finishing the assembly of the chopper, use the photoview 360 to render the chopper and give it a nice finish.
CONCLUSION : the chopper is assembled and rendered sucessfully.
final rendered images of the chopper: