Introduction to REVIT concepts
1) From the file menu, create a new project (Structural / Architectural / Construction template ) and name the project appropriately
Aim:
To create the file menu and create a new project
Procedure:
- First We choose the file tab and click the new
- We chooose the Construction or architecture template
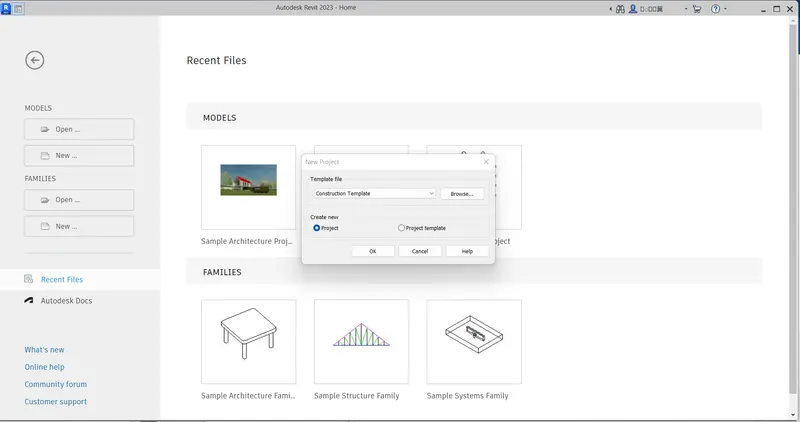
- And we proceed to save the file as been template
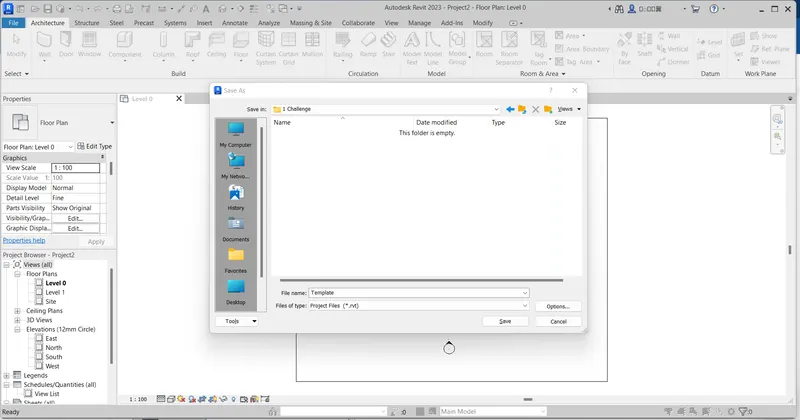
2) Save the new project file. Close and open using icons from file toolbar
Aim:
To creat the project file using close and open toolbar
Procedure:
- Save the file
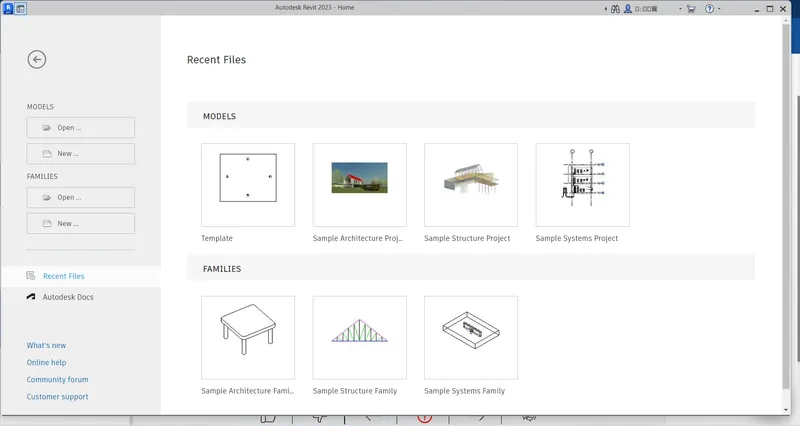
- Next to move the close tap
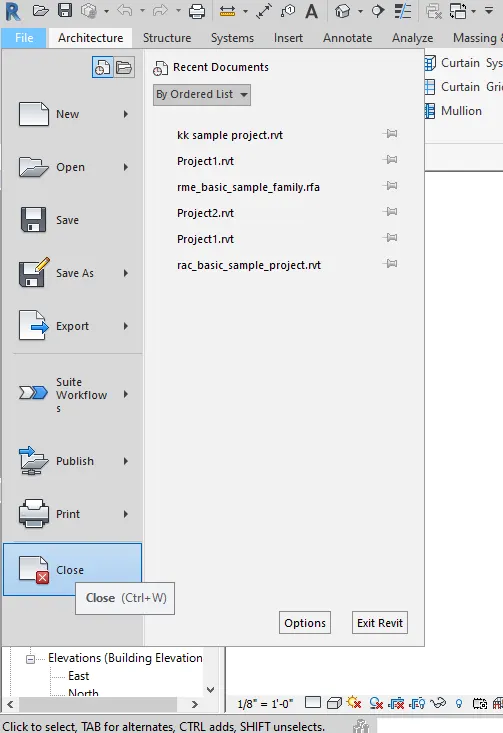
And we select the recent file document
3) From the architecture/ structure toolbar familiarize with options to draw a wall. Create a rectangular layout of walls of about 40’-0” X 35’-0”
Aim:
To create the wall using of the architectural or structural template
Procedure:
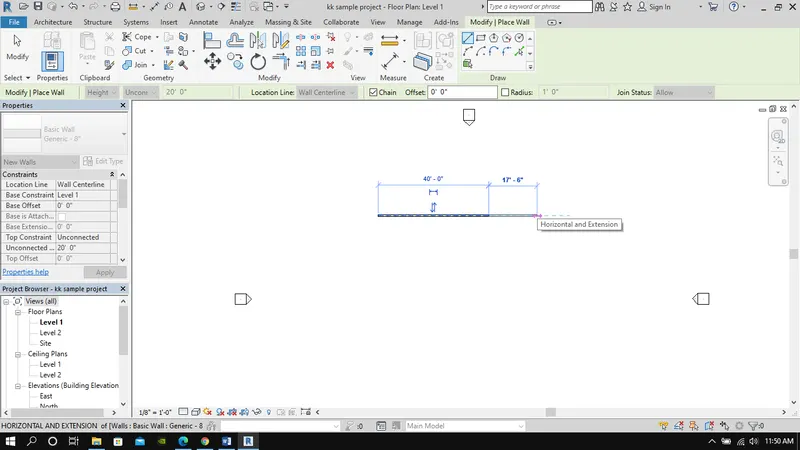
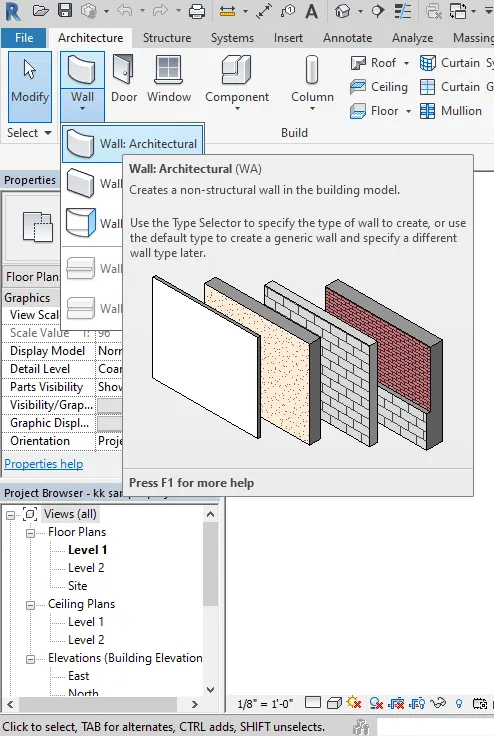
- To click on the architectural tab and click the wall
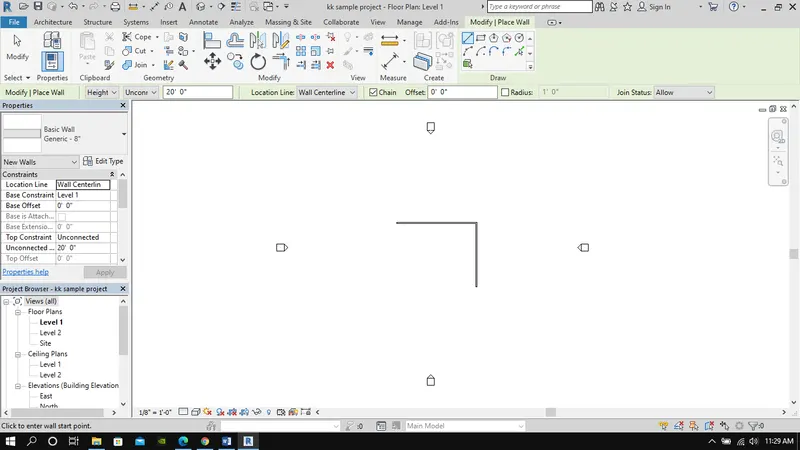
- Draw the wall over the 40' and 35'
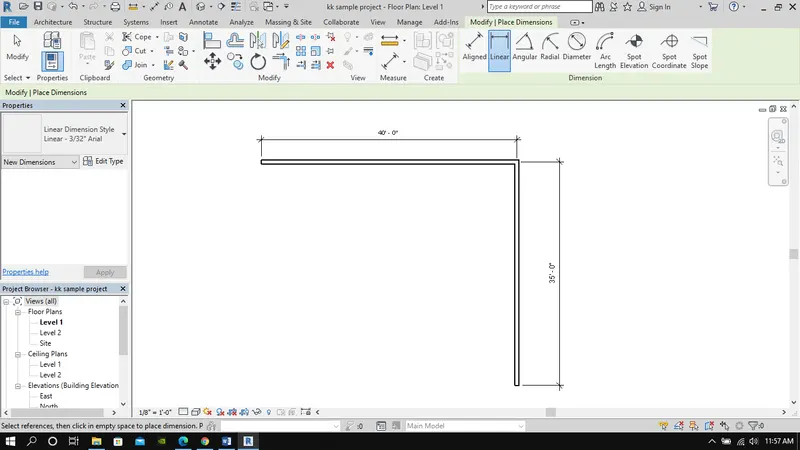
4) From the Annotate toolbar use the aligned option to add dimensions to the layout
Aim:
To create the Annotate toolbar use the aligned
Procedure:
- To click on the annoate tool to the aligned tool bar
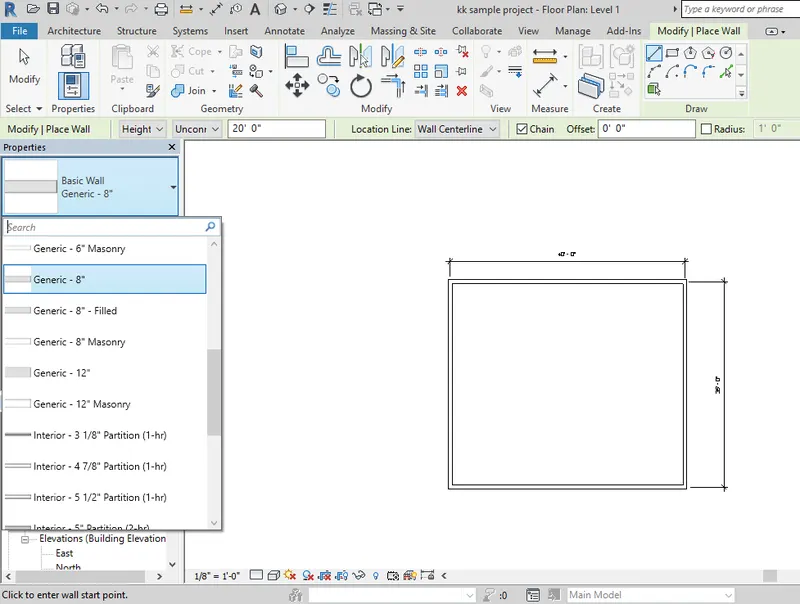
5) Use the properties browser to switch to different wall types
Aim:
To create browser to switch to different wall types
Procedure:
- To create the wall in to the properties change the wall types
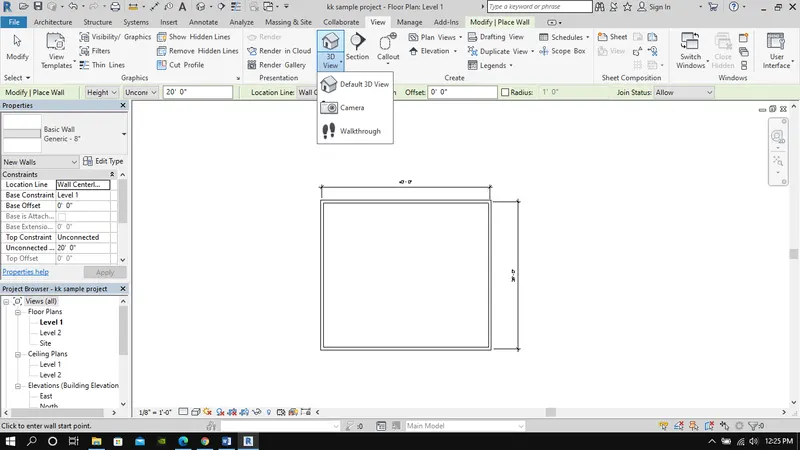
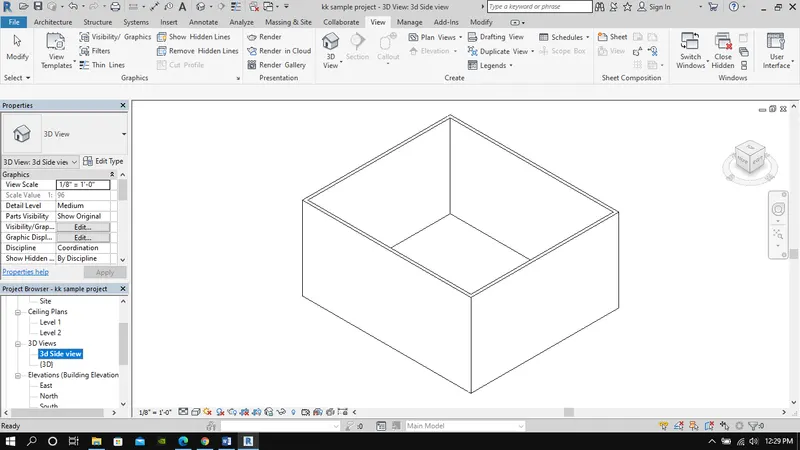
6) Create a 3D view from the view toolbar and save the view with the appropriate name
Aim:
To create the 3D view from the view toolbar and save the view
Procedure:
- To click the view option to default 3d view
To change the project view name
7) Navigate through the 3D model using the view cube. Orbit/pan through the model layout created
Aim:
To navigate through the 3D model using the view cube
Procedure:
- To Click on "full navigation view" on the right of the model
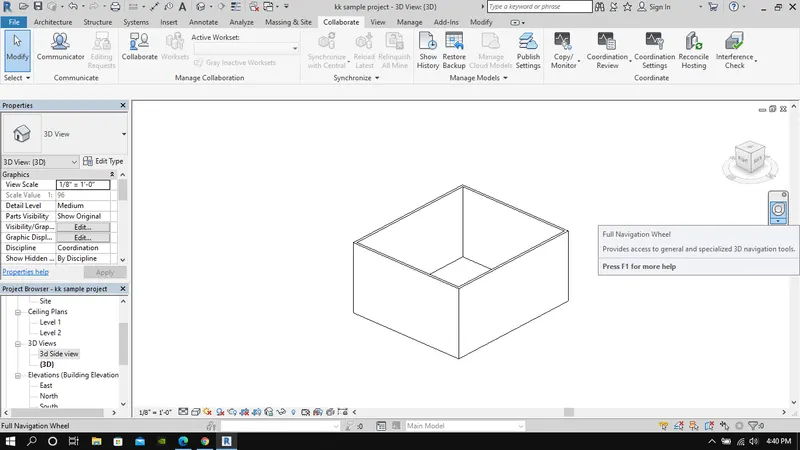
Click and hold orbit to rotate the model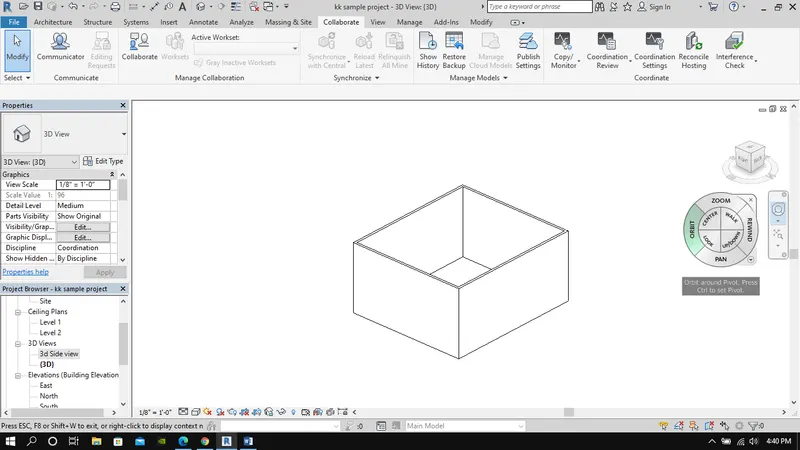
Click and hold pan to move the model
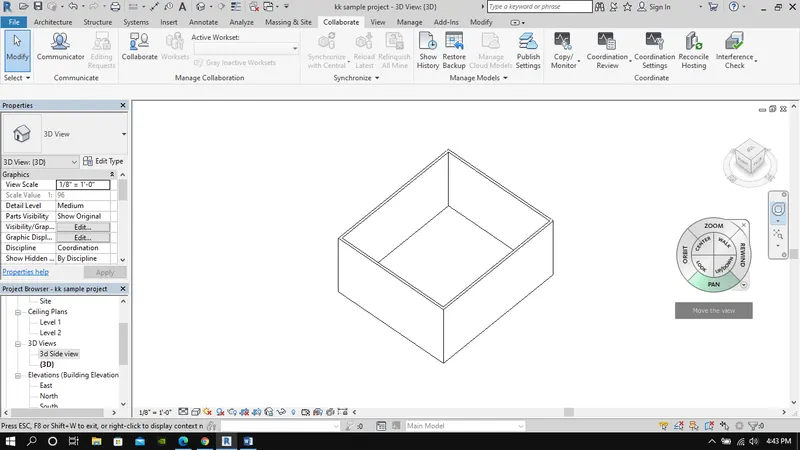
Click and hold zoom to zoom in & out of the model
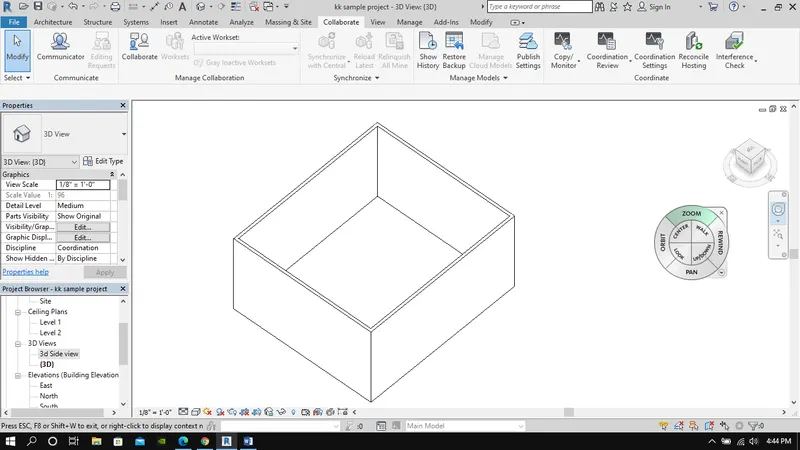
8) Use the visibility settings option below to switch model to shaded, realistic, hidden lines options
Aim:
To Use the visibility settings option below to switch model to shaded, realistic, hidden lines options
Procedure:
- To check Visibility setting(toolbar below model) > Hidden
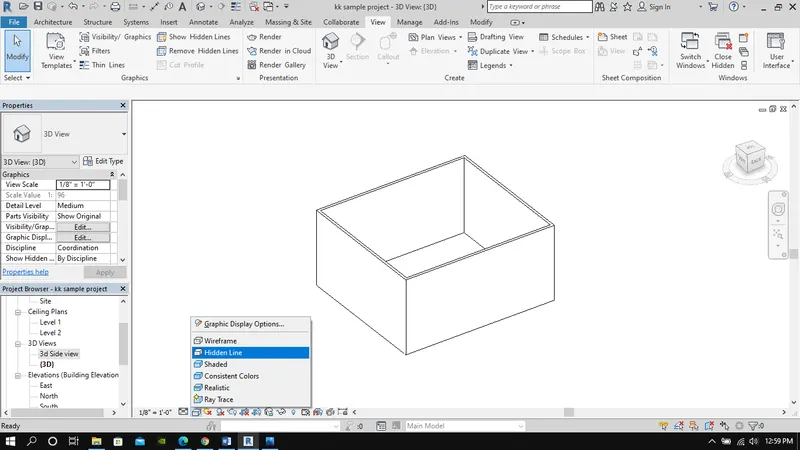
Visibility setting(toolbar below model) > Shaded
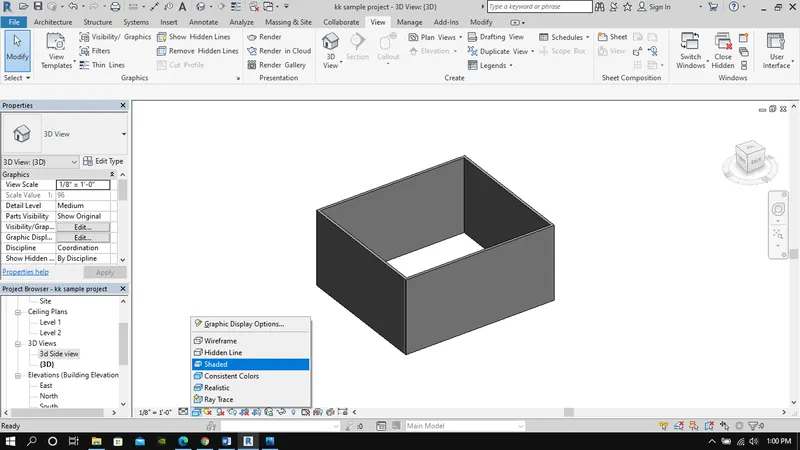
Visibility setting(toolbar below model) > Realistic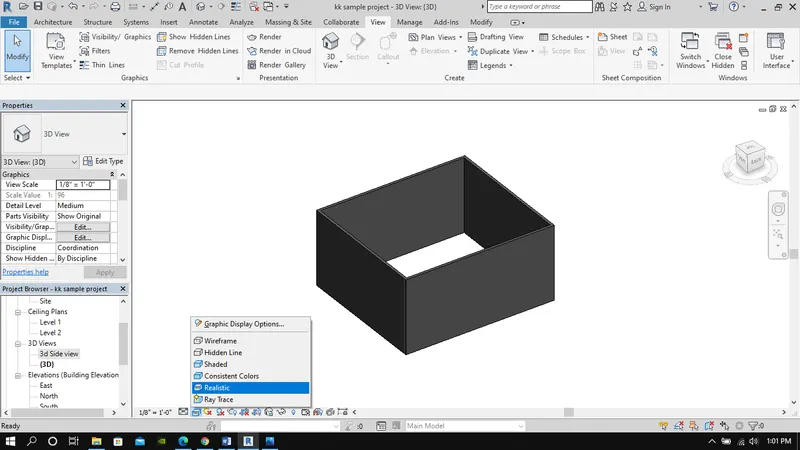
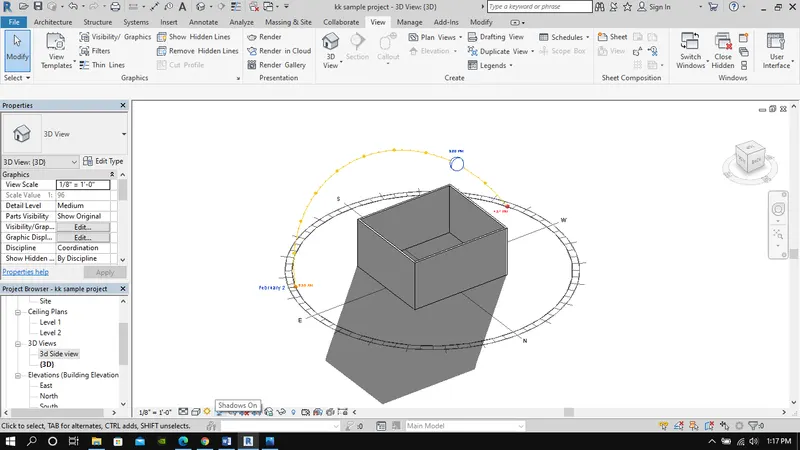
9) Turn the sun path on and off to view shadings in the layout created
Aim:
To turn the sun path on and off to view shadings
Procedure:
- To click on the 3d view and check the sun path setting
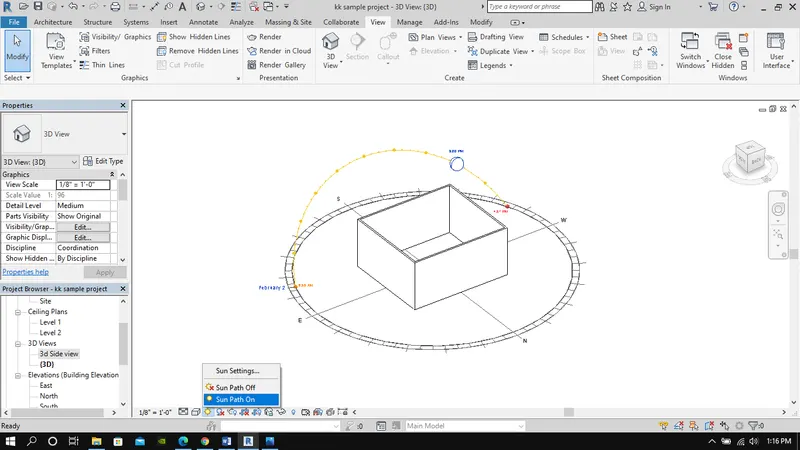
To on the shadows
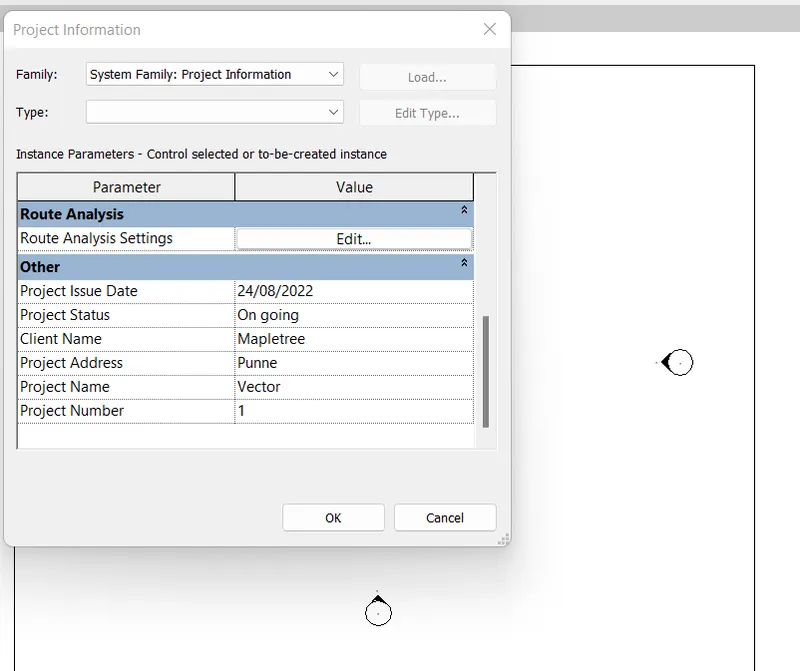
10) Use the Manage toolbar to enter project settings, project name, and project issue date (choose according to your convenience).
Aim:
To Use the Manage toolbar to enter project settings, project name, and project issue date
Procedure:
- Manage > Settings > Project information
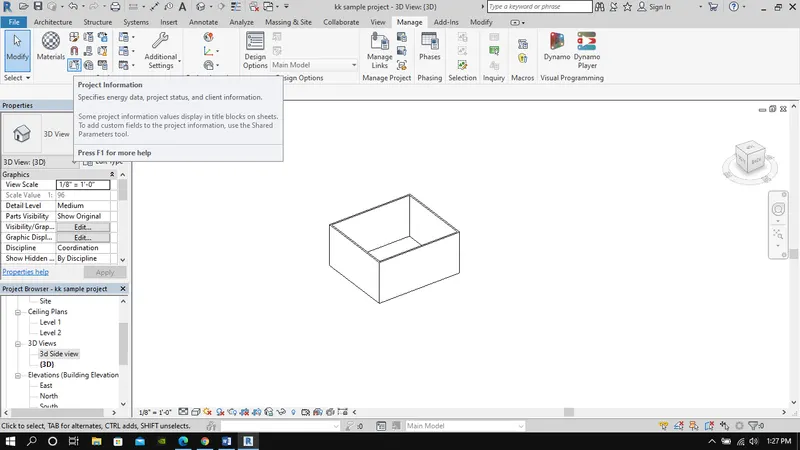
To create the project name and date , time
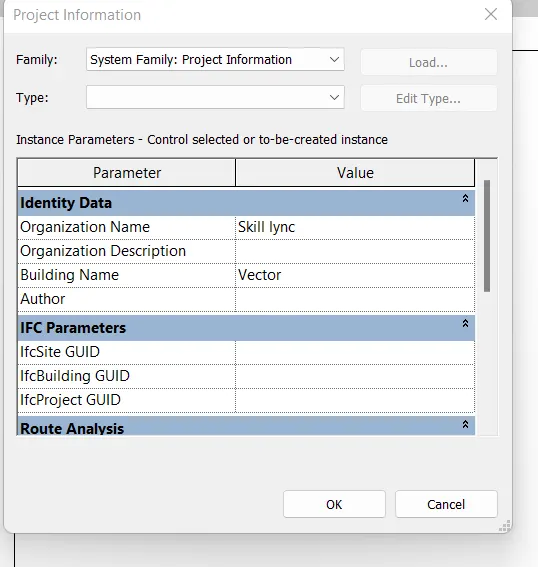
To create the contractor name
11) What is the Analyze toolbar used in Revit? How it is beneficial for design and modeling
- Analsze tool bar is used to apply and check various conditions on the model we have created.
- We can verify the connections of various parts or elements and check the model for any discrepencies iwith tolerance checks.
- Can check MEP connections
- We can create schedules and reports from model at any stage of the project.
- Energy optimization with location corordinates for a particular project.
- Exporting to robot structural analysis.
- Major benefit is for analsing the model with various loads and other external conditions to validate the model and provide or make corrections or changed accordingly.
12) What are the links that Revit supports to be linked to the model?
We can use insert tab to link Revit files, Autcad filed and IFC files into the existing model
13) Why do you need the Collaborate tab in Revit? How it supports modeling and its efficiency
- Collaborate is mainly effiecient to include more than one individual working in the same model which allows people from same team or different disciplines like civil & MEP to work on same revit project. Also we use the model in cloud based project sharing.
- In this way we can verify any clashes or mistakes that may arise during the construction before it happens and reduce the wastage or labor,resources & time for the project in the modelling phase itself. thus enhancing efficiency for the overrall project.