Introduction to REVIT concepts
INTROODUCTION :
revit is a buliding information modelling software for architects, iandscape architects, structural engineerings, mechanical, electronical and plummbing (MEP) Engineerings, desiners and contractors.
- Charls revit softwere originally developed the softwere in 1997, renamed revit technology croporation in2000, and acquired by autodesk in 2002.
- autodesk rrevit is BIM softwere for architects, interior desiner, landscape architecters, structeral engineerings, MEP engineers, contractors, and more.
- revit modeling proccess is complicated and not easy for a first- time user.
- softwere required beter hardware, 40% more expensive then autodesk acd but higher productivity.
- for architects and interire desineers, the softwere is being usrd to create consttrution doucments.
- not much of renderings feateraes, but supprot virtual reality plugins.
- collaborate witth cad drawing users.
1.
AIM : to create new project and name the project appropriately.
PROCEDURE :
1. initially open the revit softwere.
2. then go to new option in the model.
3. then, click on the save icon.
4. now, type the desired fill name and save it in the desired location.
RESULT :
2.
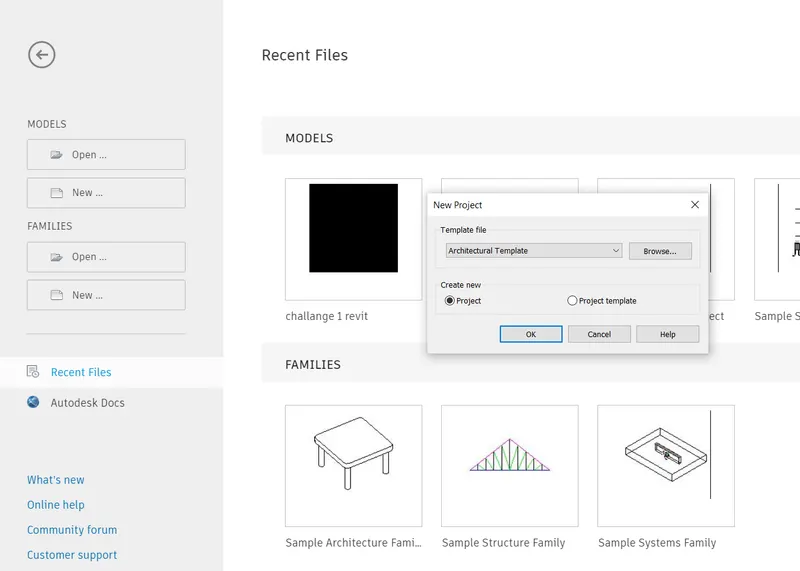
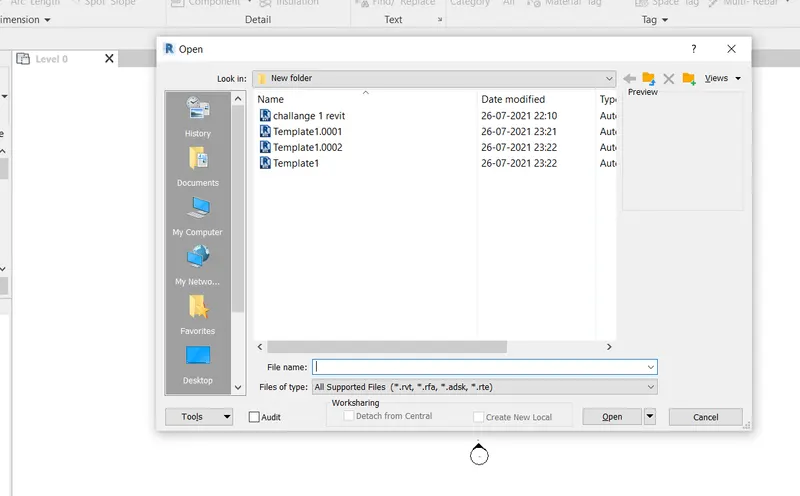
AIM: TO save a project file. then close and open the file the choose architectural template, create new project and then ok.
- the revit file opens click on the save icon . then a window opens.
- type the desiredn file name and save it in the desird location.
- hence, the file name is saved.
- now, we have to close and open the file toolbar.
- again open the revit softwere.
RESULT:
3.
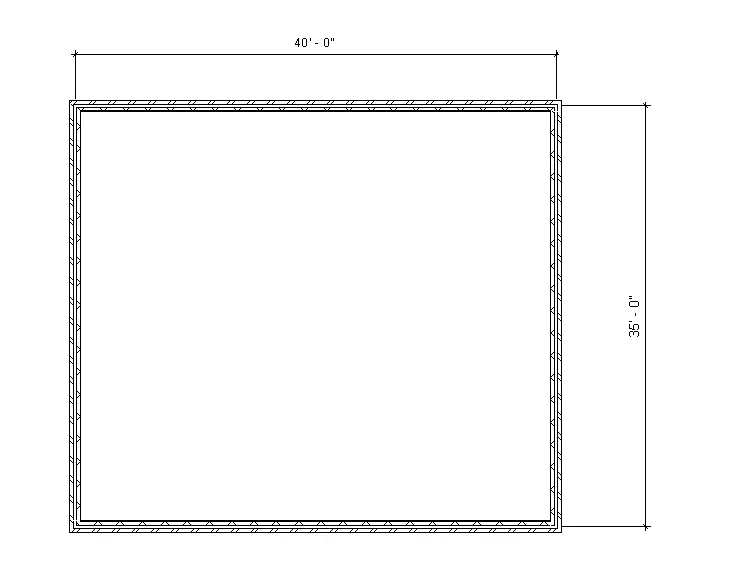
AIM: to familiarise with the optioons to draw a wall from architectural or strural toolbar, then to create a recatangulare layout of walls of about 40'x35'.
PROCEDURE:
- initially open the revit file.
- then go to the architecture panel where you have variety of option to develop a strucre.
- then choose the imprerial template.
- choose the wall option in the architechere panel.
- create a rectangular wall of 40'x35'.
RESULT
4.
AIM: to dimensions the wall the wall layout by using the aligned option in annotate toolbar.
procedure:
- Initially open the revit softwere.
- create a wall in the imperial template as imprerial template as given below.
- now, go to annotate tab, chose aligned dimension.
- then, proved the dimensin. to the wall thus created.
RESULT: 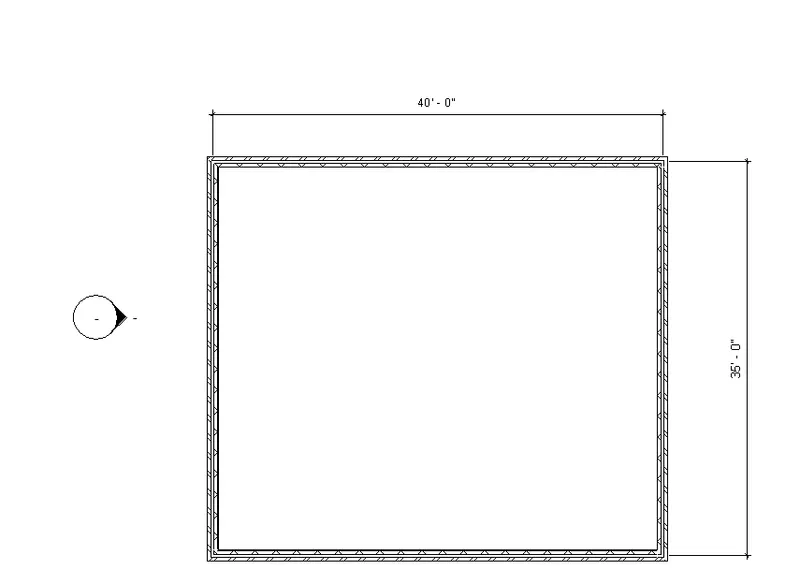
5.
AIM: to use the properties browser to switch between defferent types of wall.
Procedure:
- initially open the revit softwere .
- create a wal in the imperial template as given below.
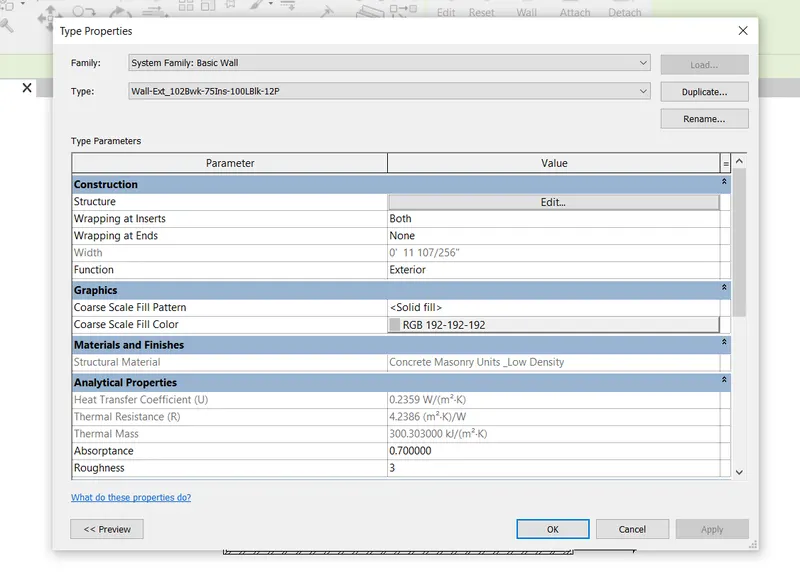
- now, selet the wall createdand then go to properrties panel in the eft side of your drawing area.
- in that, go to edit type option where you can change the wall types.
- similarly defferent wall types can be chosen.
RESULT:
6.
AIM: TO create the 3D viwe from the viwe toolbar and then save the view with appropriate name.
Proceduure:
- initially open the revit softwere.
- create a wall in the imperial template as given below.
- now we have to create the 3D view of this wall.
- for this go view tab and chose 3D view option.
- hence the 3D viwe is developed as given below;now we have thee view, for this click the full navigation wheelon the navigaton bar
- then right click the steering wheel and click the steering wheel and click save view.
- now, enter a name for the new 3D view and then cliick ok. then is seved.
RESULT: