Introduction to REVIT concepts
1)AIM:
Create a new project (Structural / Architectural / Construction template ) and name the project appropriately
PROCEDURE:
step 1
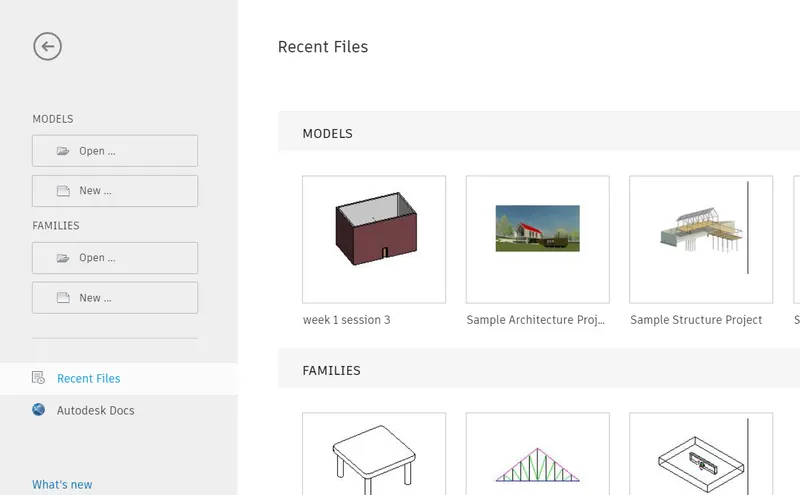
open revit sofware
click new which is below the models
Step 2:
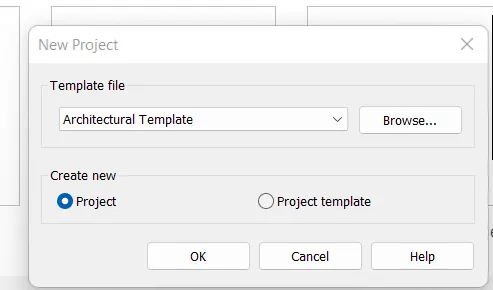
select ARCHITECTURAL TEMPLATE>PROJECT>OK
step 3:
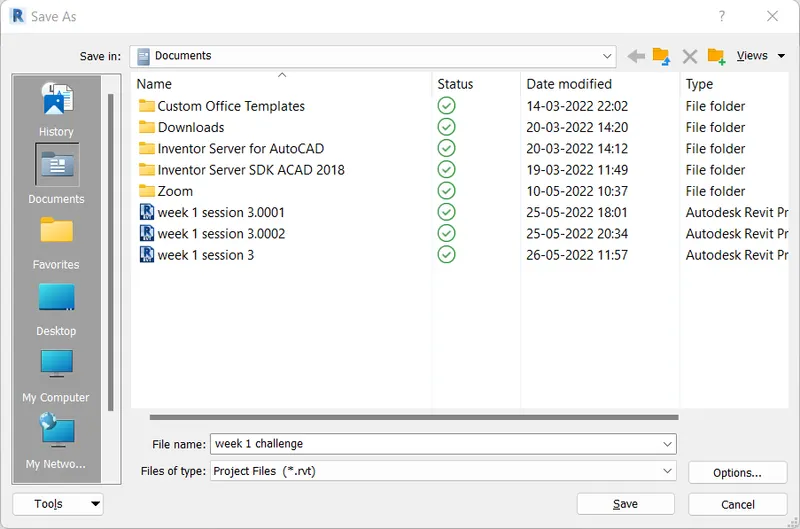
once the revit software opens click the save icon

step 4:
Now saved the file as week 1 challenge
RESULT:

2)AIM:
To save the file Close and open using icons from file toolbar
PROCEDURE:
step 1
click the file icon & select close

step 2
save the file in the desired location
step 3
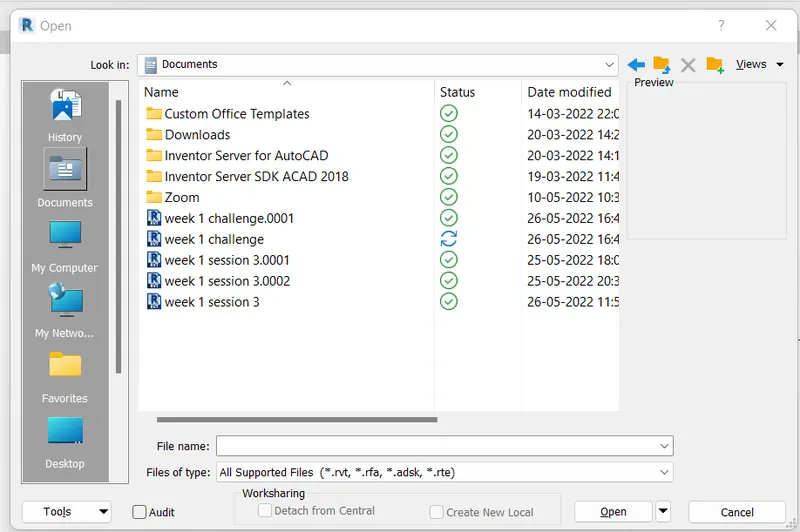
now open the saved file
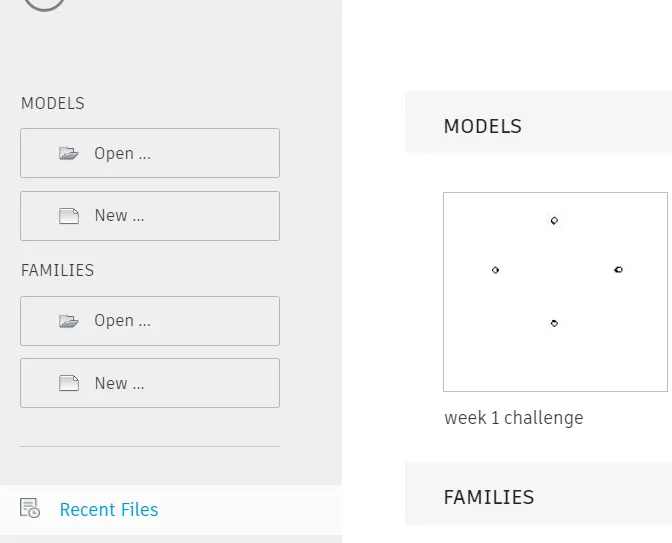
RESULT:

3)AIM:
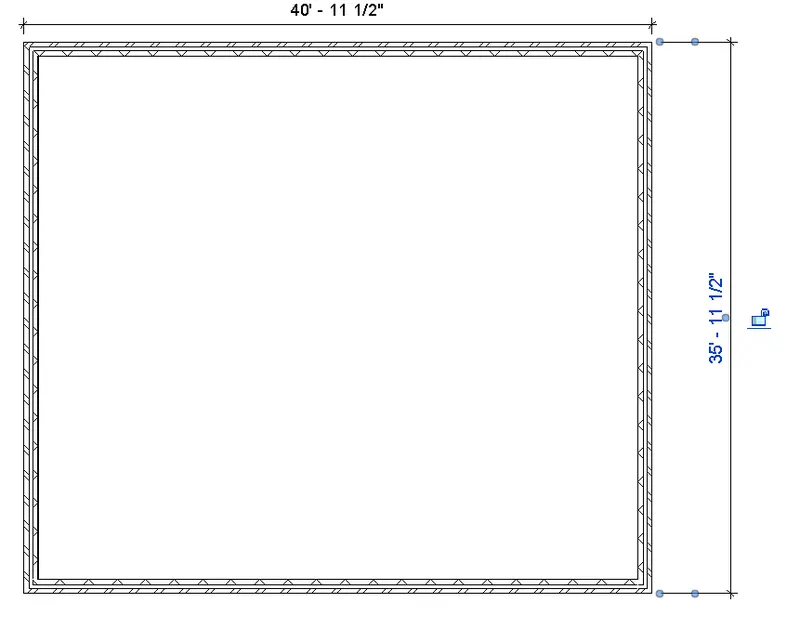
Create a rectangular layout of walls of about 40’-0” X 35’-0”
PROCEDURE:
step 1
open revit sofware
click new which is below the models
Step 2:
select ARCHITECTURAL TEMPLATE>PROJECT>OK
step 3:
once the revit software opens click the save icon
step 4:
Now saved the file as week 1 challenge
step 5
click the wall icon use line or rectangle tool to create the wall
step 6
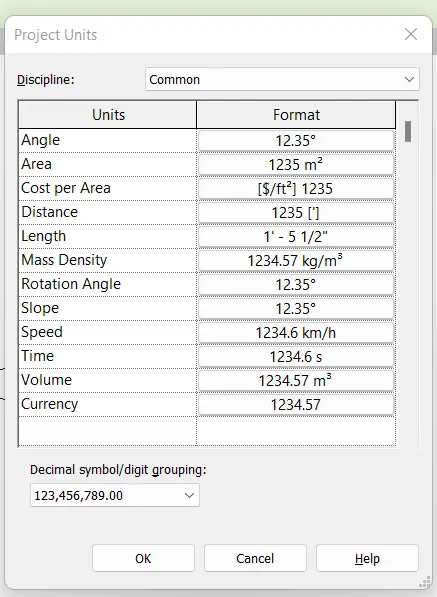
To change the units to feet type units in command section & change the length & distance to feet
step 7
Now the rectangle is created to the dimension 40'0" *35'0"
RESULT:
4)AIM:
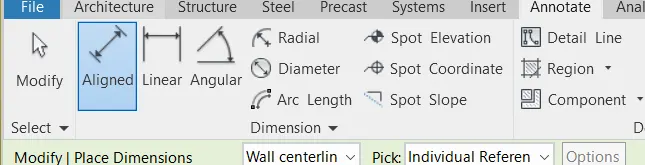
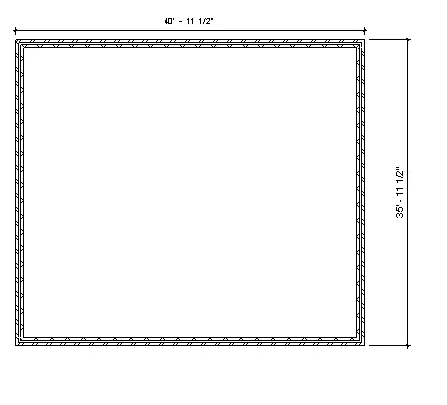
From the Annotate toolbar use the aligned option to add dimensions to the layout
PROCEDURE:
Click the annotate toolbar mention the dimension of the wall using aligned option
RESULT:
Dimension mentioned using aligned option from annotate toolbar
5)AIM: 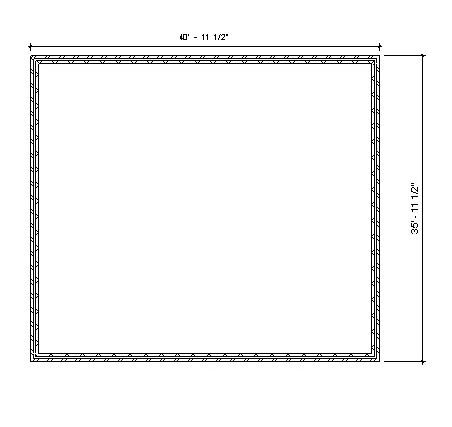
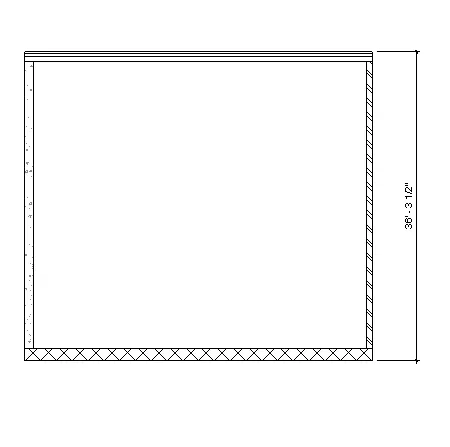
Use the properties browser to switch to different wall types
PROCEDURE:
Create wall using wall icon
click on the wall created>modify &change different walls
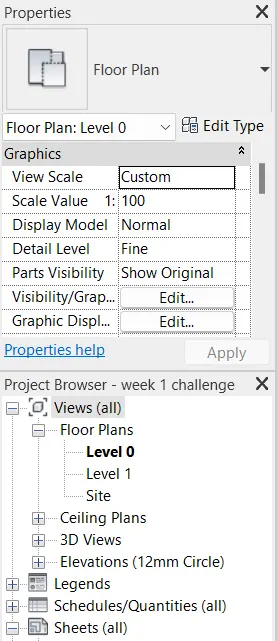
Types of wall has been changed
RESULT:
6)AIM:
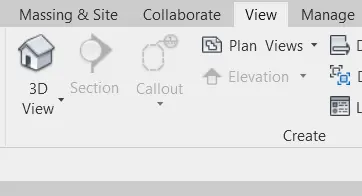
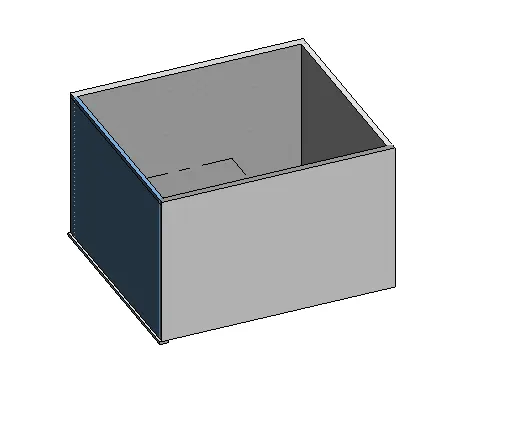
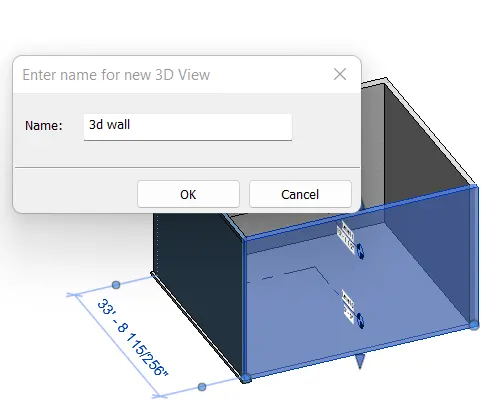
Create a 3D view from the view toolbar and save the view with the appropriate name
PROCEDURE:
step1
Go the view tab select 3D view
step 2
Right click on the different view & give the name to the panel
RESULT:
7)AIM:
To navigate 3d panel using orbit/pan
PROCEDURE:
click on the navigation bar
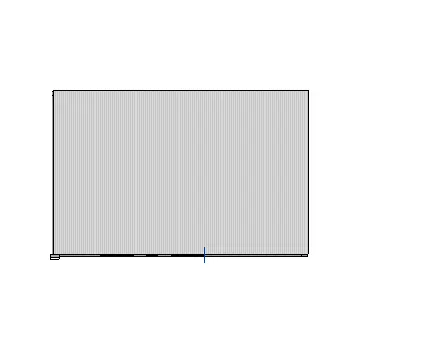
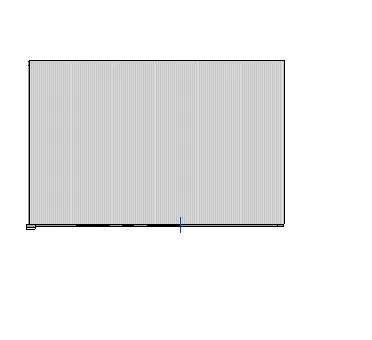
RESULT
8)AIM:
Use the visibility settings option below to switch model to shaded, realistic, hidden lines options
PROCEDURE:
Click on the visualize tool bar
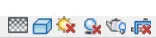
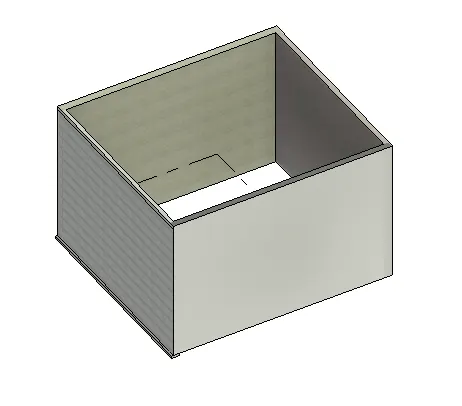
Realistic
shaded
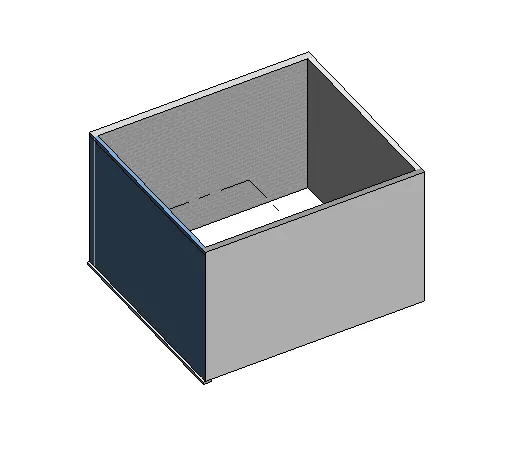
Hidden
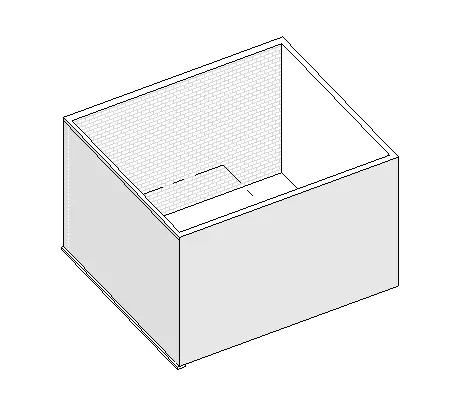
RESULT:
Realistic
shaded
Hidden
9)AIM:
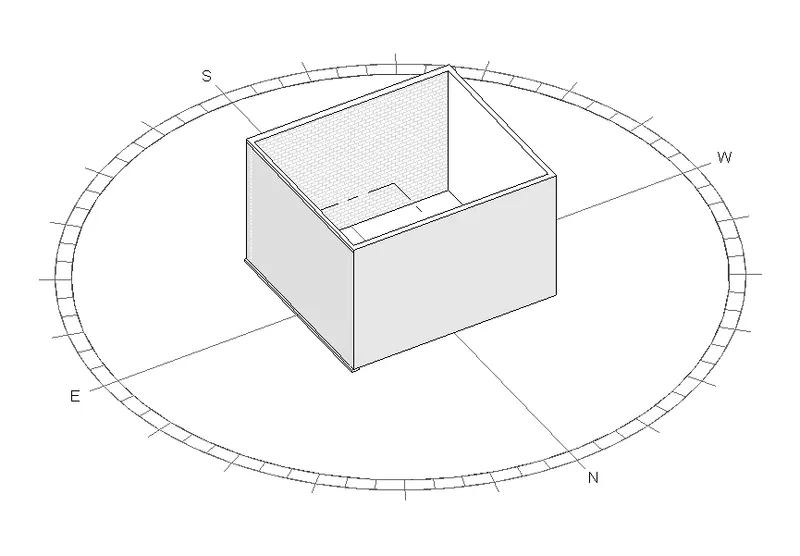
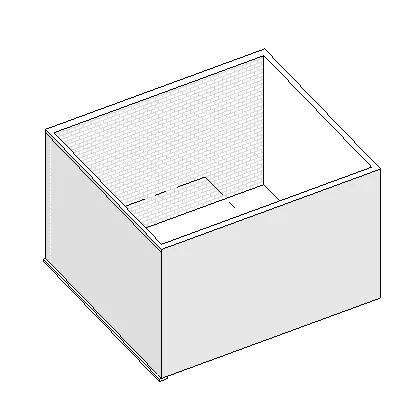
Turn the sun path on and off to view shadings in the layout created
PROCEDURE:
Sun path tool bar is available at the bottom
RESULT:
sun path on
sun path off
10)AIM:
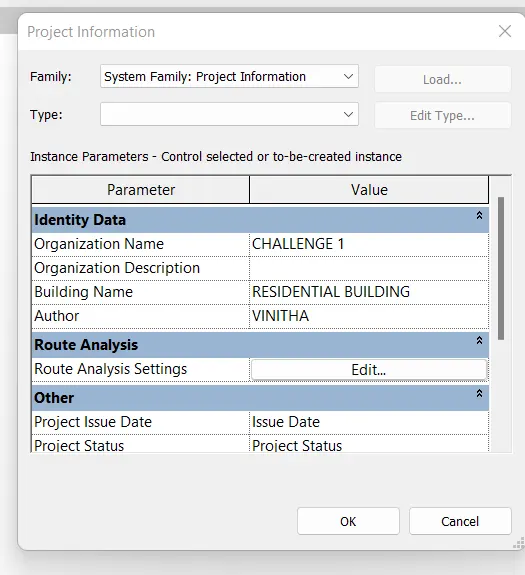
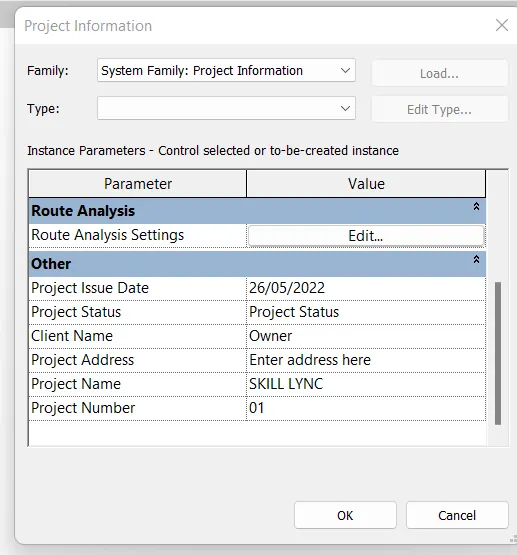
Use the Manage toolbar to enter project settings, project name, and project issue date
PROCEDURE:
open manage tab >project information icon
RESULT:
11) Analyse toolbar helps you to perform analysis on our structural building. The boundary conditions enable you to define point line and area boundary conditions in an analytical model.
12)Collabrate tab in REVIT is used in work sharing,users on the same network works in same revit model.Helps to work together ,work sharing,cloud sharing,central model
13)It allows users to divide the model into worksets, which can be made editable or not editable by the current user to avoid confusion and lessen computing load. It allows users to define parameters as the design progresses, to make model-wide changes quick and easy.