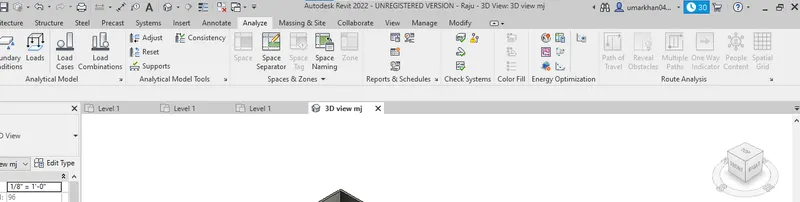
Introduction to REVIT concepts
1) From the file menu, create a new project (Structural / Architectural / Construction template ) and name the project appropriately
Ans.
AIM :- To create a new project (Structural / Architectural / Construction template ) and name the project appropriately
Introduction:-
- For creating a project select a new project dialog box
- Choose Manage Project Information and enter Project Information dialog box
Procedure
Step 1
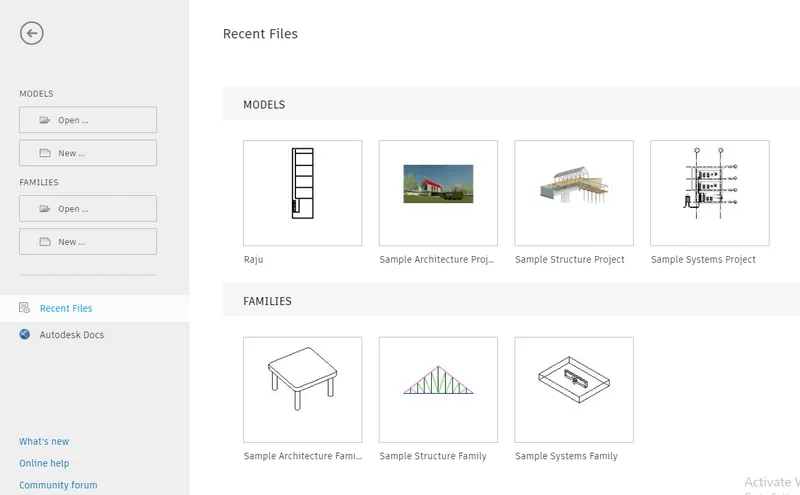
Step 2
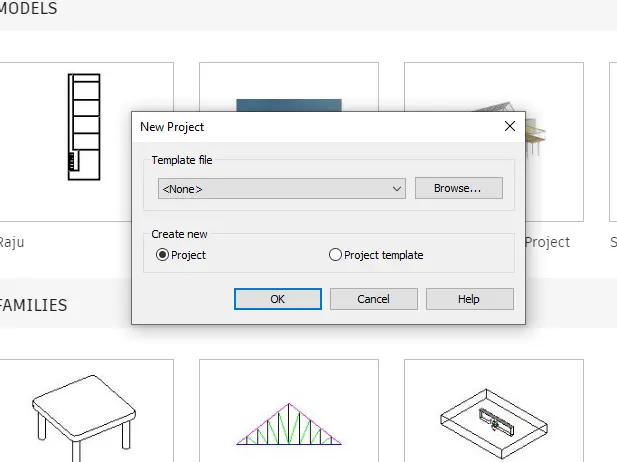
Step 3
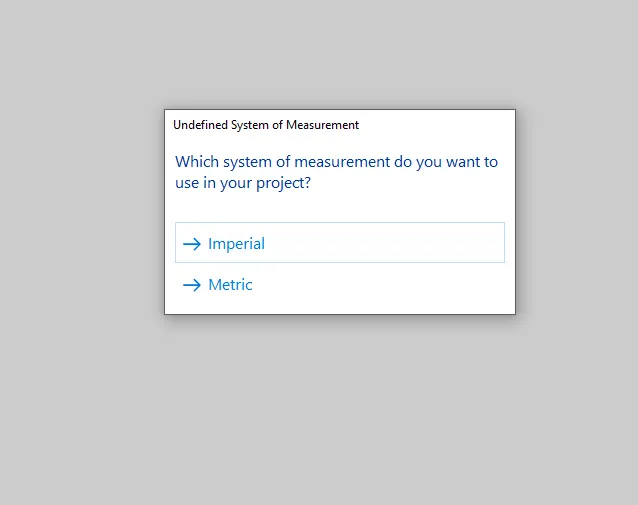
Step 4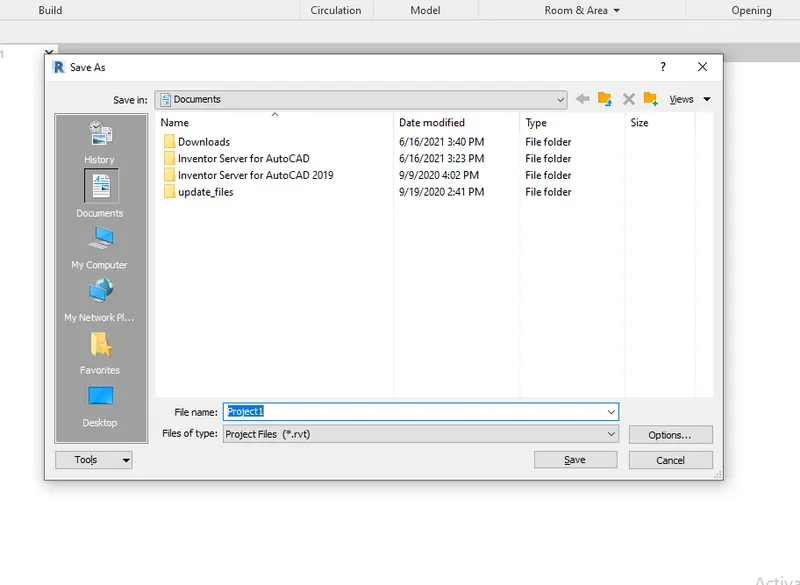
Result
2) Save the new project file. Close and open using icons from file toolbar
Ans.
AIM:- To save the new project file, Close and open using icons from file toolbar
Procedure :-
Step 1
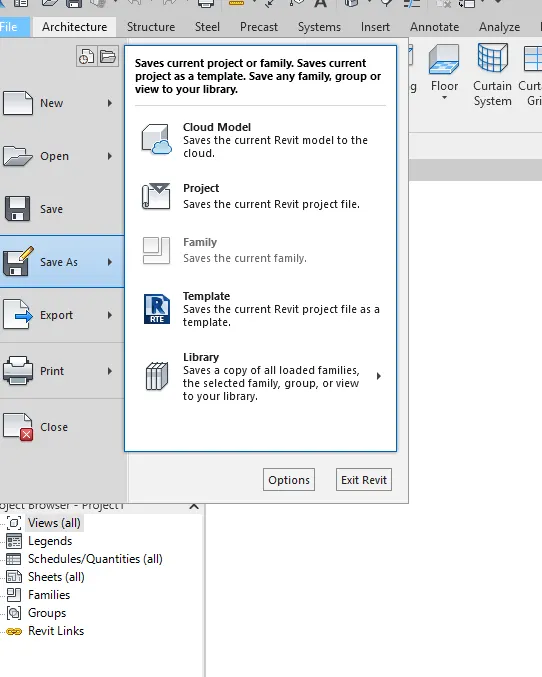
Step 2
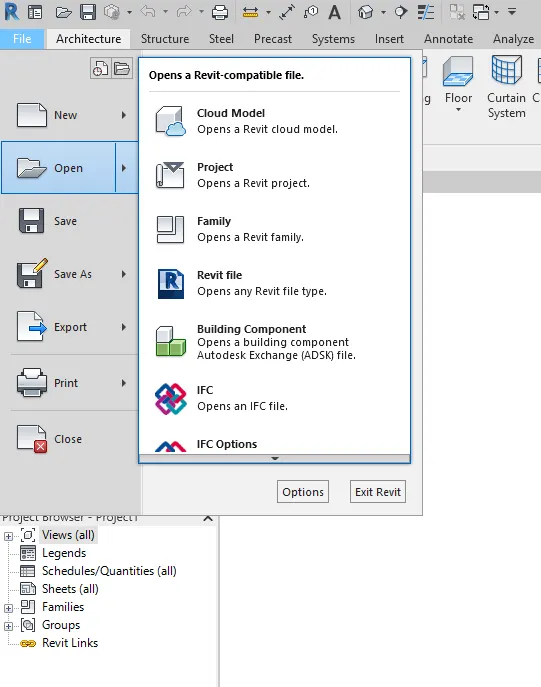
Step 3
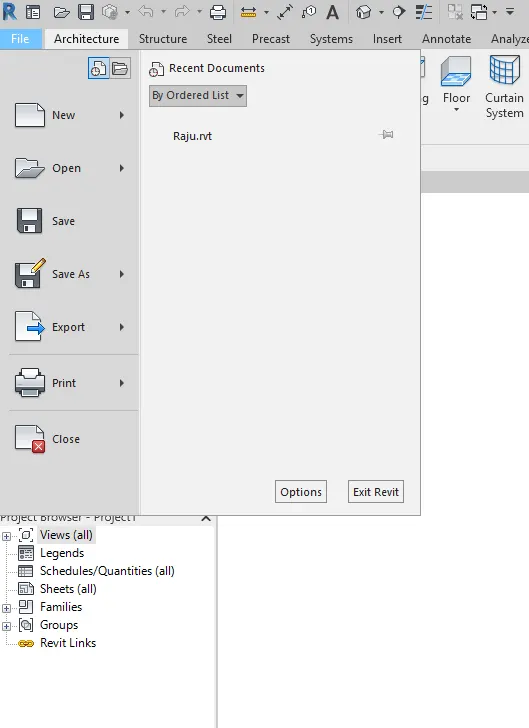
3) From the architecture/ structure toolbar familiarize with options to draw a wall. Create a rectangular layout of walls of about 40’-0” X 35’-0”
Ans.
AIM:- To create a rectangular layout of walls of about 40’-0” X 35’-0”
Introduction :- For creating wall size 40’-0” X 35’-0” following step are used
Step 1
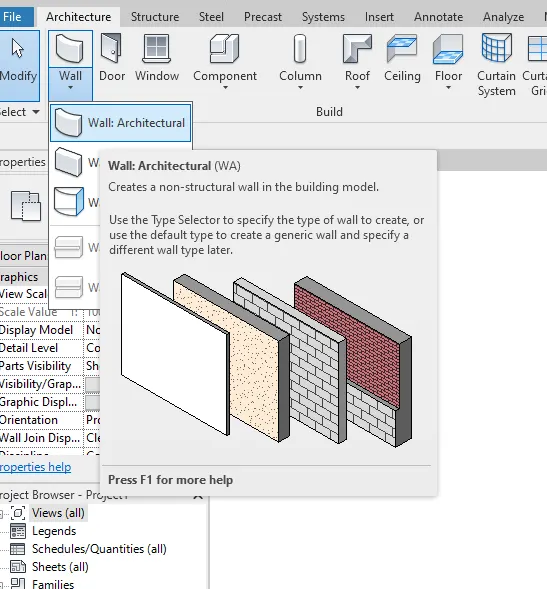
Step 2
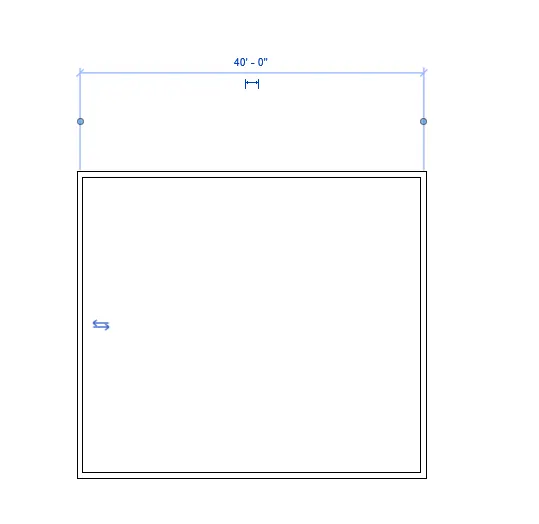
Result wall size 40’-0” X 35’-0”
4) From the Annotate toolbar use the aligned option to add dimensions to the layout
Ans
AIM :- To add the dimension to the layout
Introduction :- Using annotate toolbar we are going to add layout dimension in following layout
Step 1
Go to the annote toolbar select it
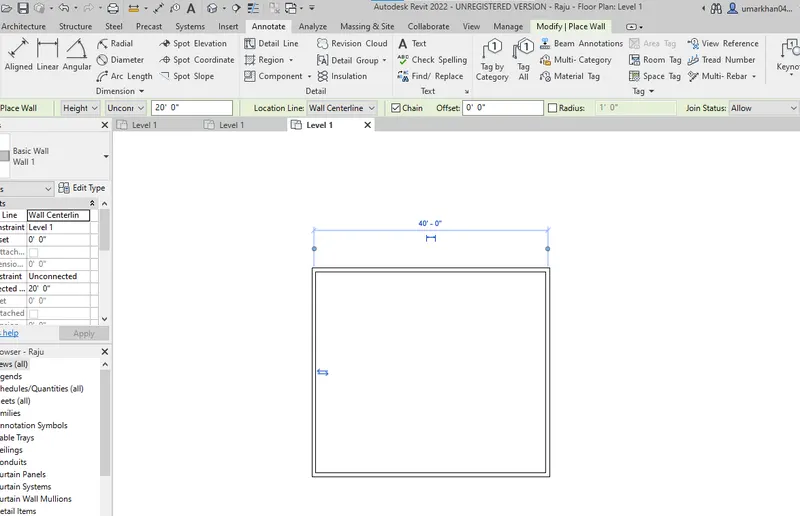
Step 2
Select linear annotation
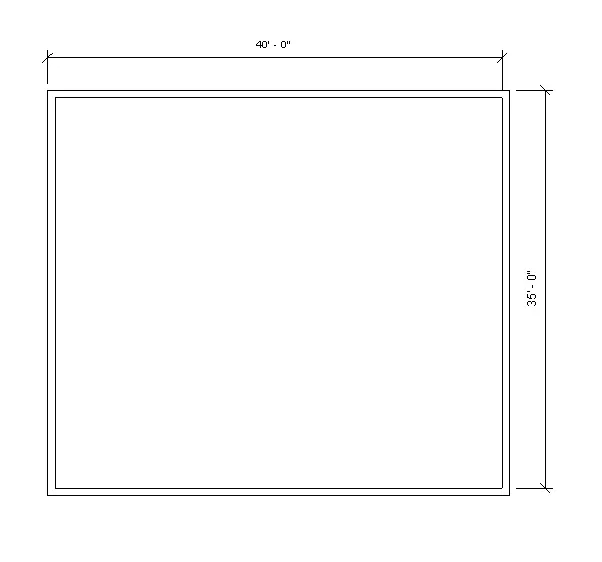
Result
5) Use the properties browser to switch to different wall types
Ans
AIM:- To switch to different wall types
Introduction :- To switch to different wall types by its thickness and material properties
Step 1
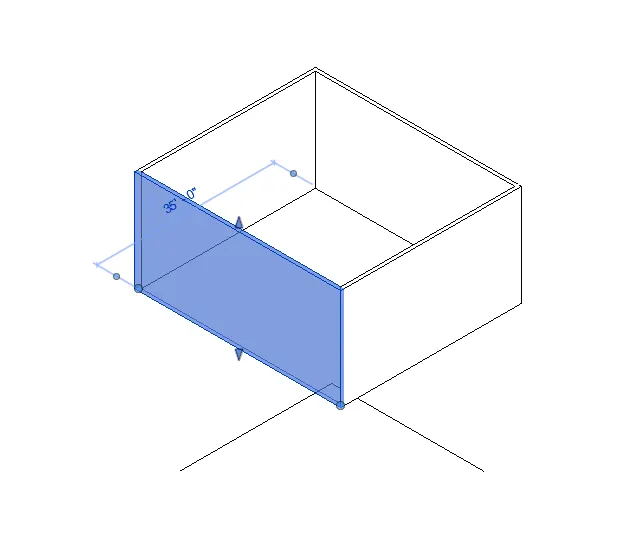
Step 2
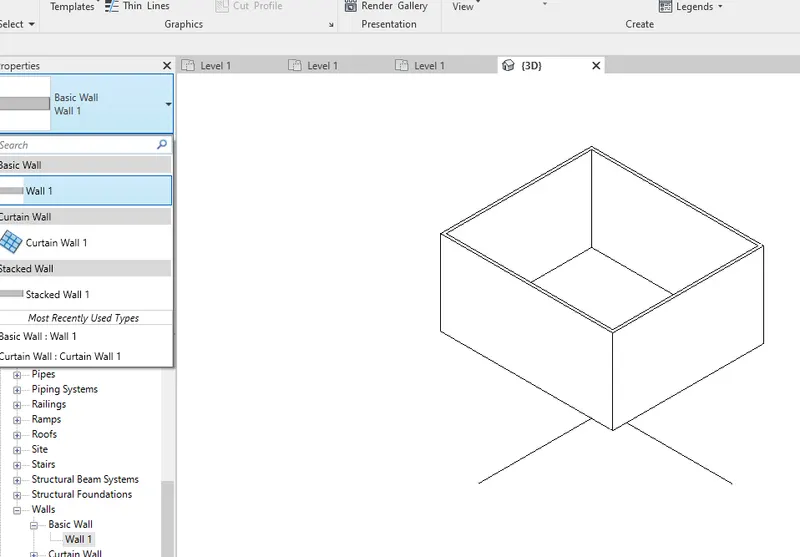
RESULT
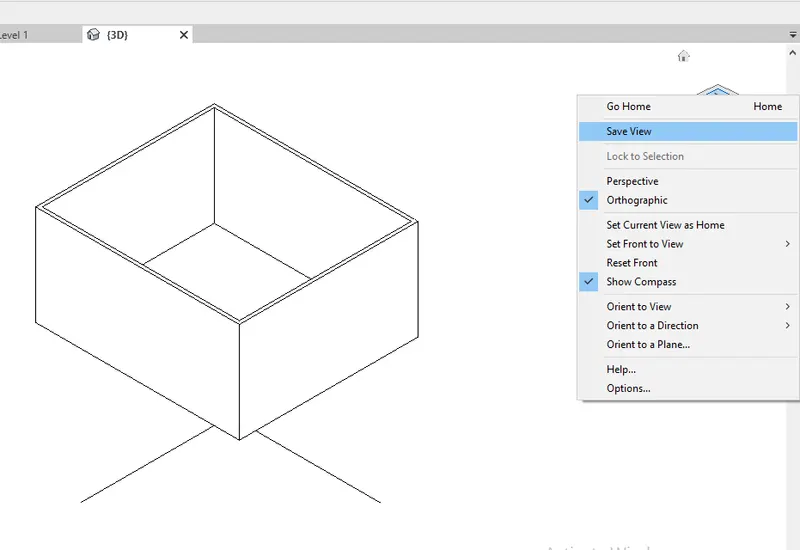
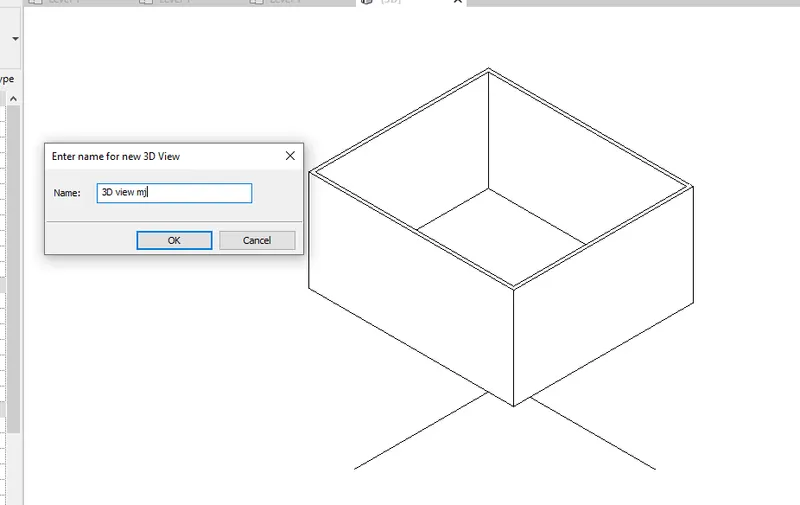
6) Create a 3D view from the view toolbar and save the view with the appropriate name
Ans.
AIM :- To create a 3D view from the view toolbar and save the view with the appropriate name
Introduction :- Create a 3D view from the view toolbar and save the view with the appropriate name
Step 1
FINAL RESULT
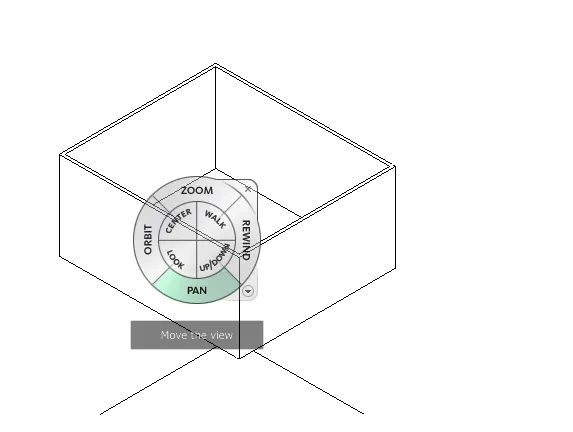
7) Navigate through the 3D model using the view cube. Orbit/pan through the model layout created
Ans. To navigate through the 3D model using the view cube, Orbit/pan through the model layout created
Introduction:- Its a very easy to navigate through the 3D model using the view cube, Orbit/pan through the model layout created
PROCEDURE
STEP 1
Step 2
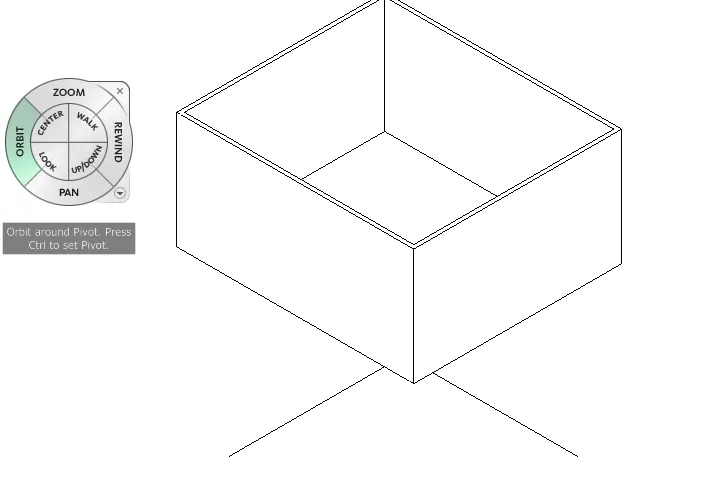
Result
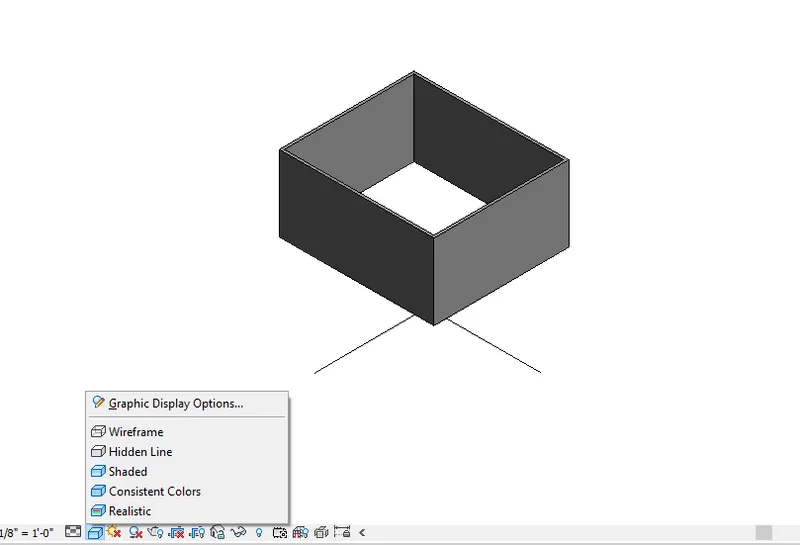
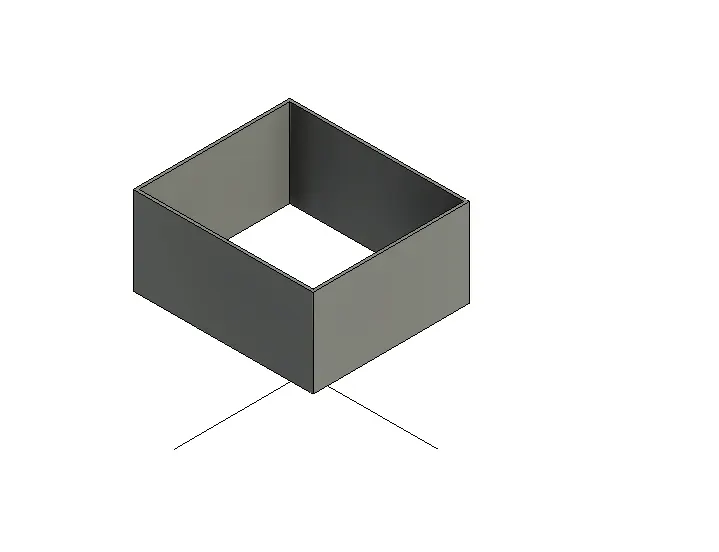
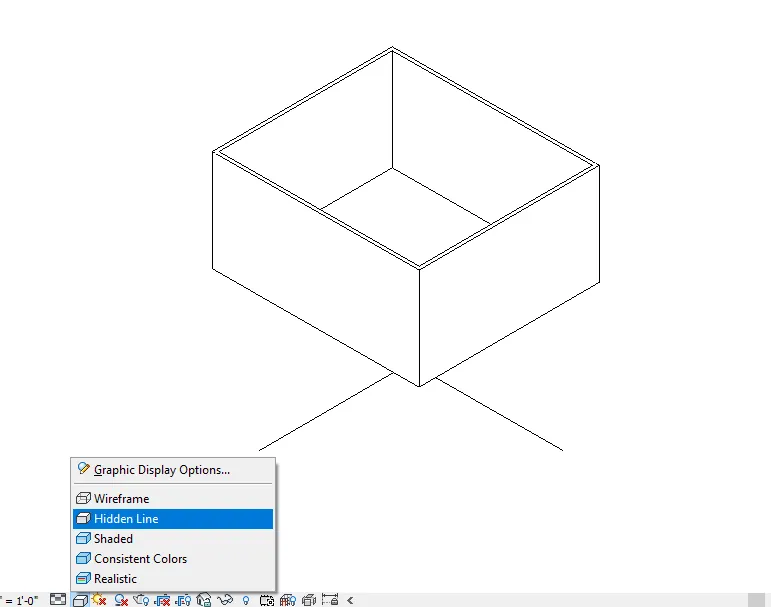
8) Use the visibility settings option below to switch model to shaded, realistic, hidden lines options
Ans
Aim:- To use the visibility settings option below to switch model to shaded, realistic, hidden lines options
Introduction:- To use the visibility settings option below to switch model to shaded, realistic, hidden lines options
Procedure :-
Step:-1 Realistic view
Step 2:- Shaded view
Step 3 Hidden line
9) Turn the sun path on and off to view shadings in the layout created
Ans.
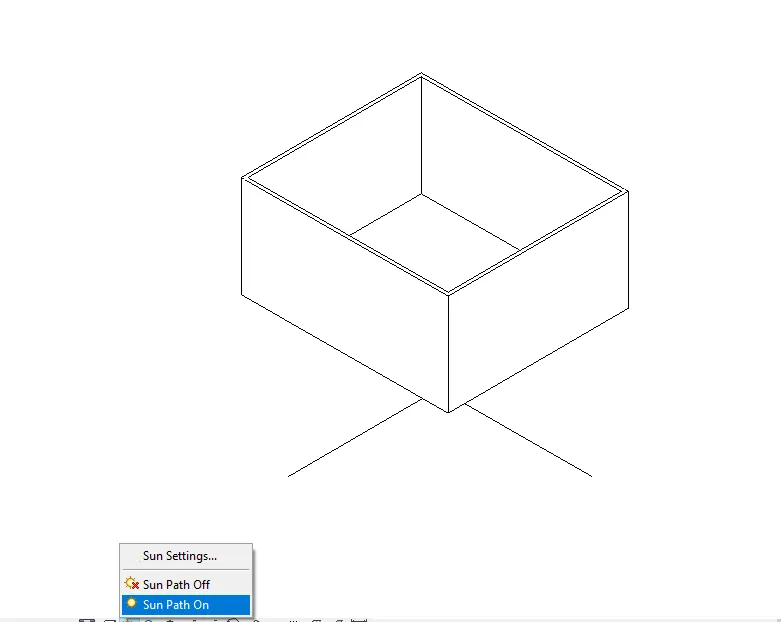
AIM :- To turn the sun path on and off to view shadings in the layout created
Indroduction :- To turn the sun path on and off to view shadings in the layout created are shown as
Procedure :-
Step 1 :-
Step 2
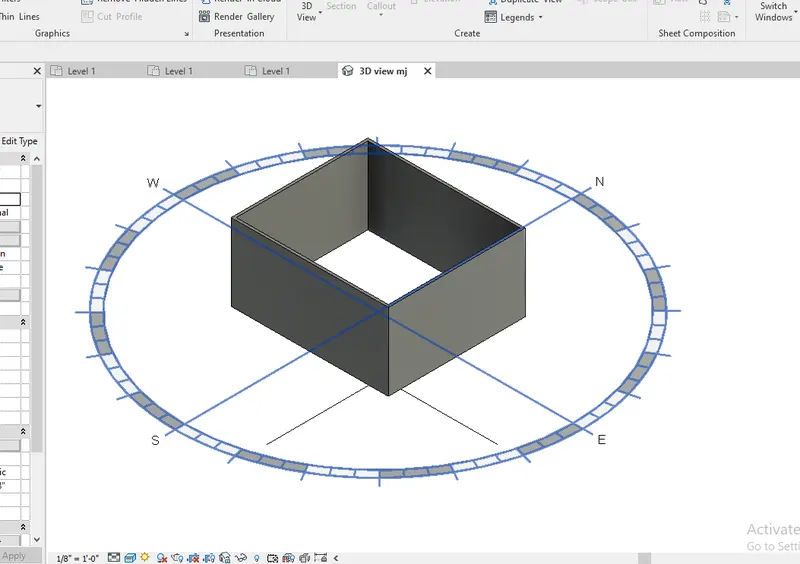
Step 3
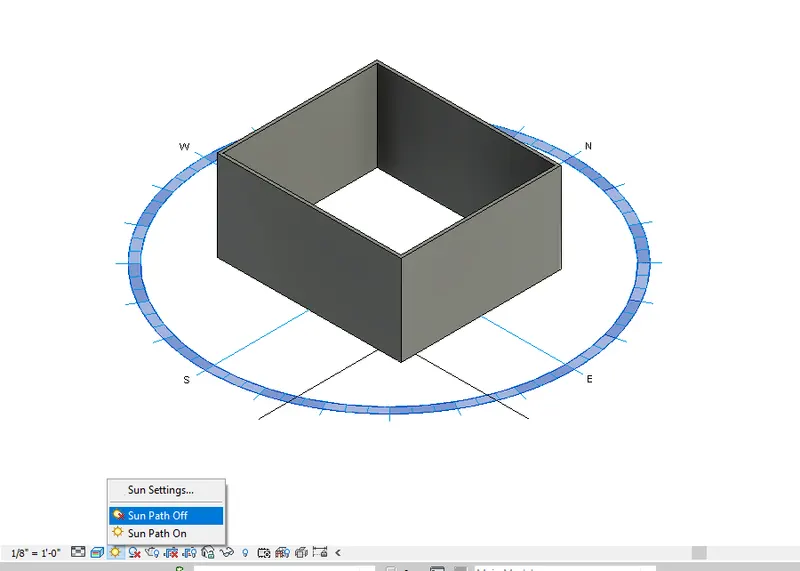
RESULT :-
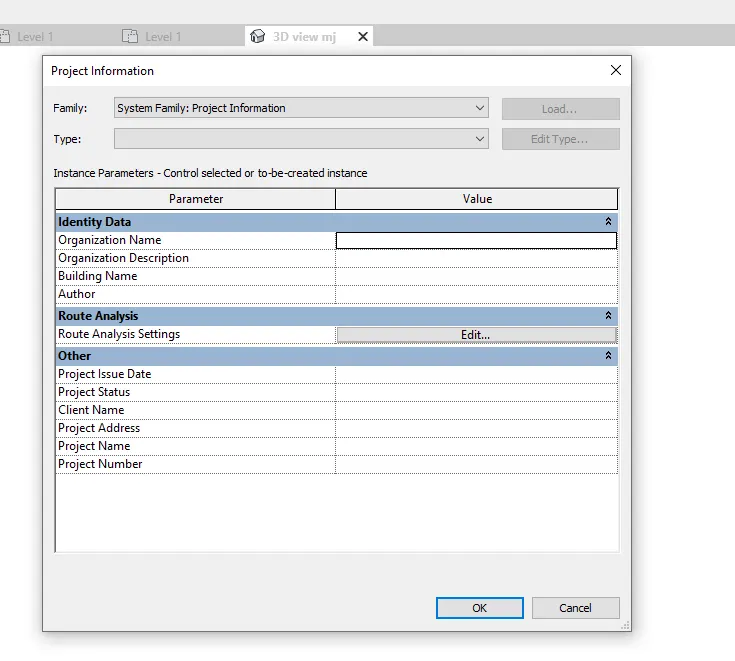
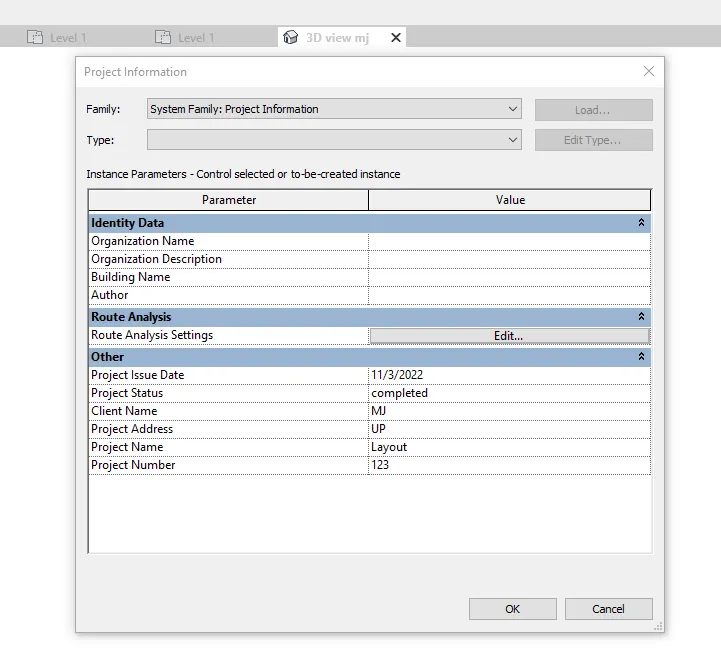
10) Use the Manage toolbar to enter project settings, project name, and project issue date (choose according to your convenience).
Ans
AIM:- To use the Manage toolbar to enter project settings, project name, and project issue date (choose according to your convenience).
Procedure :- To use the Manage toolbar to enter project settings, project name, and project issue date
Step 1:-
Result :-
11) What is the Analyze toolbar used in Revit? How it is beneficial for design and modeling
Ans. Analyze toolbar use to performance analysis on structural building,It will verify the boundaRY condition family types are loaded and assiggned in your parametric features of the structure model