Introduction to REVIT concepts
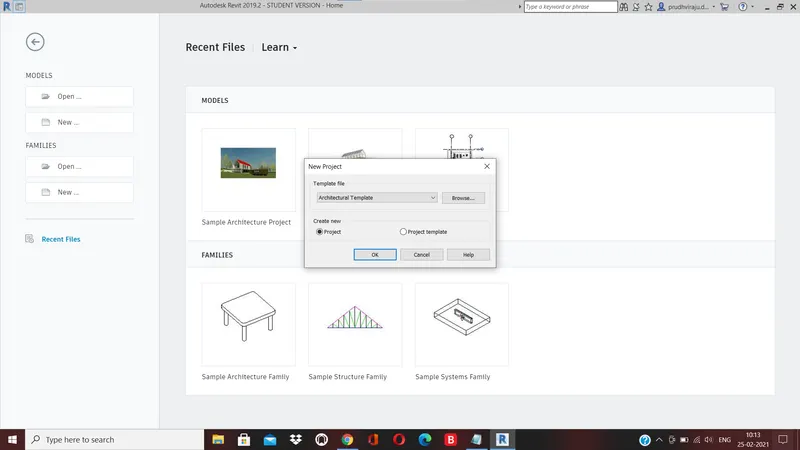
1) From the file menu, create a new project (Structural / Architectural / Construction template ) and name the project appropriately
step 1
1)Select a template from the project list or the new project dialogue box to create a project.
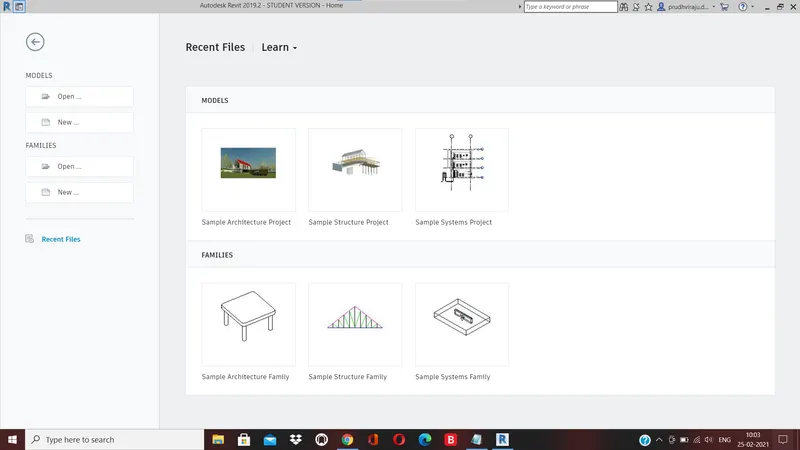
2) next the template file tab and select an architectural template
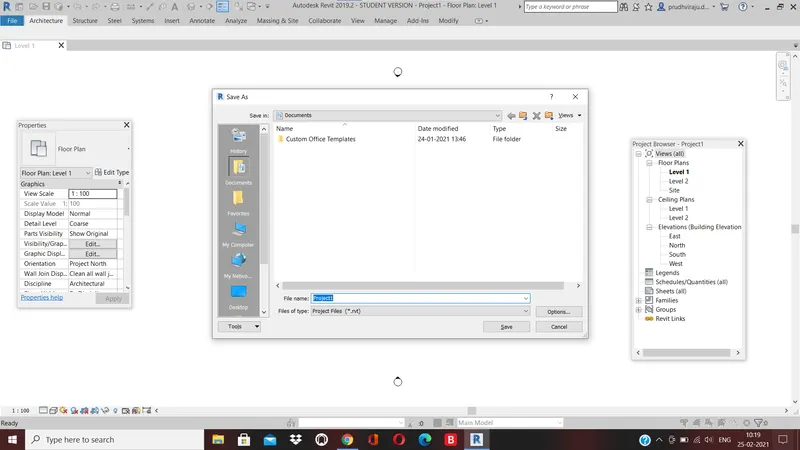
2)Save the new project file. Close and open using icons from file toolbar
step 1
1)open the fill toolbar click on the save option
3) From the architecture/ structure toolbar familiarize yourself with options to draw a wall. Create a rectangular layout of walls of about 40’-0” X 35’-0”
step 1
1)first I click the architecture toolbar to create different types of walls
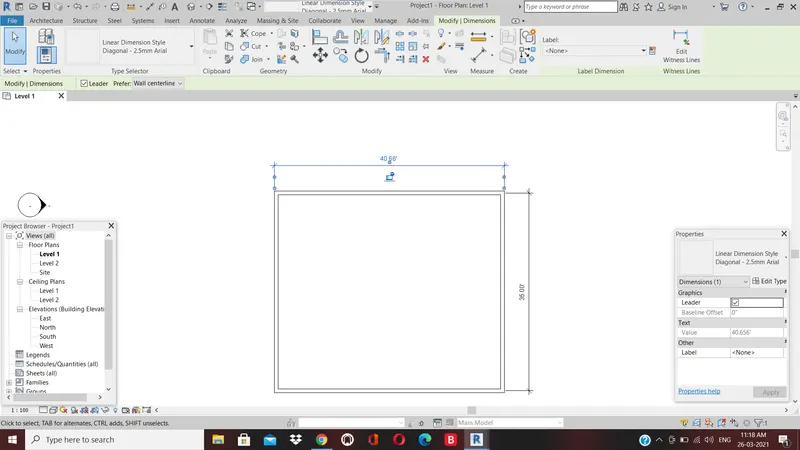
2) next to a Create a rectangular layout of walls of about 40’-0” X 35’-0”.
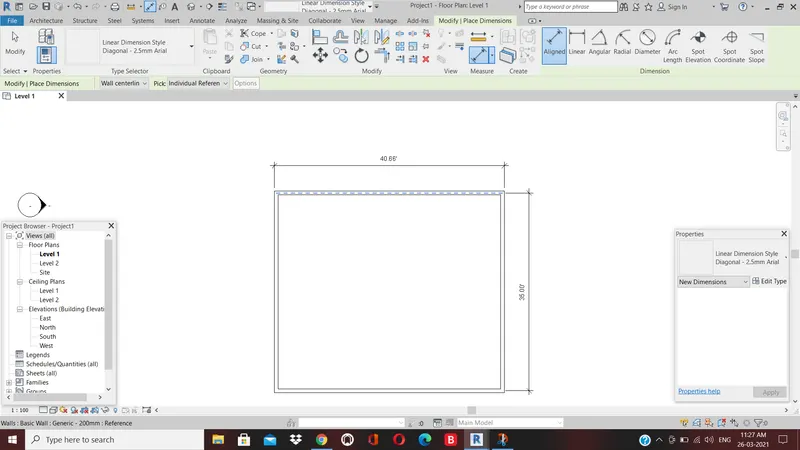
3) From the Annotate toolbar use the aligned option to add dimensions to the layout
step 1
1.click a annotate toolbar
2.click on the aligned option
3.To add dimensions to the layout, use the aligned option from the Annotate toolbar.
4) Use the properties browser to switch to different wall types
step 1
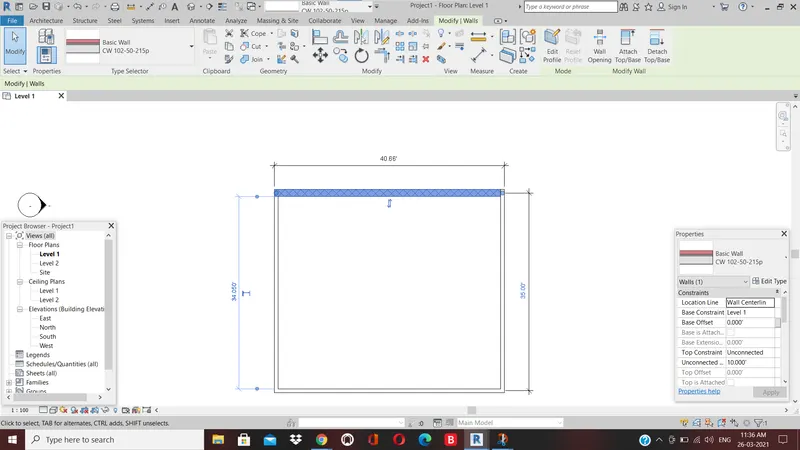
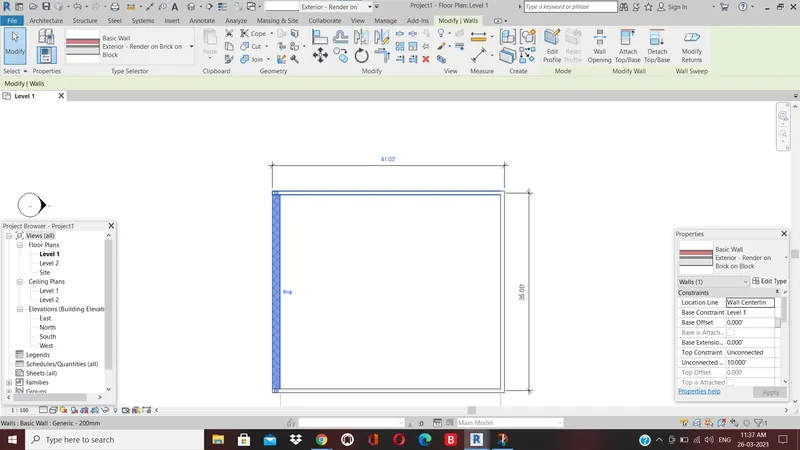
1)Select a wall tool from the top of the icon, and it will give you a list of different types of walls to choose from, such as curtain walls, Masonry walls, and Besic Walls.
2) One by one, we use the wall.
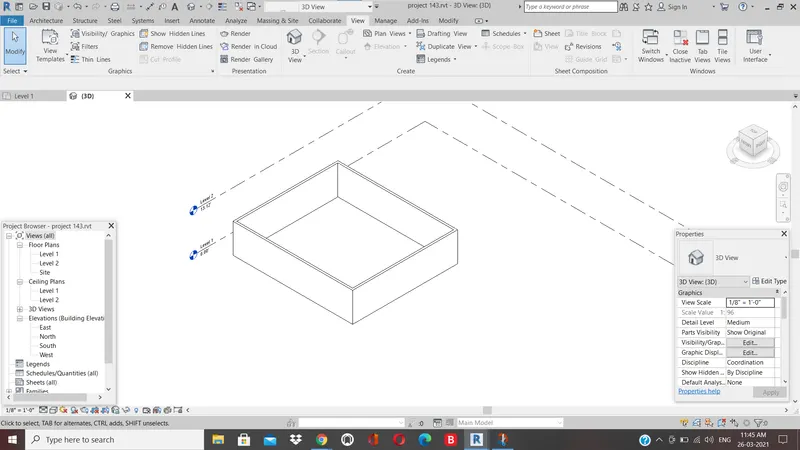
6)Create a 3D view from the view toolbar and save the view with the appropriate name?
step 1 click the view bar on the right-hand side of the workspace's view cube.
step 2 open the 3d view.
7 Navigate through the 3D model using the view cube. Orbit/pan through the model layout created?
step 1 on the right side of the workspace, click the view bar on the view cube.
step 2 and click the different views
step 3 click on the option.
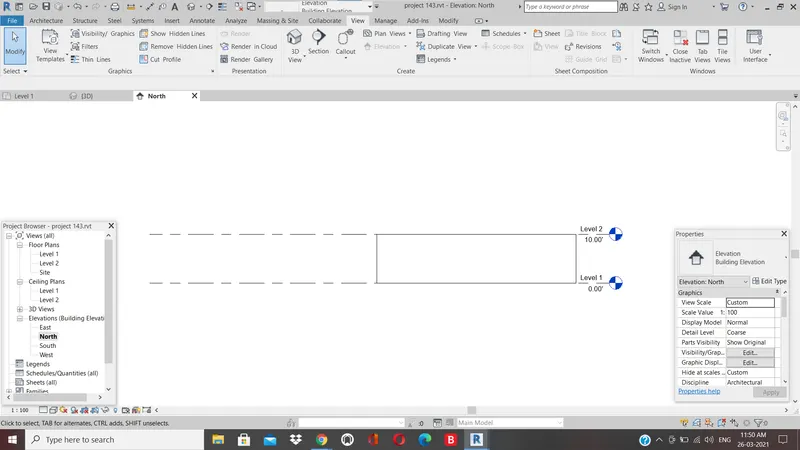
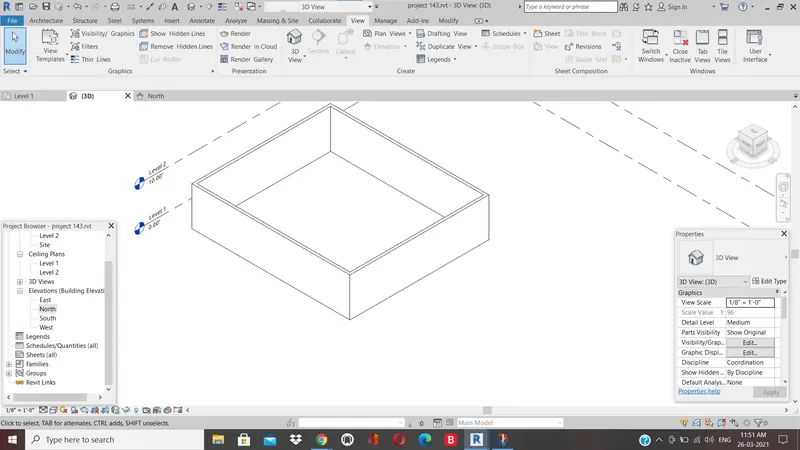
8) Use the visibility settings option below to switch the model to shaded, realistic, hidden lines options?
step 1 visual style: click on the cube at the bottom toolbar
step 2 select the hidden line
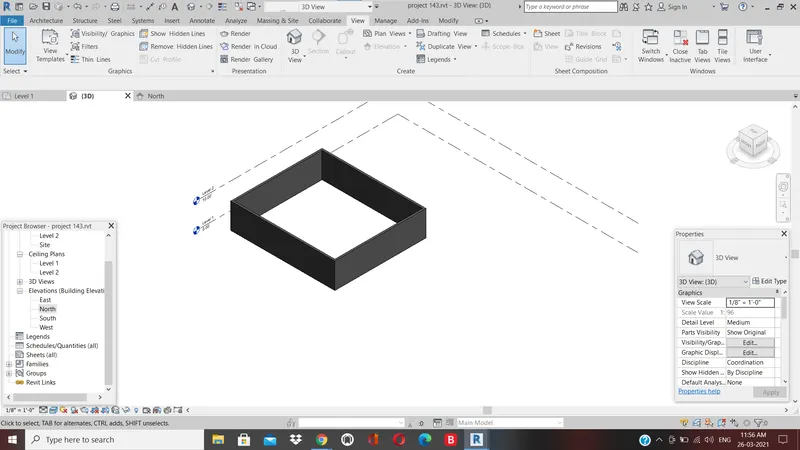
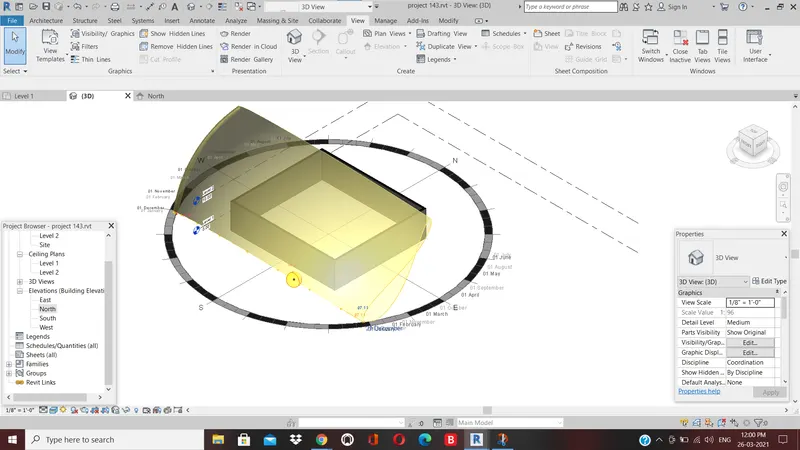
9) Turn the sun path on and off to view shadings in the layout created?
step 1 click on the icon of the sun on the bottom toolbar
steps 2 clicks it so that the sun path is on.
.
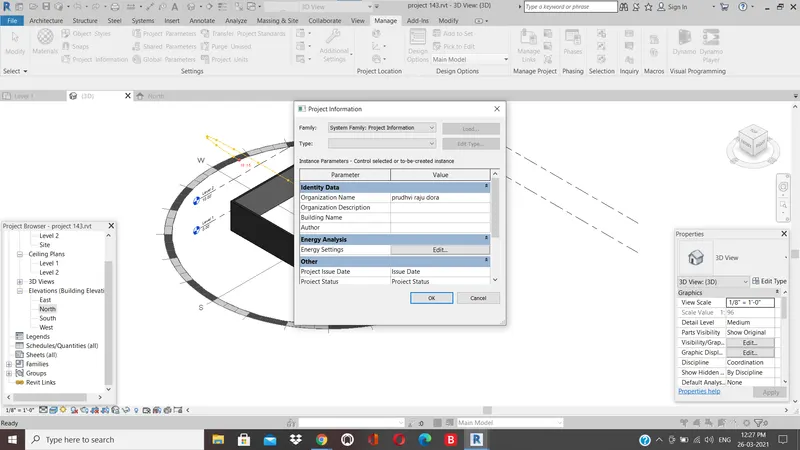
10) Use the Manage toolbar to enter project settings, project name, and project issue date (choose according to your convenience)?
step 1 project information can be found by clicking the manage toolbar.
step 2 project information dialogue box appears.
step 3 Select the project name, project status, client name, project address, and project number in the same way.
11) What is the Analyze toolbar used in Revit? How it is beneficial for design and modeling?
step 1 Revit Architecture is called a BIM (Building Information Modeling) is an intelligent 3D model-based process that gives architecture, engineering, and construction (AEC) professionals the insight and tools to more efficiently plan, design, construct and manage buildings and infrastructure.
step 2
Benefits of using Revit
- Easy-to-use BIM authoring tool with an intuitive interface that requires a reduced learning curve
- Transform simple drawings into accurate & detailed models
- Place objects from the Revit library or use manufacturer-dependent components
- Quantify project components accurately to build automated project schedules
- Reduce auditing time for deliverables through consistent modeling
- Reduce costly and time-exhausting rework with streamlined Navisworks file compatibility.
12) What are the links that Revit supports to be linked to the model?
1)Links can be found in the insert tab. It's used to link various files to the current file.
2)It is possible to connect another rivet model to the current model using link Revit.
3)link IFC to the current model in order to reference its details for future design work.
13) Why do you need the Collaborate tab in Revit? How it supports modeling and its efficiency?
It is the features that allow team members to collaborate and work on the model at the same time.
It allows team members from various disciplines to work on the same file at the same time in modeling.
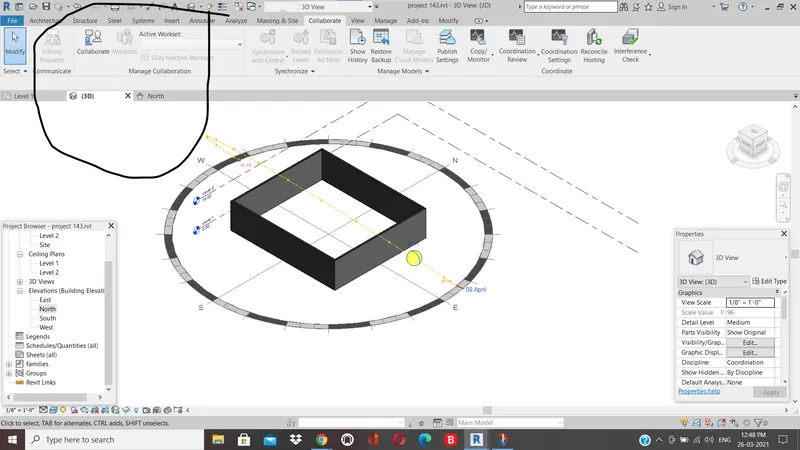
Since the work can be done faster, the modeling efficiency would be high.