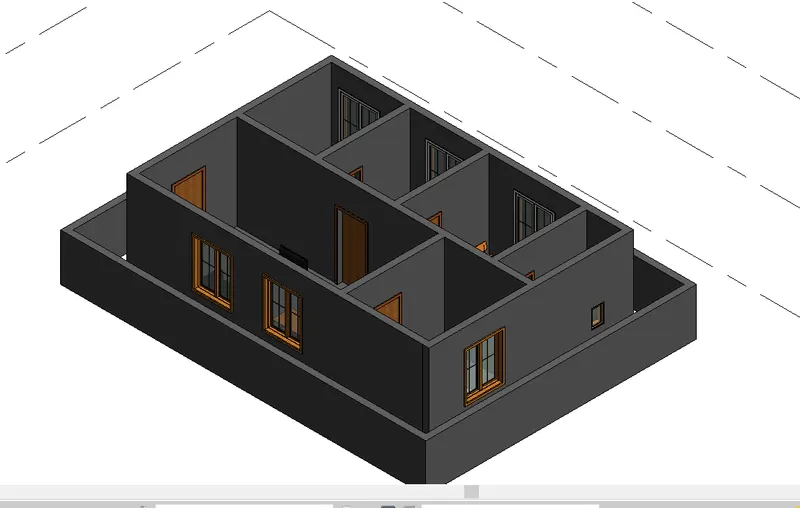
Creating Levels, Grids, Layout and model elements for a residential unit using REVIT
1) What is BIM? Summarize the features of BIM and the benefits of using BIM over 2D CAD tools.
- A) 1) Building information modeling (BIM) is a smart 3d model-based method that provides architects, engineers, and construction professionals with the knowledge and resources they need to plan, create and operate buildings and infrastructure more efficiently.
2) BIM is used to design and document building and infrastructure designs. every detail of a building is modeled is BIM.
3) There are some basic features of BIM that aid in its successful implementation in project management. These characteristics grew.
The benefits of using BIM:
1) construction projects of different types
2) According to management sources, there are a number of BIM advantages, which are mentioned below.
2) Understand the concept of Categories, Families, Elements, Instances in Revit. Go to Insert Tab, choose a category. Pick a family and element. Understand the instances and insert them into the Revit model.
ANSWER: Revit Essentials for Architecture is written in a simple, reader-friendly format, with thorough project-focused activities that inspire you to learn by doing. Readers can gain hands-on experience with the strong and popular Autodesk Revit program, which was designed specifically for Building Information Modeling (BIM) and is used by industry-leading architects and building design professionals.
Families to be loaded
Select the Insert tab.
From the Library column, select Load (Load Family).
Double-click the type of the family you want to load in the Load Family dialogue.
Take a look at some of the following families (RFA) in the category:
Select a single family from the list to see a preview.
A thumbnail picture of the family appears in the top right corner of the dialogue, under Preview.
FAMILY:-
You can add both regular and custom elements to your building models by using predefined families and creating new ones in Revit. Families also give you more leverage over components that have similar uses and attitudes, making it easier to make design adjustments and manage your projects.
step 1
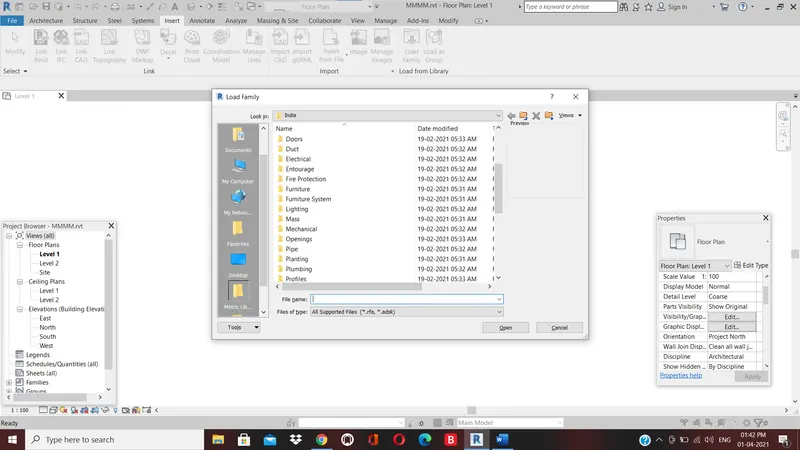
step 2
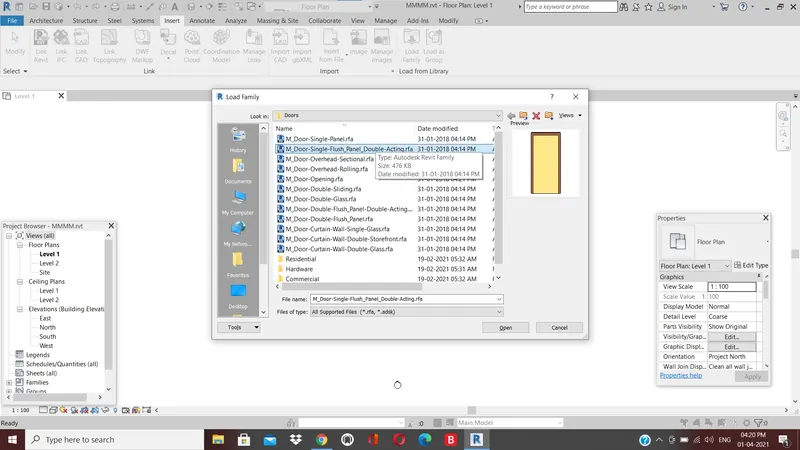
ELEVENTH:-
Model elements are divided into two categories:
Hosts (also known as host elements) are typically installed on the job site.
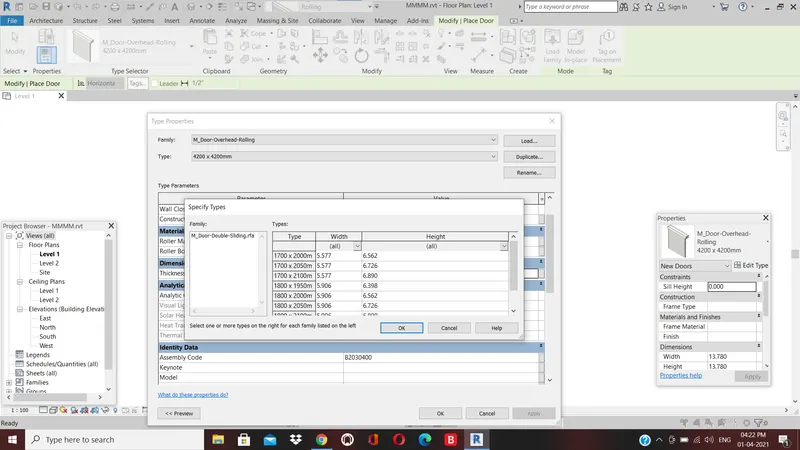
step 2
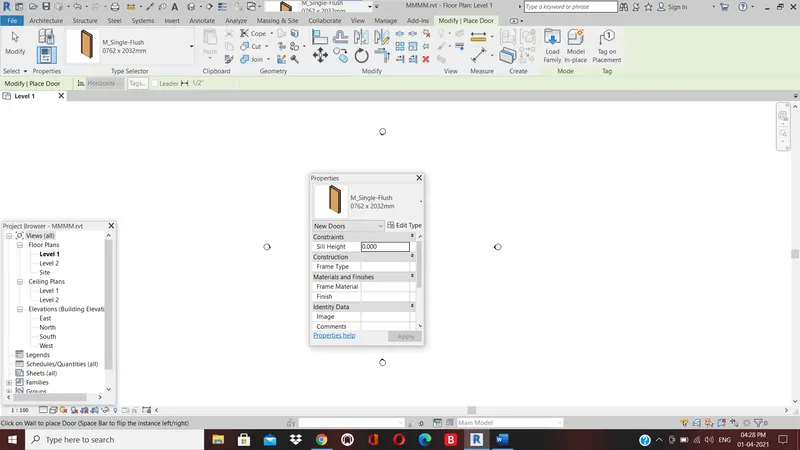
INSTANCES
Modify the instance properties of an object using the Properties palette.
the thing you're about to use a tool to position
elements in the drawing area that have been chosen
the active perspective.
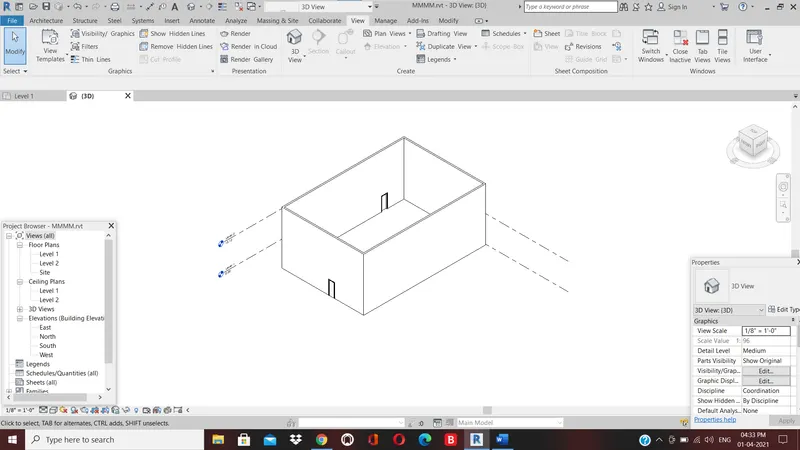
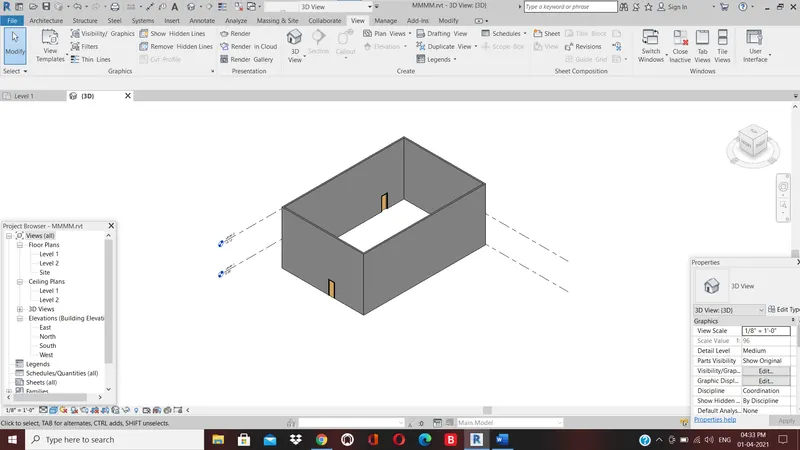
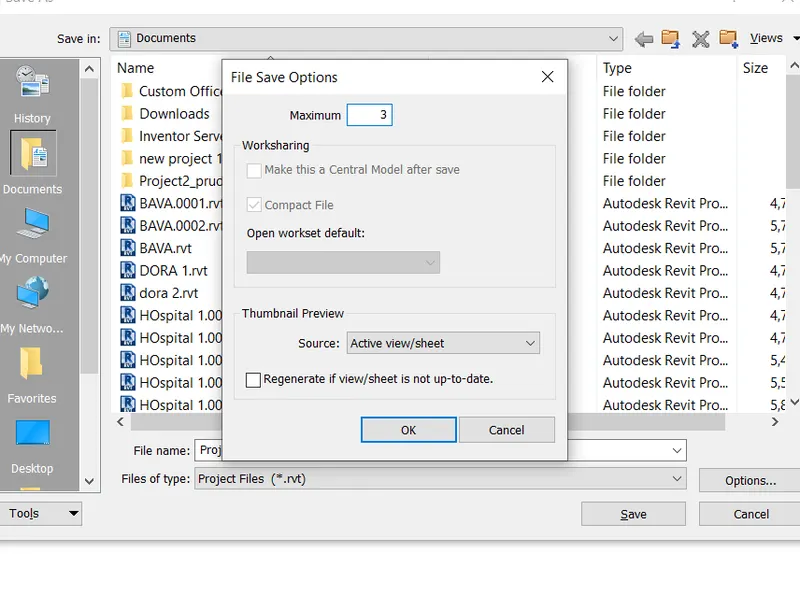
3) Setting up a Project – Open a project file with an architectural template. Save the file with an appropriate name. Set up the project units to Imperial / Metric based on your convenience of modeling. Complete the project information under the Manage tab. Set up the maximum backups for the project file to 3.
Answer :
Aim: setting up a project in the Revit software.
Introduction :
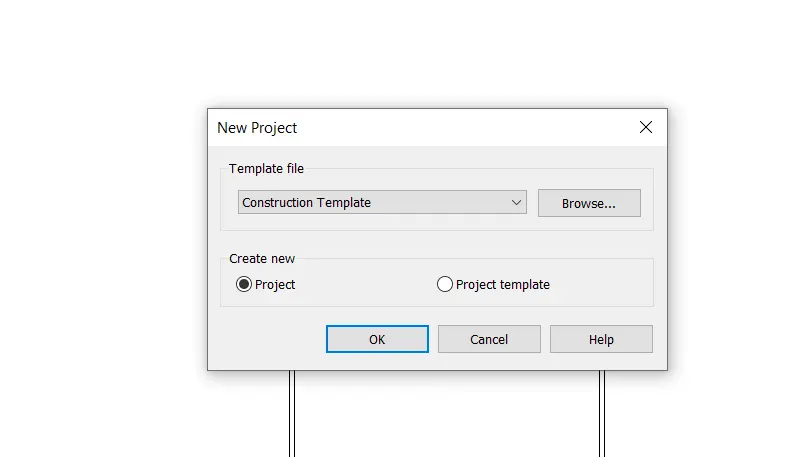
1) for the purpose of establishing a project To model the architectural plan, we must first choose an architectural template.
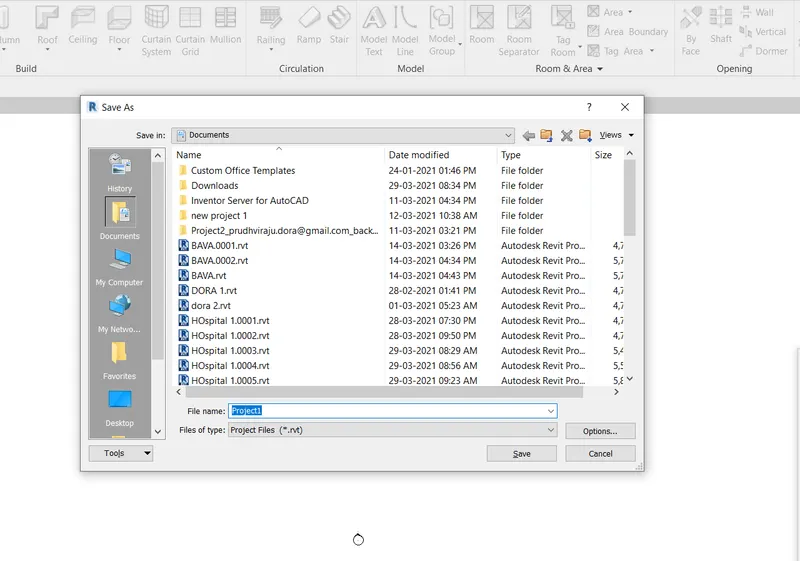
2) When we save a file with the correct name, the name is saved to the appropriate folder.
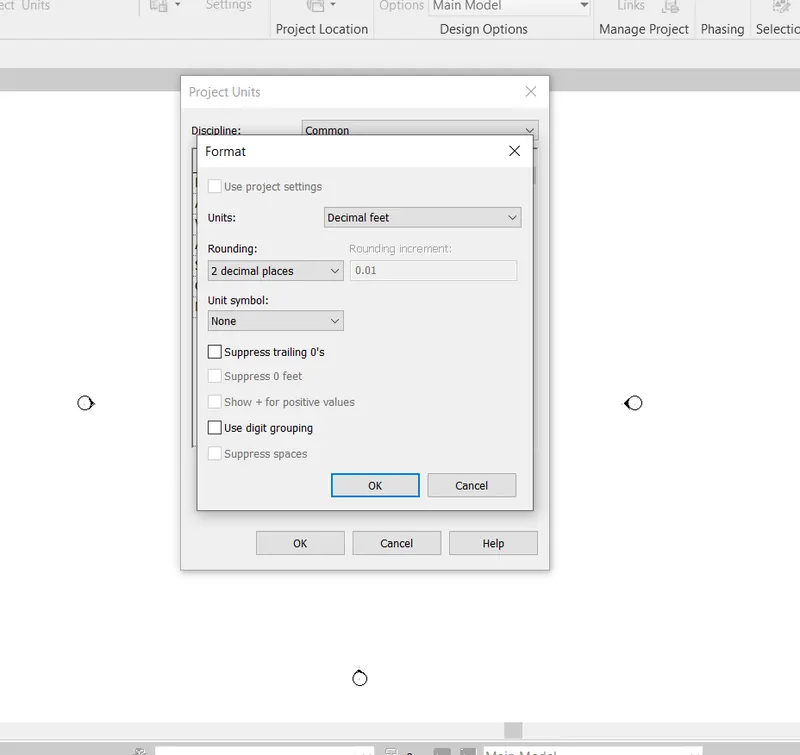
3)The project units toolbar is where you set the project units for the whole project.
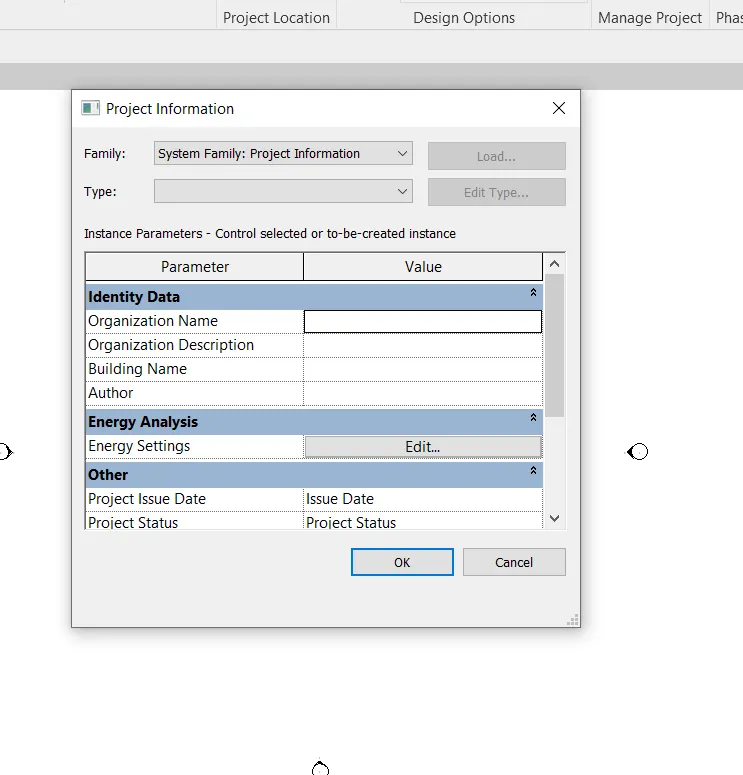
4) By entering the project name, project issue date, project status, project address, and other information, the project information option is used to save the project's information.
procedure:-
step 1
first, select the file toolbar, then the new tab appears and selects the new option
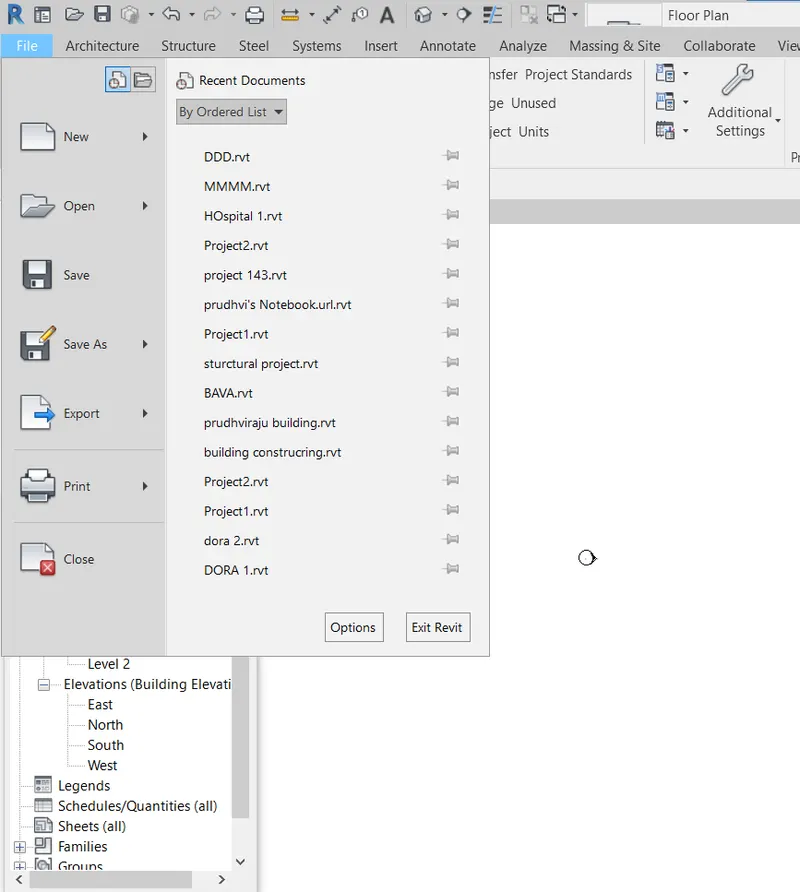
step 2
next, select the architectural template in the new project tab
step 3
1) next, open the File toolbar and select the save option
2) after selecting the save option the new tab
3) enter the new name and before saving the name of the project
4) next we need put maximu backups for project file to 3
step 4
1) next we need to select the project units in the manage tool bar.
2) next put the units to feel and fractional inches as shown below
step 5
next, we open the manage toolbar and then select the project .
after selecting the project information the new tab will be visible then enter the project.
 .
.
result :-
setting up a project is done successfully.
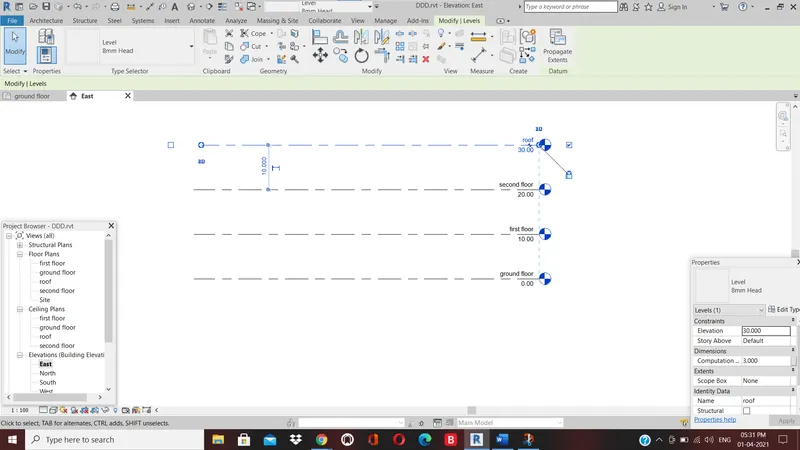
4) Understand the concept of Levels and Grids. Follow the naming and conventions. Create the following Levels: ( Convert to metric equivalents if metric is your units)
Ground Floor @ 0’
First Floor @ 10’
Second Floor @ 20’
Roof @ 30’
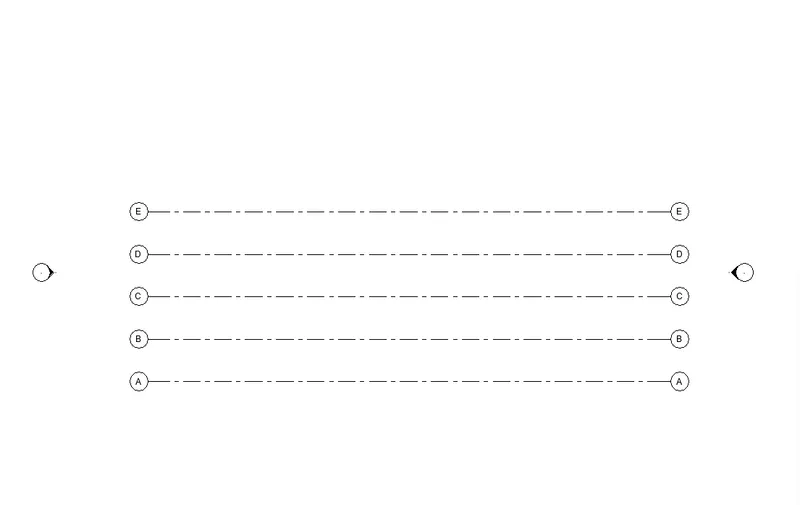
Grids Transverse Grids A, B,C,D, E @ 10’ spacing
Longitudinal Grids from 1 to 10 @ 20’ spacing.
AIM:- To create the grids and levels using the given details.
introduction:-
1) Gild lines are finite planes whose extents can be dragged in elevation views to prevent intersecting level lines.
2)This lets you choose whether or not gridlines appear in each new plan view you make for a project.
3) Grids may be straight lines, circles, or multi-segmented, and grid lines can be obscured after they've been installed.
4) use the grid tool to place column grid lines in the building design.
Procedure :-
step:-1
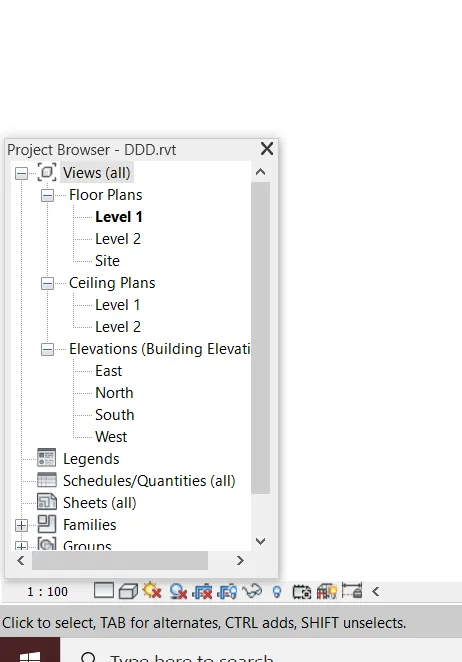
for creating the levels first we select the levels in the project browse.
step:- 2
next, the levels will be displayed on the screen.
step:-3
next, we draw the grid lines horizontally indicating the grids with A,B, C,D,E
step:-4
next, we draw the vertical grid lines on the horizontal grids
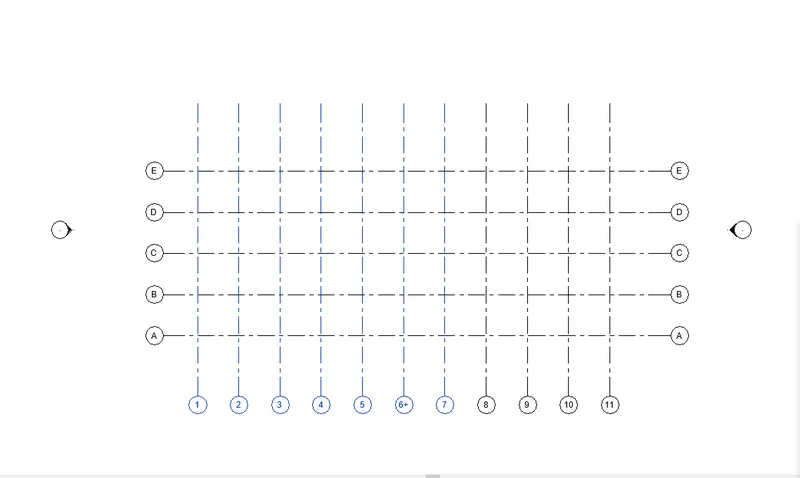
RESULT
the levels and the grid line are drawn successfully
5) 3D modelling of residential unit – From looking at your house / or a place you aspire. Create a conceptual layout of the residential unit. You can measure using a tape or
you can access your residential plan to create a similar layout.
AIM :- To create a conceptual layout of the residential unit
Procedure:-
step:-1
first, we have to draw the residential layout with the dimensions.
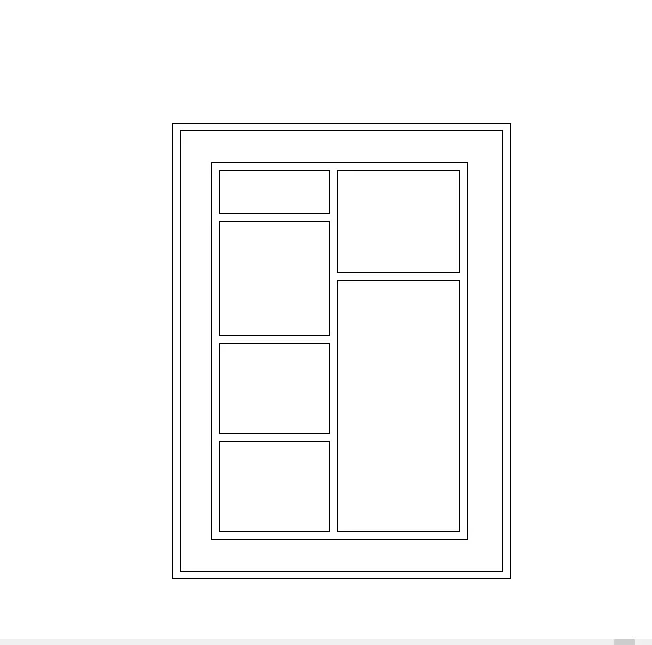
step:-2
next, we change the visibility of the layout as shaded
next, add dimensions to the layout plan.
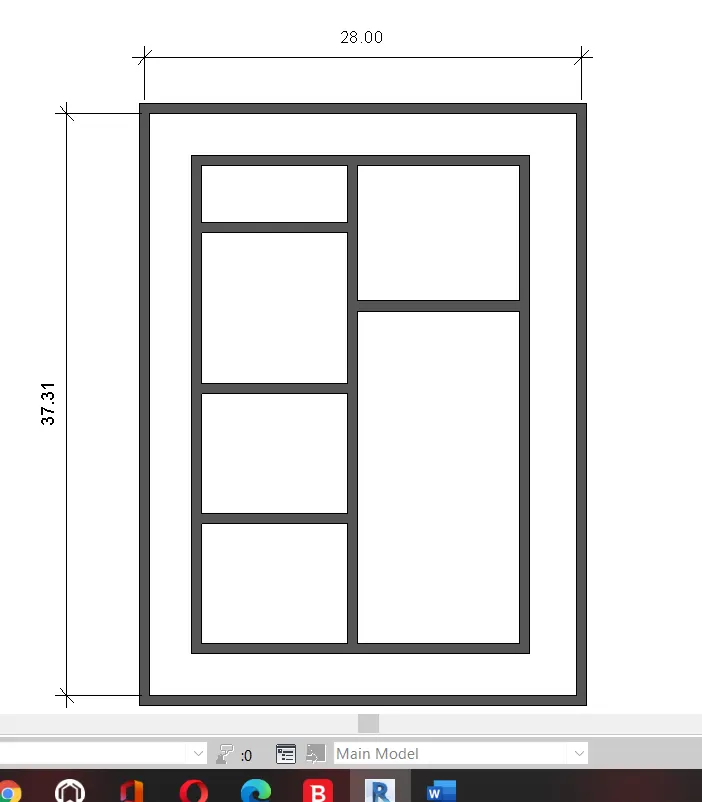
step:-3
next change the residential layout plan to the 3d view.
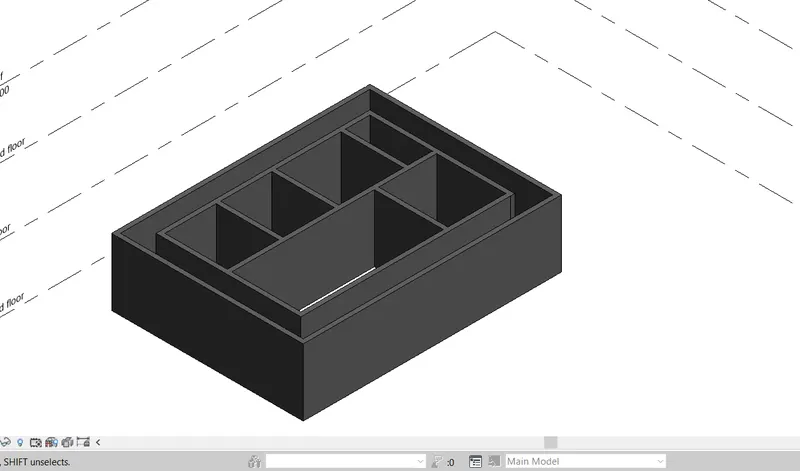
Result
The Conceptual layout of the residential unit is ceated successfully
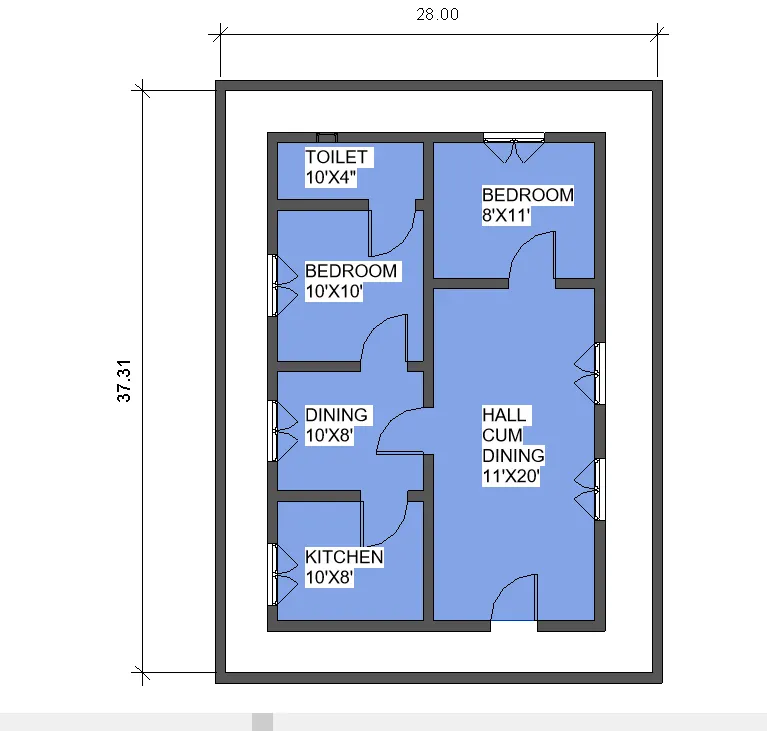
6) In the layout created draft the level of details you are planning to include – Dimensions of room, components you plan to add in the residential unit.
AIM:- To draft the level of details which include dimensions of the room components plan to add in the residential unit.
Procedure:-
step:-1
from the previous drawn residential unit, we put the dimensions for the room.
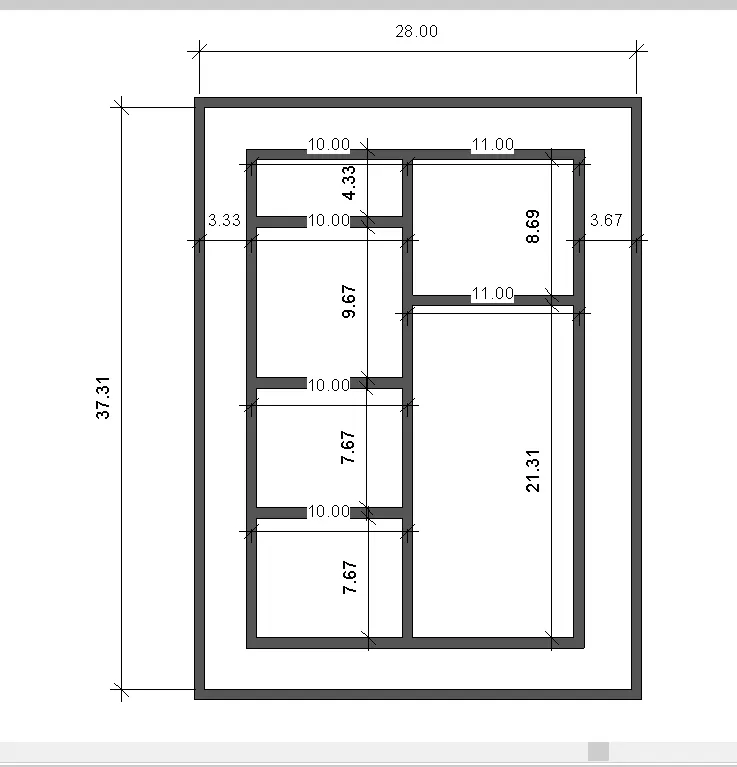
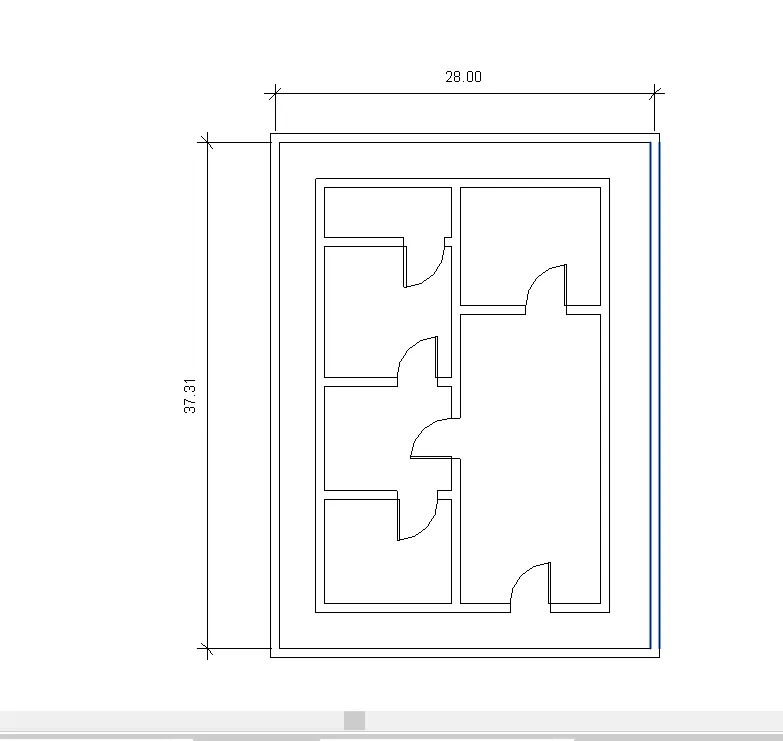
step:-2
next, we need to add the doors to the layout using the door option in the architecture.
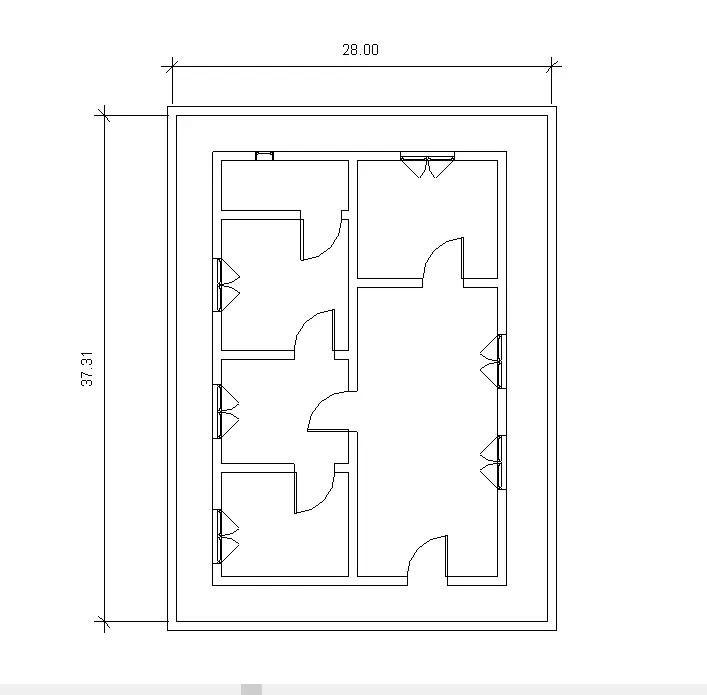
step:-3
next, we need to add the windows to the layout using the window option in the architecture.
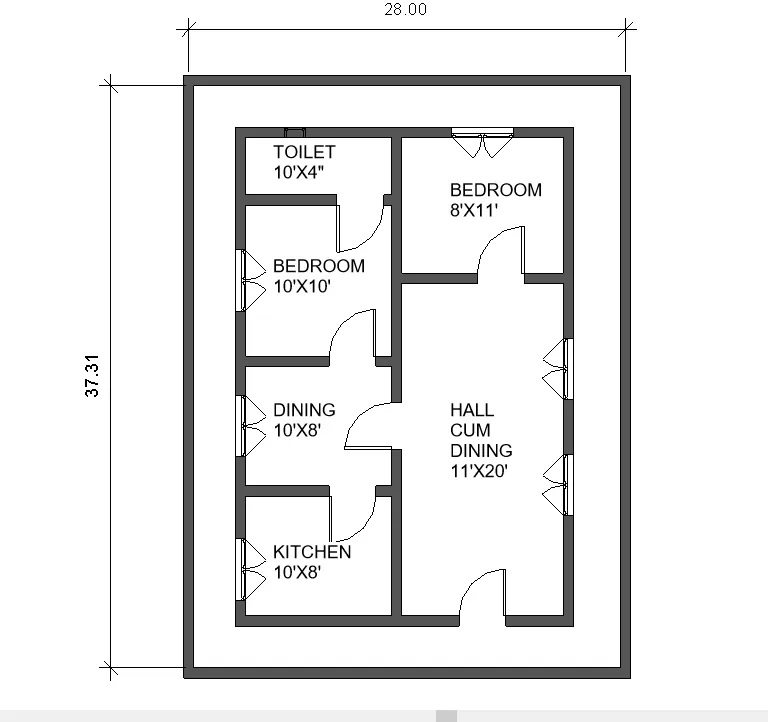
step:- 4
next, we write the room name and its dimensions using the test tool, the test tool will be at the top.
step:- 5
next, we use the floor option the floor for the residential unit
the floor option will be there in the architecture toolbar.
step:-6
next, the residential unit is changed to the three-dimensional view
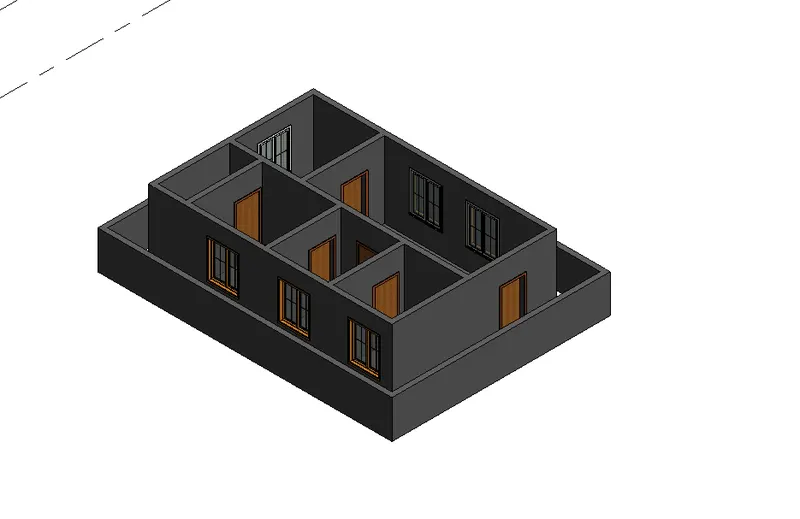
Result:-
the level details which include dimensions of room , components are successfully
7) Identify the residential model elements such as Door, Windows, Tables, Chair, Couch, Bed, Lamps from the library and insert them into the model . Save the project for use
for Assignment 3
AIM:-the residential model elements such as Door, Windows, Tables, Chair, Couch, Bed, Lamps from the library and insert them to the model
procedure:-
step 1:- next we need to add the doors to the layout using the door option.
step:-2
next, we need to add the windows to the layout using the window option
step:-3
coming to the bedroom we insert the beds,chairs, and tables
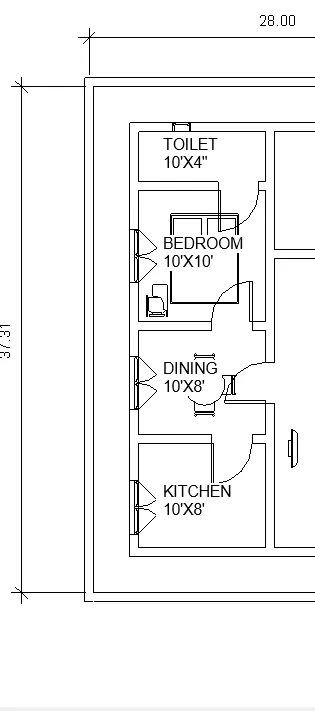
step:-4
next, we insert the furniture things in the hall from the library
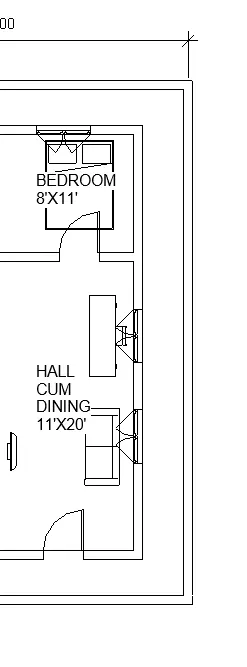
step:- 5
the residential model elements are inserted from the library
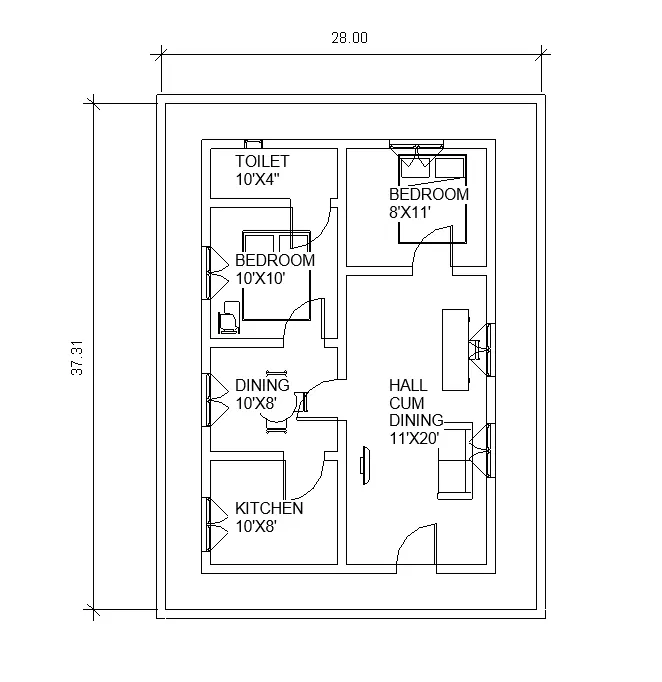
step:-6
the all model elements are inserted successfully and layout plan
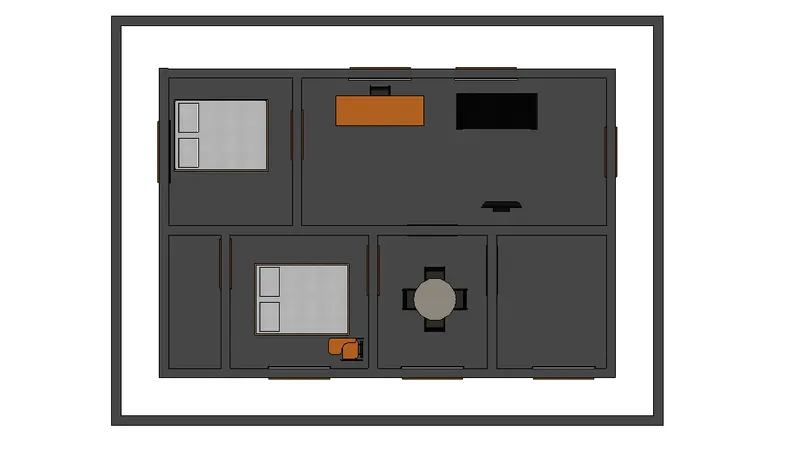
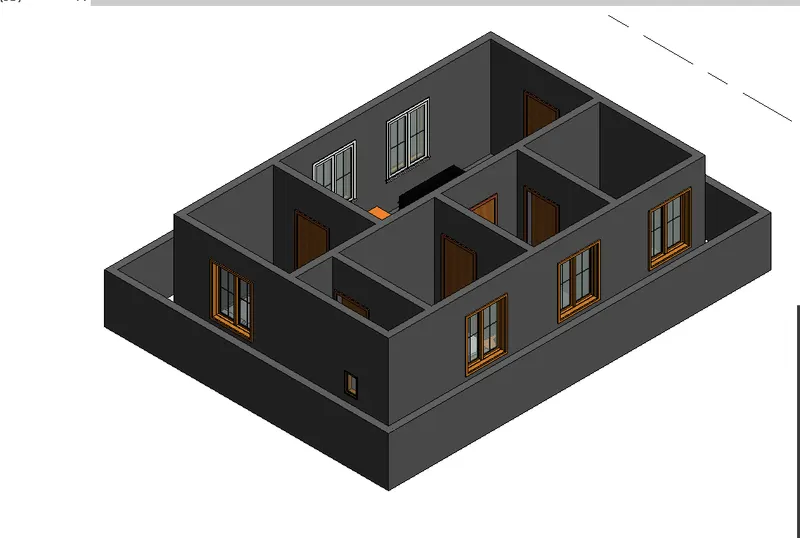
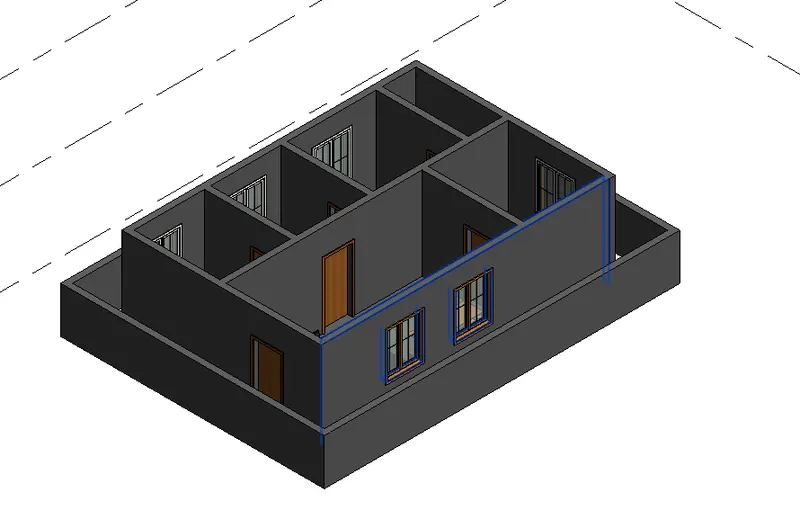
Result
residential model elements such as door, windows, tables, chairs Couch, Bed, Lamps from the library