II. Answer in detail
Question 1: The sloped roof at the top level of the building (10 degrees).
Sol:
Aim: To create the roof at 10 degrees.
Procedure:
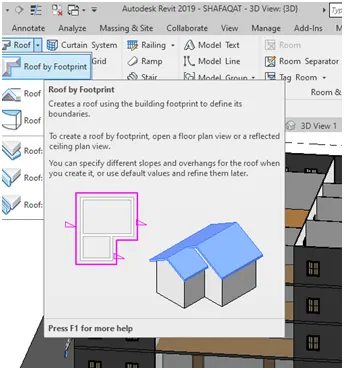
Step 1: Go to the Architecture Tab, Click on the Roof option, Click on the Roof by footprint option to create a roof.
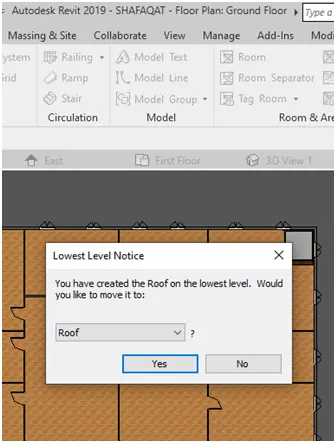
Step 2: A window appears to select the level at which the Roof can be created. Select the level as roof.
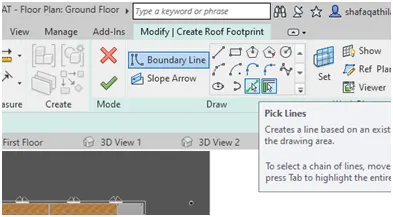
Step 3: click on the pick lines to select the boundary for the roof.
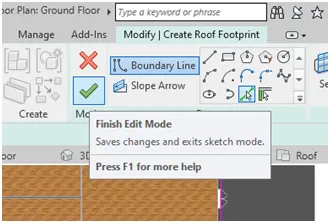
Step 4: after creating the boundary click on the Finish option.
Step 5: Select the Roof , go to the properties browser , set the slope as 10 degrees.
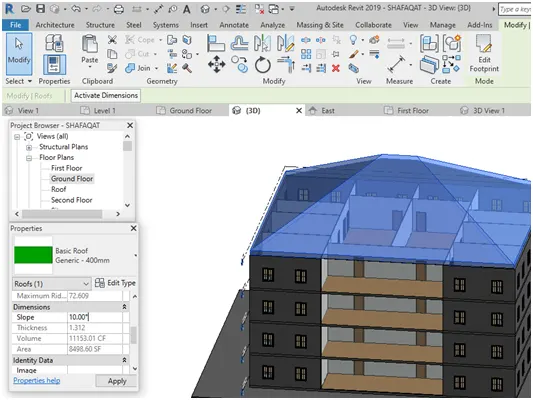
Result: Roof with the slope of 10 degrees.
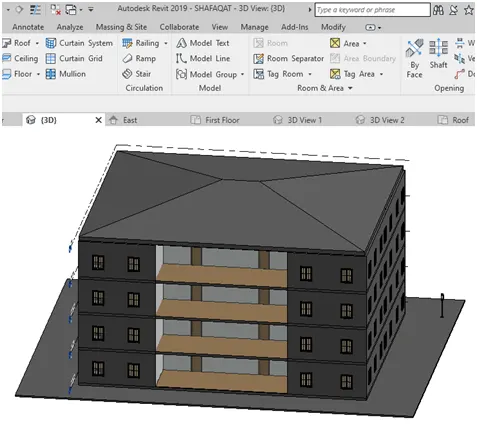
Question 2: Architectural components including furniture and home appliances
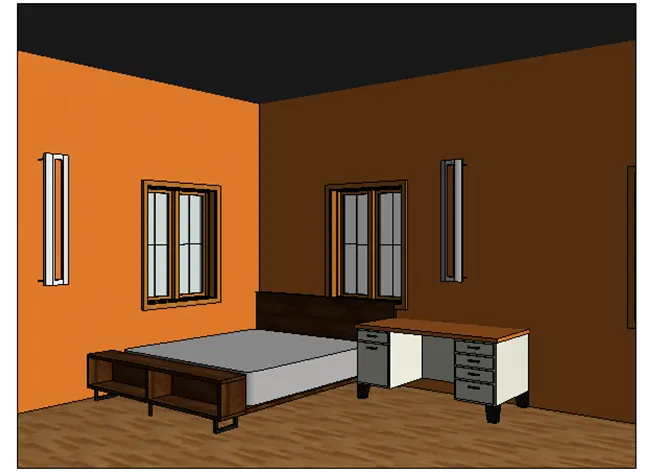
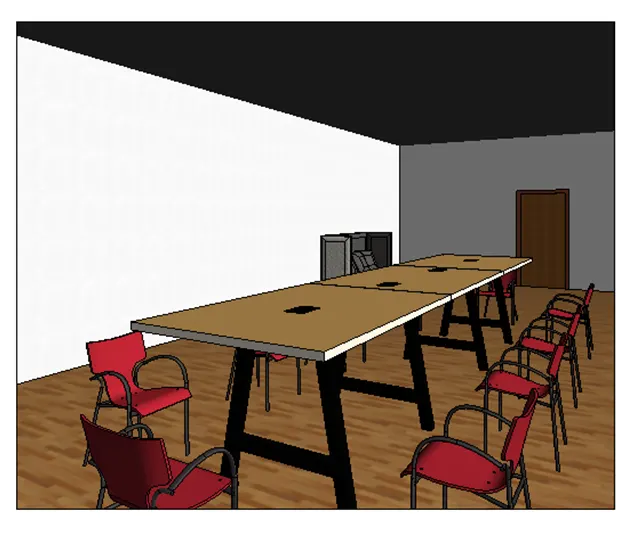
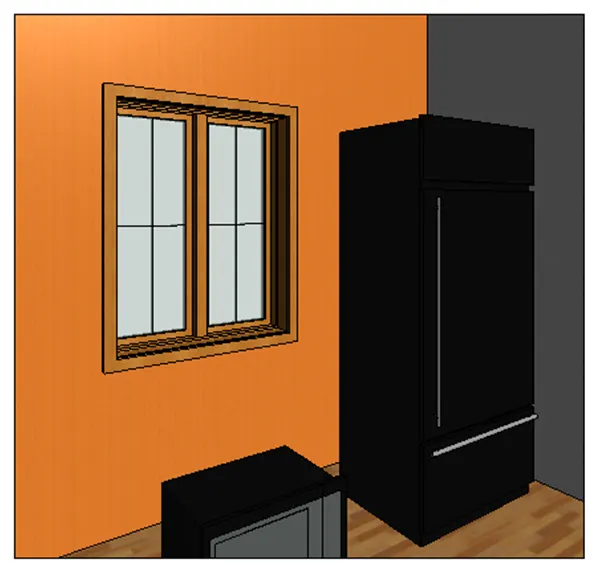
Aim: To add the family components like furniture, lighting and Home appliances.
Procedure:
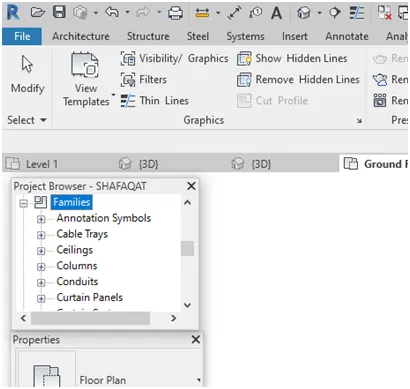
Step1: Go to the project browser, click on the families option to add the families like tables, chairs, beds , lighting systems, home appliances, etc.
Step 2: Add all the components which we require in the building. Like furniture, lighting and kitchen appliances.
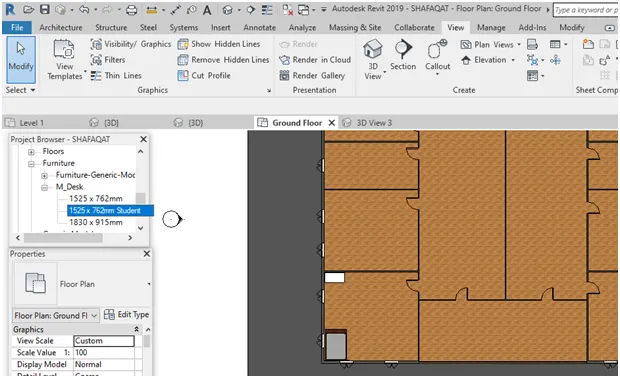
Result:
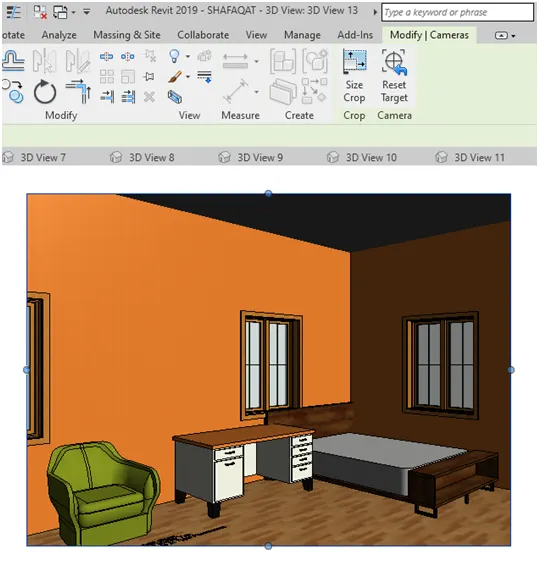
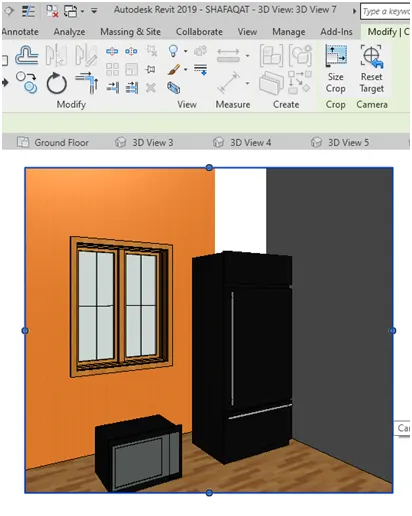
Question 3: Room tags and Annotations.
Aim: To add the Room tags and Annotations.
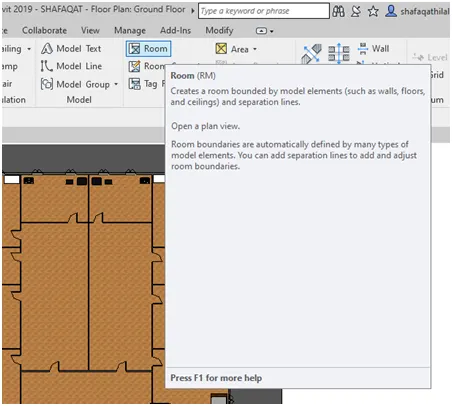
Step 1: Go to the Architecture Tab, Click on the Room option to set the room boundary.
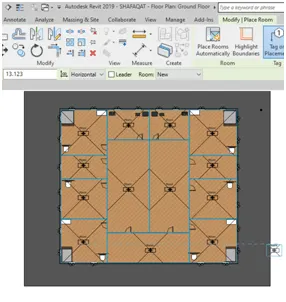
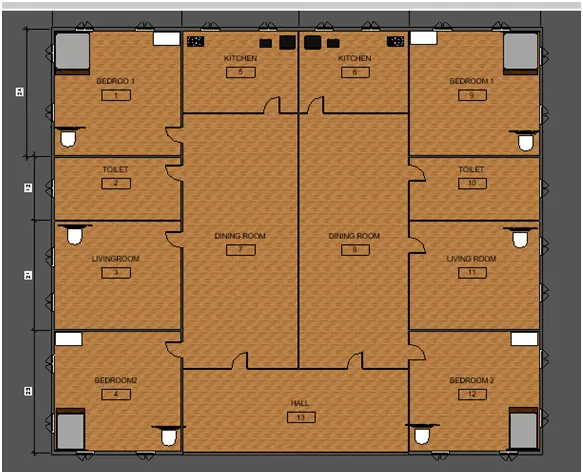
Step 2: We can add the room name like bedroom, washroom livingroom,etc.
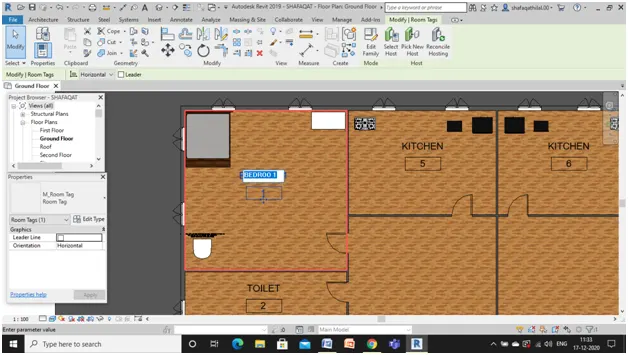
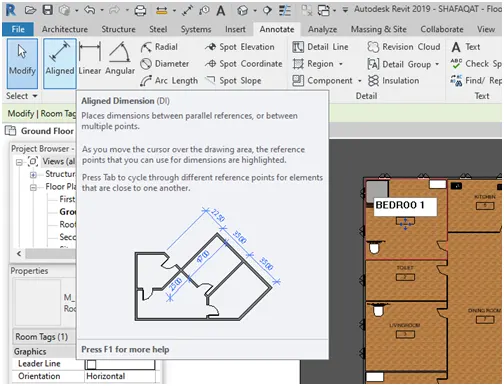
Step 3: Go to the Annotate, select the Aligned to set the dimensions.
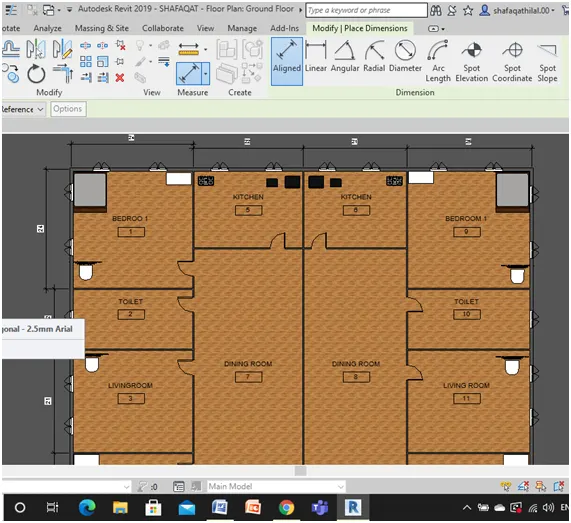
Result:
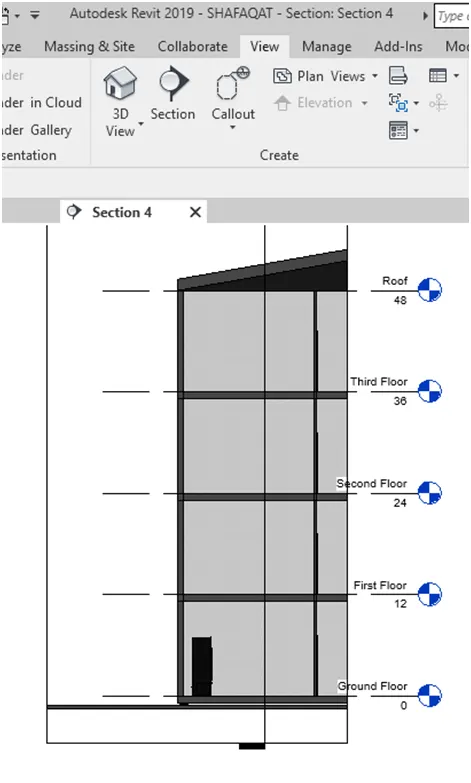
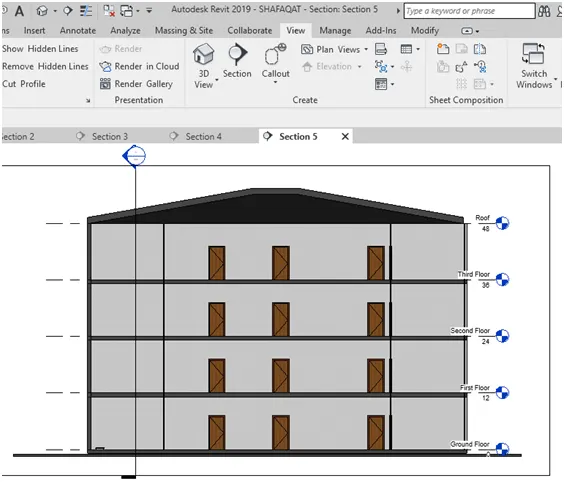
Question 4: Section cut through each room either longitudinally or transversely
Aim: To make the section cuts through each room longitudinally or transversely.
Procedure:
Step: Go to the View Toolbar, click on the Section option to make the section views trough each room.
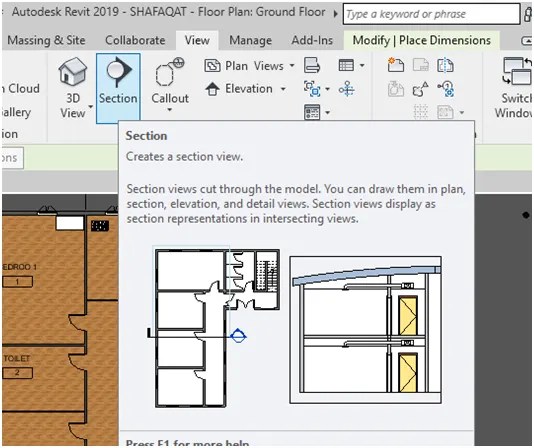
Step 2: Draw different section views.
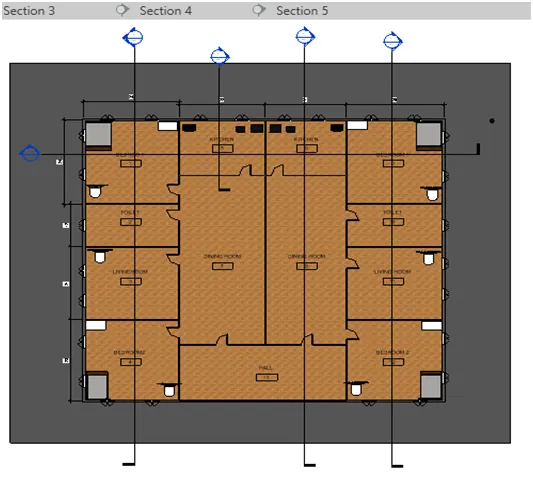
Result:
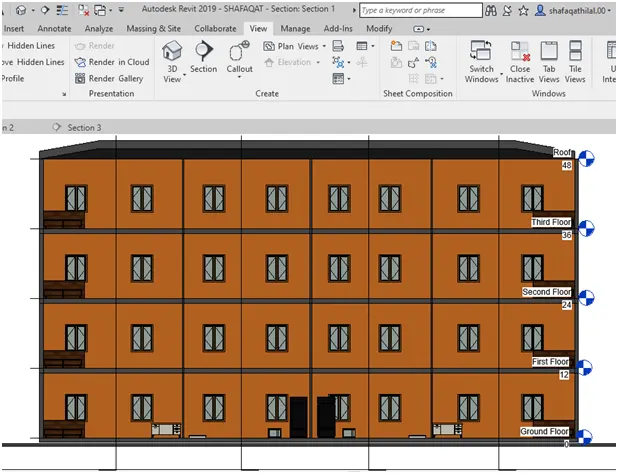
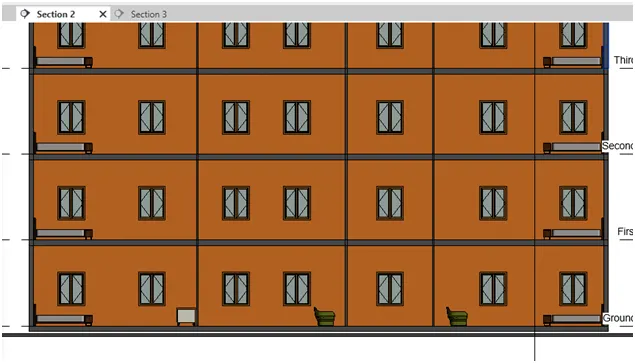
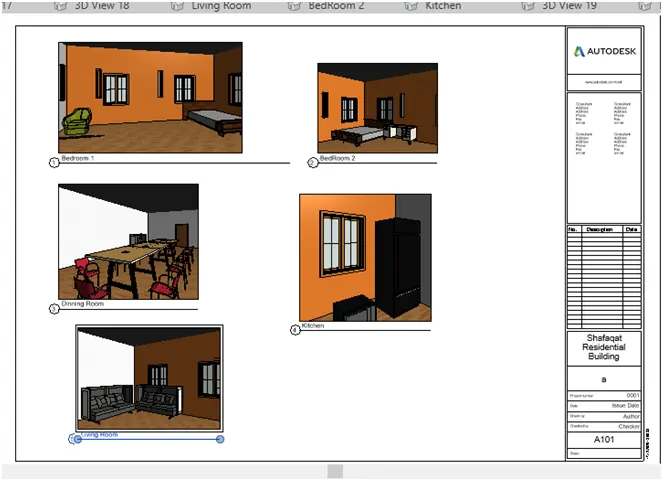
Question 5: Create a camera view on each room and add it in a sheet template.
Aim: To create the camera view for each room and add on the sheet.
Procedure:
Step 1: Select the camera view from the toolbar.
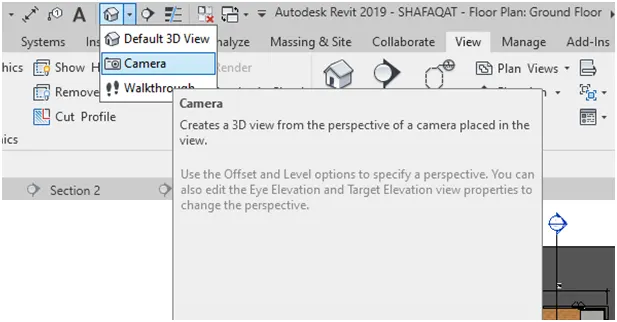
Step 2: Place the camera in the room and take the 3d camera views for different Rooms.
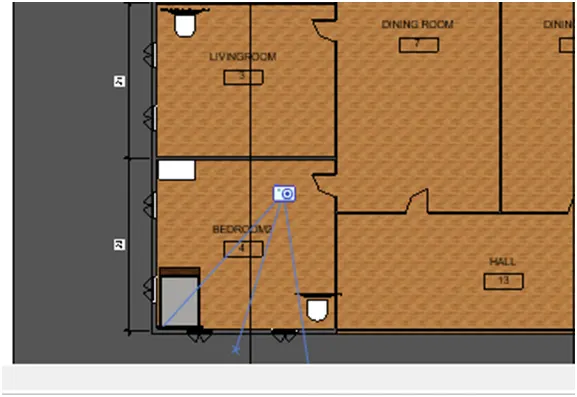
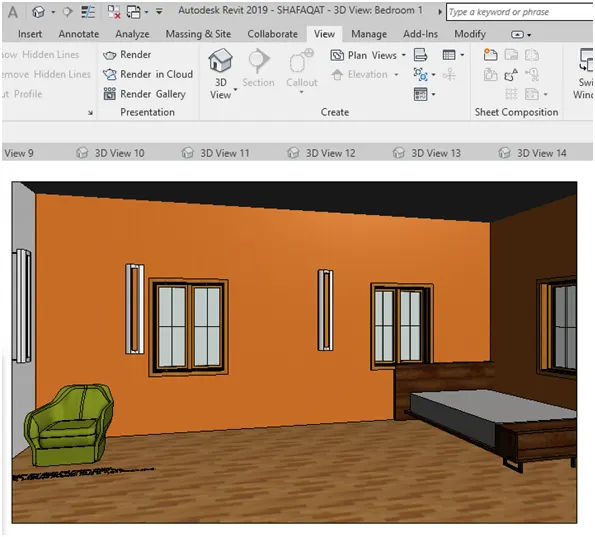
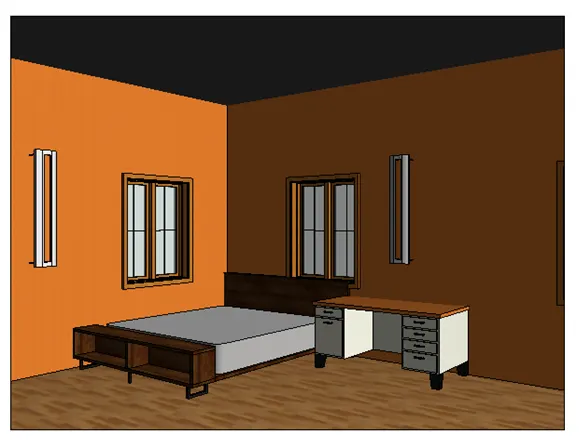
Step 3: After creating different views, Go to the view Toolbar, click on the Sheet option to create sheet and add different views.
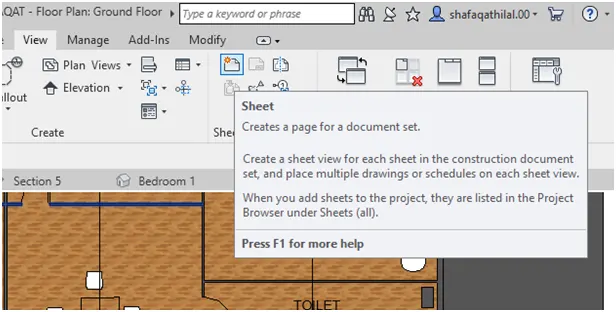
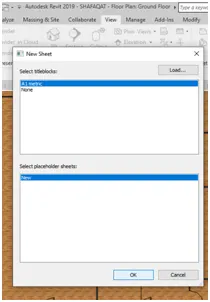
A window appears to add a new sheet.
Result: