Hood design-Week 2
- ABOUT HOOD :-
A car hood, also referred to as a bonnet in some other countries, is the hinged cover that rest over the engine of a front-engine vehicle. Its purpose to provide access to the engine for repair and maintenance. A concealed latch is typically used to hold down the hood. A car hood is ment to protect the performance parts of your vehicle, including the engine. It is possible for the hood to incur damages as well.
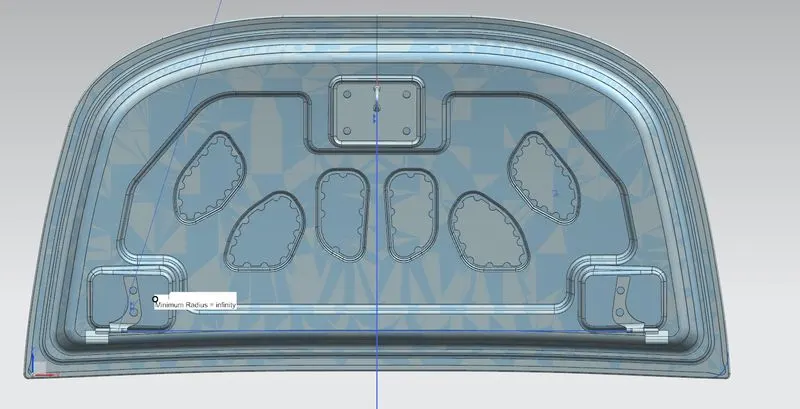
HOOD
- HOOD COMPONENTS :-
1) OUTER PANEL
2) INNER PANEL
3) HINGE
4) STRIKER & LATCH
5) SUPPORTING ROD
6) REINFORCEMENTS
1) OUTER PANEL -
Outer panel is the outer cover of the hood. It is the asthetic part of the hood. Because of it car look good.
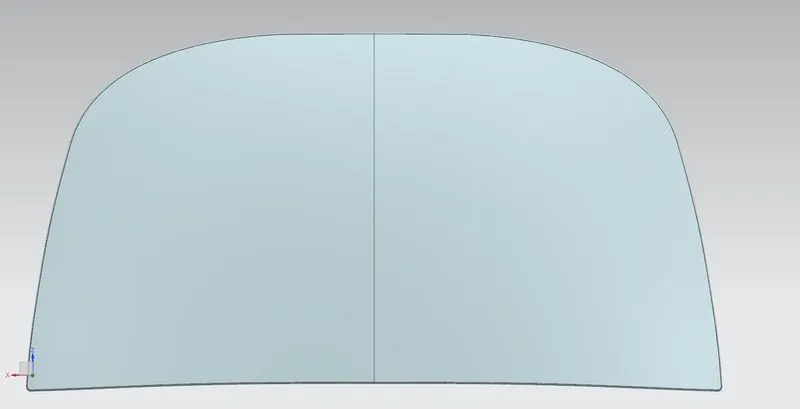
OUTER PANEL
2) INNER PANEL -
The inner panel supports the outer panel. Inner panel provide strength and rigidity to the hood. Also direct the force of colision to outwards.
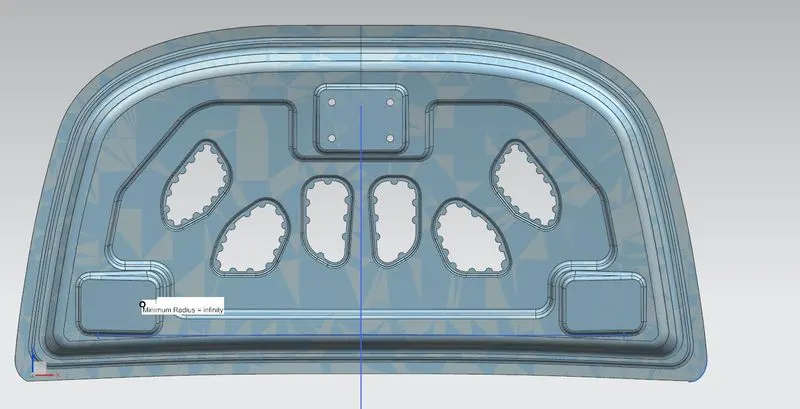
INNER PANEL
3) HINGE -
The hinges are use to fixed the hood to the engine compartment. Its helpes to open and close the hood.
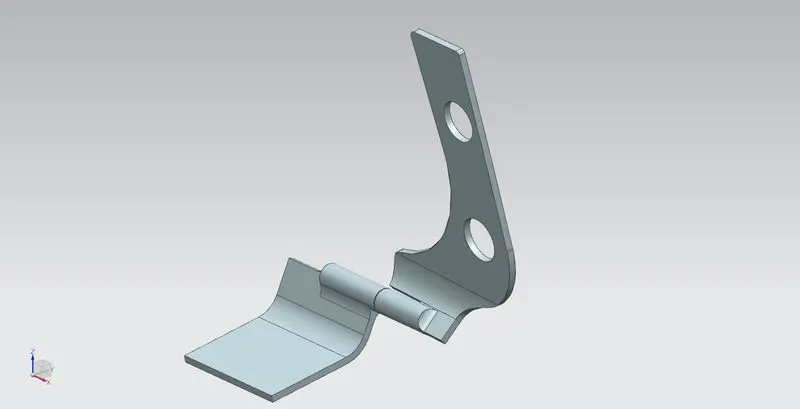
HINGE ASSEMBLY
4) STRIKER & LATCH -
Latch & striker is used for locking the hood with car. Latch is present on engine compartment & the striker is placed on inner panel.
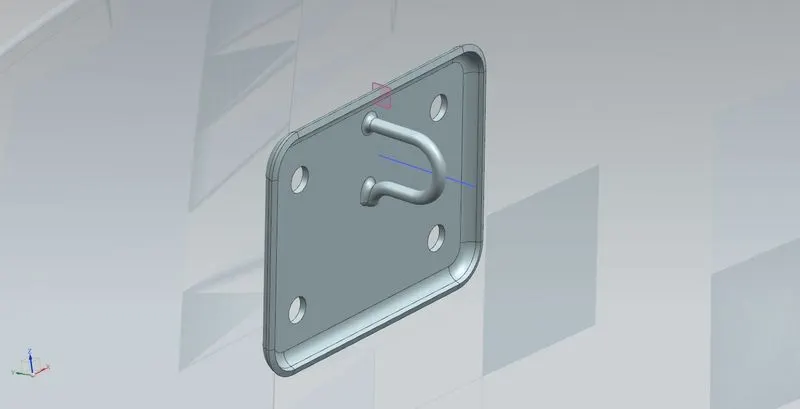
STRIKER
5) SUPPORTING ROD -
Its support the hood in open position. Supporting rod usually placed in engine compartment.
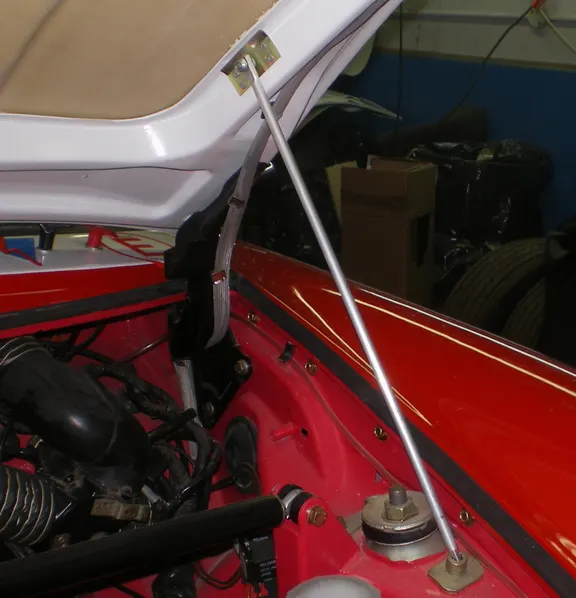
SUPPORTING ROD
6) REINFORCEMENTS -
Reineforcements are provided according to the design requirements. In inner panel reinforcements provided at striker & hinge to improve strength locally.
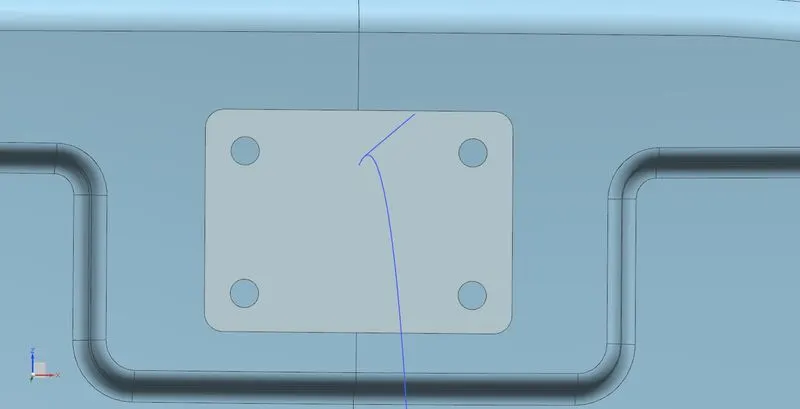
REINFORCEMENTS
- LATCH TRAJECTORY -
The opening and closing of the hood is done with the help of latch & striker. To position the latch and striker effectively, we position the hinge and draw the hinge axis. Now, using the hinge axis as the center we draw a big circle to the position where we need the latch to be placed. Then we draw the tangent line to the circle at that point & place the latch in that region.
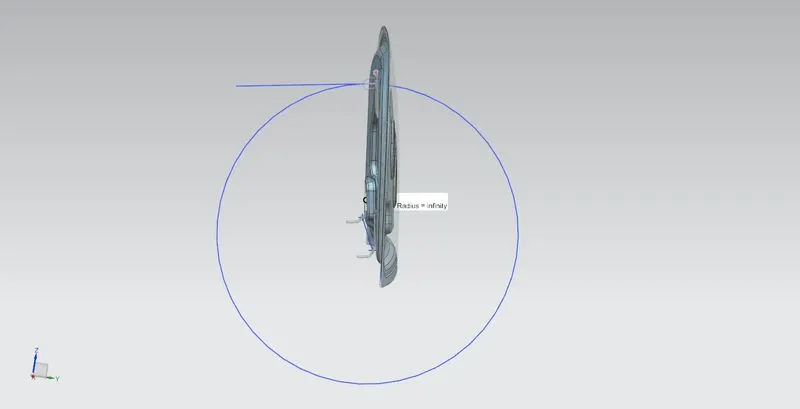
LATCH TRAJECTORY
- MASTIC SEALANT -
Mastic sealant or Mastic point is an elastic compound that behaves like a rubber. The mastic points are defined on the hood inner panel where the hood can easily deform. They help the hood outer panel to come back to its orignal shape after its gets deforms. The mastic has an influence area of 80mm.
MASTIC SEALANT
- HEMMING -
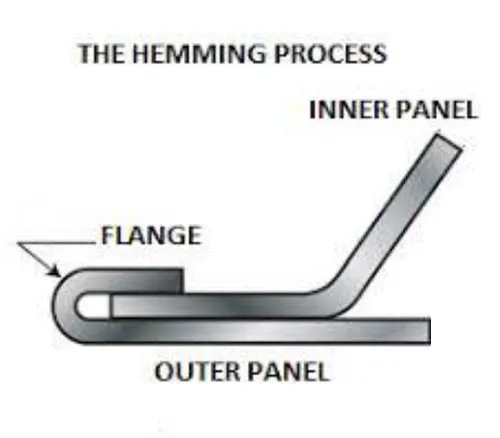
Hemming is the process of joining both the outer and inner panel together. In the hemming process roles and wraps the hood outer panel arond the inner panel and holds it tightly together. After the hemming process is done, now we need to provide corner relife on the corners of the hood so that the part is manufactural.
HEMMING
- EMBOSSING -
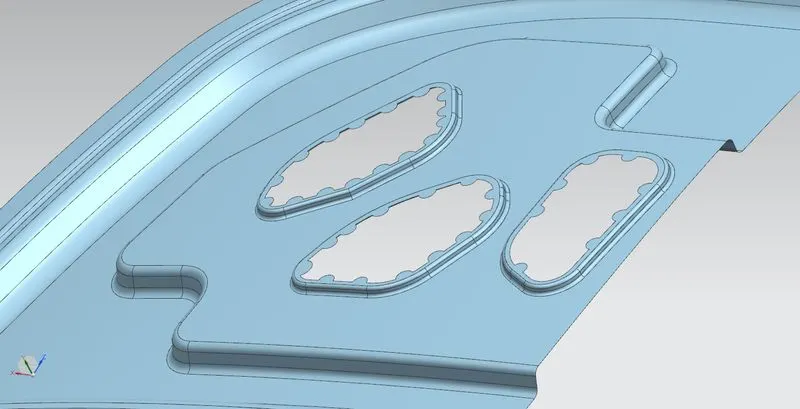
The embosses are provided to strengthen the component. The component will be strengthened based on the masetr section. When the force impact the hood from the front, it travels in an upward direction. The component is designed to divert the force away from the passengers into the hinges. The embosses in the inner panel are made according to the diversion of the load path. The emboss depth is kept at a maximum of 5mm to be on the safe side so that the part to be manufacturable. To make the component easy to manufacture, all the sharp corners from the embosses are removed. The curvature intersections from different nearby embosses are blended out to produce a smooth transition.
EMBOSSING
- DEEP DRAWING PROCESS -
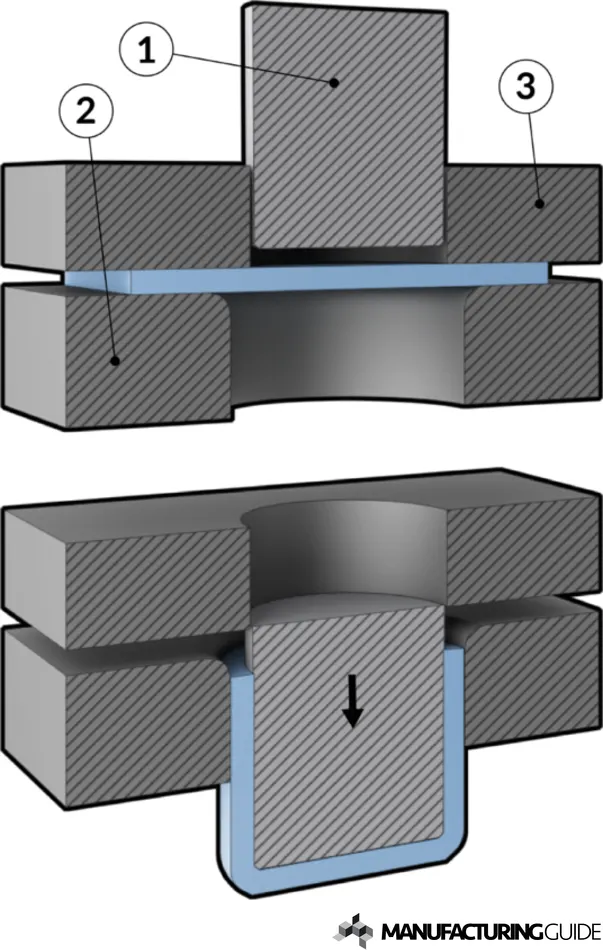
Deep drawing is a sheet metal forming process in which a shhet metal blank is radially drawn into a forming die by the mechanical action of a punch. It is thus a shape transformation process with material retention. The process is considered deep drawing when the depth of the drawn part exceeds its diameter.
- HOOD DESIGN PROCEDURE -
By given master section, first design inner panel using various commands and features. After that creating the embosses by using offset curve in face and emboss command. Then there is some cutting with the help of sketch and trim sheet commands.
Now, on inner panel we have to create embosses for hinge and striker, for to its positioning. After positioning hinge, draw the hinge axis. Using the hinge axis as the center we draw a big circle to positioning the striker. After detecting the place for stiker, we create emboss for the same.
Then outer pannel is designed from the master section. On outer panel we create hemming by using law extentsion command, and front and rear relife section as per given parameters.
- DATA USED
1) Outer panel thickness = 0.75mm
2) Inner panel thickness = 0.75mm
3) Reinforcement Thickness = 1.5mm
- MASTER SECTION
- THERE IS SOME IMPORTANT COMMAND IS USED IN THE DESIGNING -
1) Trim body - Trim off portion of the body.
2) Trim sheet - Trim off portion of the sheet body.
3) Offset surface - Creating a body by offsetting a set of faces.
4) Offest curve in face - Offset curve along the faces on which the lie.
5) Project curve - Project curves, edges, or points onto faces or planes.
6) Bridge curve - Create a tangent blend curve between two objects.
7) Curve on surface - Create surface spline feature directly on a face.
8) Trim and Extend - Trims or extends a set of edges or faces to the intersection with the another set of edges or faces.
9) Extend sheet - Extends a sheet body by distance or to the intersection with another body.
10) Sew - Combines sheet bodies by sewing common edges together, or combines solid bodies by sewing common faces.
11) Thicken - Create solid body by adding thickness to a set of faces.
12) Emboss - Modifing the body with faces made by projecting a section along a vector, with options for end cap location and shape.
13) Through curve - Creates body through multiple sections where the shape changes to pass through each section.
14) Law extension - Create law-controlled extension from a base sheet, dynamically or based on law for distance and angle.
15) Face blend - Add tangent blend faces between selected set of faces. The blend shape can be circular, conic, or law controlled.
16) Edge blend - Rounds sharp edges between faces. The radius can be constant or variable.
17) Sketch - Create a sketch in the current application. Use direct sketch tool to add curves, dimensions, constraints etc.
18) Mirror geometry - Copies geometrys and mirror them across plane.