Fender Design Challenge
- ABOUT FENDER -
Fender is the car body part that frame the wheel. Its purpose is to prevent the sand, dirt, rocks and other road spray from being thrown into air by the rotating tire and close the component.
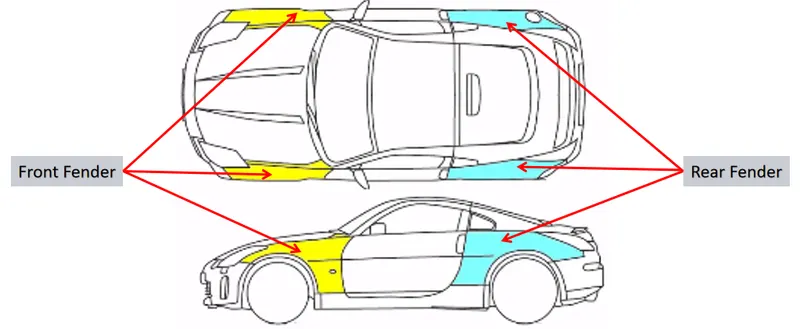
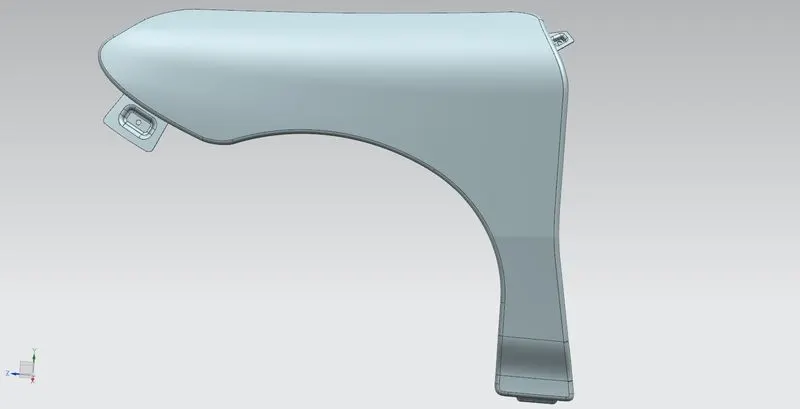
FENDER
- TYPES OF FENDER -
1) Full Bumper Type
2) Half Bumper Type
1) Full Bumper Type -
The bumper type fender was used in old cars, it covers the full area until the front lighting. But it has a lot of sheet metal material which is unnecessary and increases the weight of the fender. This type of fenders are no longer used in automobiles.
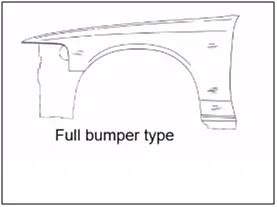
2) Half Bumper Type -
Mainly half bumper type is used in automobiles. It is baisically related to scrap management. Half bumper types leads to less wastage of the blank.
We are changed from full bumper type to half bumper type to reduce the scrap rate per blank. In the full bumper, we can only produce one fender per blank, where as a half bumper type we can produce 2 fender per blank.
- FENDER MOUNTING POINTS -
1) Drip Area.
2) Bumper Mounting Region.
3) Sill Mounting Region.
4) A-Pillar Mounting Region.
5) Wheel Arc Mounting.
1) Drip Area -
Below Fig. is used to as a master section to create drip area.
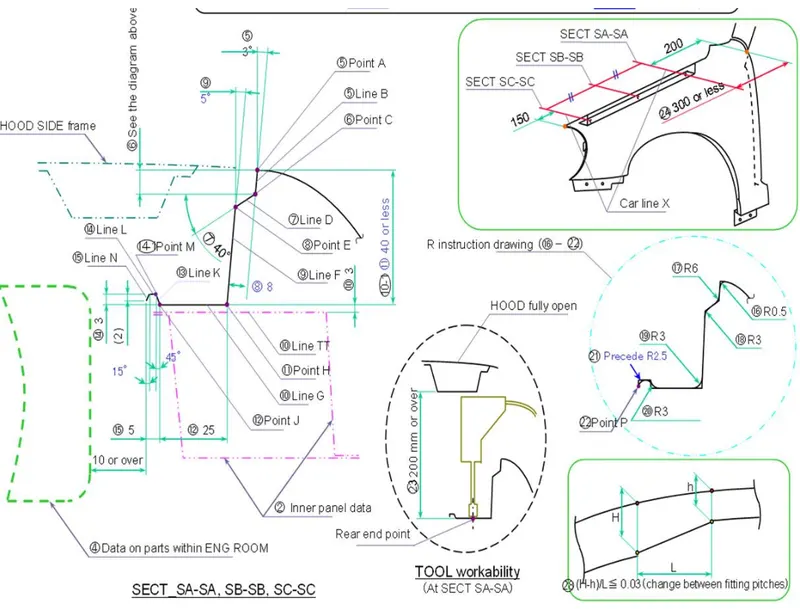
MASTER SECTION
It is critical mounting are located inside the engine component. Designed according to the master section provided and optimal opening angle is maintained to make it look well assembled from outside.
Minimum clearance from head lamp is 150mm and from cowl part is 300 or less maintained. Vertical distance of the drip mounting is maintained less than 40mm to avoid the spring back effect.
Two darts are added on the longer side of the drip area in order to provide the stiffness and adds strength to the part. This helps the fender to not to vibrate and impact the forces outside of the fender during motion of vehicle.
Embossing are provided on the mounting to strengthen them during fastening.
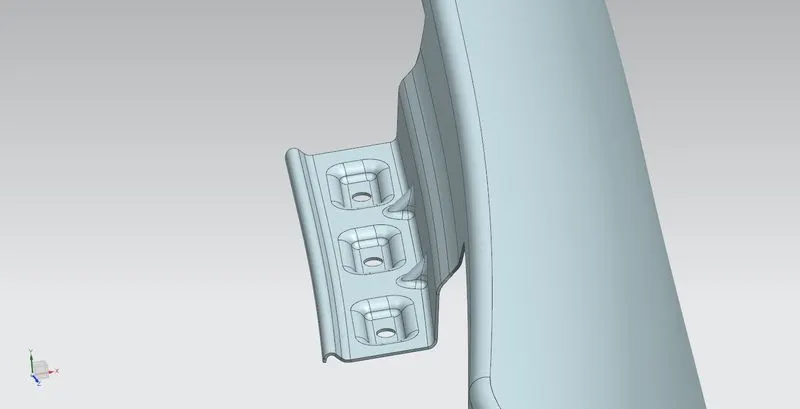
FENDER DRIP AREA
2) Bumper Mounting Region -
Bumper mounting area is used to fix the bumper to the fender with the help of the fasteners.
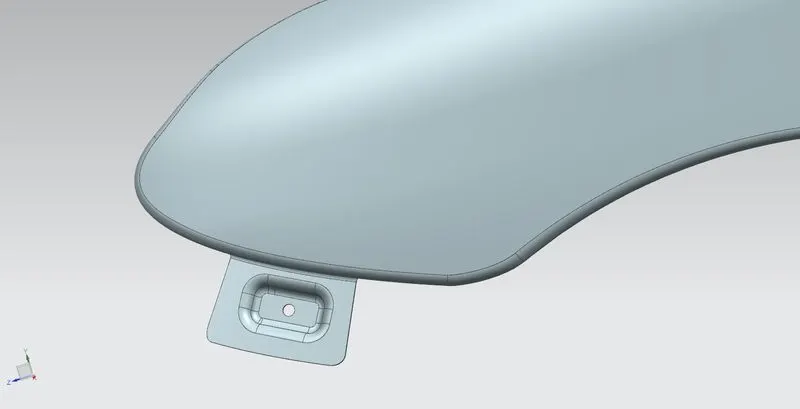
FENDER BUMPER MOUNTING
3) Sill Mounting Region -
Sill mounting is the bottom side mounting of the fender. The bottom end of the fender is mounted on the sill body for reinforcement of the fender panel, thus the sill mounting position is desigend with holes and emboss.
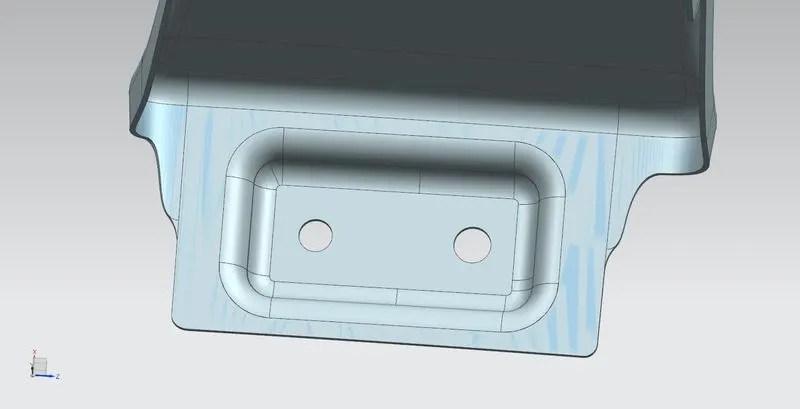
FENDER SILL MOUNTING
4) A-Pillar Mounting Region -
This mounting take place near the cowl of the vehicle where the fender is fastened with the bottom edge of the windshield. This mounting is covered with the side rear-view mirror.
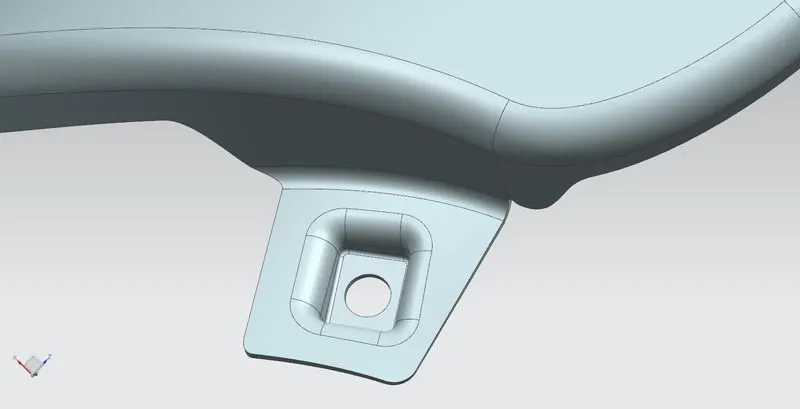
FENDER A-PILLAR MOUNTING
5) Wheel Arc Mounting -
The wheel arch will be mounted to the baffle mounting wish push pin mechanism.
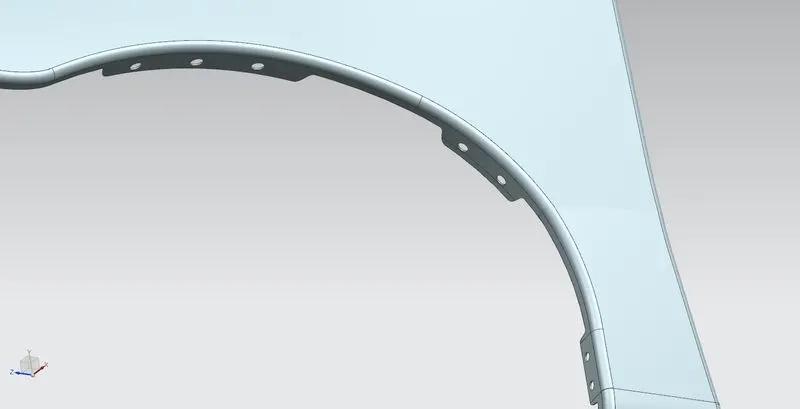
FENDER WHEEL ARC MOUNTING
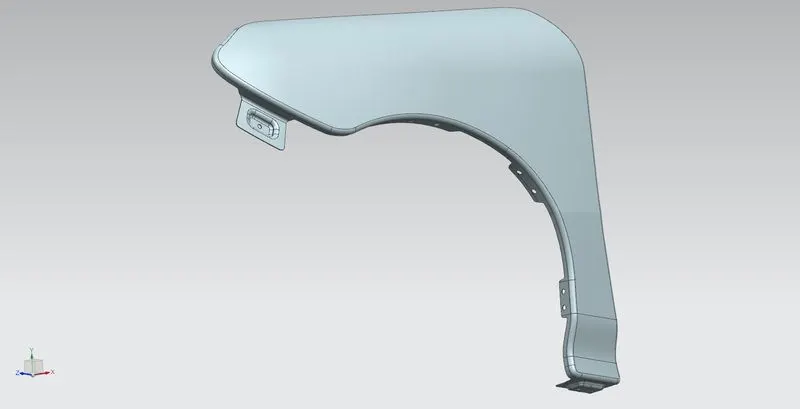
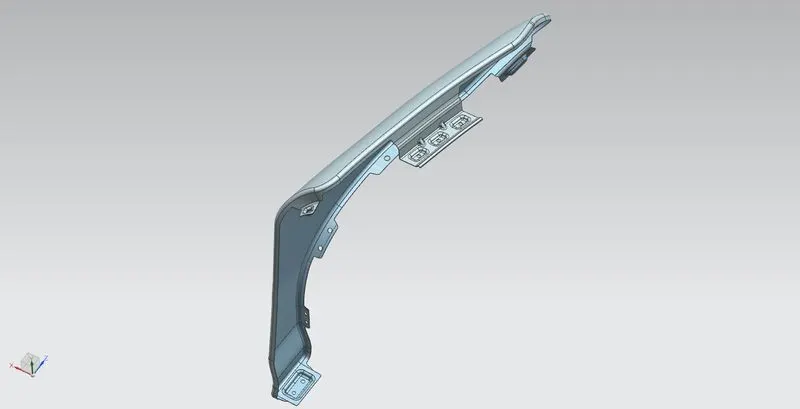
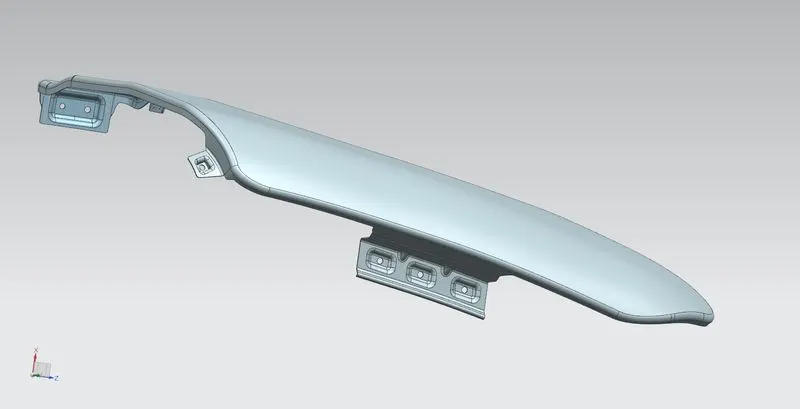
- DIFFRENTS VIEWS OF FENDER
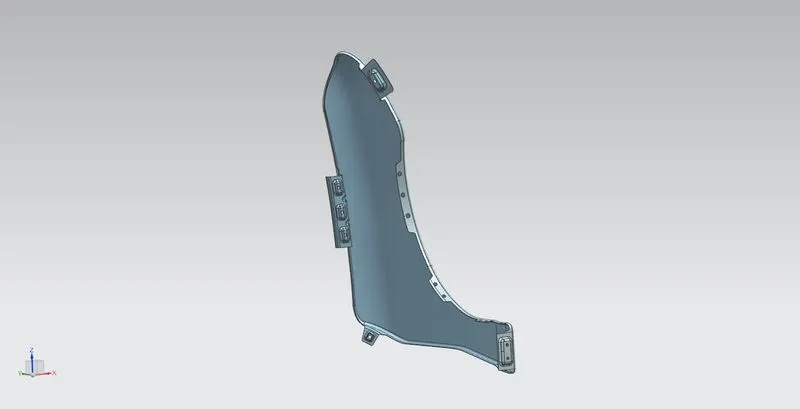
- THERE IS SOME IMPORTANT COMMAND IS USED IN THE DESIGNING -
1) Trim sheet - Trim off portion of the sheet body.
2) Project curve - Project curves, edges, or points onto faces or planes.
3) Bridge curve - Create a tangent blend curve between two objects.
4) Curve on surface - Create surface spline feature directly on a face.
5) Extend sheet - Extends a sheet body by distance or to the intersection with another body.
6) Sew - Combines sheet bodies by sewing common edges together, or combines solid bodies by sewing common faces.
7) Thicken - Create solid body by adding thickness to a set of faces.
8) Emboss - Modifing the body with faces made by projecting a section along a vector, with options for end cap location and shape.
9) Law extension - Create law-controlled extension from a base sheet, dynamically or based on law for distance and angle.
10) Face blend - Add tangent blend faces between selected set of faces. The blend shape can be circular, conic, or law controlled.
11) Edge blend - Rounds sharp edges between faces. The radius can be constant or variable.
12) Sketch - Create a sketch in the current application. Use direct sketch tool to add curves, dimensions, constraints etc.
13) DART - Adds a dart feature along the intersection curve of two set of faces.