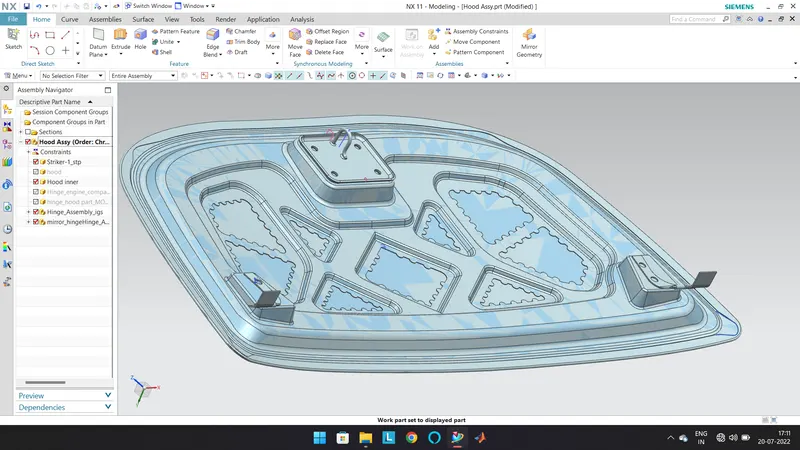
Hood design-Week 2
Aim: To design the Hood of the Car using NX Cad.
Hood :
- Hinged cover over the engine of motor vehicles. Hoods can open to allow access to the engine compartment, for maintenance and repair.
- The car hood structure is the part made up of sheetmetal as a material with thickness of 0.75mm.
- Some locking mechanism insde such as hinge assembley, Latch striker reinforcement and a stay rod.
- In Japan and Europe, regulations have come into effect that place a limit on the severity of pedestrian head injury when struck by a motor vehicle.This is leading to more advanced hood designs, as evidenced by multicone hood inner panel designs as found on the Mazda RX-8 and other vehicles. Other changes are being made to use the hood as an active structure and push its surface several centimeters away from the hard motor components during a pedestrian crash. This may be achieved by mechanical (spring force) or pyrotechnic devices(Wikipedia).
Hood Outer Panel: Most important components of the BIW (body in white), it is considered as the closure sheet-metal component.
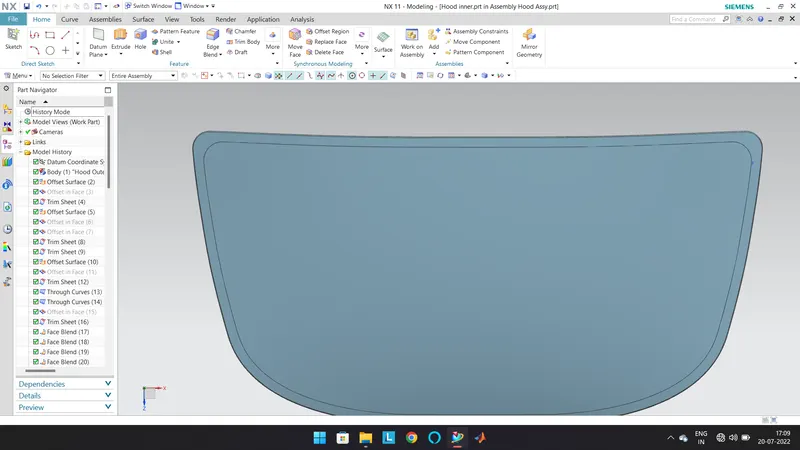
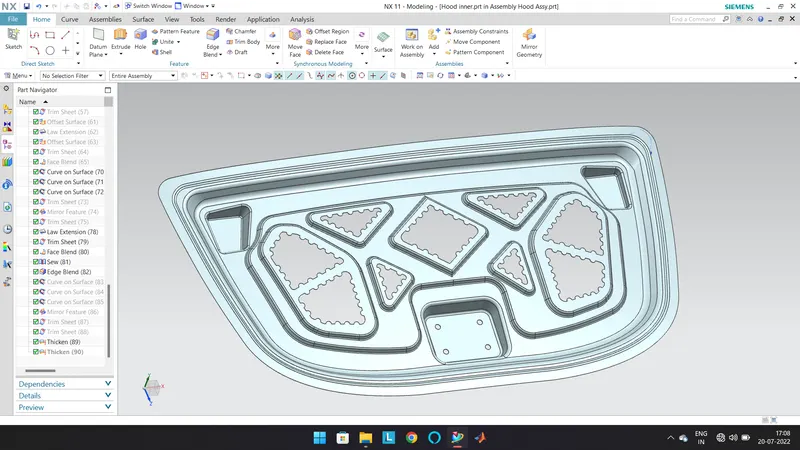
Hood Inner Panel: The panel below the outer panel, which it's the main safety for the passengers inside the car. The panel should get bend, while the hood is get hit by some rigid body, as which the froce gets exerted and splitted in to various side, which is done with the help of emboss made on it.
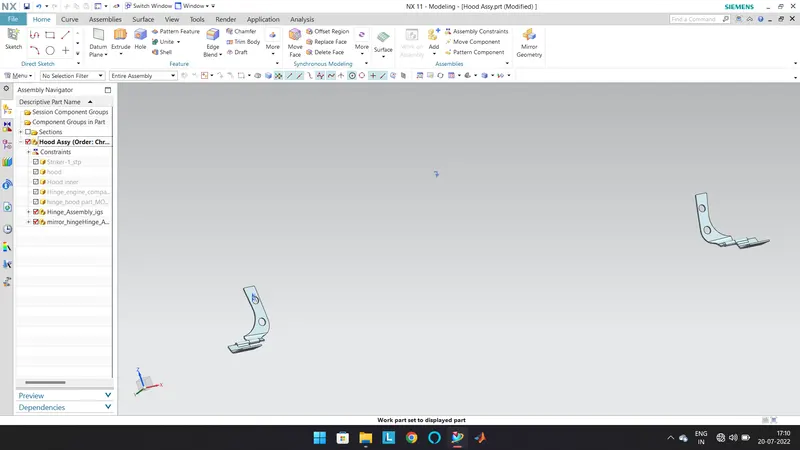
Hood Hinges: Hinges are the one which performs trajectory motion, as the hood need to open and close.
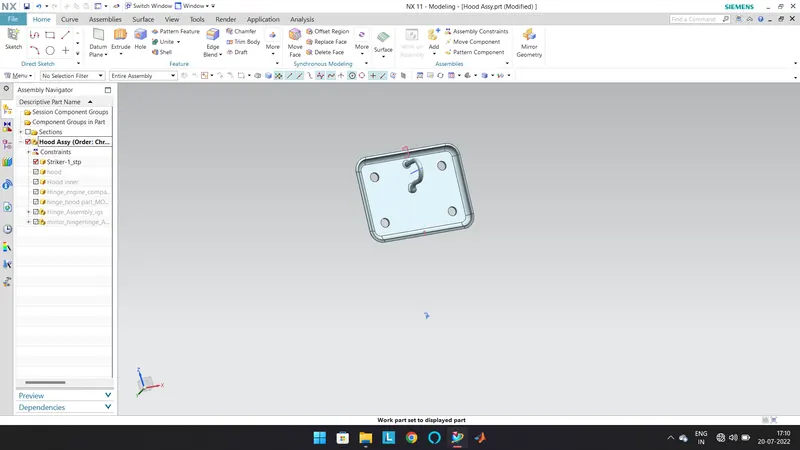
Hood Striker: The hood which gets closed on the car frame.
Hood Stay Rod: The rod which helps to withstand the weight of the hood, while working under the hood.
Hood Thickness: Thickness which strengthen the hood completely.
Outer Panel Thickness = 0.75mm
Inner Panel Thickness = 0.75mm
Reinforcement Thickness = 1.5mm
Design Process:
- The raw parts are open in assembly file, and then the required operations are done.
- With the outer panel, inner pannels are offsetted using offset curve cmd, and the required measurements of the lines and curves are created and the sheet is cut using TRIM SHEET cmd.
- The sheets are connected using THROUGH CURVES cmd.
- Then required sketches are created and embosses are created on the lowest panel, as emboss make the hood stiffer to handle the aereodynamic forces.
- Mastic points are created for joining of the panels.Mastic points are areas where the inner hood panel is joined with the outer panel hem using a mastic glue. This mastic glue keeps the inner panel stuck to the outer panel. The inner panel and outer panel are joined using mastic which is applied on the hem of the outer panel and edge of the inner panel. It cover radius of nearly 80mm
- Then the sketch for hinge is created and constraints are provided to create mirror part of hinge.
- With the help of hinge assembled, a trajectory path is created to set the striker on the centre of the hood.
- With the help of trajectory created the striker part is palced with align constraint.
- After this, outerpanel is hemmed with inner panel by connecting the faces outer panel, offset of outerpanel which is trimed with certain distance,and the law extension created on edge of outer panel.
- At last inner panel and outer panel is thickened with 0.75mm.