Hood design-Week 2
HOOD DESIGN REPORT
1. Introduction
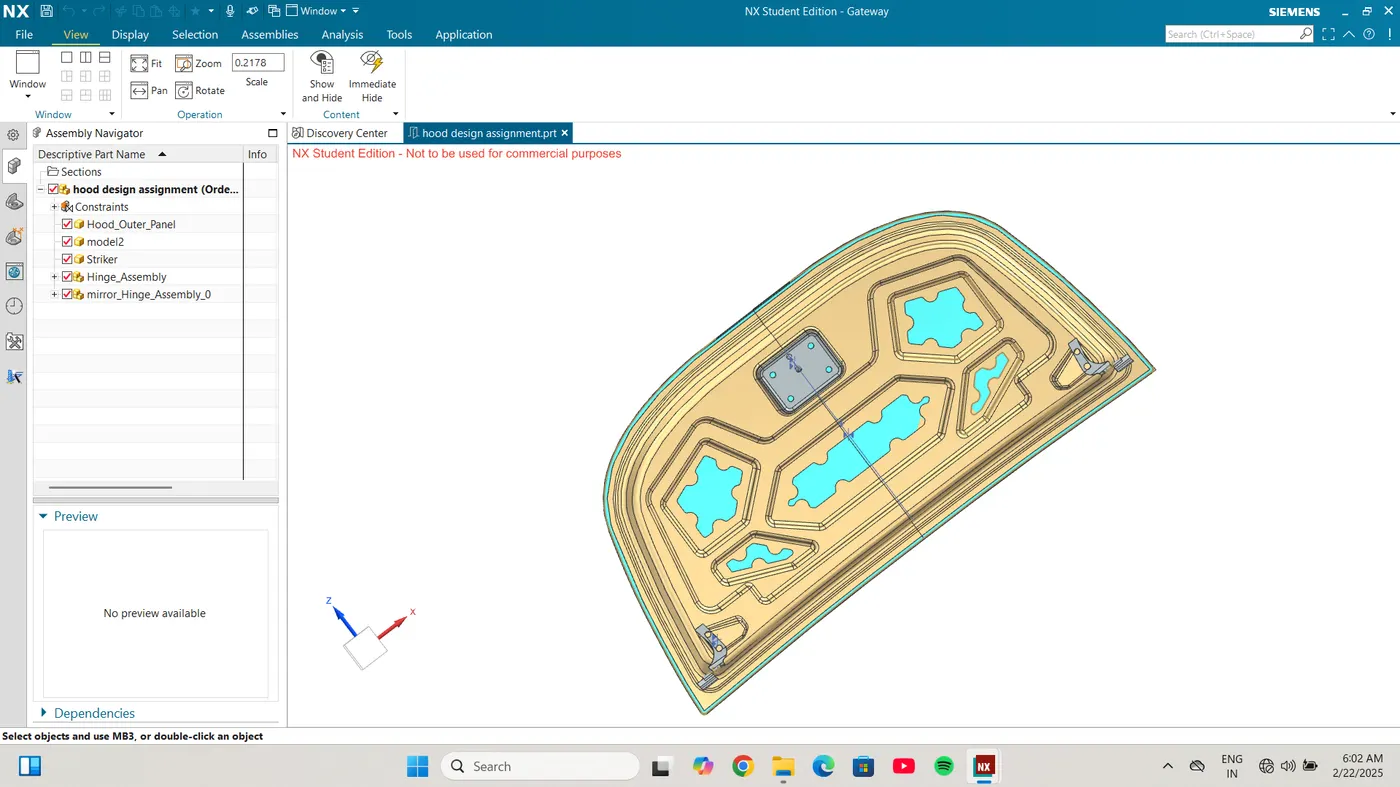
The goal of this project is to design an automobile hood assembly that includes the inner and outer panels, the required reinforcements, and parts like striker mounting, latch mounting, and hinges. The design incorporates key elements for structural integrity, pedestrian safety, and manufacturability while adhering to the master section criteria.
2. Components of the Hood Assembly
The following components make up the hood assembly:
Outer Panel: The component that is visible from the outside, embossed for both aesthetic and pedestrian safety.
Strength and support are provided by the inner panel, which has stiffened embossed surfaces.
A secure attachment to the vehicle body is ensured by Hinge Mounting.
Striker Mounting.
Design Process
3.1 Inner Panel Design
1. Master Section Reference: The inner panel structure was derived from the master section.
2. Assembly Setup: The outside panel was imported and cut in half after a new assembly file was made.
3. Tooling Axis Creation: The Sketch module's *Line command was used to create the tooling axis.
4. Flange Creation: Use the Offset in Face command to offset surfaces.
The excess material was cut off to provide the desired flange form.
5. Face Blending: To ensure seamless transitions, use face blend.
Modified in accordance with the limitations of the master section.
6. Embossed Surface for Pedestrian Safety to improve energy absorption through the design of embossed surfaces. Cutouts were made for further deflection and mastic application.
7. Hinge Mounting: The Datum Plane was used to emboss. A flat surface was indicated by the verified surface radius, which produced an infinity reading. To preserve symmetry, the hinge was mirrored.
Using a circular constraint as a guide, a sketch was made for the Striker Mounting The striker was positioned for correct alignment.
9. Hemming Process: - To provide seamless transitions, the Bridge Curve command was used.
Achieved appropriate edge finishing.
10. *Final Changes:- Made the portion thicker. A suitable color was applied to aid with visualizing.
3.2 Design of the Outer Panel
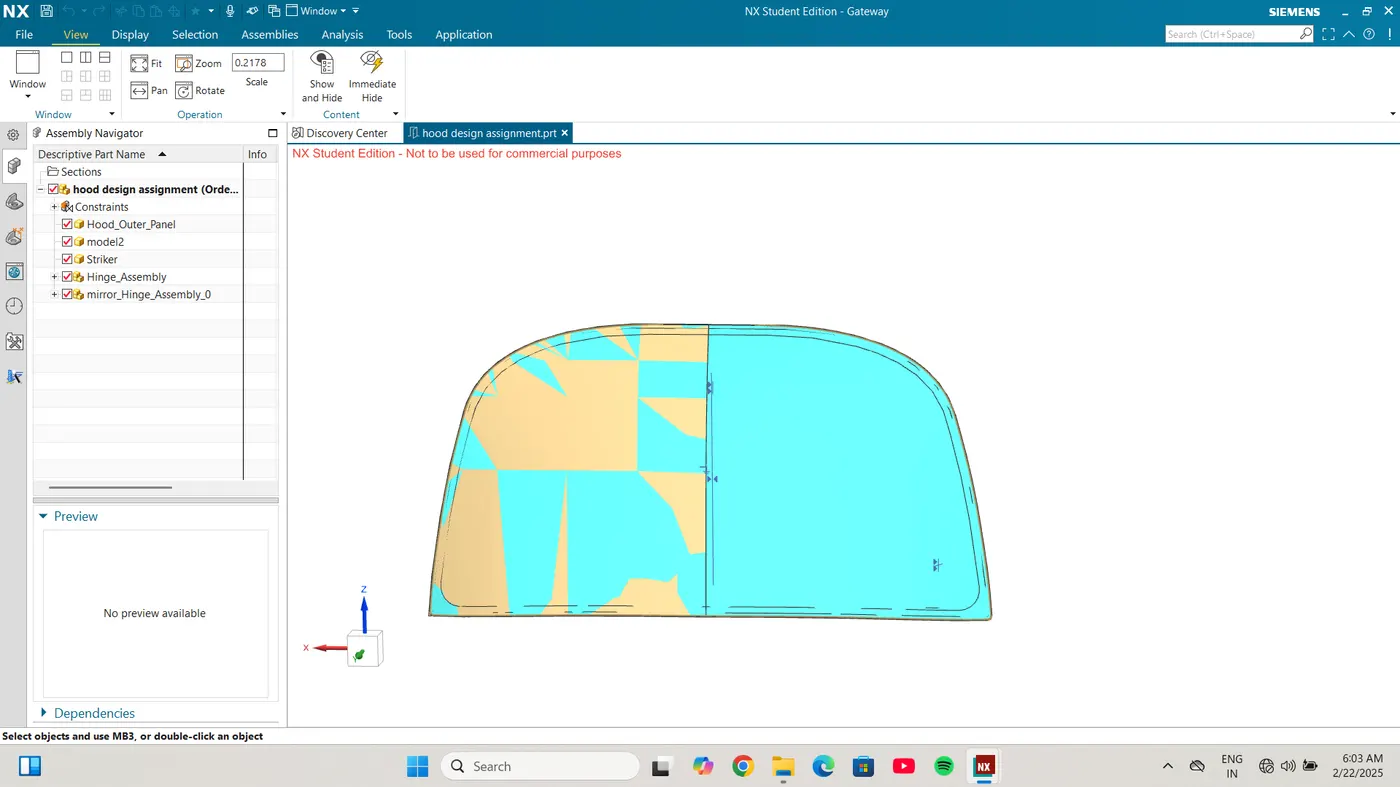
1. First Trimming of the Body: Cut the outer panel in half.
2. Surface Offset: To account for material thickness, an offset of 0.75 mm was applied.
3. Edge Refinement: Removed extraneous portions and applied an offset curve to the face.
A face blend was used to level out the edges.
4. Symmetry and Finalization: To make a whole panel, the trimmed half was mirrored.
The item was thickened to make it feasible to manufacture.
4. Analysis and Validation
Reinforcement Space Check: Verified that there was enough space for the integration of reinforcement.
Hemming clearance: confirmed sufficient room for unhindered hemming.
Pedestrian Safety Compliance: Added the required impact-absorbing embossing.
Manufacturing Feasibility: Tooling compatibility was checked on all surfaces.
5 CONCLUSION
In conclusion, the designed hood assembly guarantees structural strength, manufacturability, and pedestrian safety while adhering to the necessary criteria. The validation checks verify that the design can be produced while upholding performance and safety requirements.