Hood design-Week 2
REPORT – DESIGN AND DEVELOPMENT OF HOOD
AIM-To design and development of the hood with engineering features with help of UG NX software.
INTRODUCTION- Hood is an enclosure product of the front-end portion of the car. The Hood covers the front-end space of the engine and fender also. The Hood is protecting from impact heating of stones as well as dust particles from the road surface.
The main purpose of the hood is to protect the pedestrian from heating to the engine compartment as well as to reduce or beak the crash impact direction. Which may cause injury to the passenger of the car.
A Hood is an assembly of the inner and outer panel, hinges, striker, and latch.
The outer panel is used for aesthetic purposes while the inner surface is a supportive feature of the outer panel. The inner panel is designed with the support of applying engineering features to increase strength as well as to reduce weight.
The striker is used to lock/unlock the hood with the front-end of the car and hinges are used to give the support as well as the direction of opening of the hood.
Hinges are partially attached to the inner panel and engine compartment area.
HOOD COMPONENTS-
- Outer panel
- Inner panel
- Hinges
- Striker & latch.
- OUTER PANEL- Outer panel is the upper surface of the hood. An outer panel is a stylish surface that represents the front end of the car with a glossy look. The sheet metal used of thickness 0.75 or 0.8 mm.
The outer and inner panels are joined together with spot welding and mastics.
Material Specifications- Material used for an outer panel of hood design like
- Drawing steel
- Deep Drawing steel
- Extra Deep Drawing steel
- Bake hardened steel
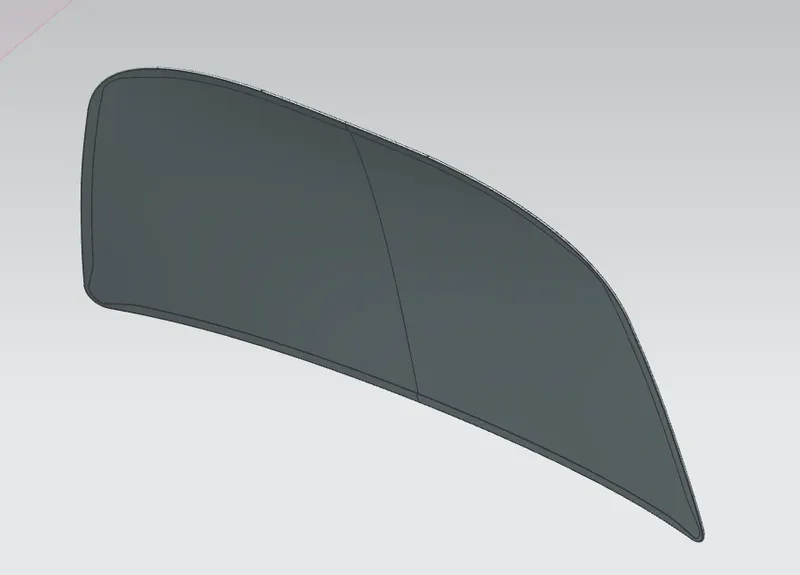
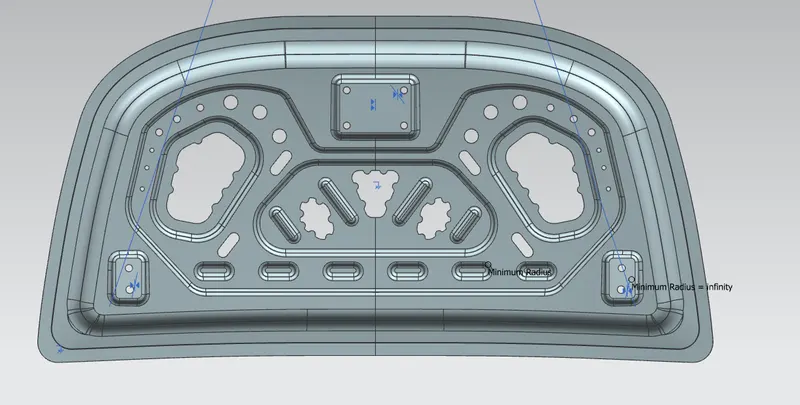
- INNER PANEL-Inner panel is an inside part of the hood which is a supportive as well as a protective member between outer and engine space. The inner panel is a flat sheet of metal like the outer panel but different in its shape and form. On the inner panel, design engineers apply various engineering features as well as cut some portions to reduce the weight of the hood. The weight is reduced to minimize the impact forces on the pedestrian body and also prevent direct hitting from the engine.
The hood designers provide some features on an inner panel like emboss, beads, and dimples to increase the strength of the inner panel.
The sheet metal used of thickness 0.75 or 0.8 mm.
Material Specifications-
- Extra Deep Drawing Steel
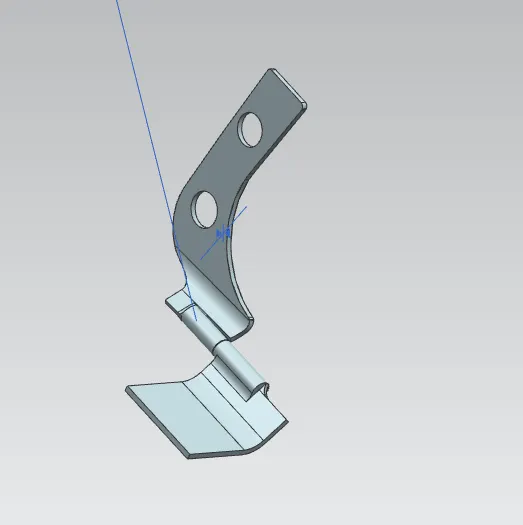
- HINGES- Hinge itself indicates to hinge of the hood to the car’s outer body. It allows for opening the hood in a half rotational manner. The hinge itself is an assembly in which half body is attached to the inner panel and the other half portion attached to the engine housing space.
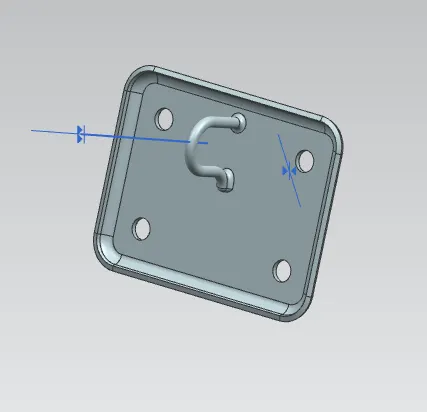
4. STRIKER- Strikers are used to locking and unlocking the hood with the front end of the car. The position of the striker is decided by the position of the hinges. The thickness range of a striker is from 1.5 to 2 mm.
JOINING METHOD –
- Hemming
- Mastics
- Spot welding
- HEMMING –
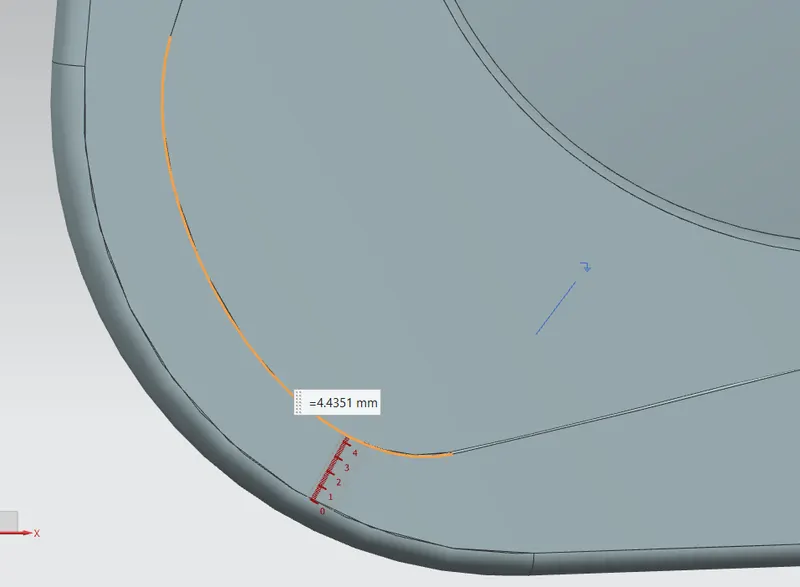
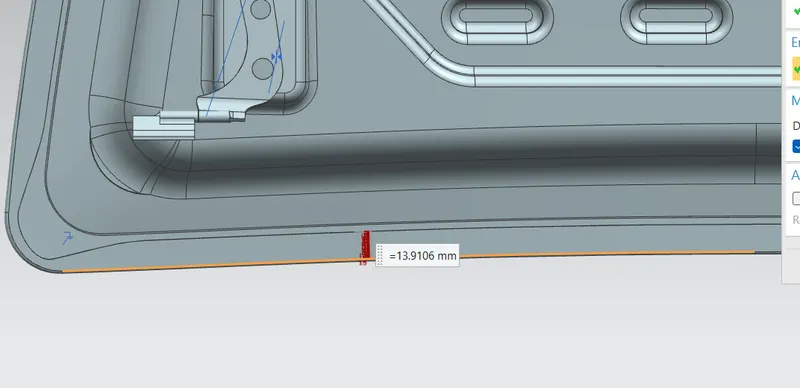
In the hem operation, the sheet metal is the first bend at an angle and then pressed with help of a flat or round bar. The rolling bars roll over the surface of sheet metal and apply the pressure so that it would be the result sheet bend on itself.
- Flat Hem
- Open Hem
- Tear Hem
- SPOT WELDING-
Spot welding is used to join the closed tolerance part. In the automotive sector, spot welding is preferred to join the outer panel to the inner panel which will not affect any welding mark on the outer or stylish surface of the car body.
SPECIFICATIONS-
- Joining surfaces must be close to each other
- Spot welding is majorly used for joining parts of thickness up to 2 mm.
- The distance between two adjacent spot welds is equal to 10 times the sheet thickness.
- Distance from sheet edge to edge of spot welds is equal to 3mm (min)
DESIGN CONSIDERATION :
- DRAFT ANGLE: Minimum 7-degree draft should be provided on embossing walls
- EDGE DISTANCE: The minimum edge distance between the fillet should be 6 to 8 mm provide.
- HEMM: At the corner radius, wall distance should be provided as min.3 mm
- Piercing hole: Distance from edge to edge is should be 2 to 3 times of the stock thickness
- Hole distance from flange: it should be 3 T + bend radius.
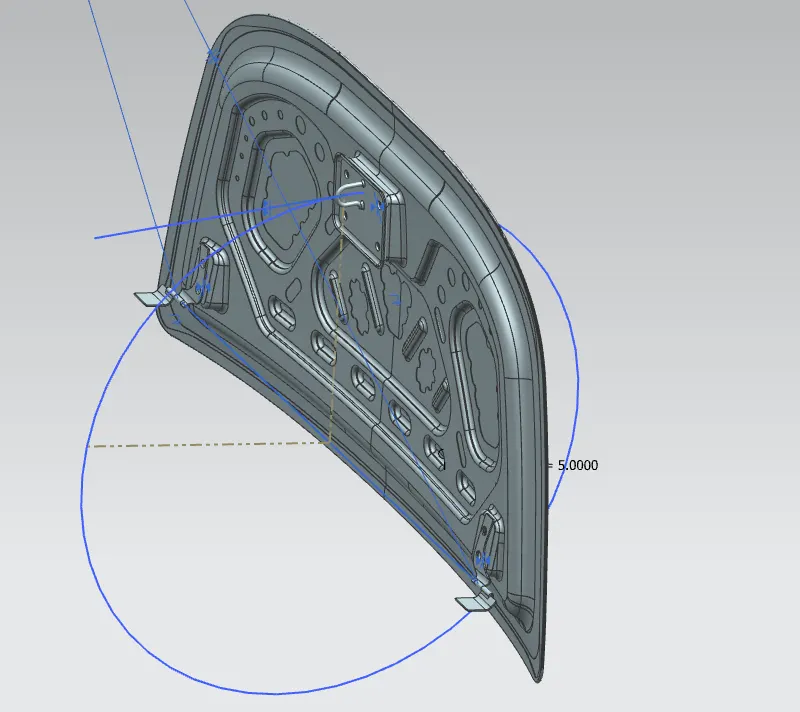
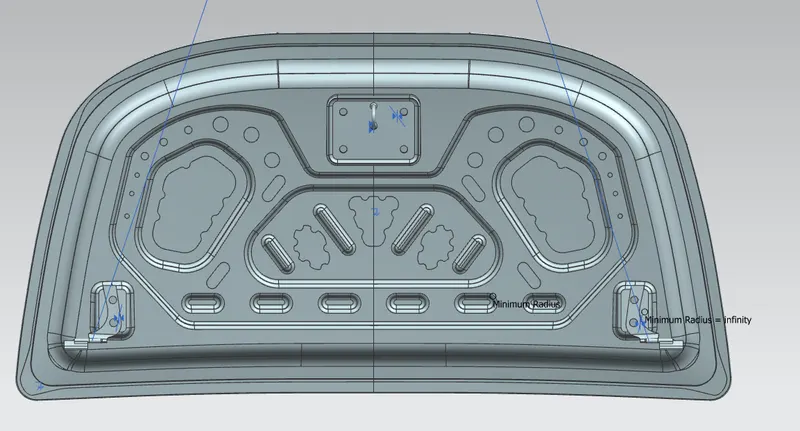
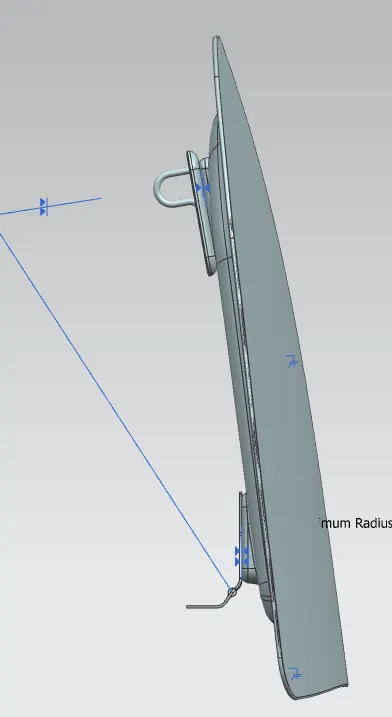
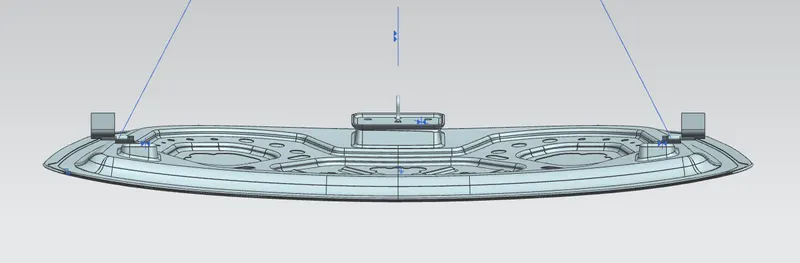
PATH TRAJECTORY FOR STRIKER –
Path trajectory means to find out the correct position of the striker on an inner panel to meet the opening and closing phenomenon for the hood. it would be like-
- Fix the position of LHS, RHS hinges on the inner panel.
- Create the points on the axis of the hinges
- Draw the horizontal line passing through these points.
- Draw the circle on the line at the midpoint and make a tangent line on the circle
- Create the plane on the striker at the respective face and draw the line through the plane and respective face a striker.
- Apply the relation between the striker line and tangency line.
FRONT VIEW-
SIDE VIEW-
TOP VIEW-
CAD OF HOOD IN UG NX SOFTWARE-
The command or feature used to design the hood assembly are as follows-
- Project curve- This feature allows for translation of the existing curve, points, and edges on desired plane or surface.
- Offset curve in the face- The command is used to offset the curve of the faces in which they lie.
- Curve on the surface- This feature helps to create a spline on desired face or surface.
- Offset Surface- Creating a body by offsetting the surface on respective planes
- Trim Sheet- This help to cut the unwanted part of the sheet by creating a curve, face, or datum planes.
- Trim Body – This feature is slightly different from the trim sheet, in which we can cut-off area by creating a Face or datum plane.
- Trim and Extend – In this command, we can eliminate the extra portion of the sheet at the intersection and make a joint corner.
- Sew – This feature helps to combine or unit the two or more separate faces or by edges.
- Emboss- It allows to create or modify the surface face by projecting a close curve along the vector direction with allowing the end cap feature.
- Law Extension – It would be used to extend the sheet by using curves or edges from the base surface.
- Wave geometry linker- This feature is available in the assembly workbench. It allows for the extraction of the existing face, and curves from assembly into the work part.
CONCLUSION-
- Learn to hood concept and its function.
- Learn to design and development process of the hood
- Learn pedestrian safety criteria.
- Learn to use UG NX software to design the hood
- Learn engineering features and their uses.