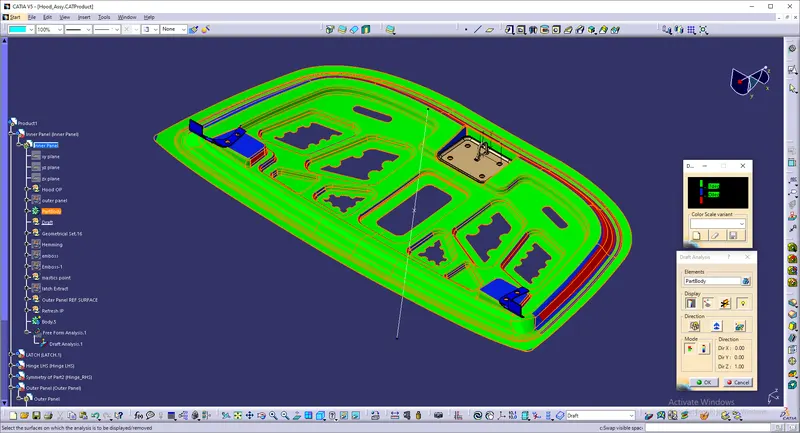
Hood design-Week 2
Aim:
To Create the Hood Assembly, in which it is given as Class-A Surface.
Procedure:
* The Class-A surface is given for the given parts and it is needed to be downloaded form the Given Link.
* The Class-A Parts are:
- Outer Panel
- Inner Panel
- Latch and Striker
- Hinges.
* Let us start with Outer Panel.
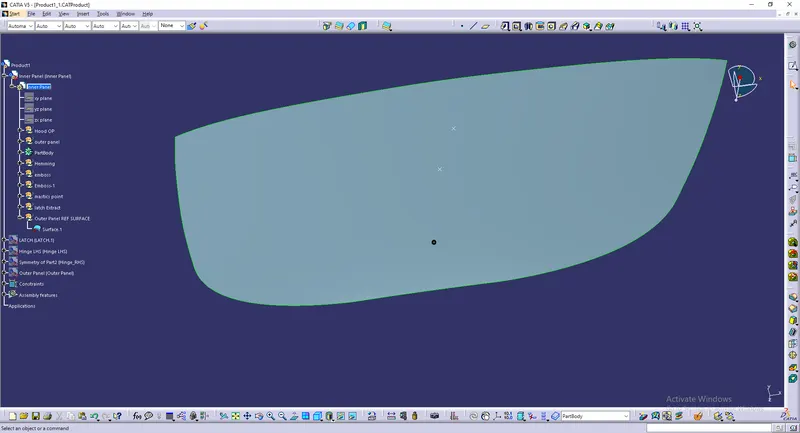
* The Outer Panel Surface is Given.
* Split the panel by using Y axis as reference.
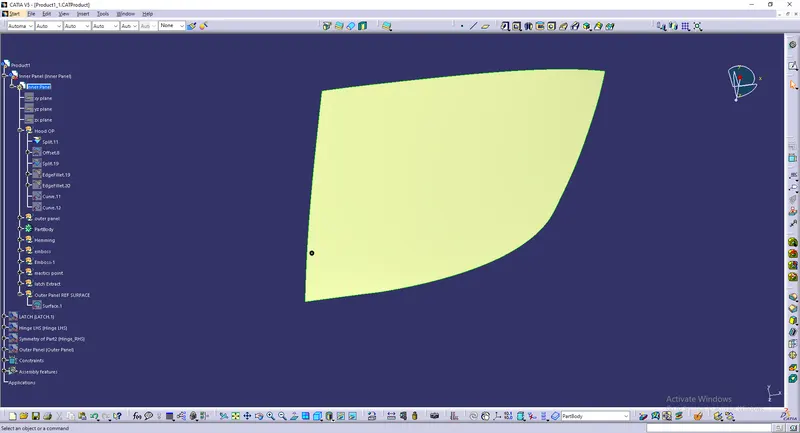
* Create the Boundary andUse PARALLEL CURVE to extract upto 15 mm.
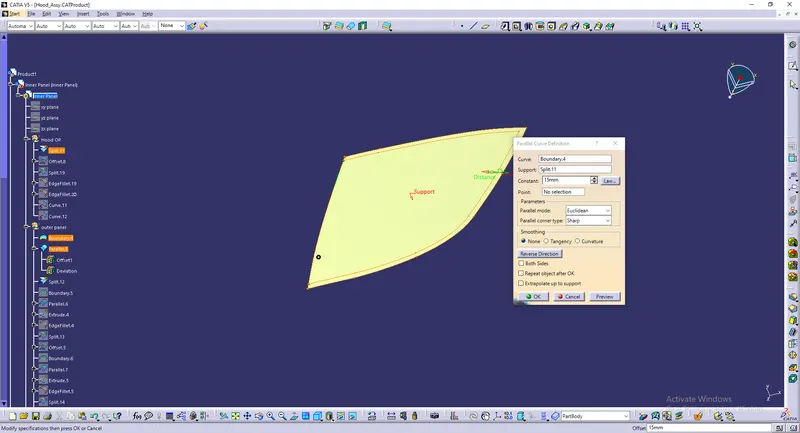
* Split the Extracted surface to remove the outer part.
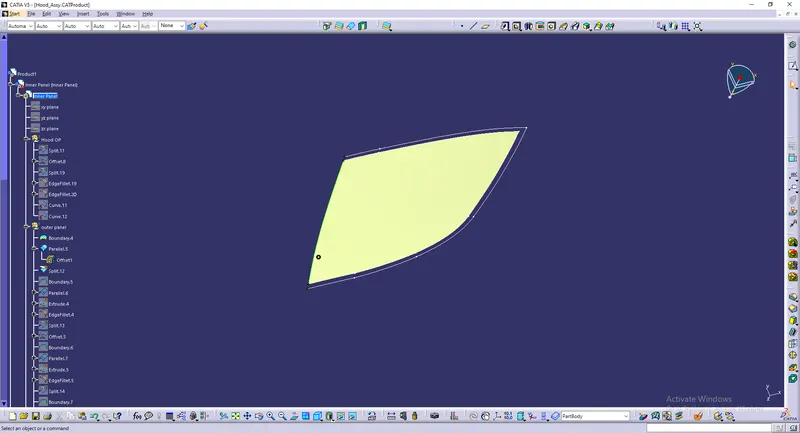
* Do again by taking Boundary and Parallel Curve, and do an Extrude and Take a fillet.
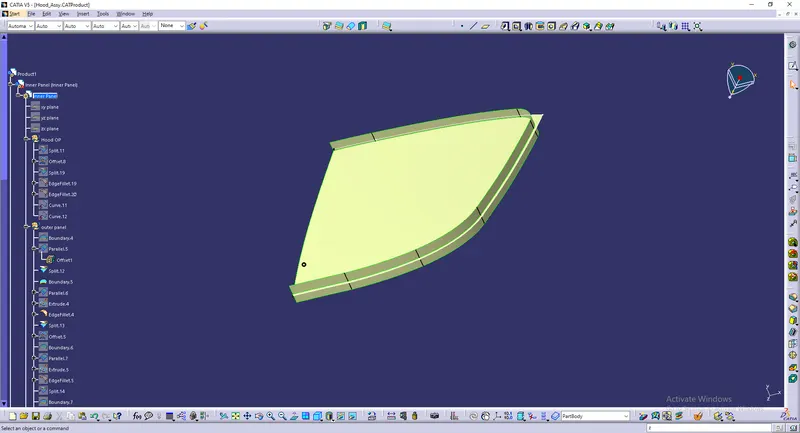
* Use Split to split the surfaces.
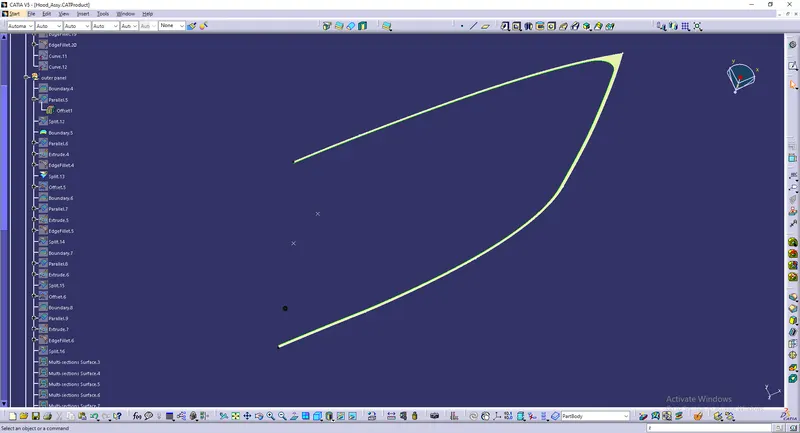
* Again Offset the Given Surface upto 3.5 mm.
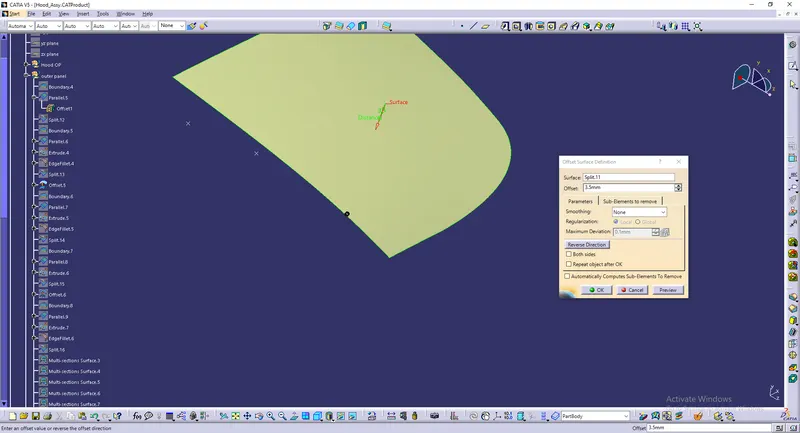
* Use PARALLEL CURVE to split the surface.
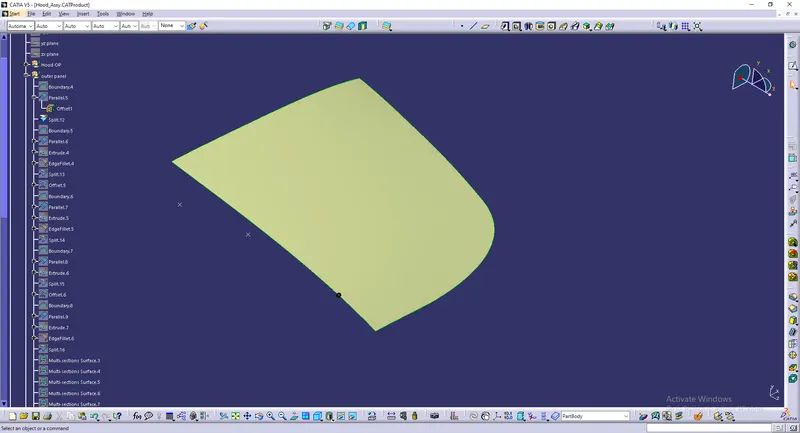
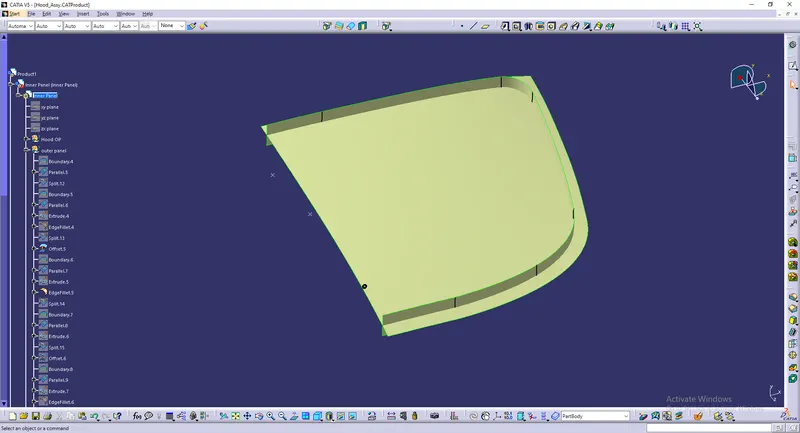
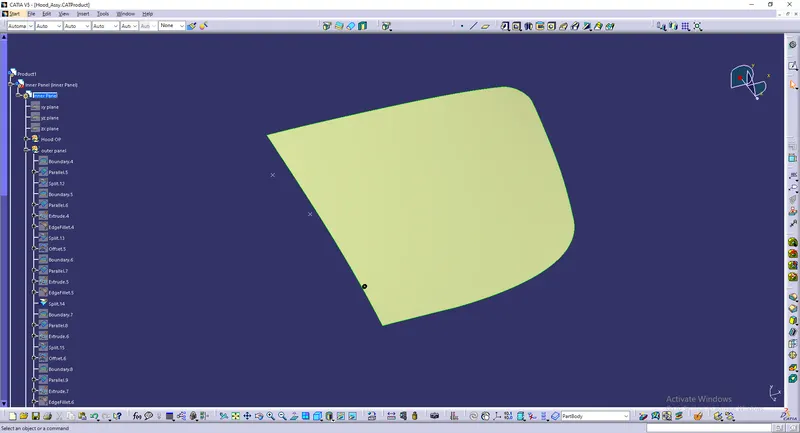
* Take the boundary and use parallel curve.
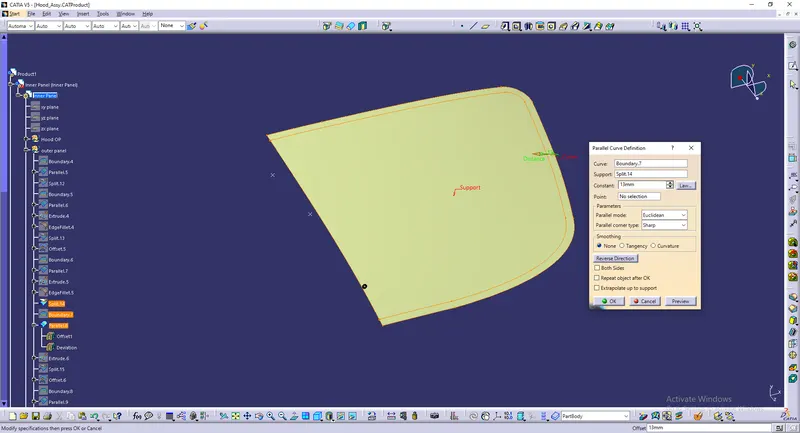
* Split the parallel curve with the existing surface.
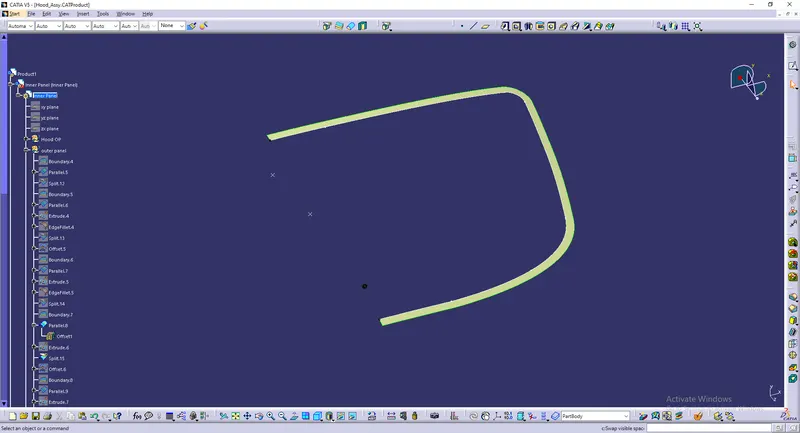
* Then, Offset the Surface till 26.5mm
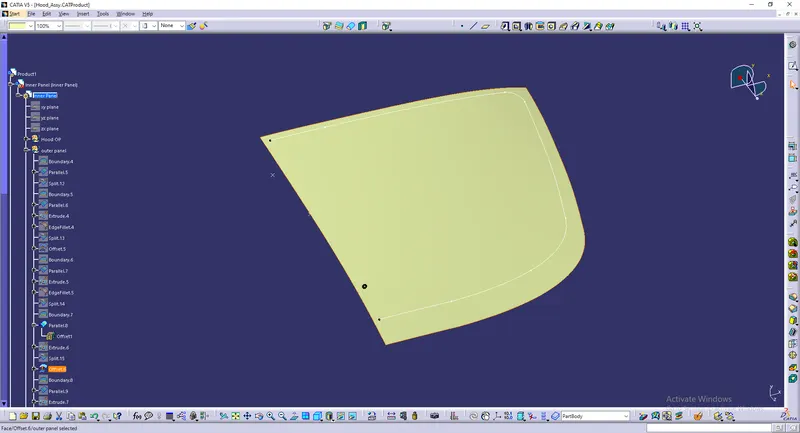
* Take Boundary and use Parallel curve to extract the curve till 50 mm, and then split the surface with the line.
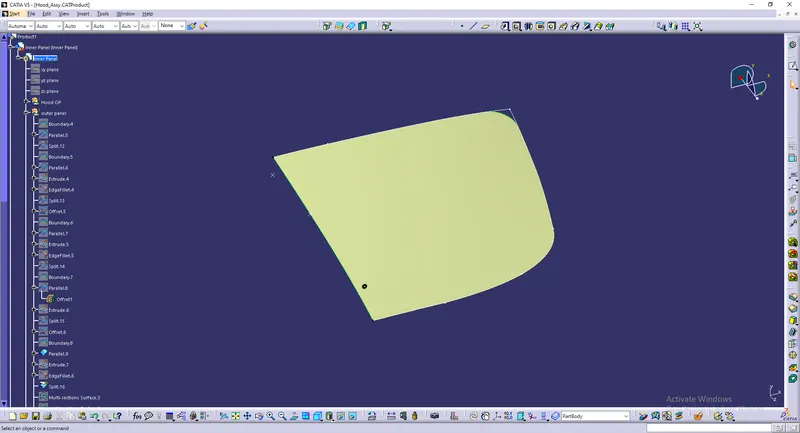
* The Splitted surfaces are obtained, and then Join those surfaces by using Multi-section surface.
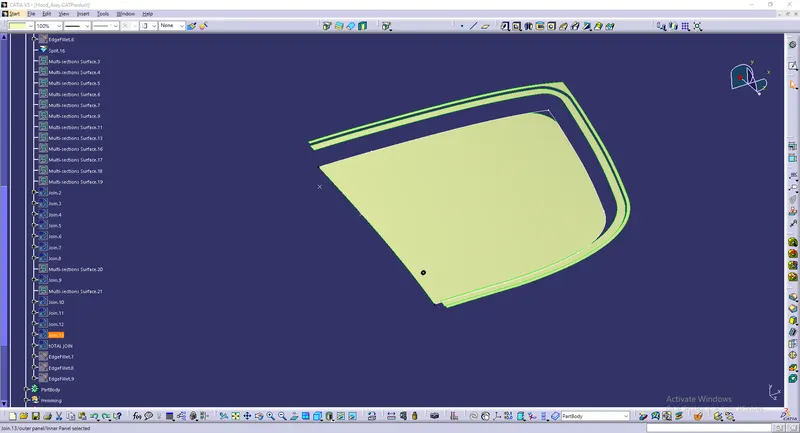
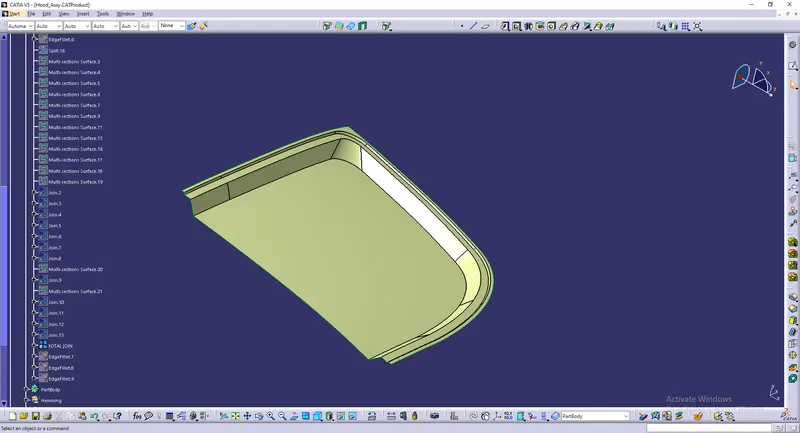
* Use Fillet To Avoid Sharp Corner.
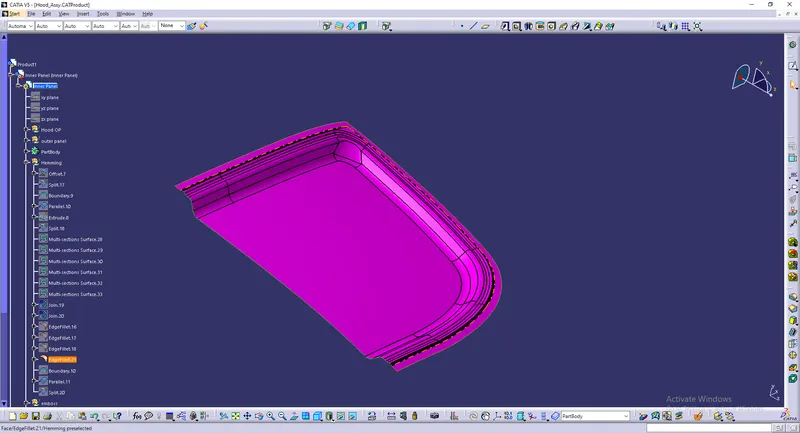
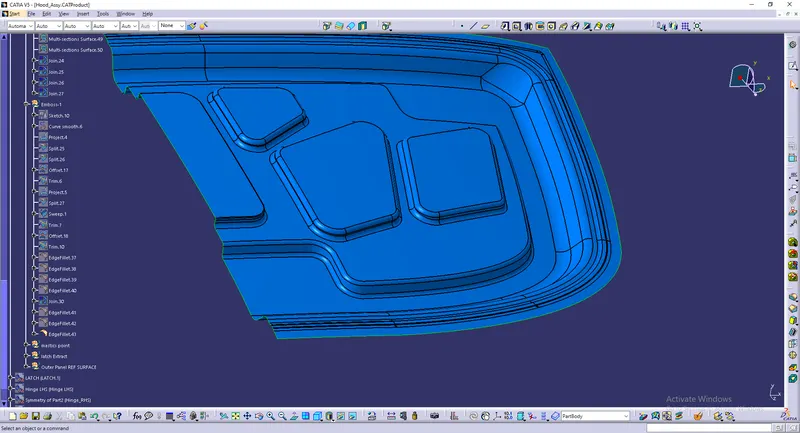
Creating the Emboss:
* Use Multiple extracts in the base surface.
* Use Sketch to draw the the emboss.
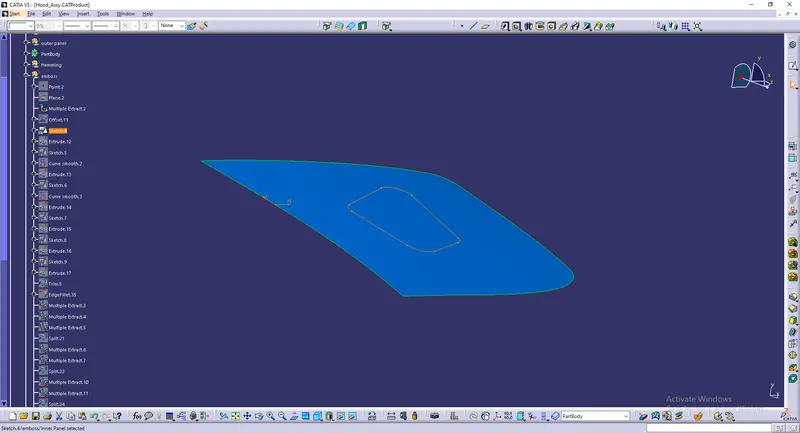
* Sweep The Sketch to create the Emboss.
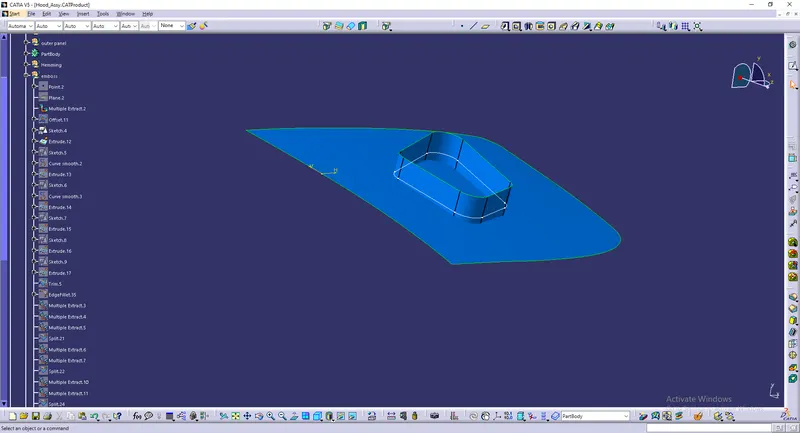
* Use the same procedure to create the many Embosses.
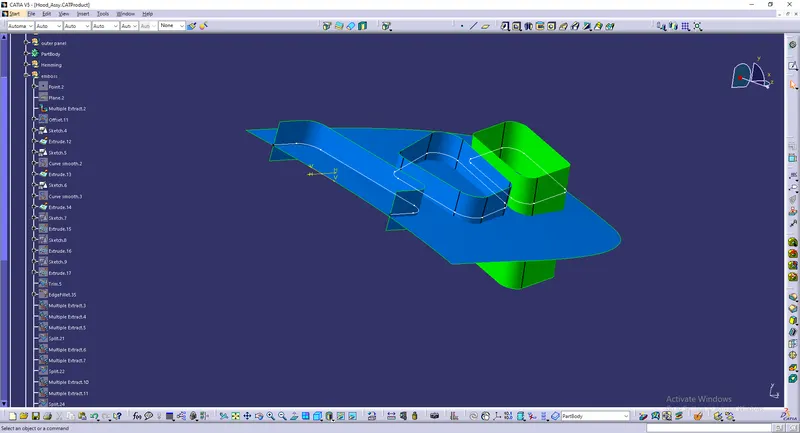
* Trim those Surfaces.
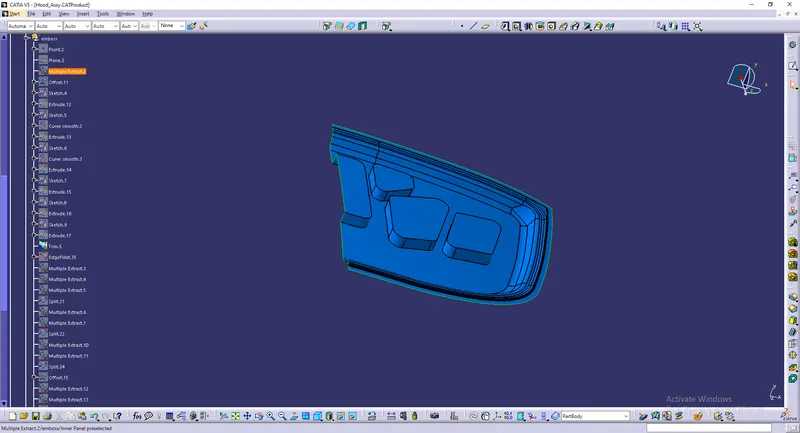
* Use Fillets to avoid Sharp Corners.
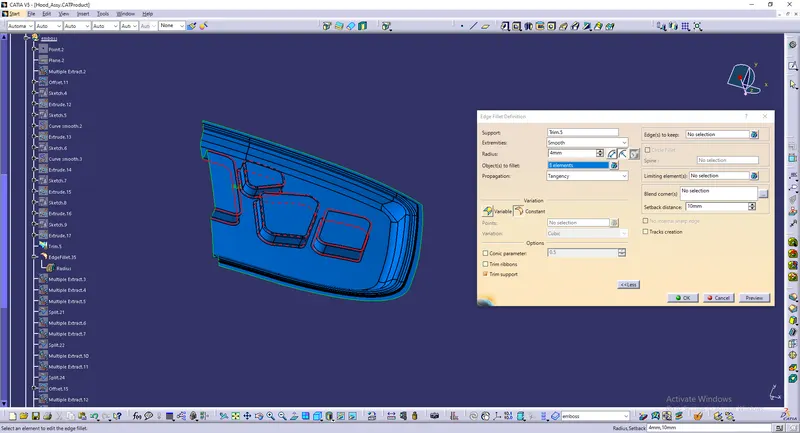
* Create the Outer Emboss using the Sketch.
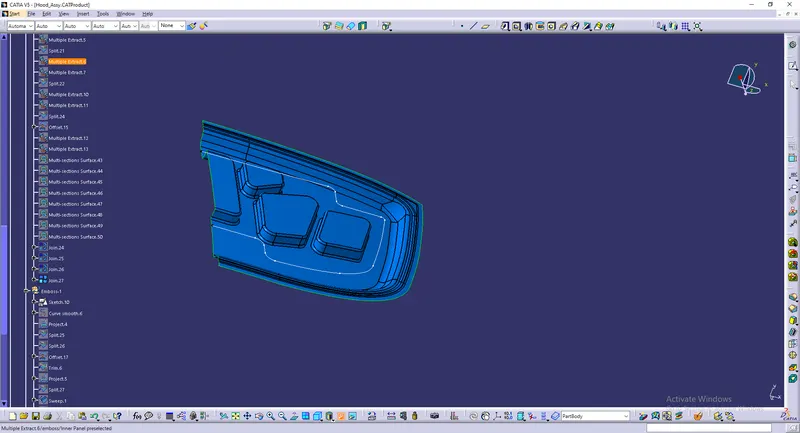
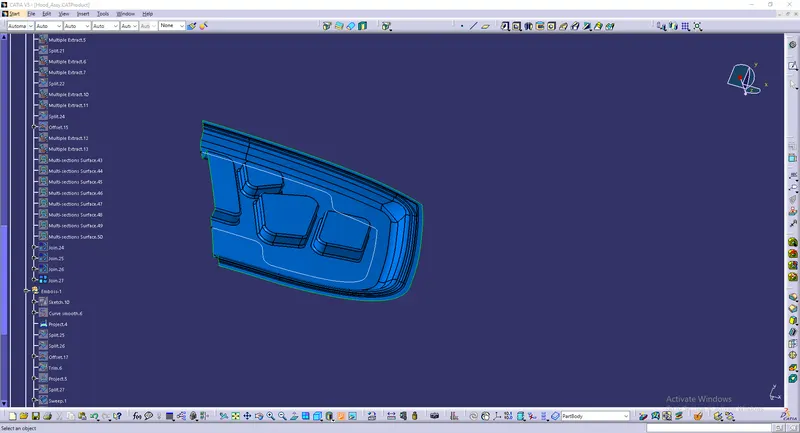
* Split the surfaces with using the sketch.
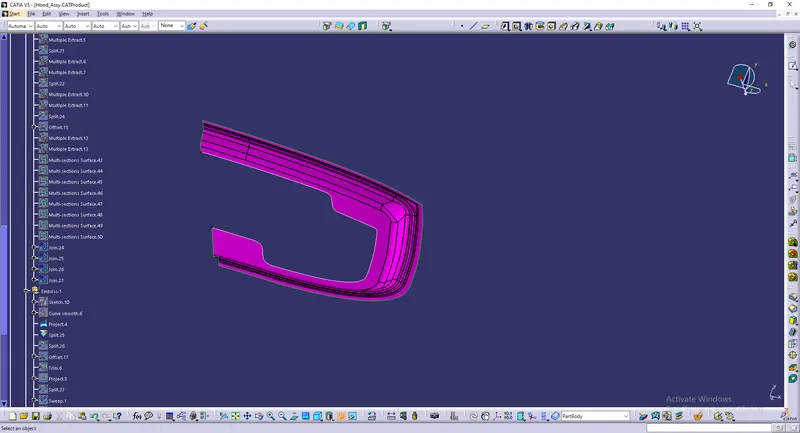
* Use Split again to split the another side.
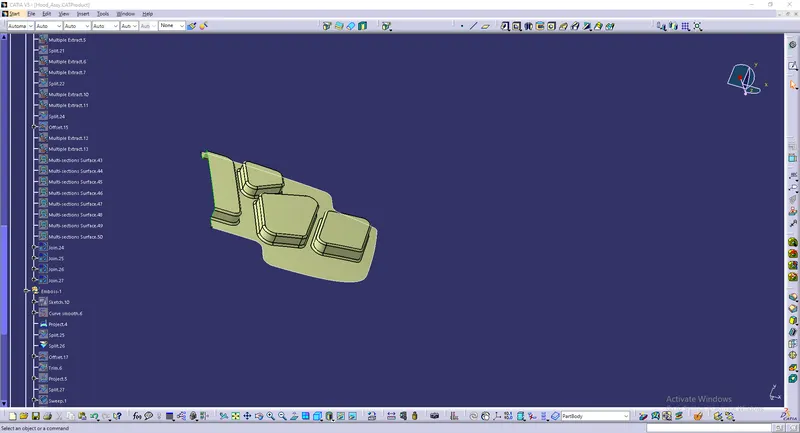
* Offset the latter one and use sweep to Join with the former surface, as given in the image.
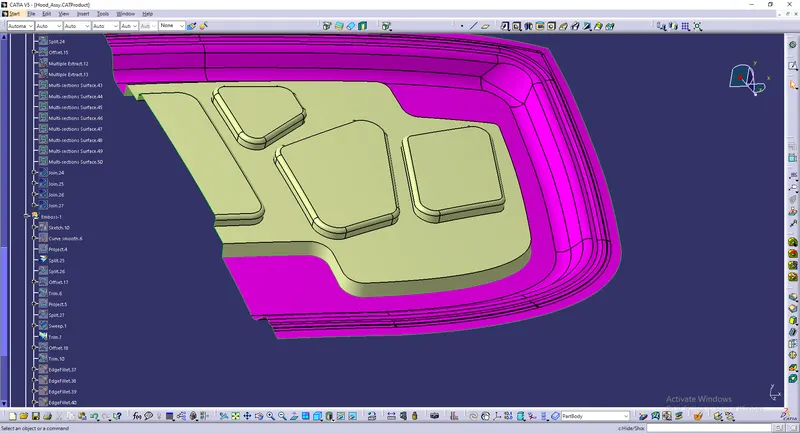
*Join The Surfaces and take the Edge fillet.
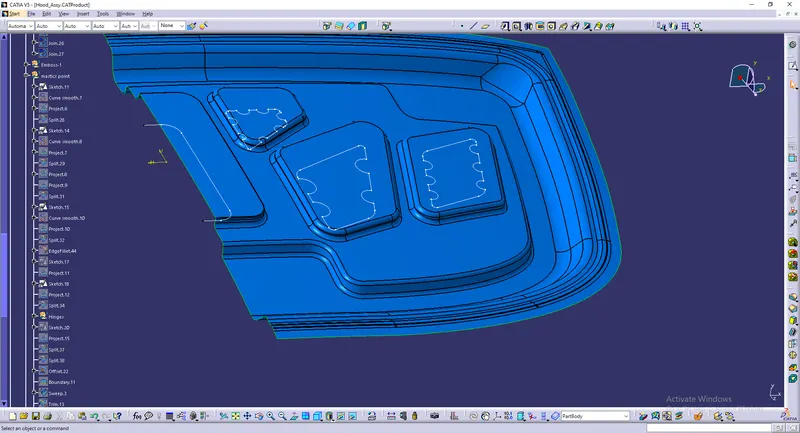
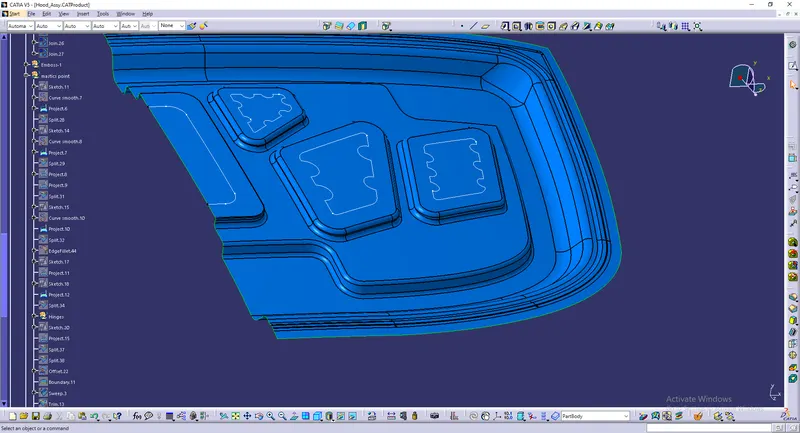
Creating Of Mastic Points:
* Create the Sketch in Embosses
* Project the sketch into the surfaces.
* Then, Split the surfaces with the sketches.
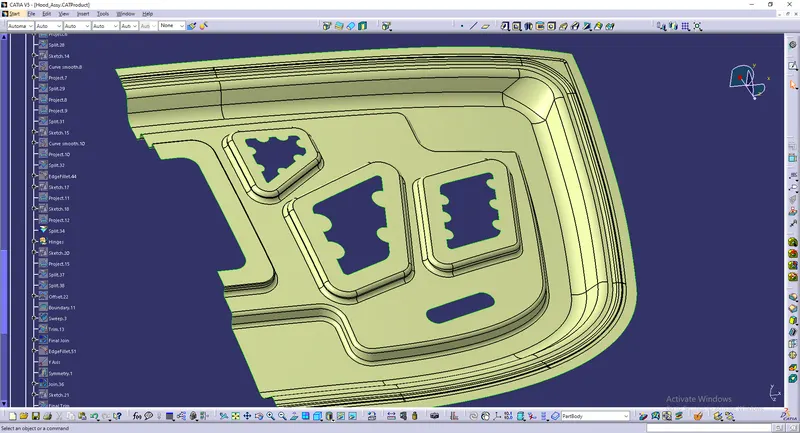
* Then, Use Symmetry to bring the Full Surface.
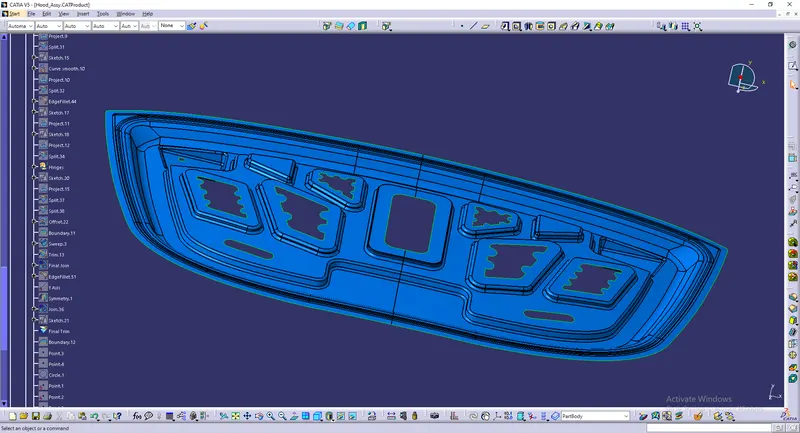
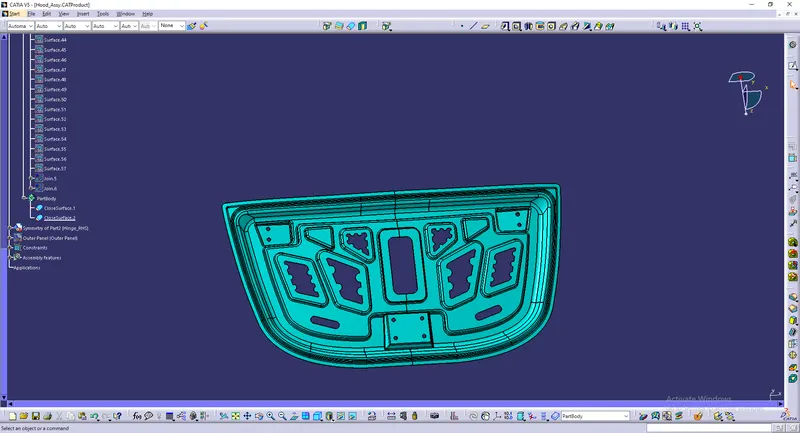
Creation of Hinges:
* The Hinge is being Downloaded and then opened in separate window.
* The Hinge is given in the surface and it is then Joined in the separate parts.
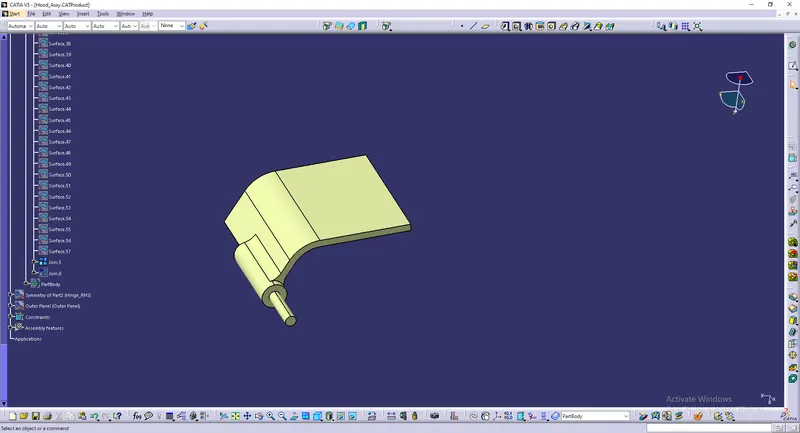
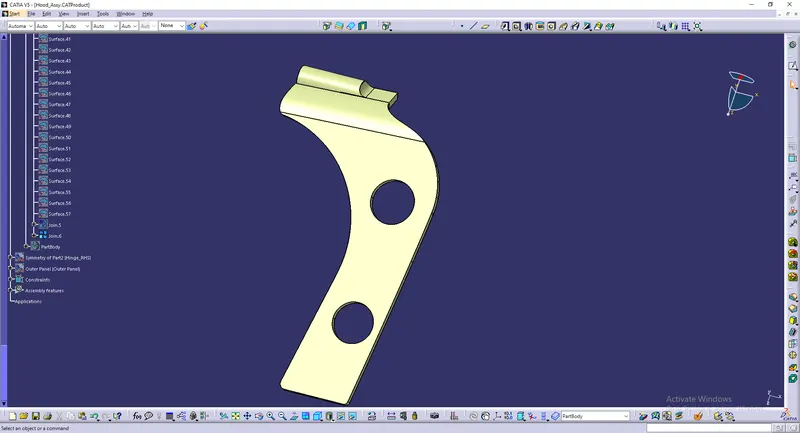
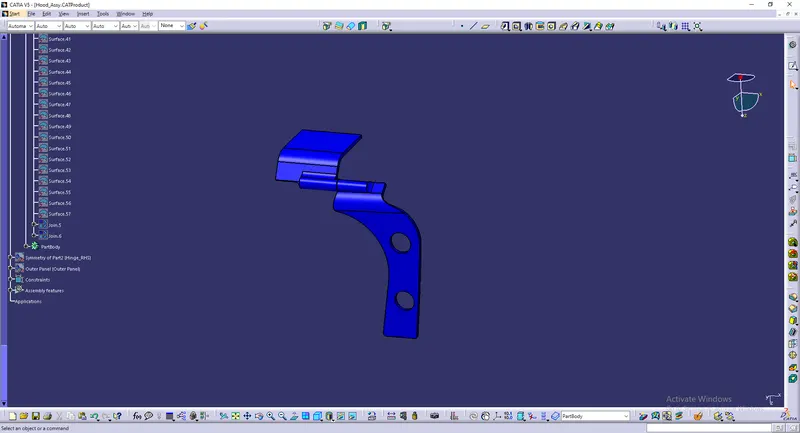
* The Hinge is then assembled to the inner panel of the hood, By giving Contact and Surface Constrains.
* Before assembling, The Hinge portion is brought into flat surface, by creating the emboss.
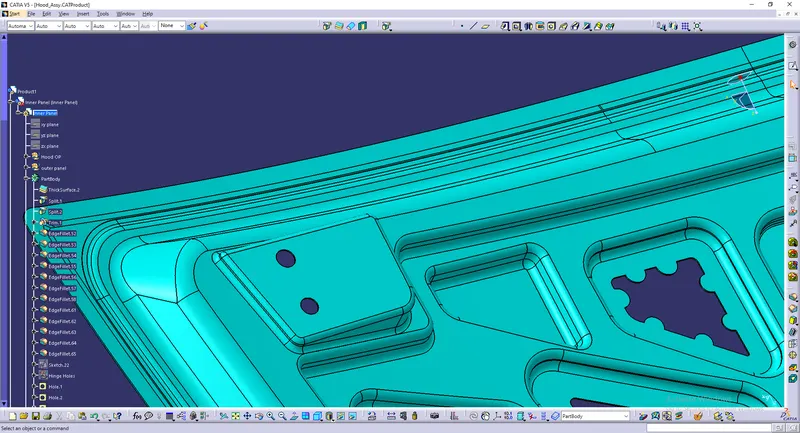
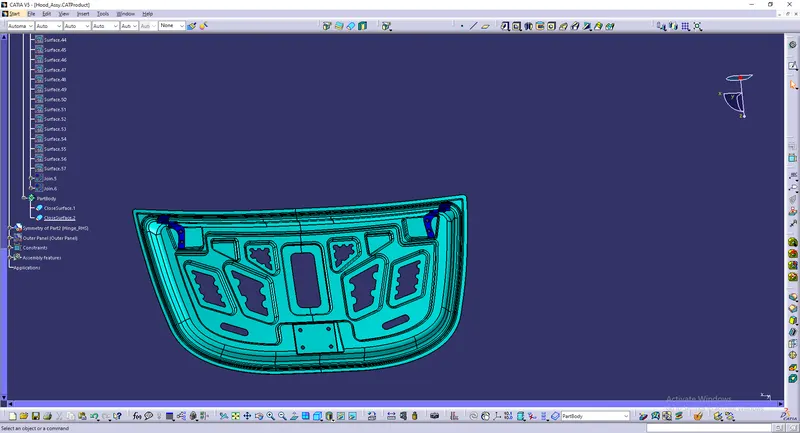
* Another hinge is created by creating the MIRROR/SYMMETRY in the assembly workbench.
Latch and Striker assembly:
* Then, latch and striker is Made to brought in the workbench.
* Use Multiple Extract to extract the top Surface.
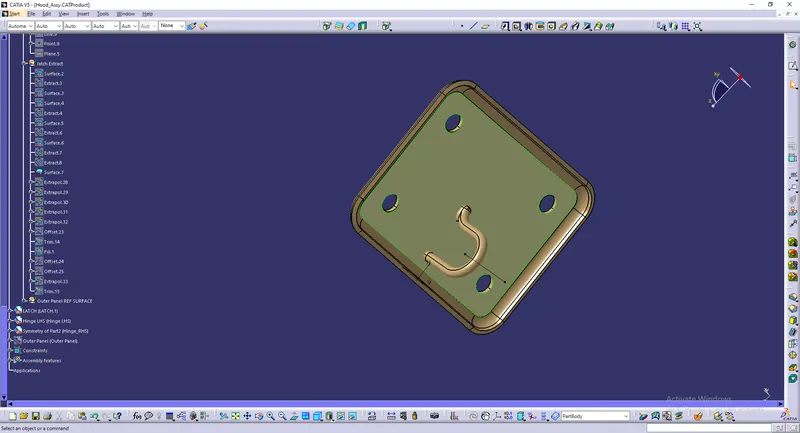
* Extract the surfaces, which are non-curvy and extrapolate it for easier trim.
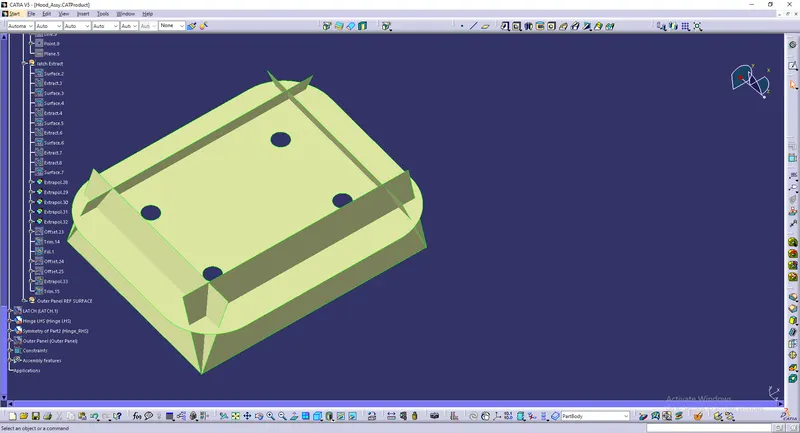
* Trim the excess surfaces.
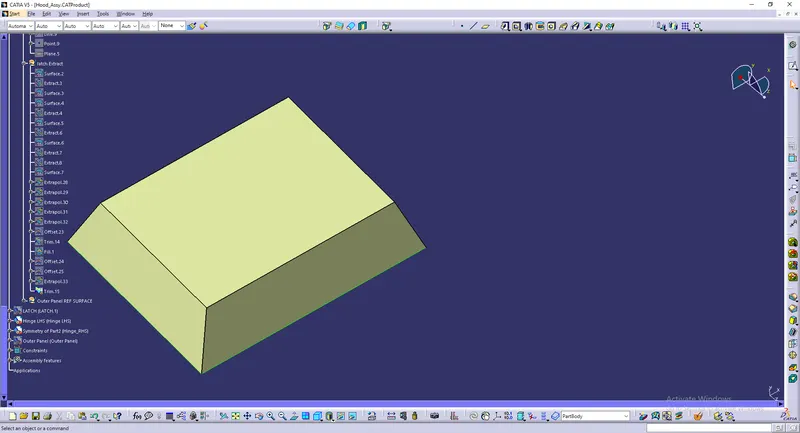
* Then, change it into solid
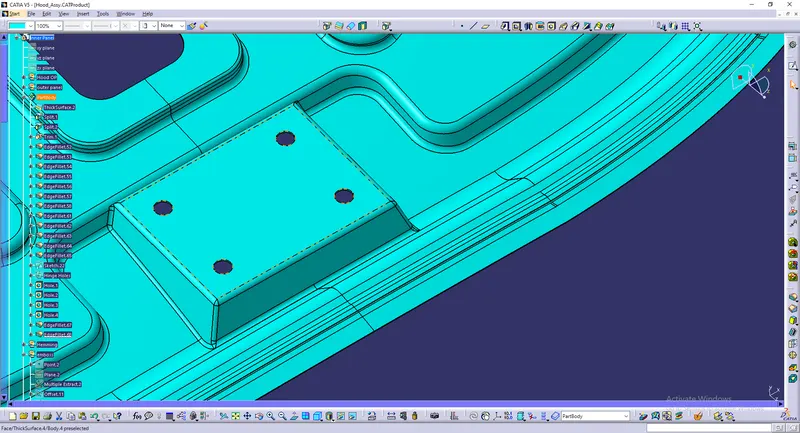
* Assemble it into the hood inner panel.
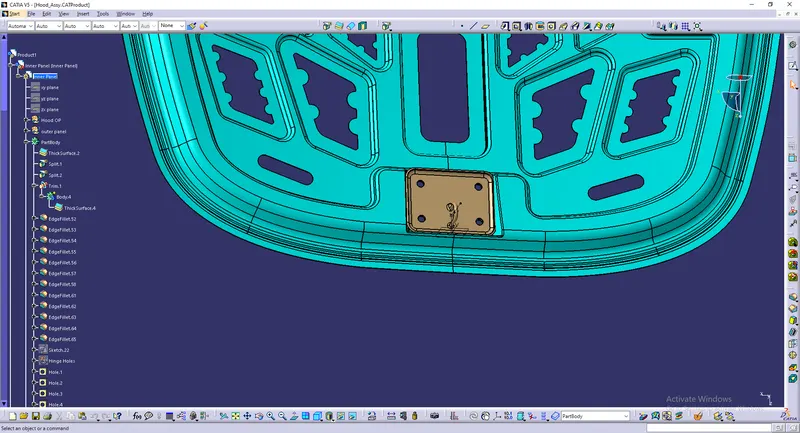
* Before that, we should use the Trajectory to know that the angle in which the hood gets closed, by creating the circle on the axis of the both hinges.
Hemming:
* Use the outer panel of the hood, and offset it into 3 mm.
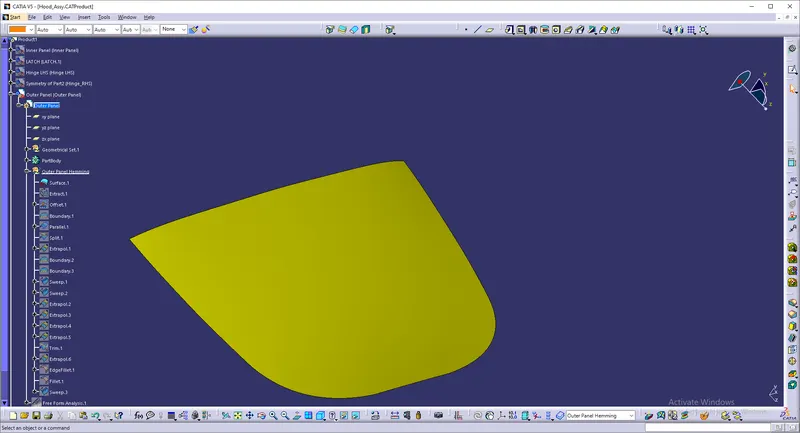
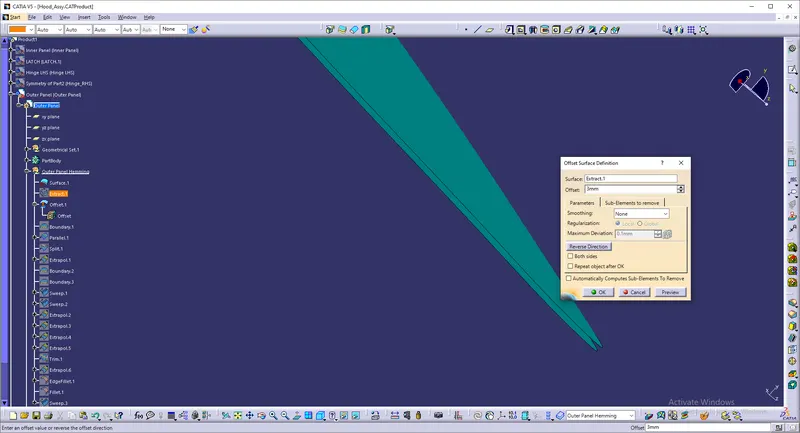
* Then, create the boundary on the offsetted surface and use Parallel curve upto 6mm, split the surface.
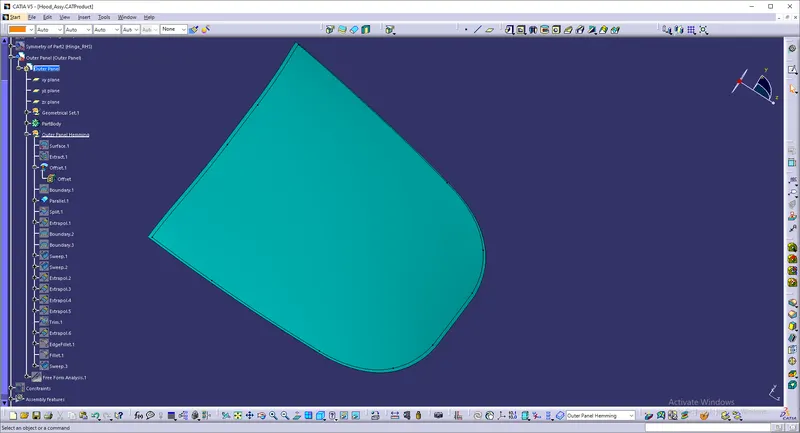
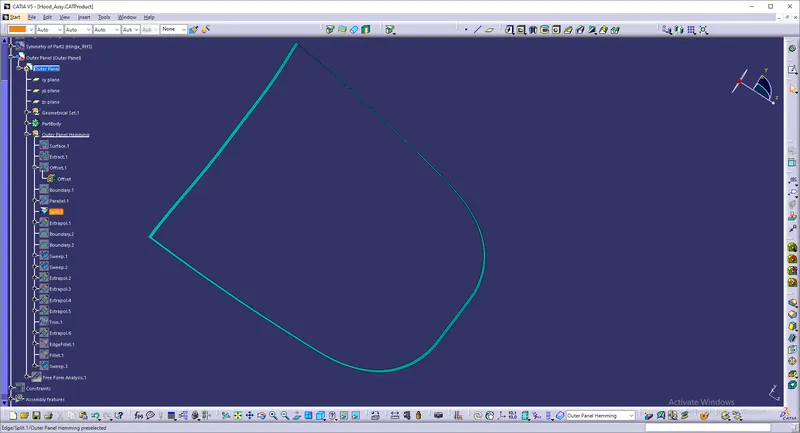
* Sweep the surface that intersects outer panel and offsetted panel.
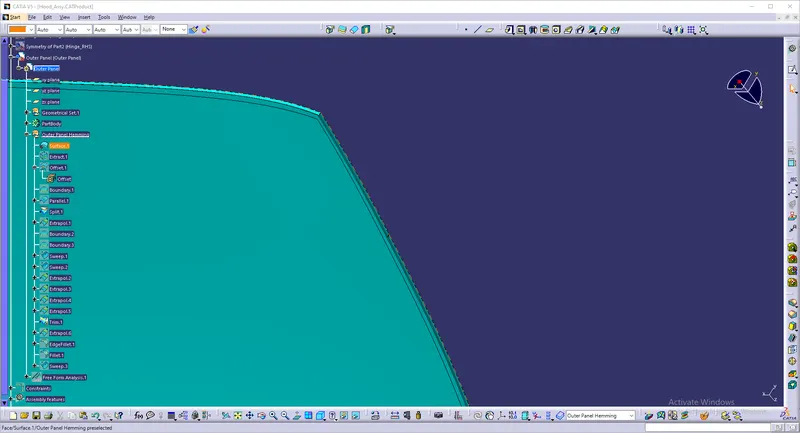
* Use the tri-tangent Fillet, to bring the curved surface.
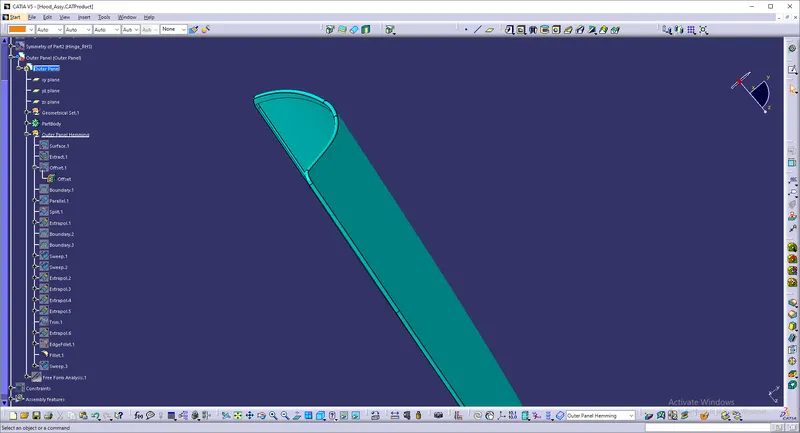
* Then,Draft Analysis is performed using 7 degrees.