Hood design-Week 2
DESIGN THE HOOD IN NX 12:
OBJECTIVE:
We are going to see how to design the hood in as per the rule & regulations of euro NCAP and European enhanced car safety committee, before we jump into the topic let’s have a look at what the hood is and the purpose of itself and how it’s contributing when it’s come to safety of the occupants at the same time pedestrians as well then protection of the front portion of the vehicle such as engine, radiator and so on.
What is hood first of all?
The hood or bonnet is the hinged cover over the engine of motor vehicles. Hoods can open to allow access to the engine compartment, or trunk on rear-engine and some mid-engine vehicles) for maintenance and repair.
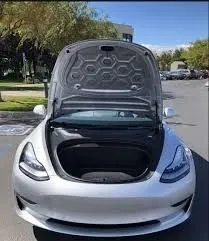
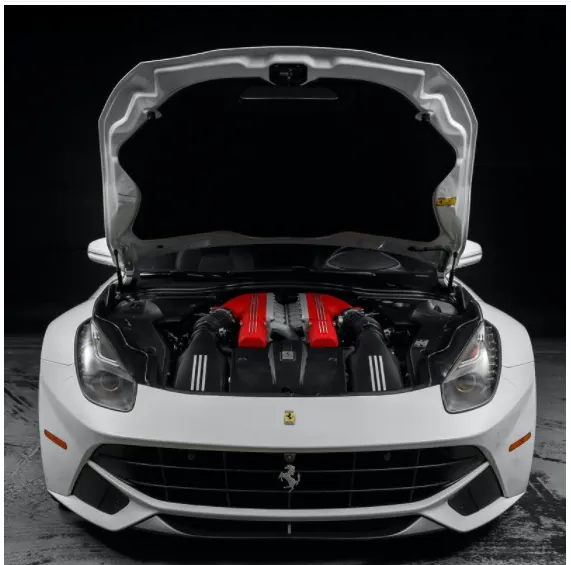
What are the materials which utilizing by the industries for manufacturing the hood?
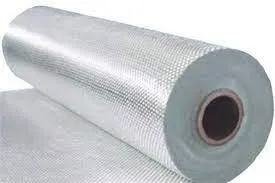
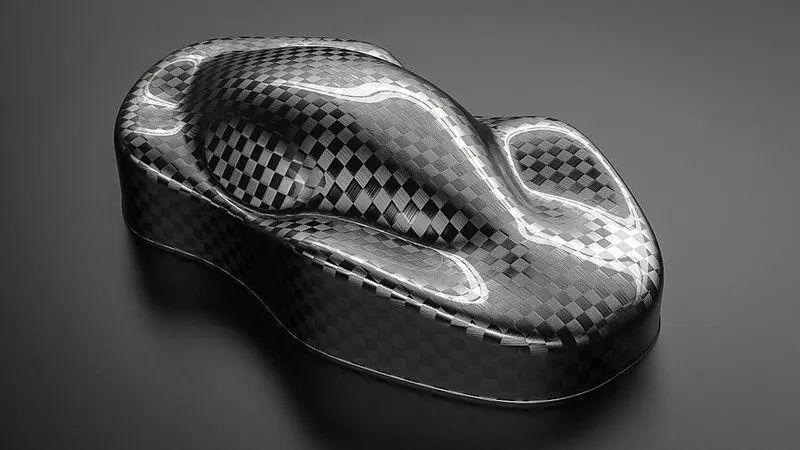
Hoods are usually made from the same material as the rest of the body. This can be
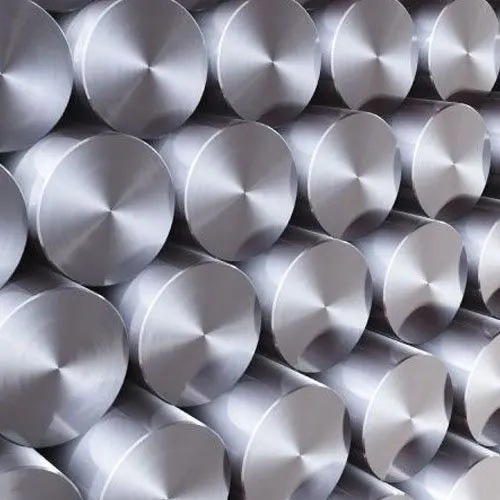
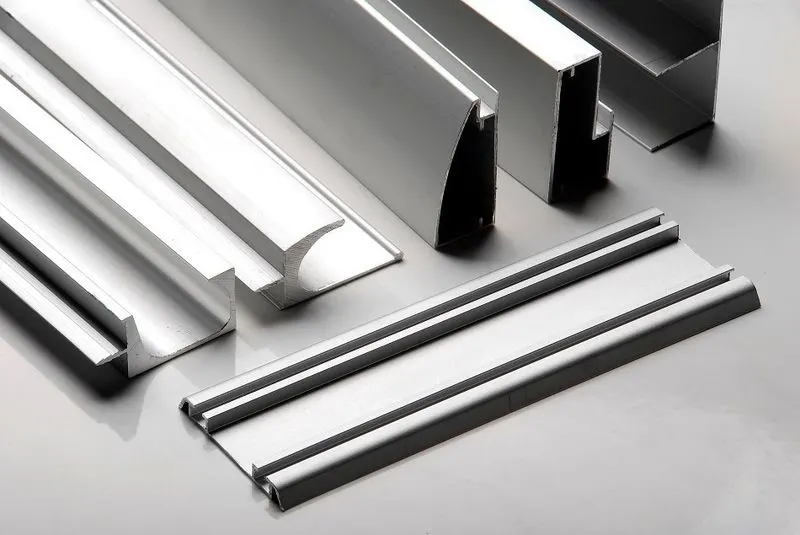
1)steel 2) aluminum 3) fiberglass, or 4) carbon fiber. However, some aftermarket companies produce fiberglass or carbon fiber steel hood replacements to make the vehicle lighter.
1)Steel 2) aluminum
3)fiberglass 4) carbon fiber
` 
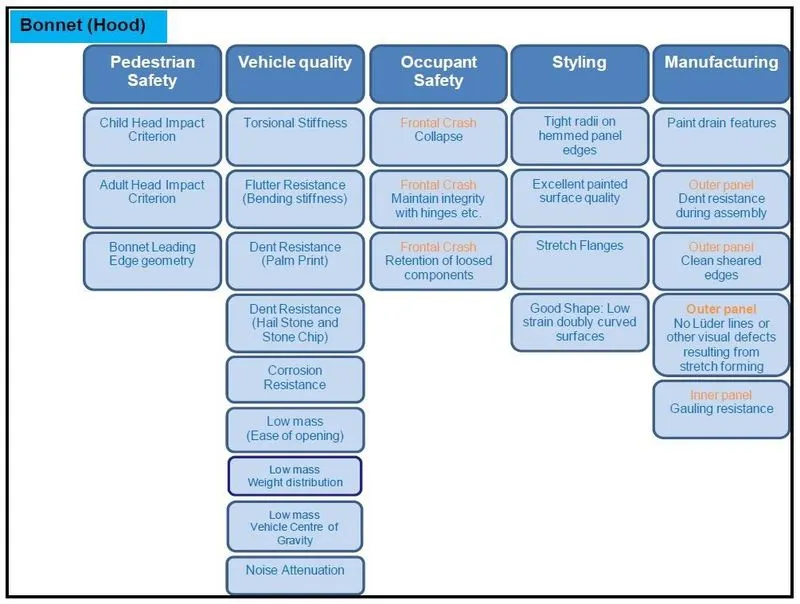
Things that should’ve been considered by the manufactures:
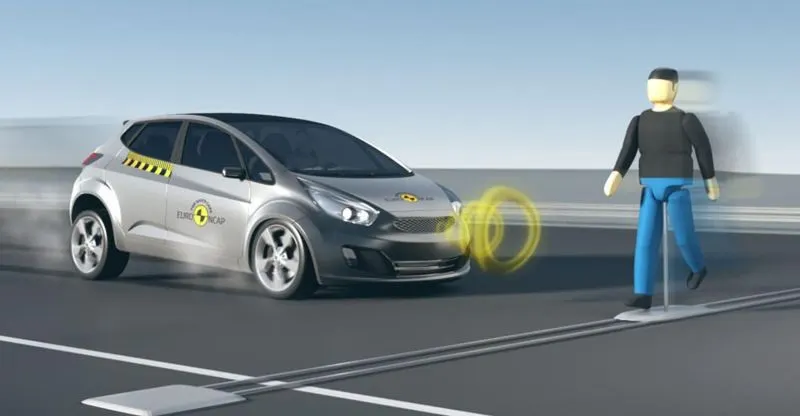
How it’s working when it’s comes to Collison and pedestrian safety:
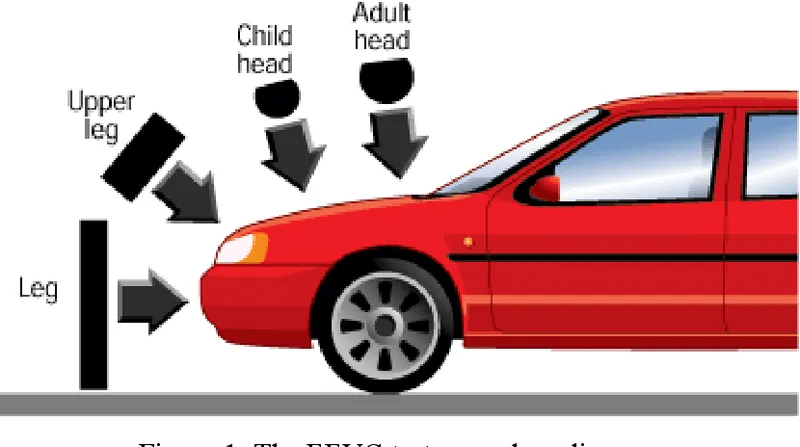
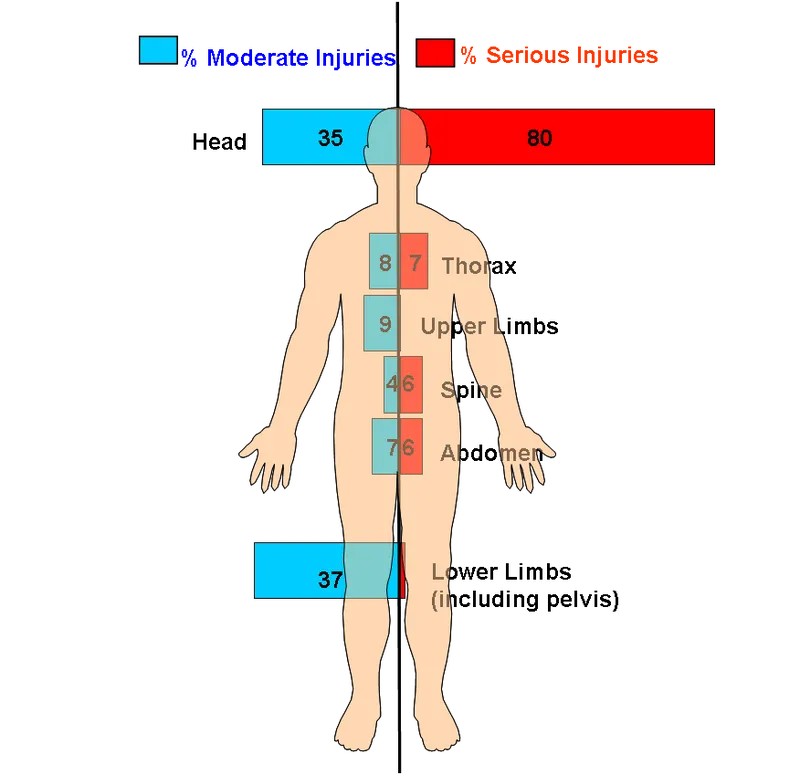
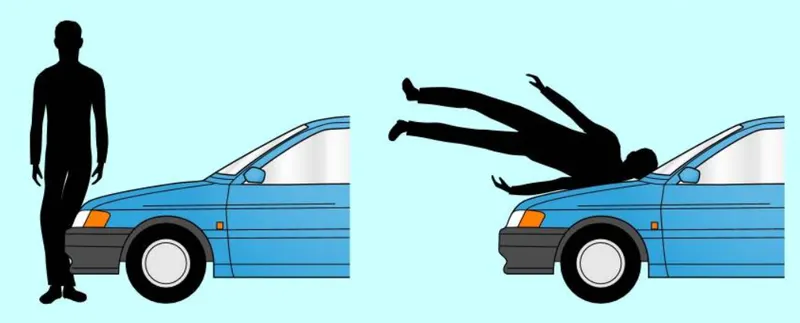
Many pedestrian crashes involve a forward moving car (as opposed to buses and other vehicles with a vertical hood/bonnet). In such a crash, a standing or walking pedestrian is struck and accelerated to the speed of the car and then continues forward as the car brakes to a halt. The pedestrian is impacted twice, first by the car and then by the ground, but most of the fatal injuries occur due to interaction with the car. Vehicle designers usually focus on understanding the car-pedestrian interaction, which is characterized by the following sequence of events: the vehicle bumper first contacts the lower limbs of the pedestrian, the leading edge of the hood hits the upper thigh or pelvis, and the head and upper torso are struck by the top surface of the hood and/or windshield.
Protecting the head
The hood of most vehicles is usually fabricated from sheet metal, which is a compliant energy absorbing structure which poses a comparatively small threat. Most serious head injuries occur when there is insufficient clearance between the hood and the stiff underlying engine components. A gap of approximately 10 cm is usually enough to allow the pedestrian’s head to have a controlled deceleration and a significantly reduced risk of death.[3] Creating room under the hood is not always easy because usually there are other design constraints, such as aerodynamics and styling. In some regions of the hood, it can be impossible. These include along the edges on which the hood is mounted and the cowl, where the hood meets the windshield. Engineers have attempted to overcome this problem by using deformable mounts, and by developing more ambitious solutions such as airbags that are activated during the crash and cover the stiff regions of the hood. Some models, like the Citroën C6 and Jaguar XK feature a novel pop-up bonnet design, which adds 6.5 cm (2.5", C6) extra clearance over the engine block if the bumper senses a hit. In 2012 and 2015, the Volvo V40 and the Land Rover Discovery Sport have an under-the hood airbag designed to operate if the hood senses a hit. The airbag is also designed to cover the windshield pillars to help protect the pedestrian's head.

Protecting the limbs
Most limb injuries occur due to a direct blow from the bumper and the leading edge of the hood. This leads to contact fractures of the femur and the tibia/fibula and damage to the knee ligaments due to bending of the joint. Thus, attempts at reducing these injuries involve reducing the peak contact forces by making the bumper softer and increasing the contact area and by limiting the amount of knee bending by modifying the geometry of the front end of the car. Computer simulations and experiments with cadavers show that when cars have lower bumpers, the thigh and leg rotate together causing the knee to bend less and thus reducing the likelihood of ligament injuries. Deeper bumper profiles and structures under the bumper (such as the air dam) can also assist in limiting the rotation of the leg.
How it’s working in NVH area:
NVH means noise, vibration and harshness that are making by the vehicle during the run and there’s a vehicle with good NVH control will provide comfort and class apart driving experience hood is also the part which has layers of panels for reduce the noise which making by the engine.
Components of the hood:
- Inner panel
- Outer panel (skin of the hood)
- Reinforcements (they playing a role at NVH and giving strength as well)
- Emboss
- Latch and Striker assembly with reinforcements.
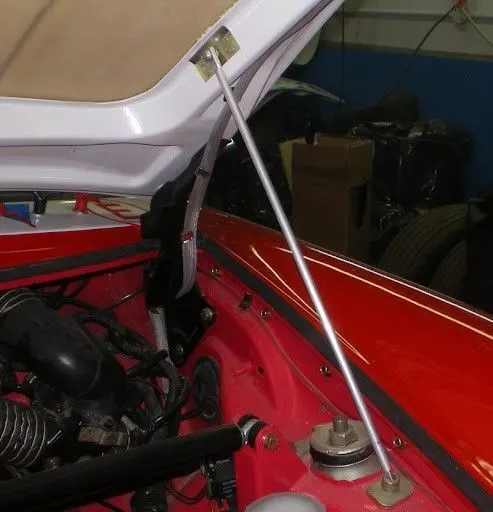
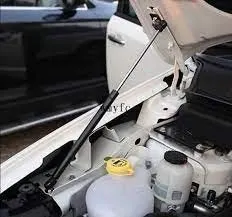
- And the support of itself when it’s comes to support there're two types are there that is
Support rod:
Manufacturing process of the hood:
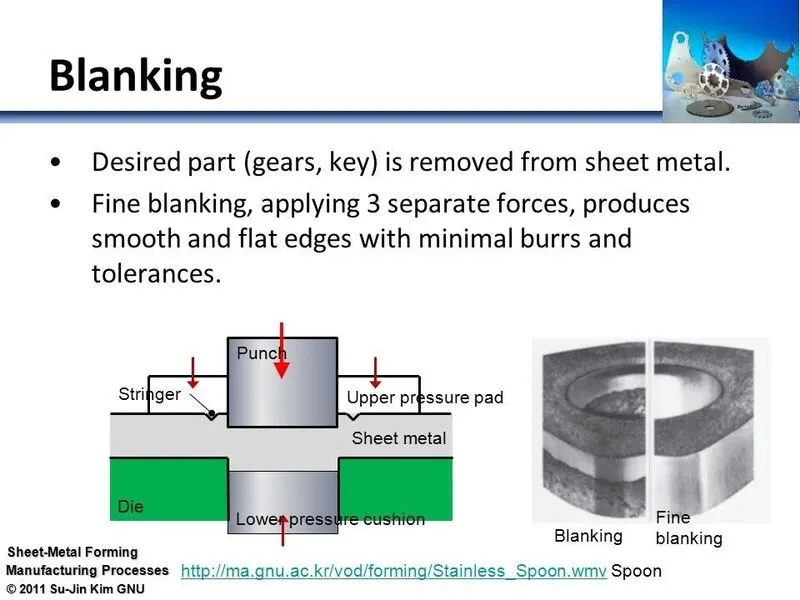
- Blanking
Blanking is a metal production process, during which a metal workpiece is removed from the primary metal strip or sheet when it is punched. The material that is removed is the new metal workpiece or blank.
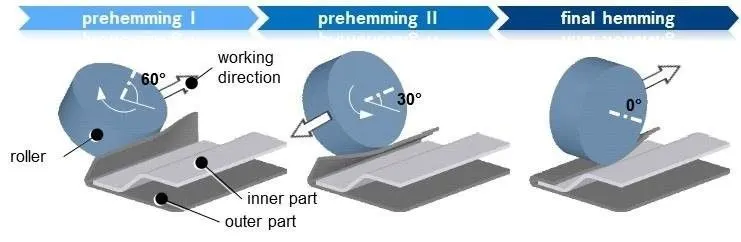
- Hemming
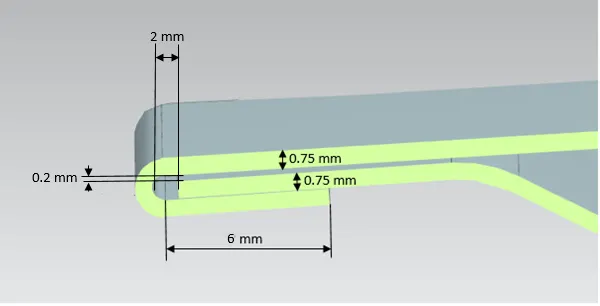
Hemming is used in the automotive industry to join two sheet metal panels by bending the flange of the outer panel over the inner one. In roller hemming process, a robot guides a small roller across the flange to fold a sheet onto itself or onto another sheet.
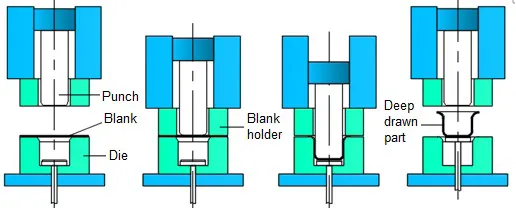
- Deep drawing
Deep drawing is a sheet metal forming process in which a sheet metal blank is radially drawn into a forming die by the mechanical action of a punch. ... The process is considered "deep" drawing when the depth of the drawn part exceeds its diameter. This is achieved by redrawing the part through a series of dies.
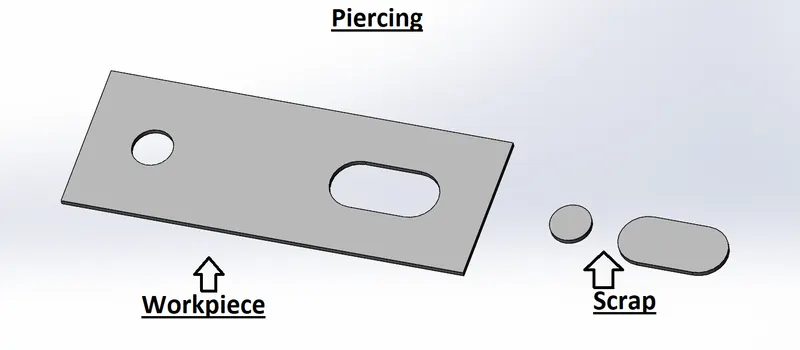
- Punch cutting or piercing
Piercing is a shearing process in which raw metal is pierced with a machining tool, resulting in the creation of a circular or other shaped hole. As the raw metal is pierced, the metal from the newly created hole is considered scrap.
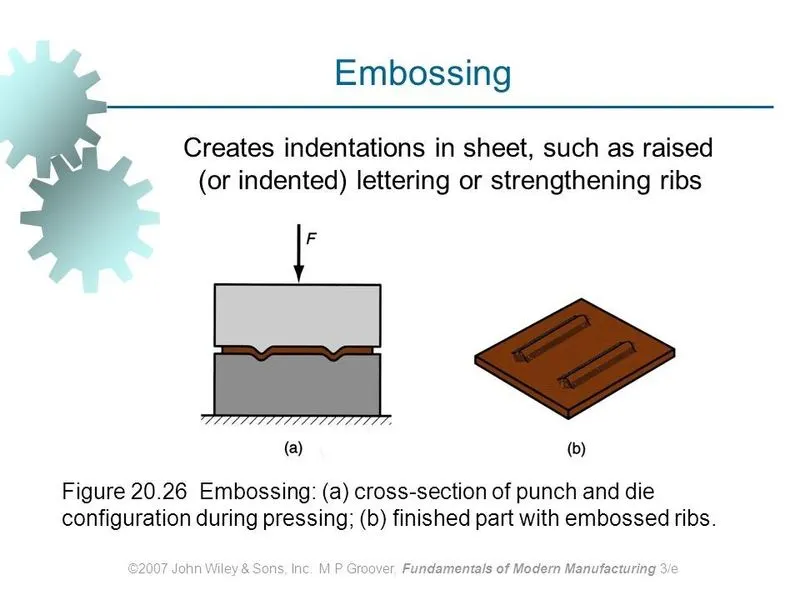
- Embossing
Embossing is a forming process in which a high pressure is applied to a workpiece to change its surface. Depending on the shape, a distinction is made between hollow embossing and solid embossing.
Design process:
Master section:
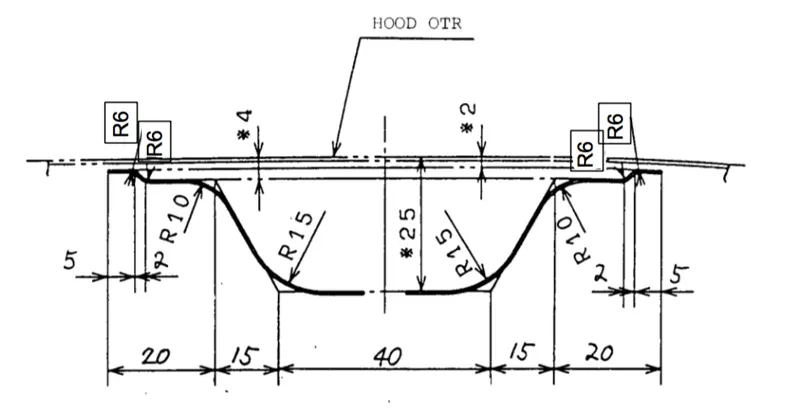
Outer panel thickness= 0.75 mm
Inner panel thickness=0.75 mm
Reinforcement thickness= 1.5mm
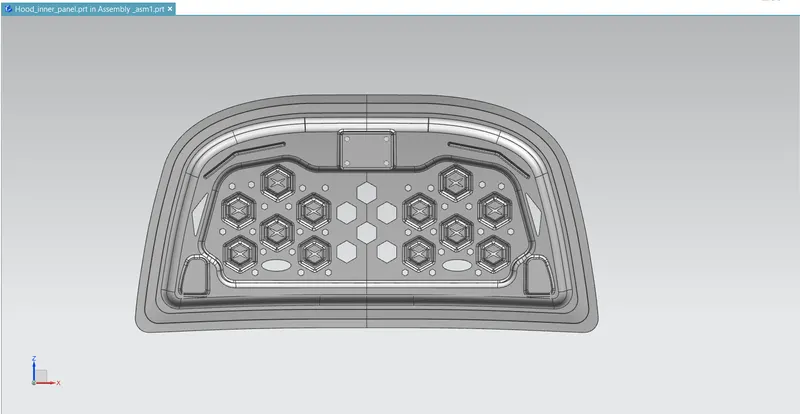
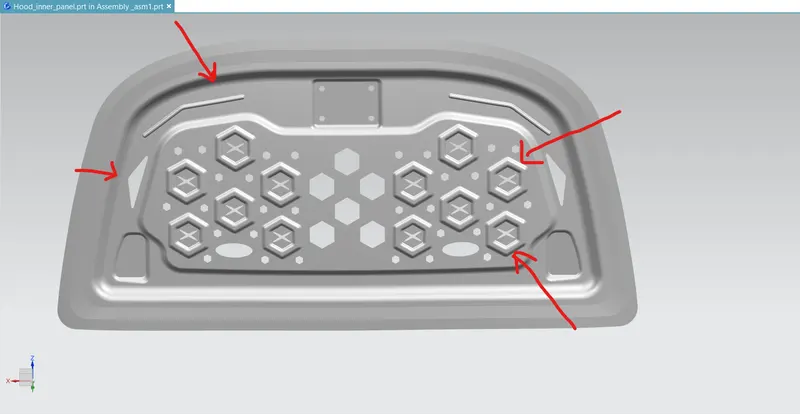
Inner panel:
Inner panel is the supporting part of the outer panel which has many of embosses and holes over the surface of itself for providing the stiffness and strength in balanced level and it does spread the impact of Collison out of the inner cabin and pedestrian safety as well, and its offset surface of parent file and its thickness is 0.75mm.
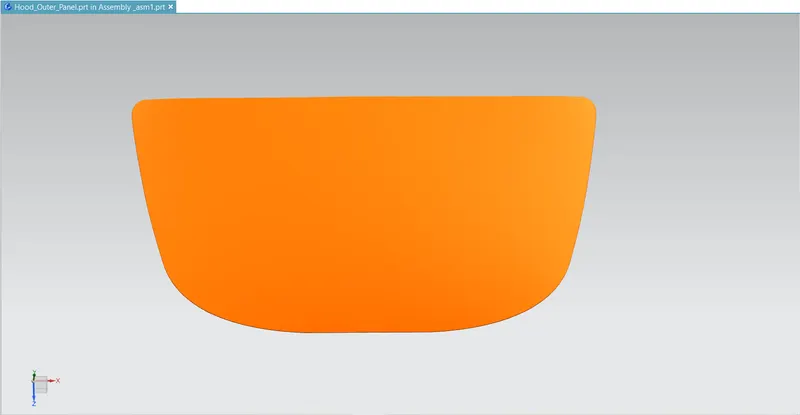
Outer panel:
Outer panel is nothing it’s a skin of the vehicle and its protecting the inner panel also its giving good luxurious look to the vehicle we can do hemming for join inner and outer panel because we can’t do spot welding or riveting since it does take a toll on aesthetics of vehicle, it's also extracted from prototype design.
Emboss:
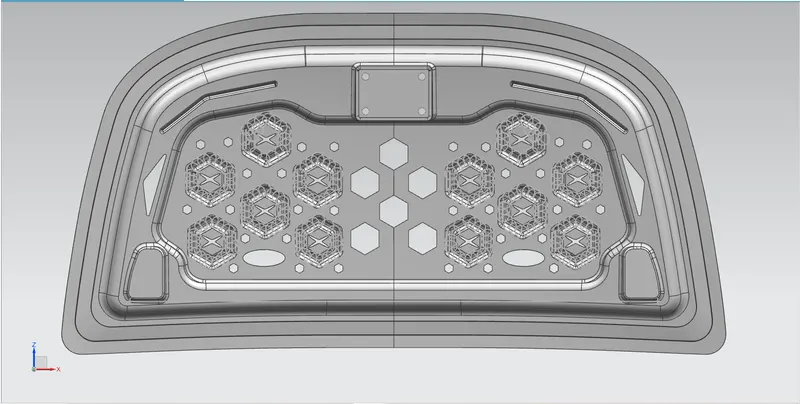
There’s geometry I've created with the master section provided after we designed inner panel
I've created embosses for providing a balanced strength and stiffness for make sure it does protect occupants at the same time pedestrians as well and I’ve given the unique polygon shape to my embosses to give superior strength and stiffness I've give the 5mm depth for my embosses for easily manufacturable.
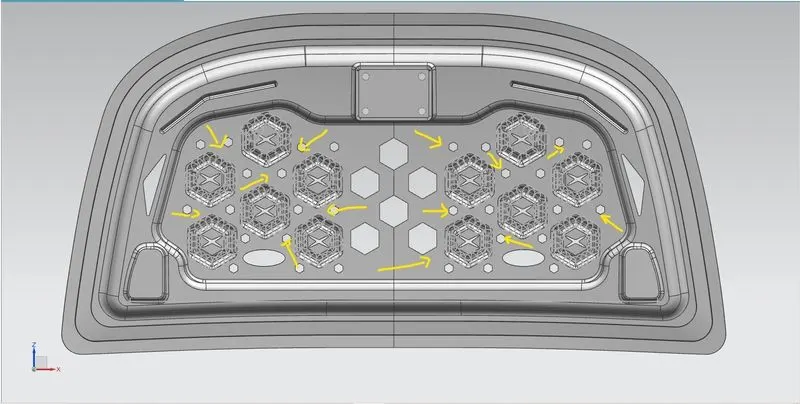
Mastic sealant:
Mastic sealant can be used to either join one surface to another, or protect the area to which it is applied (cars and boats). ... This is due to its heat resistant properties and the ability to seal and form and a strong bond, applied using a mastic sealant gun (caulking gun)
And they can be as insulation at the same time it does reduce the noise and vibration for smother drive.
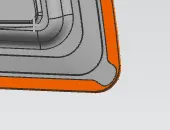
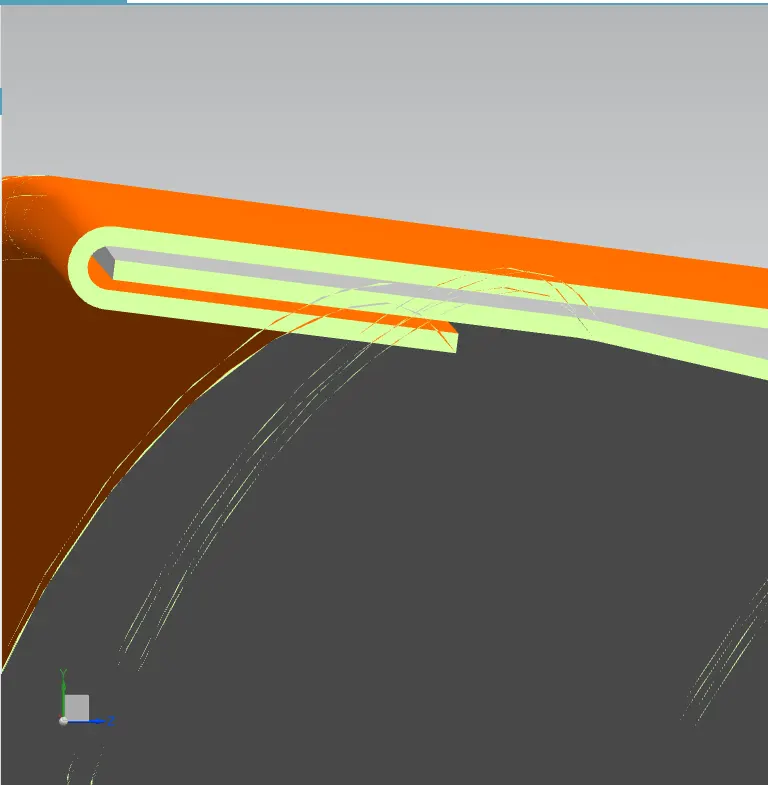
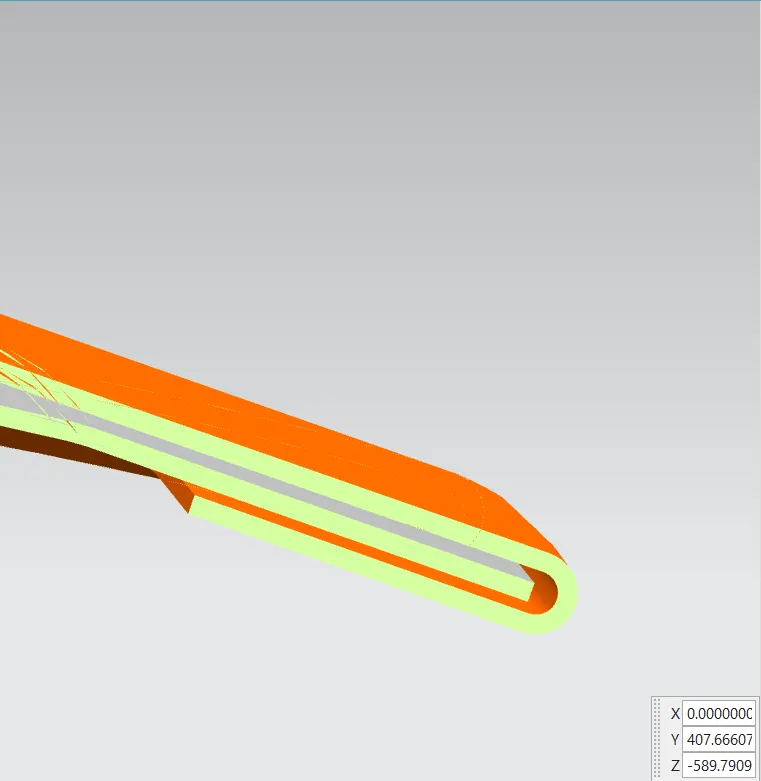
Hemming:
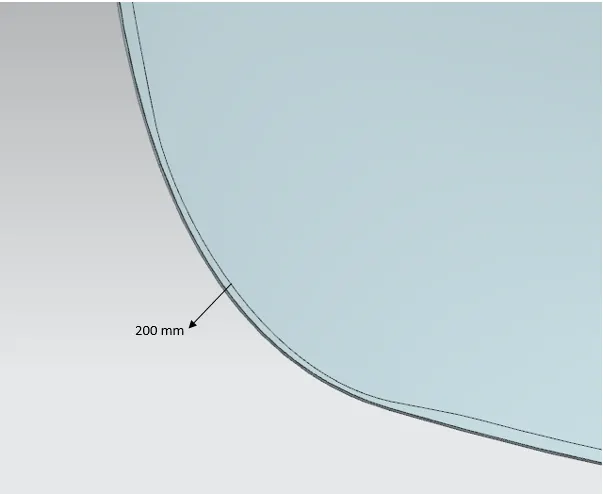
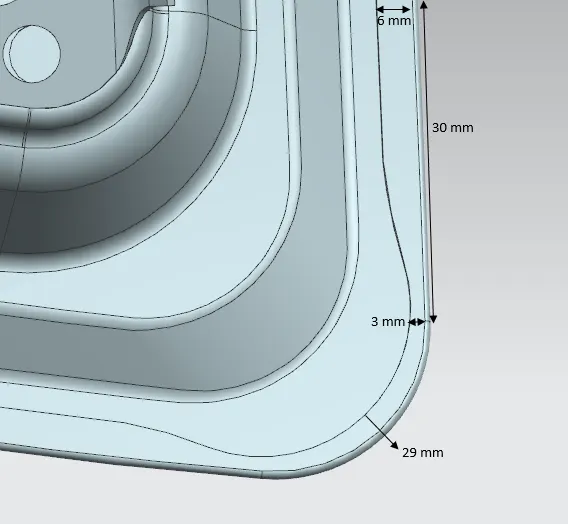
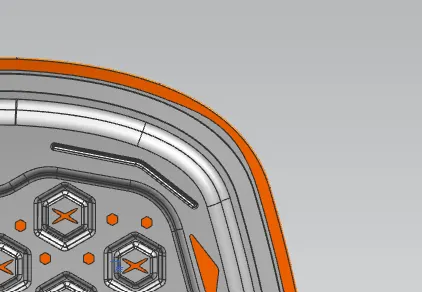
Hemming process is to wrap the outer panel into the inner panel for hold tighter as I mentioned before as we can’t do spot welds in this region, we can use this to get inner and outer panel as together.
Hemming data:
Positioning hinge and striker:
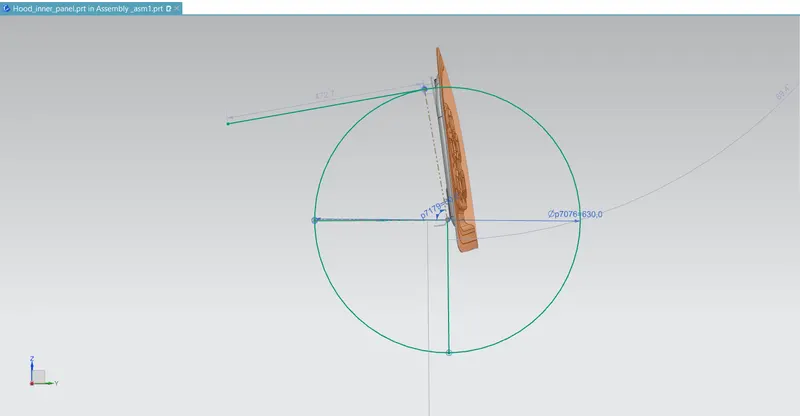
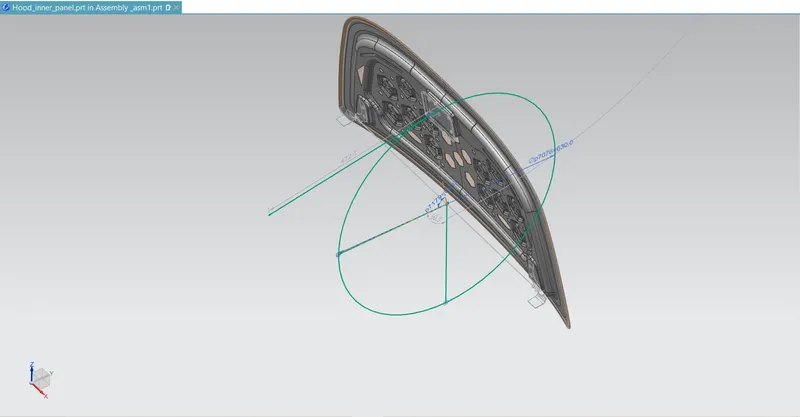
For positioning the hinge and striker we have to place tentatively and take hinge axis point crate the line and draw a circle then fix circle’s midpoint as together with the middle of the hinge axis then draw a line from top of the hood which is tangent to the circle so this how I've fixed latch and striker.
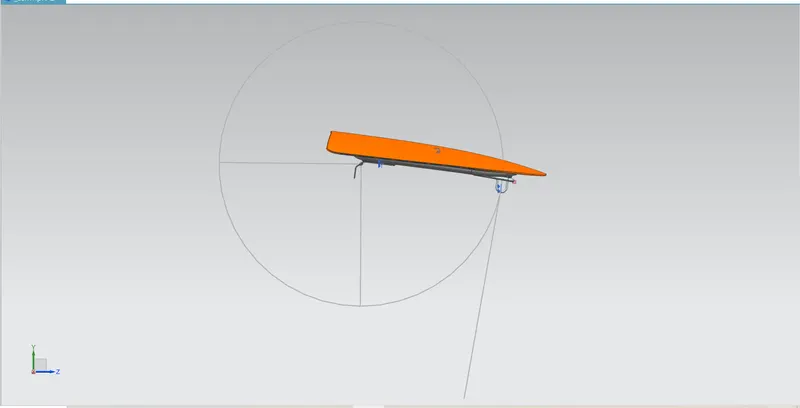
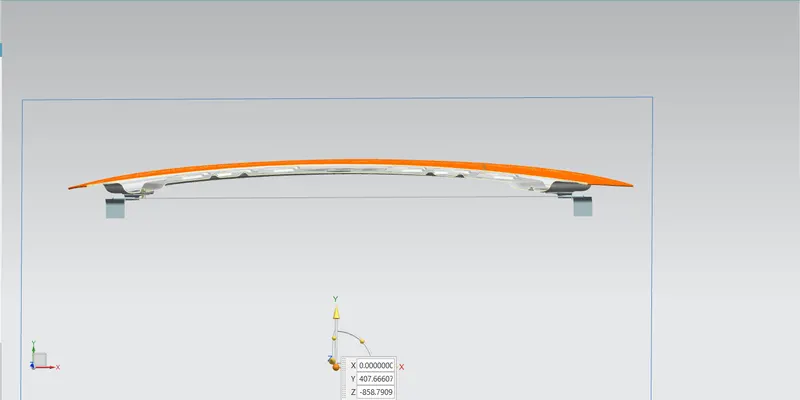
Cross section view:
for make sure that there's no intersection between these parts
Reinforcements:
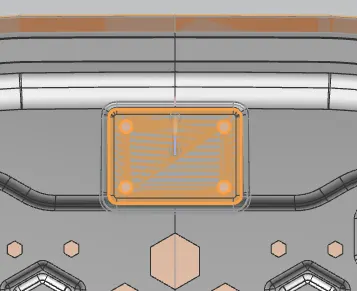
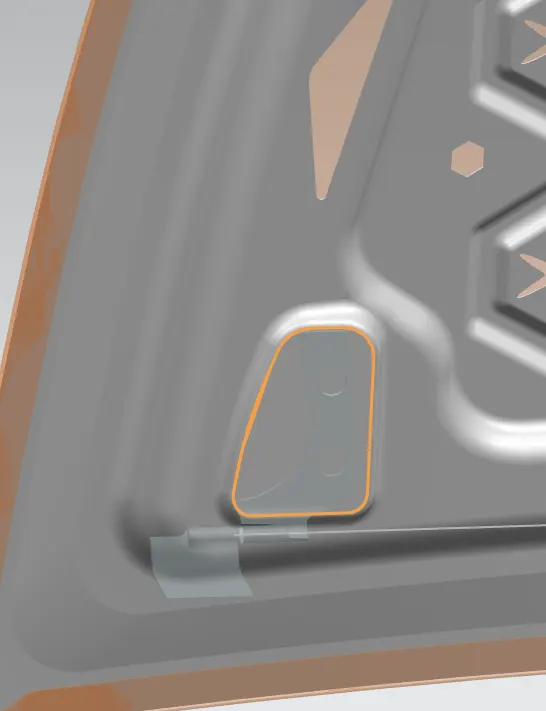
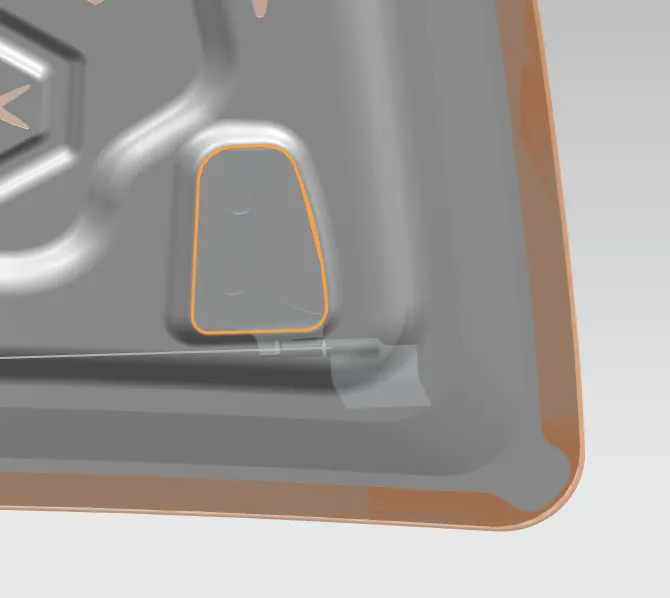
After I've designed my inner and outer panel, we need to give a reinforcement because hinge and latch and striker will need reinforcements and all the reinforcements created by extracting the surface and thicken by 1.5mm
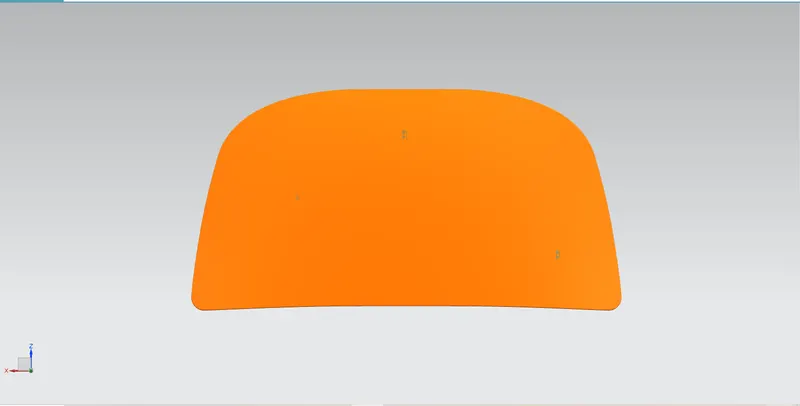
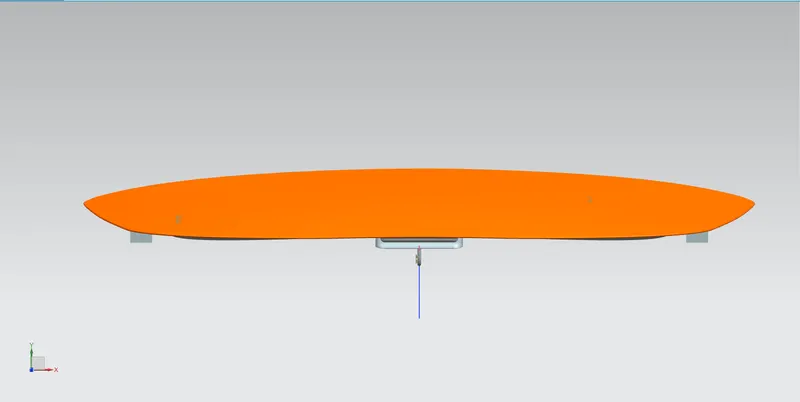
Assembled view of hood:
Conclusion:
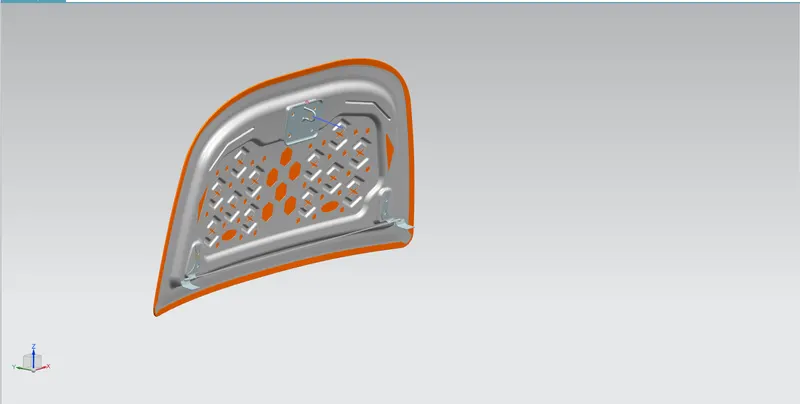
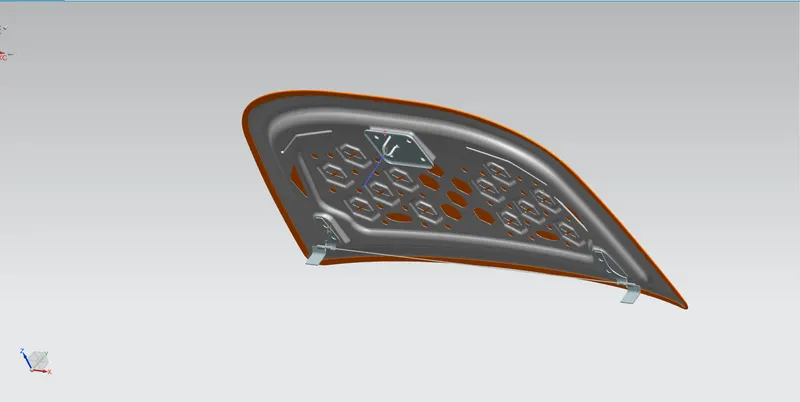
The complete assembly of the hood has been created respect to the data and mastersection that was given and i've learnd what are the rules and regulations are there when it's comes to design a hood what are the manufactureing process are there behind this and get use to with nx 12 as well.