Hood design-Week 2
DESIGN OF CAR HOOD USING NX CAD
Objective:
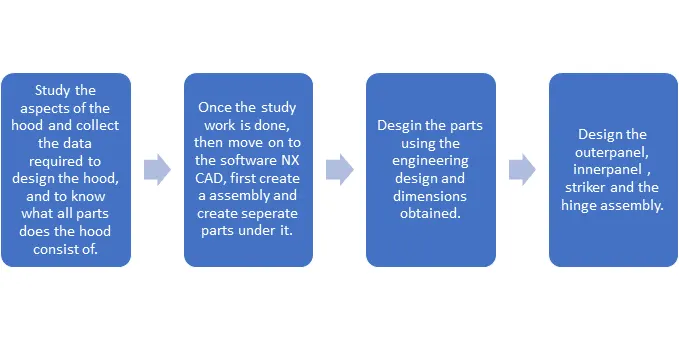
The main objective of this project is to design the hood using the engineering parameters and dimension criteria for the standard hood design.
Introduction:
Hood is the usually used in the front of the vehicle for the closure of the front engine compartment, the hood is actually designed in such a way that I can resist certain amount of crash impact load and distribute it to the corners of the left and right so that it can result in passenger safety. Look at the below picture for the hood hinged in the car

Design methodology/approach:
Description:
Some of the important design considerations for the hood assembly are:
- Outer panel:
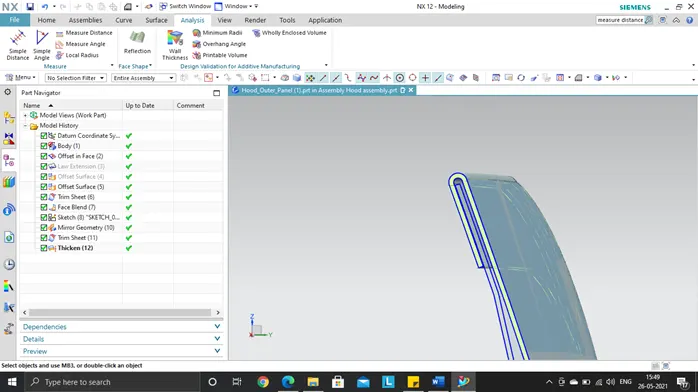
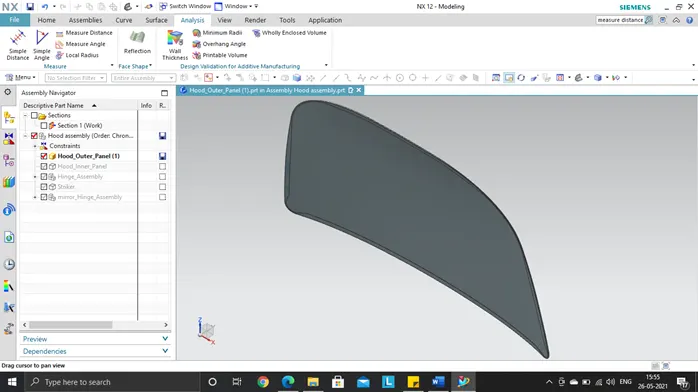
The main features and design used for the outer panel are the hemming, corner relief and thickening of the surface.
Hemming is a process made in while manufacturing the part, by folding the edge of the surface with a supporting surface between it such that it locks the parts, this process is usually carried out with rollers which rolls on the end surface to get the hemming done.
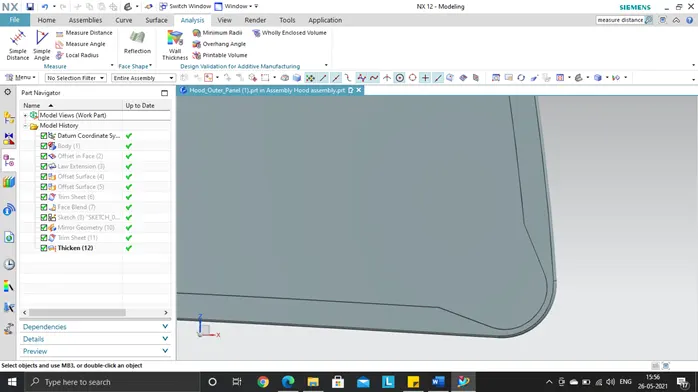
Corner relief is taken into consideration keeping the stress distribution while hemming process, such that to reduce the high stress in the material at that portion due to the corners, the corner relief is made
Thickening is usually done to get the required thickness of the whole outer panel so that the surface is converted to a sheet.
- Inner panel:
The inner panel is the main part of the hood assembly which plays the important role in passenger safety and strength. It is designed in such a way that it can distribute the crash impact load and absorb the damage.
Sheet metal embossing is a stamping process for producing raised or sunken designs or relief in sheet metal. This process can be made by means of matched male and female roller dies, or by-passing sheet or a strip of metal between rolls of the desired pattern. It is often combined with Foil Stamping to create a shiny, 3D effect. Some of the emboss made in inner panel are shown below
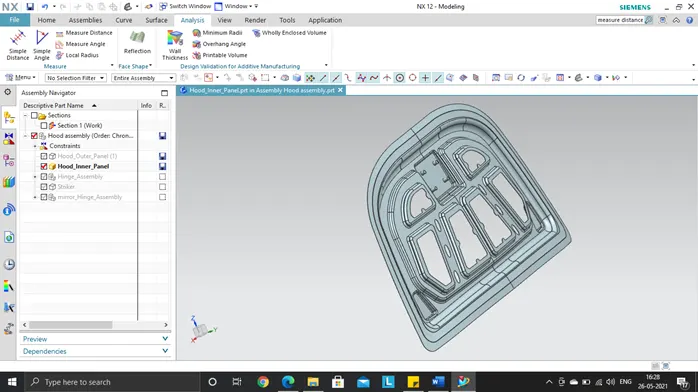
These emboss are even created to get the flat surface on one side to attach the striker and the hinge assembly.
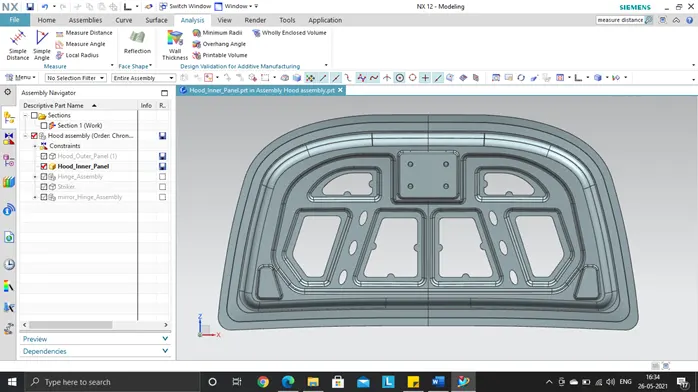
Crash impact load distribution, this factor is followed to get the path of the load travelling, we such that avoid going it straight by setting the cuts at an angle to the right and left ends, and even there are more cutouts so that remove more materials, less weight is obtained, the design of the inner hood is shown below
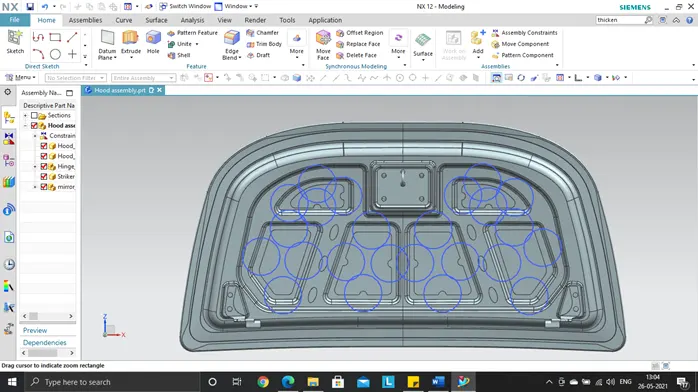
Mastic is the sealant used to seal the gap between the outer panel and the inner panel, this mastic is a type of rubber material and also acts as resistant, in the picture below shows the place where the mastic sealants are used.
- The striker and the hinge assembly:
These two parts are used to hinge and lock the hood in the vehicle, to design the position of this striker and hinge there is a procedure to be followed so that we get a smooth placement of the Hood assembly in the vehicle
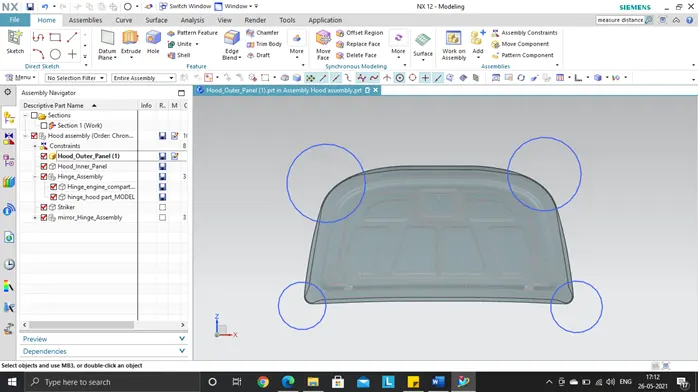
Hinge assembly consists of two parts one is engine compartment hinge and hood compartment hinge, the center axis of the both the hinges should be colinear, use the mirror feature to get the hinge on the other side as well.
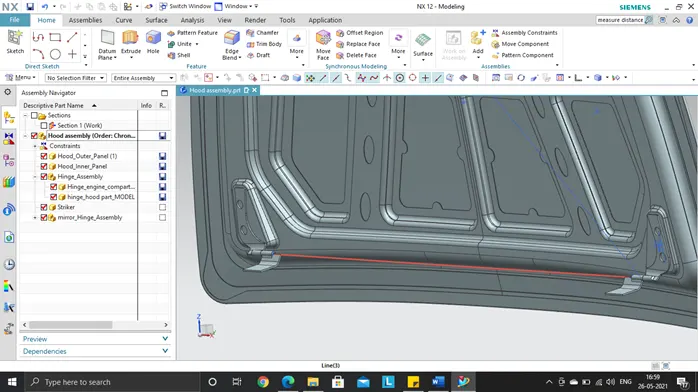
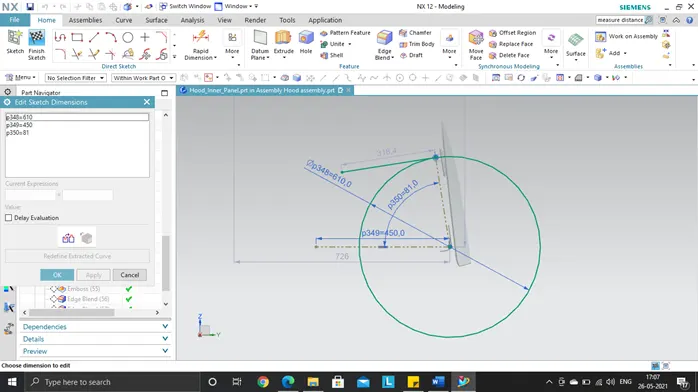
The striker’s position is designed in such a way that there is a smooth and easy way to fix the hood, it is done by drawing the sketch from the center point of the hinge axis and the radial position can be changed by changing the angle, then the emboss is created to seat the striker on that position.
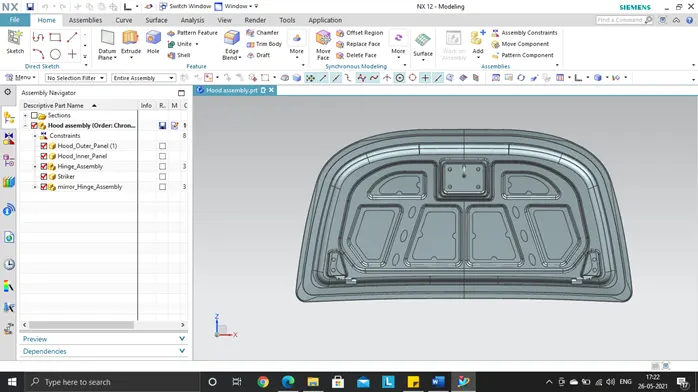
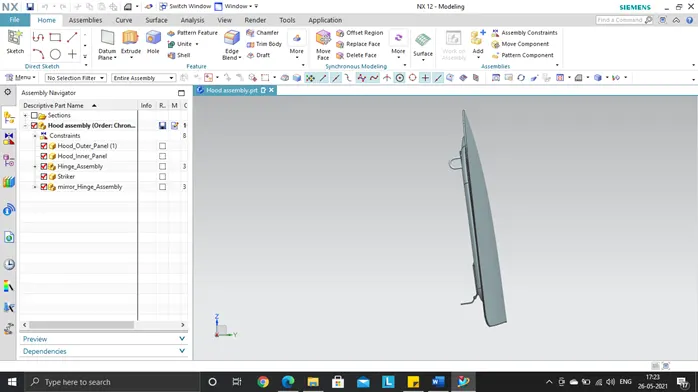
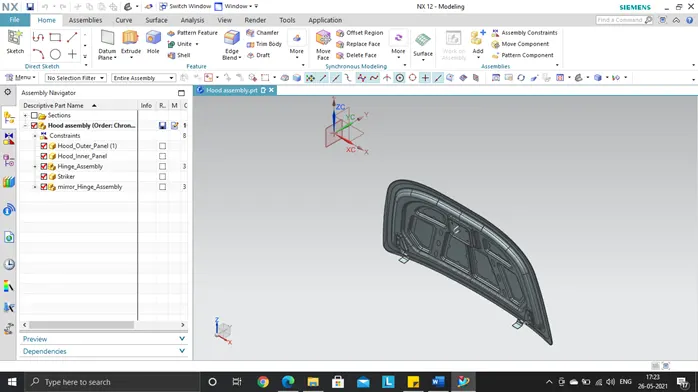
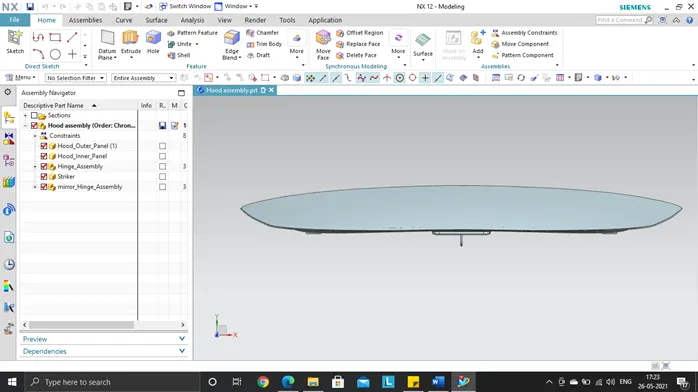
Views of the Hood assembly:
Front view:
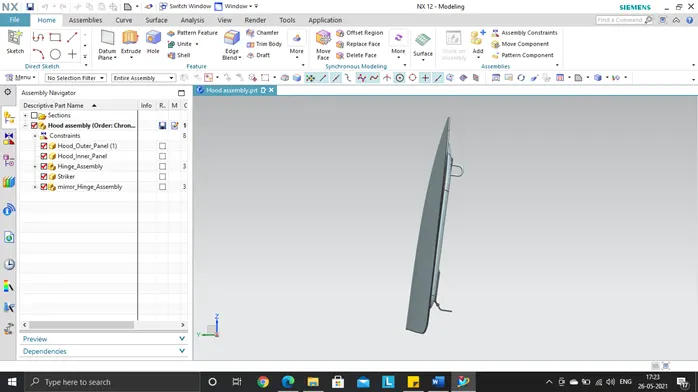
Left side view:
Right side view:
Isometric view:
Top view:
Conclusion:
The Hood assembly is designed with all the dimension factors and design criteria using NX CAD, by this we get to know what are all the factors to be considered for the hood to be designed and even the manufacturing process of that design.