Hood design-Week 2
the project link is below
https://drive.google.com/file/d/1PUOpMRPvF8AqMjigwUqcD9yzSmySKKuz/view?usp=sharing
1) Objective: The aim of this project is to construct a well defined hood assembly by modeling the different parts needed in creation of our hood assembly that parts are hood inner & outer panel, hinge assembly, striker, etc.
2)CAR HOOD:
car hood, also known as a bonnet in some countries, is the hinged cover that is positioned at the front of an automobile, covering and protecting the engine compartment. It is designed to provide easy access to the engine and other essential components for maintenance and repairs. The hood can be opened by releasing a latch usually located inside the car's interior or under the front grille. Once opened, it allows mechanics or car owners to access the engine, check fluids (such as oil and coolant), inspect various components, and perform routine maintenance tasks.
In addition to its functional purpose, the car hood also contributes to the vehicle's aesthetics and aerodynamics. It often features various design elements, such as contours, vents, or bulges, that can enhance the car's appearance and improve airflow over the engine.
Car hoods are typically made of metal, such as steel or aluminum, although some modern vehicles may use composite materials to reduce weight and improve fuel efficiency. They are an essential part of a car's structure and safety features, providing some protection to the engine and passengers in the event of a collision.
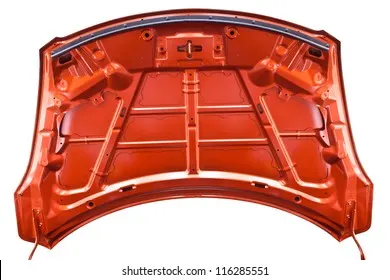
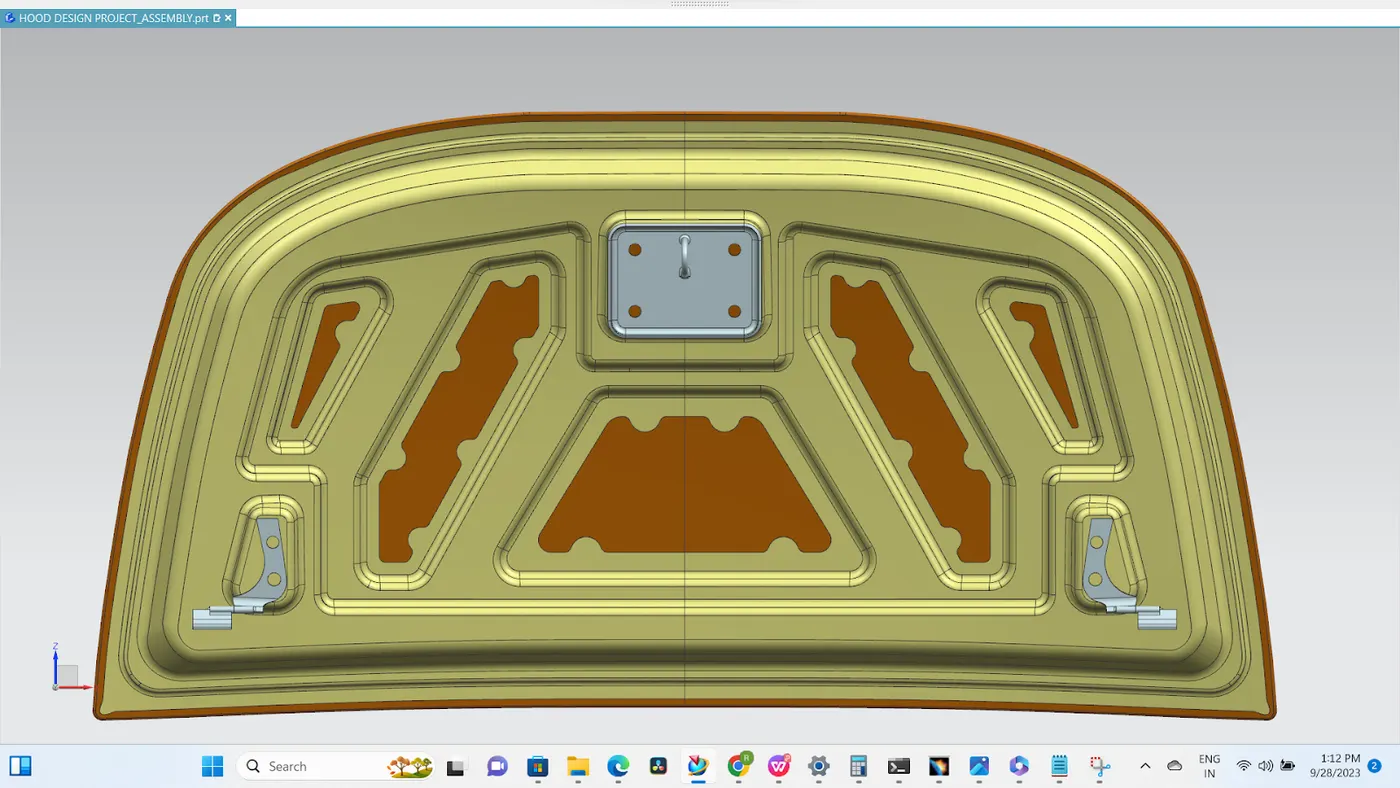
Fig.1.1 Inner side view of Car Hood
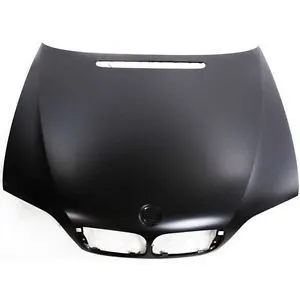
Fig.1.2 Outer view of Car Hood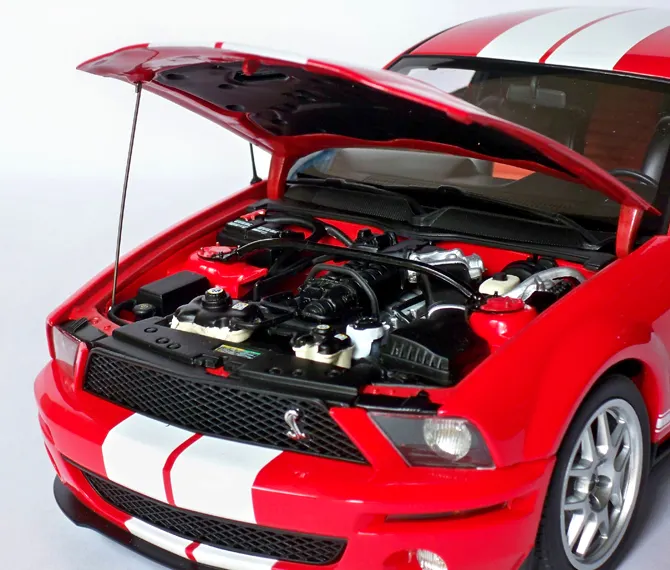
3)Design Considerations in Hood:
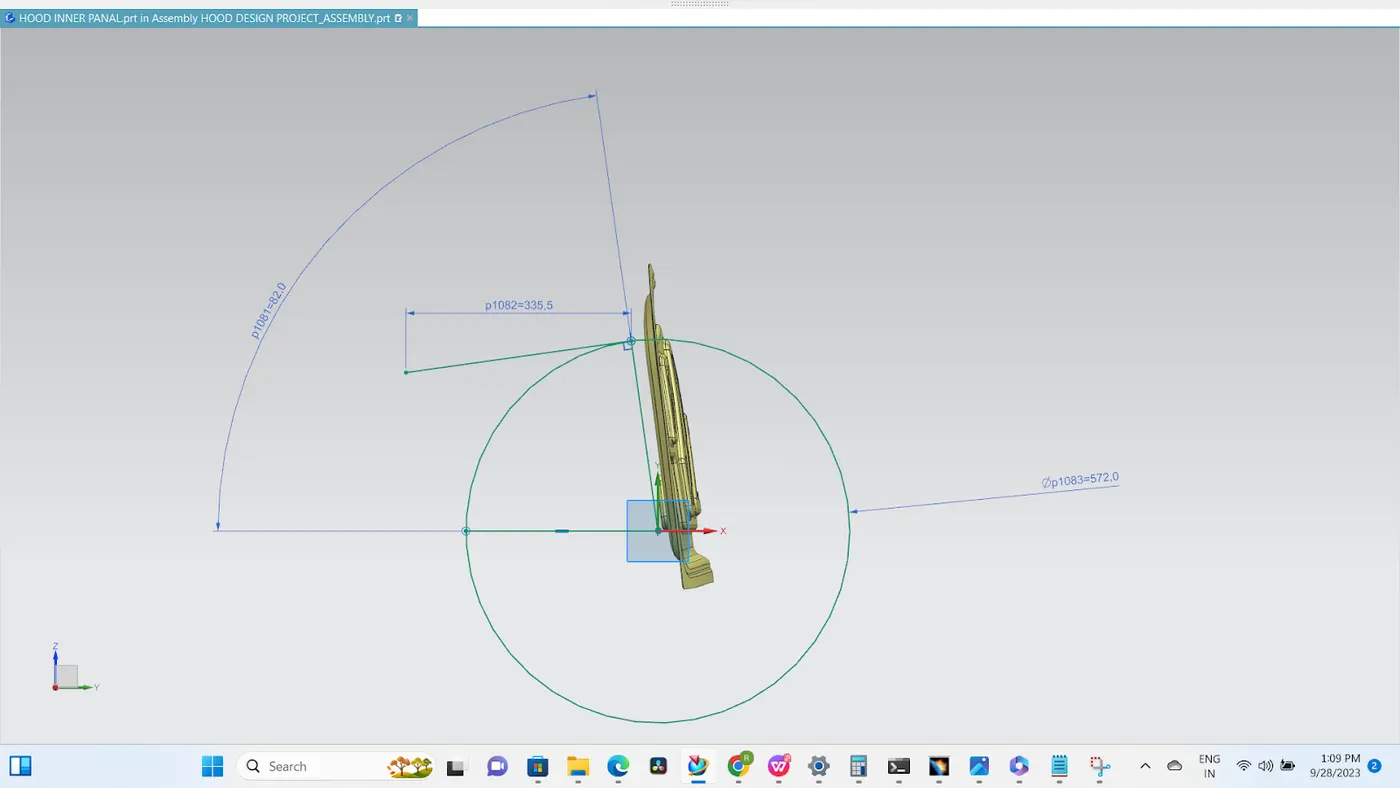
While designing a hood several design parameters are to consider such as the opening angle of the hood, Support system for the hood, Pedestrian safety rules, etc.
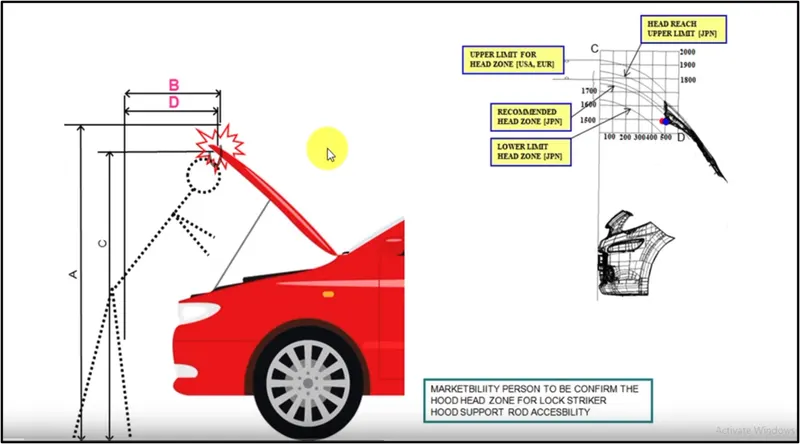
"Consideration of Hood Head Clearance for Striker Locking:
When designing the hood, it is crucial to account for the parameter of hood head clearance for striker locking. This is vital because, when the hood is open for access to the engine compartment during maintenance or other operations, it must ensure the safety of the person operating it. In open conditions, the minimum height of the hood should exceed the average height of individuals in the region to prevent any potential collisions with a person's head. By providing adequate clearance, we can ensure that no harm comes to individuals in the vicinity of the open hood.
ollowing data should be used for deciding Hood head zone
Design of Car Hood considering the pedestrian safety and vehicle safety
Hood Support System (Hood Stay):
The hood support system is a crucial component that allows the hood to remain in an open position when needed, providing access to the engine compartment. When designing this system, several key factors should be taken into account to ensure functionality and safety.
First and foremost, the support system should be robust enough to bear the weight of the hood without any external assistance. It should be capable of withstanding external forces such as wind or accidental impacts without collapsing. This robustness is essential to prevent any hazards and ensure user safety during maintenance or other operations involving the open hood.
Two common methods are employed to achieve this functionality:
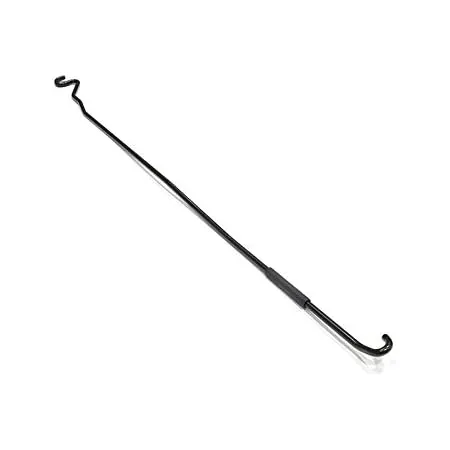
1. Support Rod:
The support rod is a simple and effective solution. It easily fits within the engine compartment and attaches to a designated hook inside the hood. To provide adequate stiffness, initial bends are incorporated into the support rod. This design allows for straightforward opening and closing of the hood while maintaining the necessary support.
In addition to the support rod, another method commonly used is:
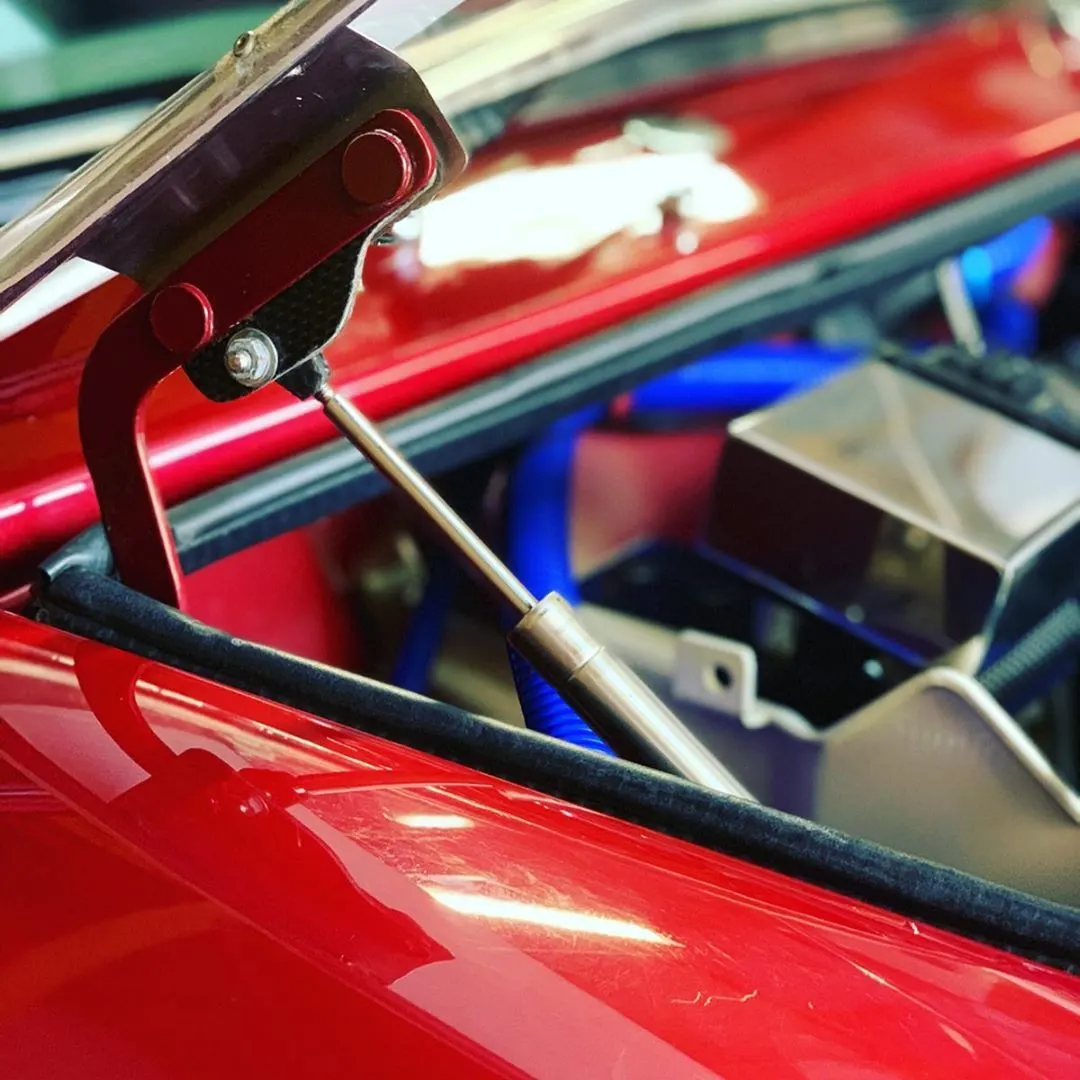
2. Gas Stay:
A gas stay, or gas strut, is another mechanism employed for hood support. It utilizes compressed gas to provide the necessary force to keep the hood in the open position. Gas stays offer a controlled and gradual opening of the hood, making it convenient for users. They are designed to be self-sustainable and can withstand external forces, ensuring that the hood remains securely open during operation.
Careful consideration of these hood support systems during the design phase is essential to ensure both functionality and user safety, providing a reliable and user-friendly solution for accessing the engine compartment.
Pedestrian Safety and Hood Design:
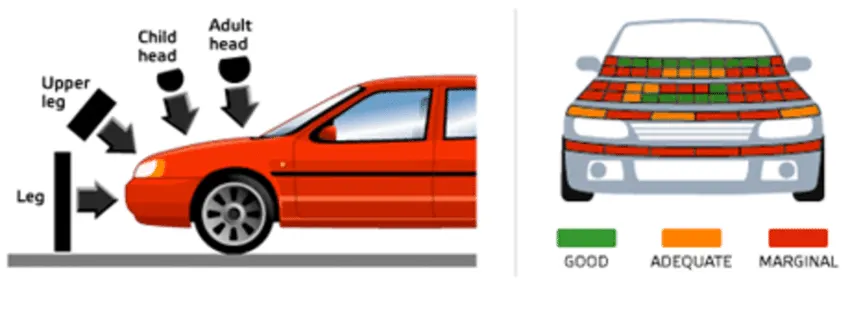
In the process of designing a vehicle's hood, it is of utmost importance to prioritize pedestrian safety. In the unfortunate event of a collision involving a pedestrian, thorough consideration must be given to the areas of impact on the hood by various parts of the pedestrian's body. This consideration should encompass both adults and children, taking into account their differing heights.
To ensure the safety of pedestrians, a critical step is conducting comprehensive crash tests when introducing a new vehicle model. These tests provide invaluable data regarding the points of contact between pedestrians and the hood during an impact. This data serves as a basis for making design adjustments aimed at enhancing pedestrian safety.
By diligently studying and analyzing the results of these crash tests, necessary changes and improvements can be made to the hood design. This iterative approach allows car manufacturers to continually advance pedestrian safety measures, ultimately contributing to safer roads for everyone.
Mastic Sealant for Hood Assembly:
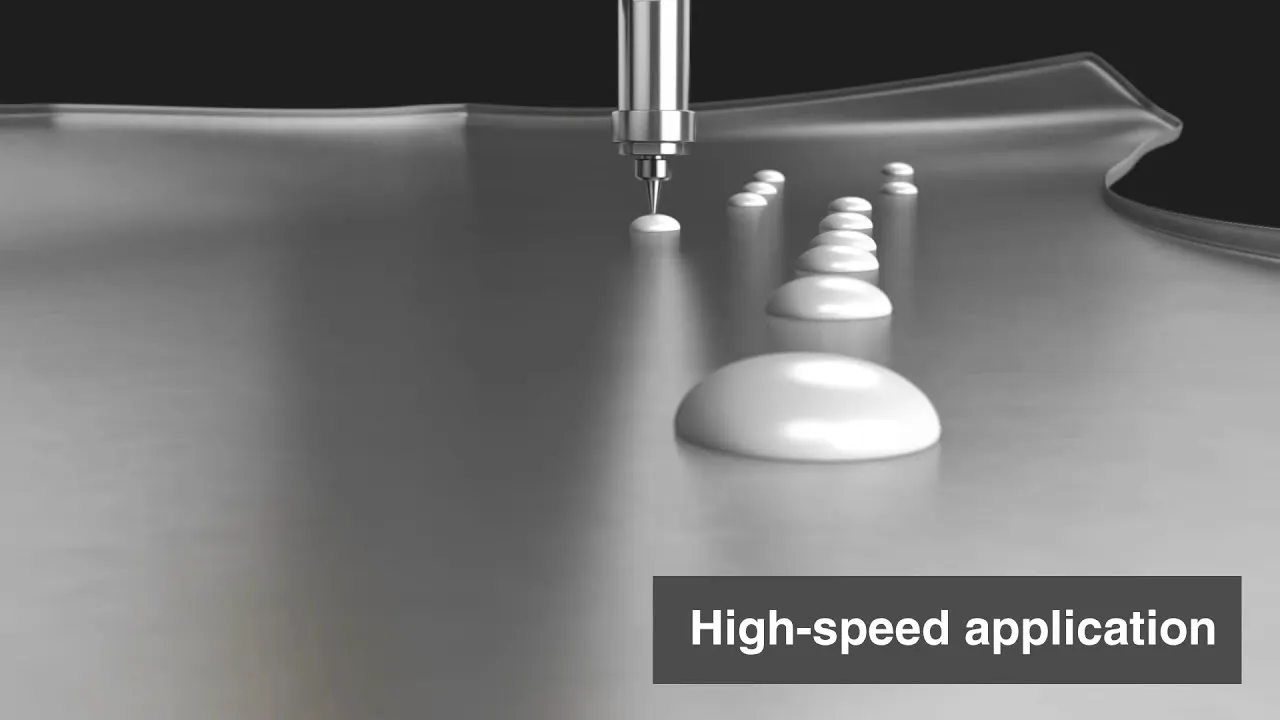
The hood of a vehicle is typically composed of two primary components: the hood inner panel and the hood outer panel. The hood inner panel is situated beneath the outer panel and plays a crucial role in providing structural integrity to the hood assembly. However, when these metal parts are joined together, a small gap often remains between them. This gap can lead to unwanted noise and vibrations while the vehicle is in motion.
To mitigate these issues and ensure a quieter and smoother ride, a mastic sealant is used to fill the gap between the hood inner and outer panels. Mastic sealant is a paste-like substance that is applied to the surface of the hood assembly and then cured through a heating process. This sealant effectively seals the gap, reducing noise and vibrations generated during vehicle operation. It plays a vital role in enhancing the overall comfort and quality of the vehicle.
Optimizing Force Distribution in Hood Design for Safety:
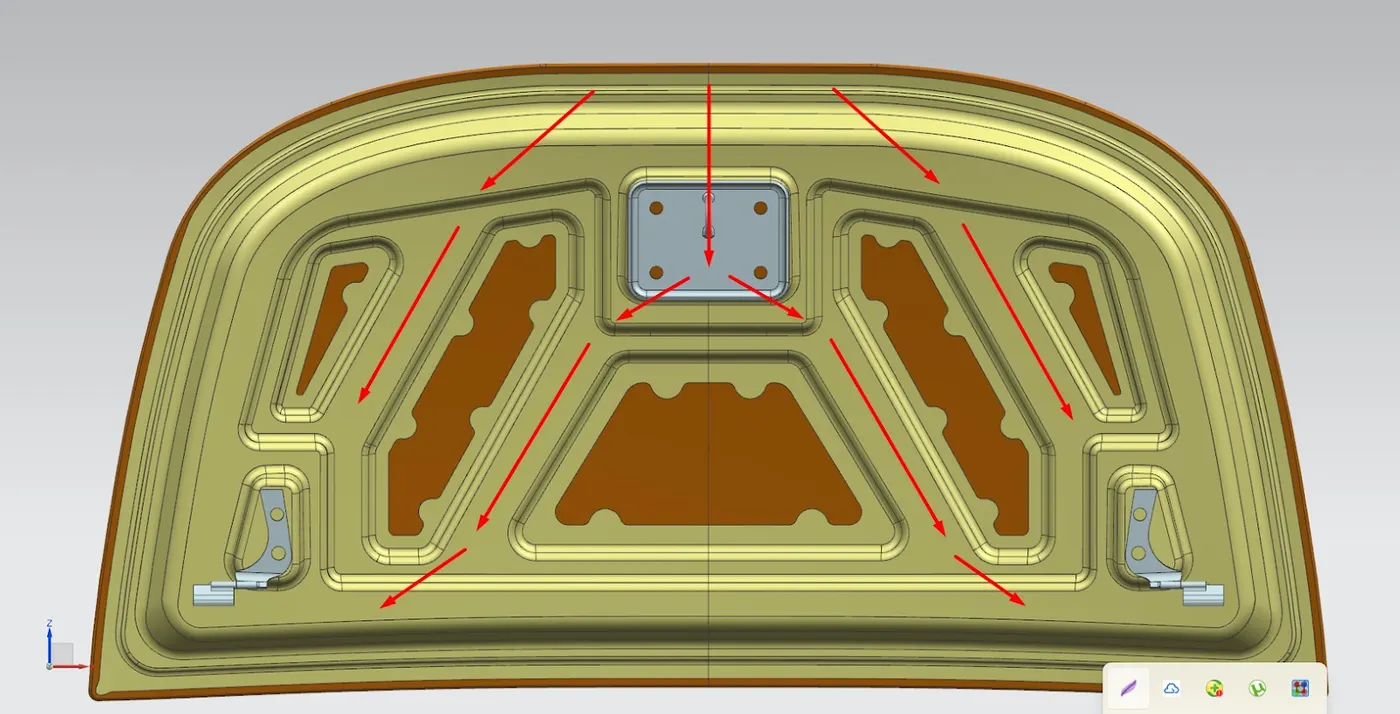
Safety should always be a paramount concern for any automotive designer. When it comes to hood design, a critical aspect is ensuring that in the event of a frontal crash, all forces are channeled towards the hood's hinges. This deliberate design approach is essential for minimizing the impact of a collision and, in turn, safeguarding the well-being of the vehicle's occupants.
By directing the forces towards the hinges, the energy generated during a frontal collision is effectively dissipated and absorbed by the hood's structural components. This not only helps to mitigate the severity of the crash but also contributes significantly to the overall safety of the vehicle. Therefore, careful consideration of force distribution in hood design is a fundamental element of responsible automotive engineering, prioritizing the protection of passengers in the event of an accident.
Hood assembly components:
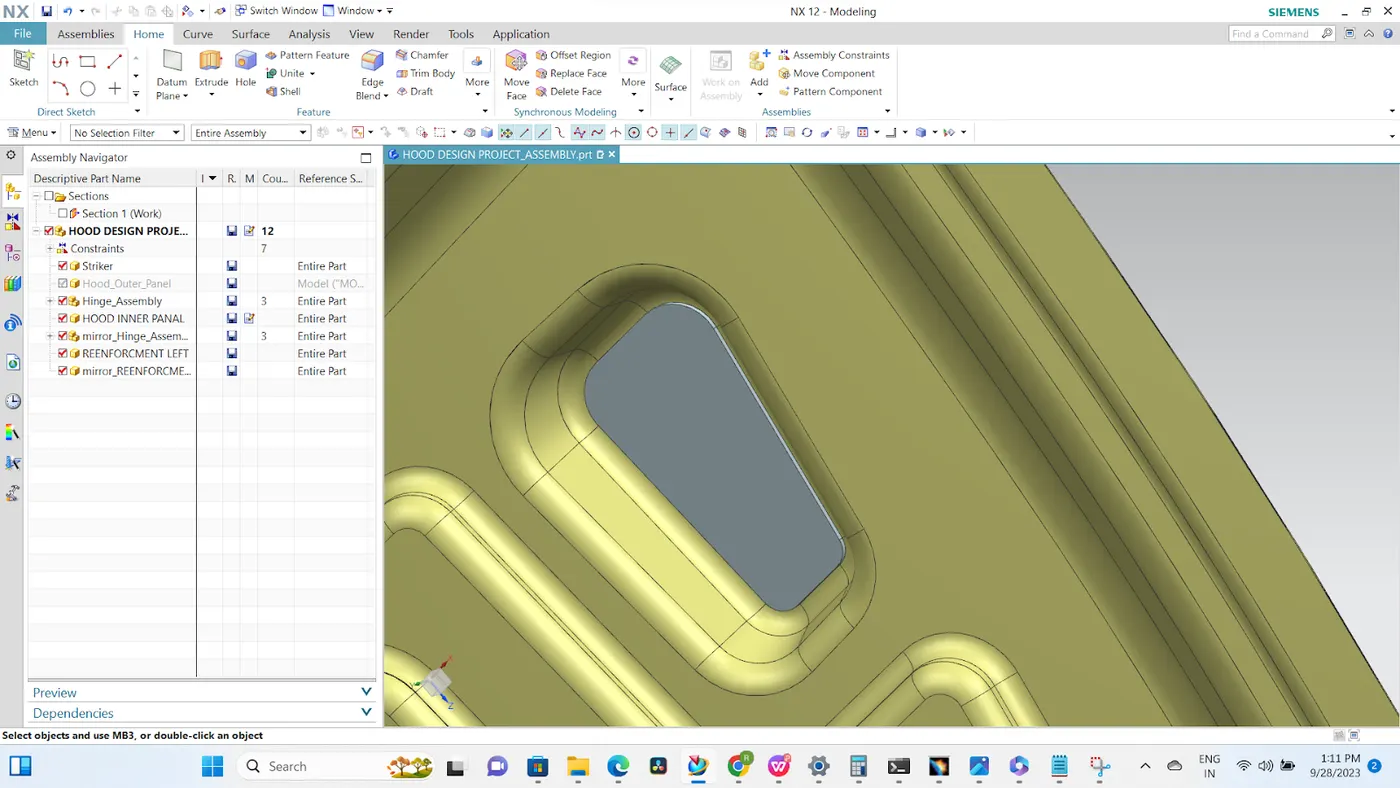
Now let's have a brief discussion about how a hood assembly is done what are the main components involved in it. So, we know that any assembly consists of two or more parts joined together to form a complete product.
Hood also embodies several parts they are as follow:
1) Hood outer panel or skin of the hood
2) Hood inner panel
3) Hinge assembly
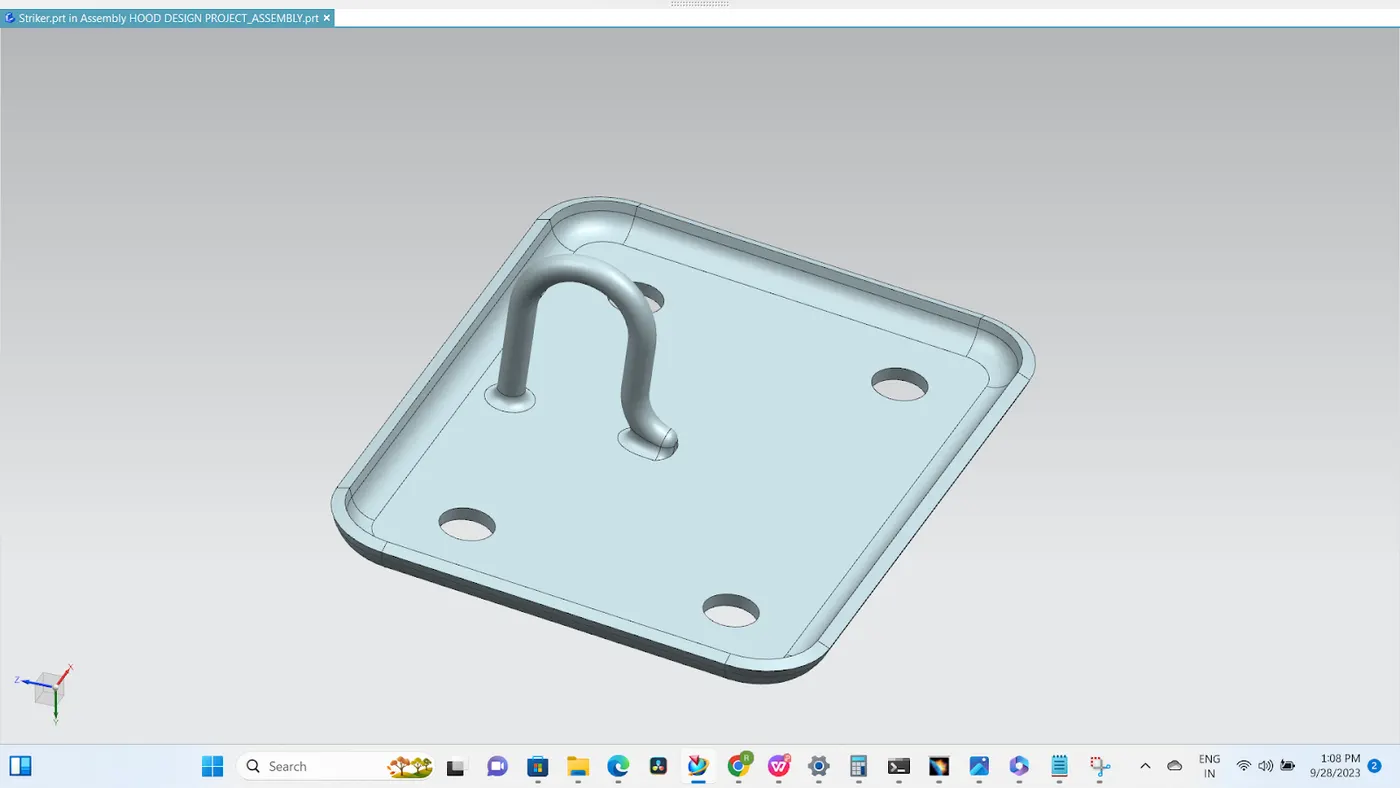
4) Striker
1) Hood outer panel:
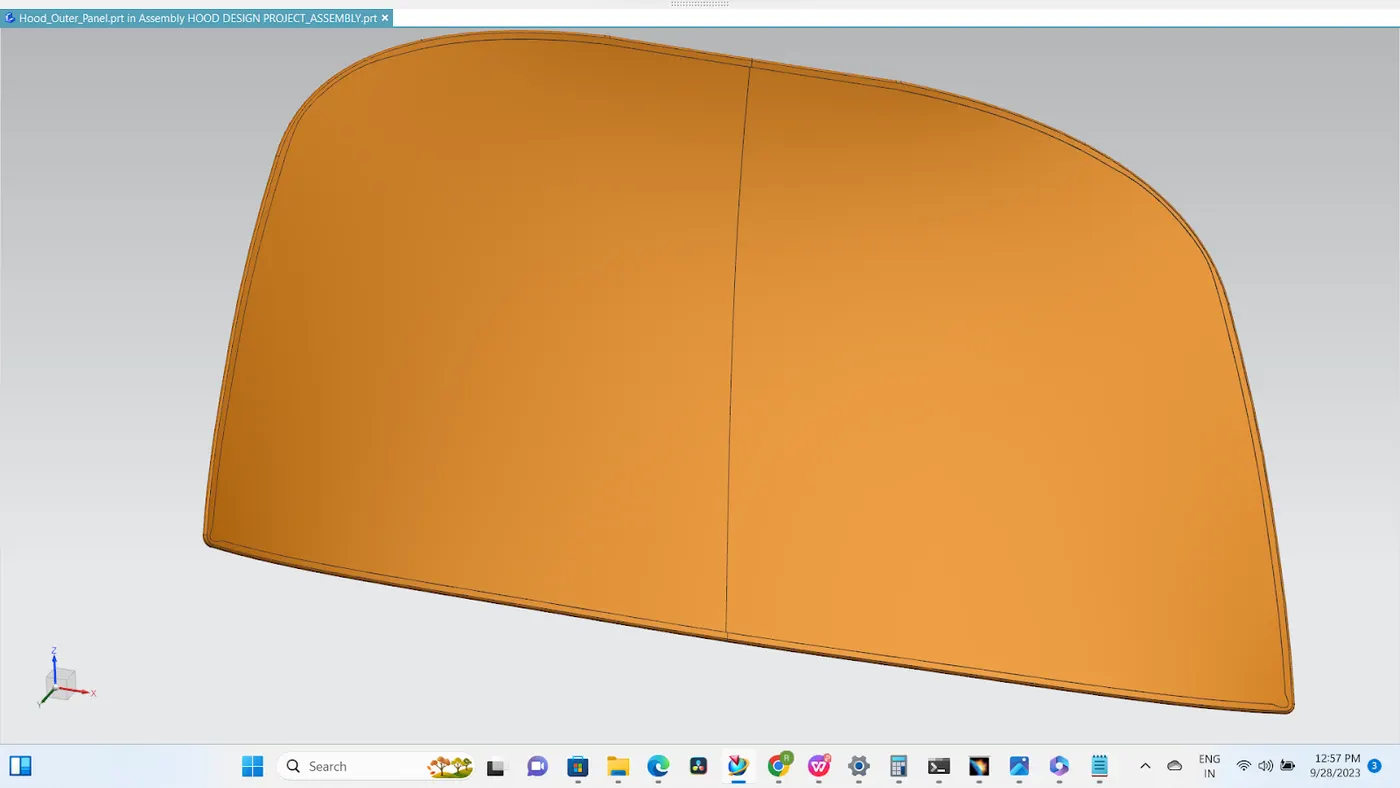
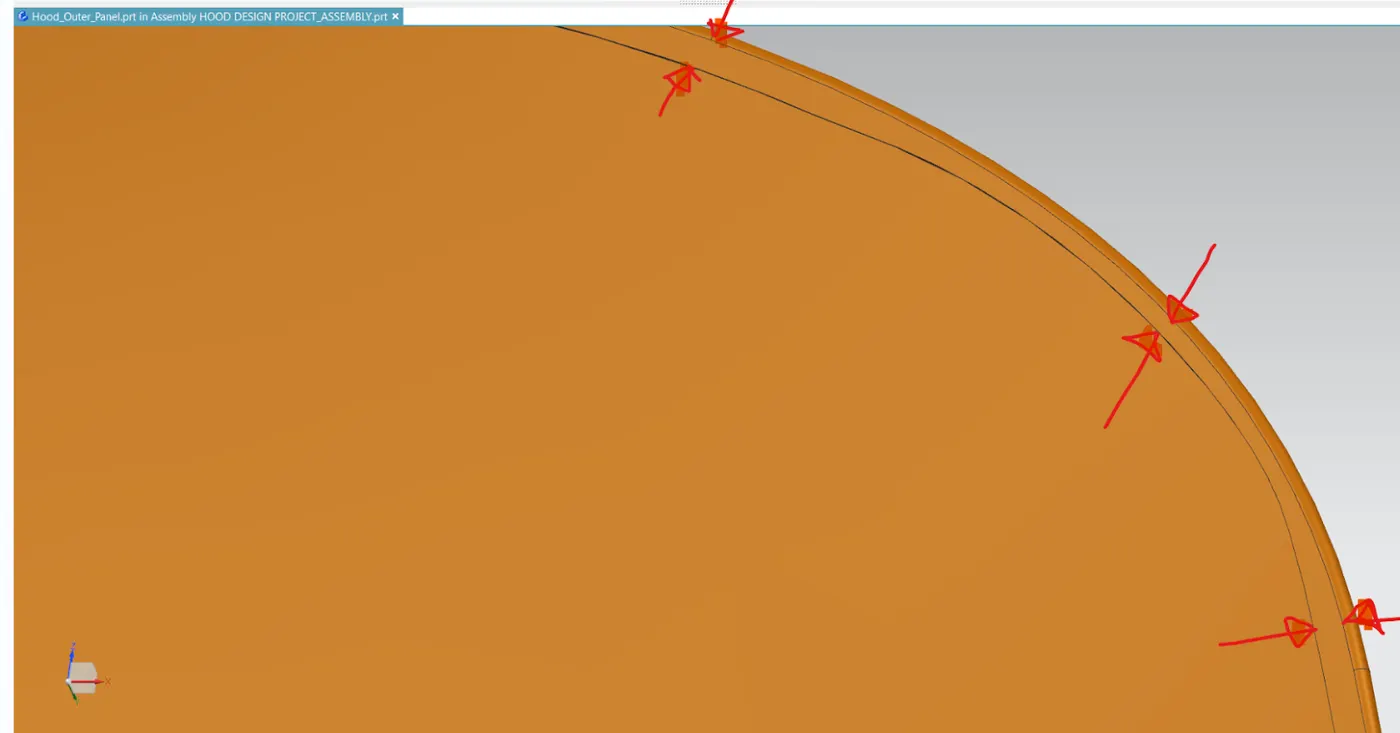
The hood's outer panel serves as a protective casing for the internal components of the hood. Its exterior is meticulously finished and coated with corrosion-resistant paint to prevent rust and enhance the car's appearance. This component plays a crucial role in shaping the hood and can feature various designs and contours to improve the vehicle's aesthetics and reduce air resistance when in motion."
2) Inner panel:
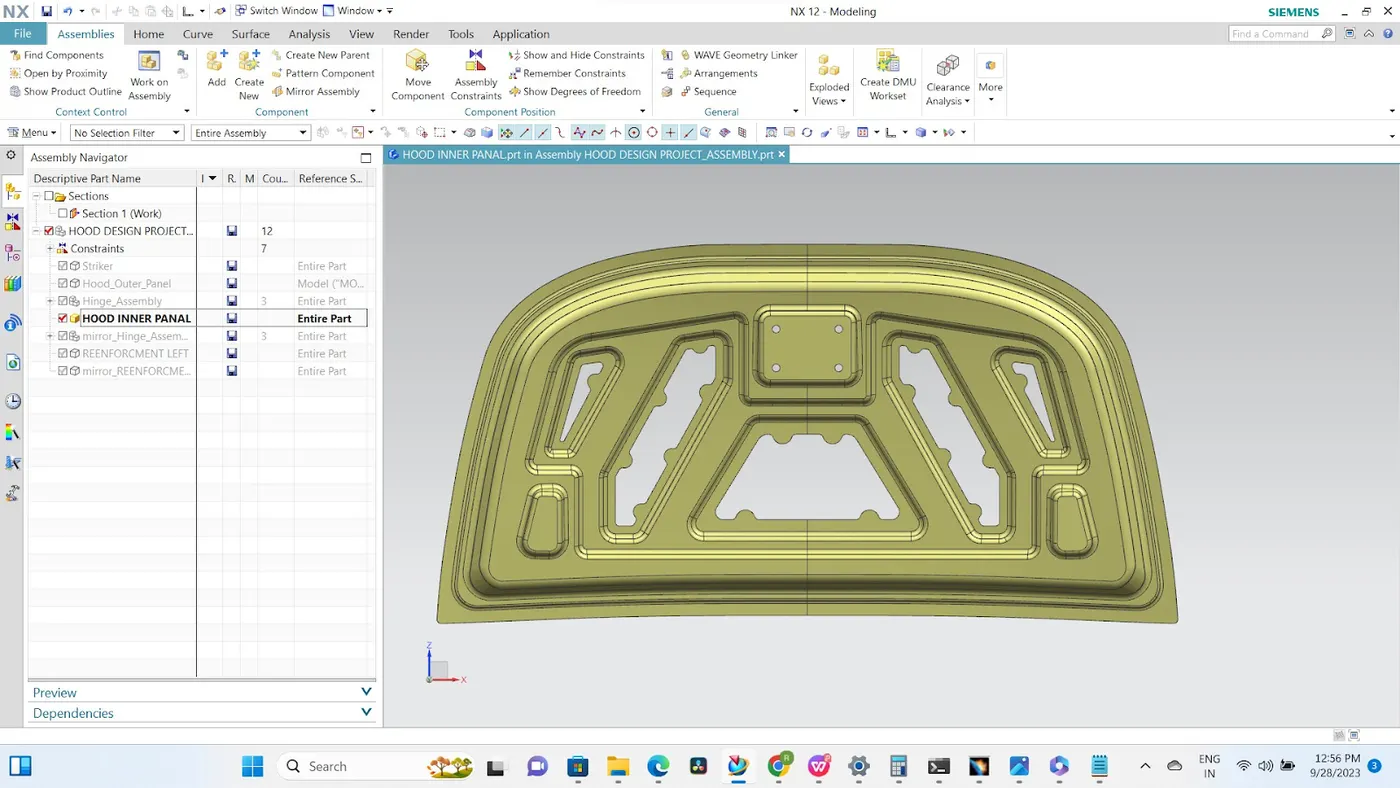
"The inner panel, nestled within the outer panel, serves as an integral component of the hood. It adds structural strength and support to the hood assembly and provides attachment points for hinges and strikers, making the hood fully operational. This component also features embossed sections to ensure proper distribution of forces and includes designated points for applying mastic sealant, along with reinforcement for the hinge and striker areas. To optimize weight reduction, certain material is strategically removed from the inner panel, as depicted below."
3)Hinge assembly:
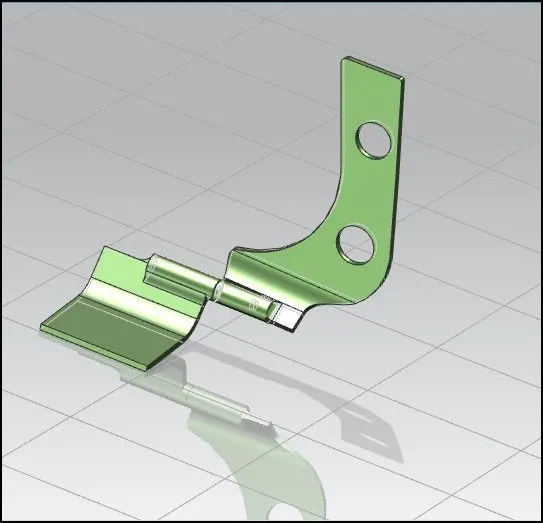
The hinge assembly plays a crucial role in the hood's functionality as it enables the smooth opening and closing of the hood as needed. This component must possess sufficient strength to support the weight of the hood and withstand the forces exerted on it during a crash. Therefore, designing this part requires meticulous attention to detail to ensure its reliability and durability during operation."
hood latch:
A hood latch is a catch that temporarily holds the hood of a car, truck, van, or tractor down. The latch is connected to a handle that releases the latch when pulled. The purpose of the latch is to keep the hood closed, which protects you from getting injured by flying parts in an accident
Hood Design Input Data:
-
Thickness of Outer Panel: 0.75mm
-
Thickness of Inner Panel: 0.75mm
-
Reinforcement Thickness: 1.5mm
-
These thickness values are to be maintained consistently throughout the hood design.
4.1 Master Section:
This data is essential for designing the inner panel of our hood. It includes standardized dimensions, radius values, and the maximum height of the hood inner panel from the top.
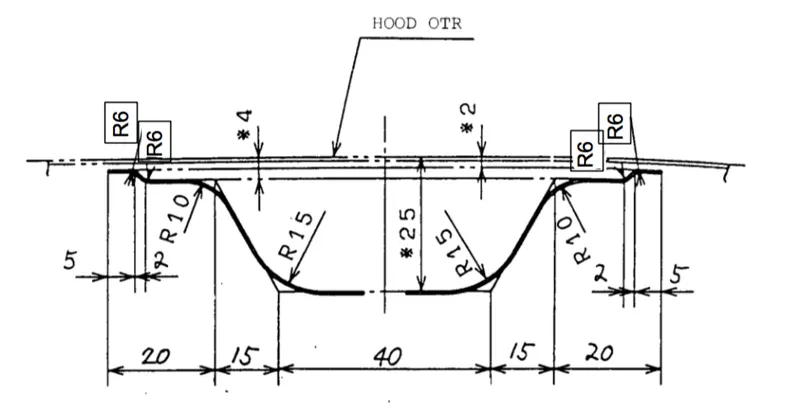
Class A Surface with flang
The edge radius should be decreased for embossing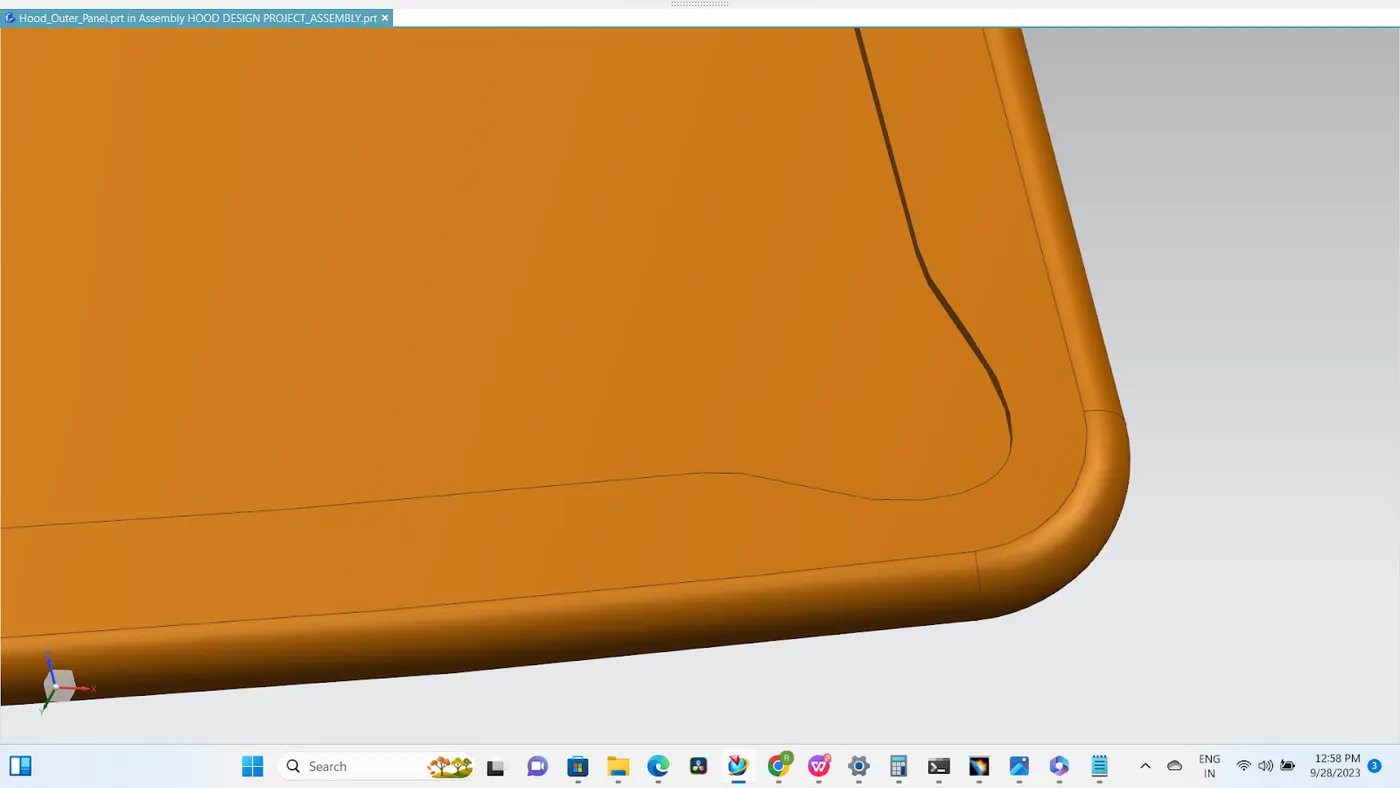
The edge radius should be decreased for embossing
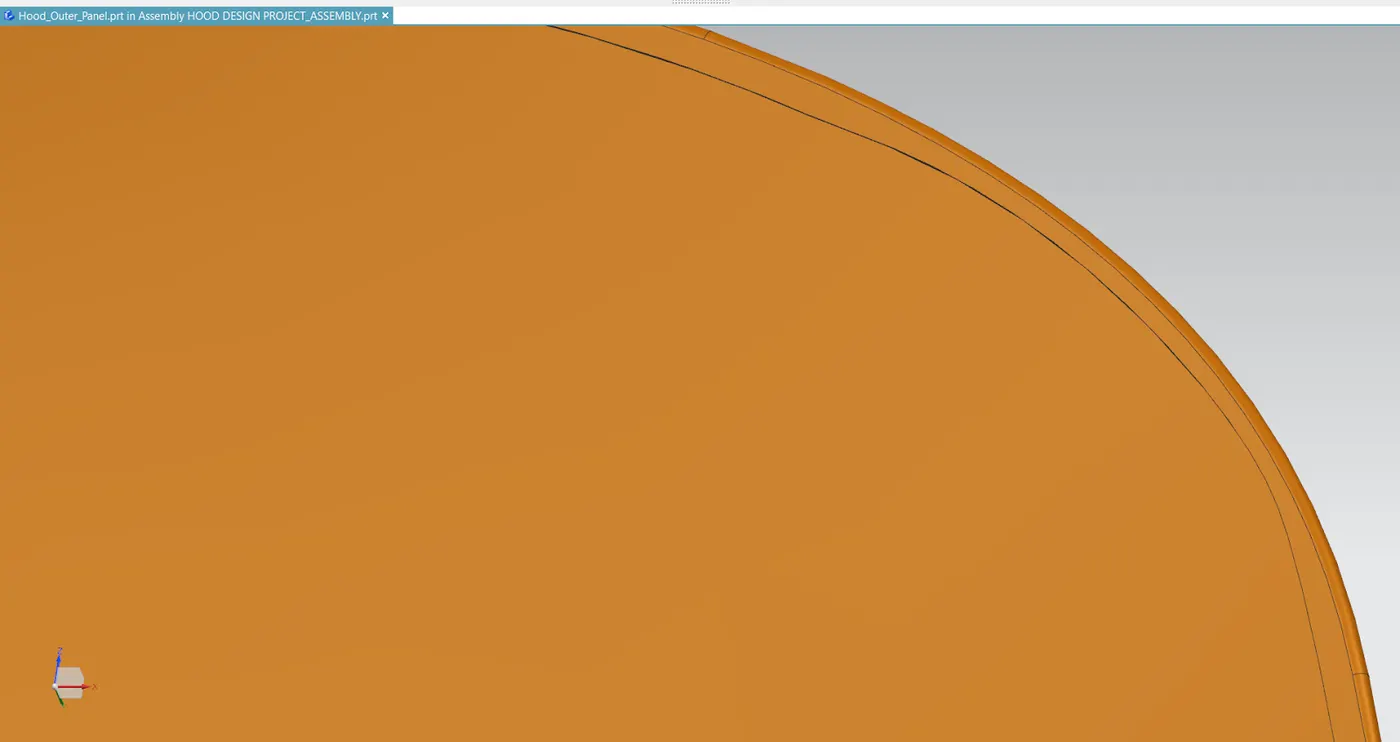
Reinforcement for strength
Manufacturing Processes for Hood Inner & Outer Panels
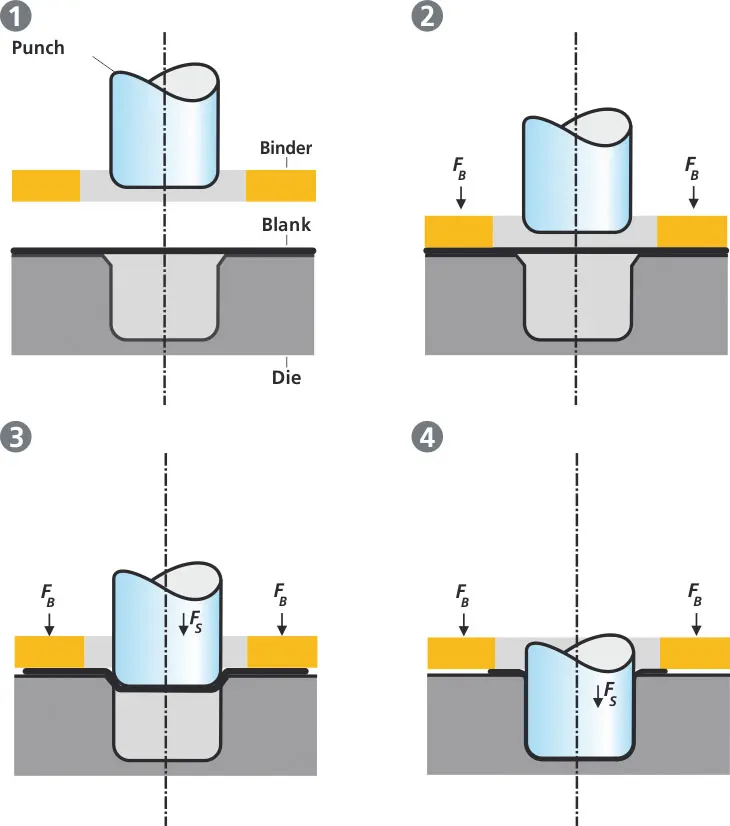
Illustration of the deep drawing process The figure illustrates the deep drawing process. The rigid tools consist of a punch, die and binder. In deep drawing, the plate holder closes after the metal sheet blank has been inserted. Next, the sheet is clamped between the die and the binder. This process slows down the flow of the sheet while it is being drawn and thereby prevents wrinkles from forming under the binder. The punch stretches the sheet over the die radius and forms it in the die. The amount of punch force necessary for forming is thereby continually increased up to the lower dead center of the punch. Whereas in pure deep drawing there is no reduction of sheet metal thickness, forming is achieved in stretch forming purely as a result of a decrease in sheet metal thickness. Stretch forming is extensively used for the forming of only slightly curved parts with low depth of draw (e.g. roofs, doors). When drawing complex car body parts in practice, there is usually a combination of stretch and deep drawing involved. It is necessary that the sheet metal is stretched as well as possible without reaching the material’s limits (e.g. splits, wrinkles). There are approximately 300 to 400 sheet metal parts that fit together to form the body of a car. In order to manufacture high-quality sheet metal parts optimally for their particular use, specialized software simulates the complete deep drawing process. 5.2 Heming: Hemming is a forming operation in which the edges of the sheet are folded or folded over another part in order to achieve a tight fit. Normally hemming operations are used to connect parts together, to improve the appearance of a part and to reinforce part edges. In car part production, hemming is used in assembly as a secondary operation after deep drawing, trimming and flanging operations to join two sheet metal parts (outer and inner) together. Typical parts for this type of assembly are hoods, doors, trunk lids and fenders. The accuracy of the hemming operation is very important since it affects the appearance of the surface and surface quality. Material deformations, which occur during the hemming process, can lead to dimensional variations and other defects in parts. Typical hemming defects are splits or wrinkles in the flange, material overlaps in the corner areas or material roll-in. This is why it is important to use simulation tools in order to, on the one hand, better understand the hemming process and, on the other hand, significantly reduce the number of “trial and error” loops during tryout and production.
There are two types of hemming process use:
a) Conventional die Heming
b) Roll Heming
a) Conventional die heming: Conventional die hemming is suitable for mass production. In die hemming, the flange is folded over the entire length with a hemming tool. Normally the actual hemming is a result of a forming operation in which the flange is formed with a hemming tool after the drawing and trimming operations have been completed. Production plants for conventional die hemming are very expensive, but the cycle times are very low.
b) Roll Heming: Roll hemming is performed incrementally using a specialized hemming roller. An industrial robot typically guides the hemming roller, shaping the flange gradually. The roll hemming process can be divided into multiple pre-hemming and final hemming steps.
Roll hemming offers notable flexibility and advantages, such as lower tooling costs compared to conventional die hemming. However, it's important to note that cycle times are generally longer in roll hemming. This is because the hemming roller follows a defined path, which requires more time to complete the hemming operation as compared to the rapid and simultaneous folding achieved in conventional die hemming. Despite longer cycle times, roll hemming remains an attractive option for specific applications due to its cost-effectiveness and adaptability.
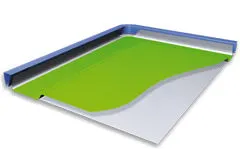
Fig.. Conventional die heming process, flange

Fig… Roll hemming process, flanges are folded with the help of rollers guided by is folded over entire length with a hemming tool industrial robot
conclusion:everry thing is done by considering design considerations