Hood design-Week 2
CREATION OF HOOD ASSEMBLY
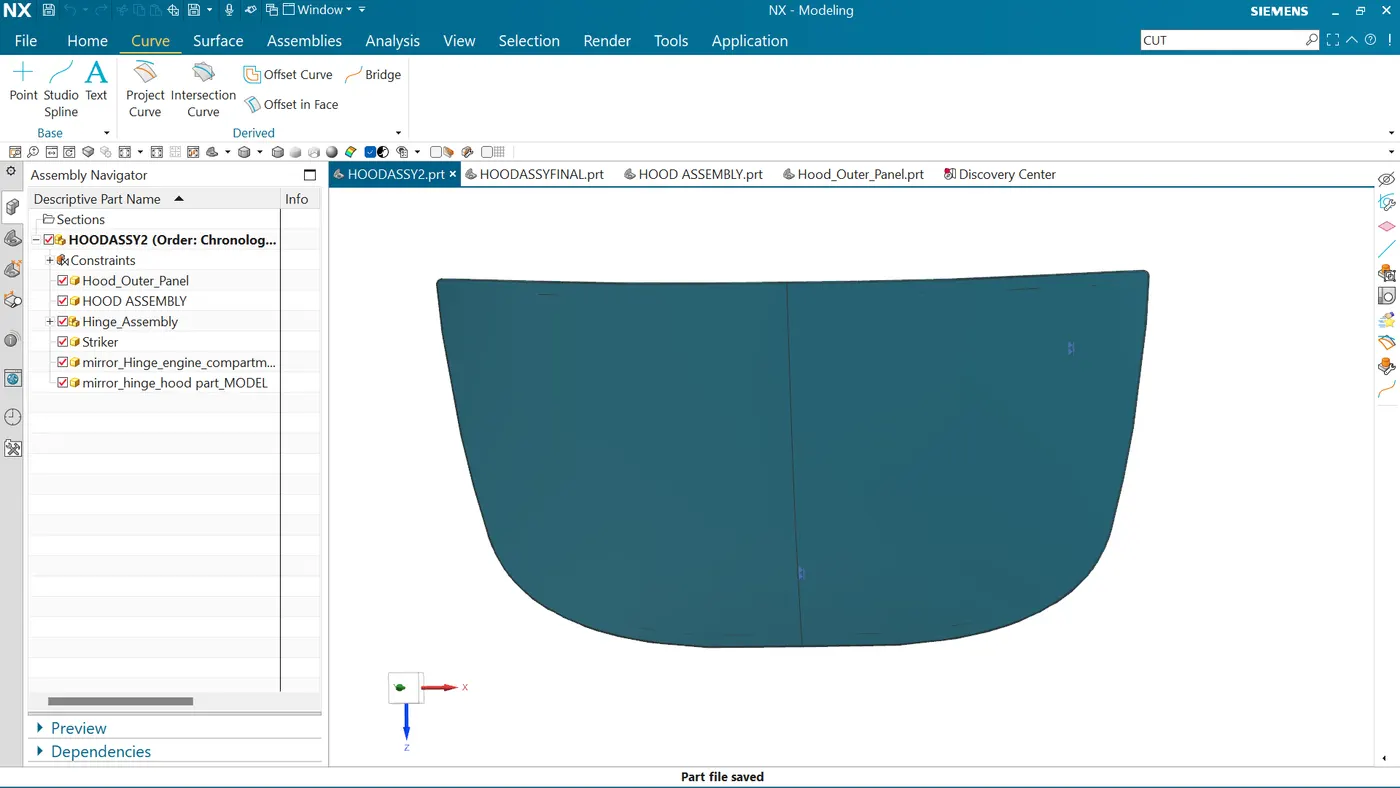
- At the first created a copy of the outer panel and trimmed it
- Then created a toooling axis by perpendicular method
- Offseted and trimmed the hood panel with given dimesions
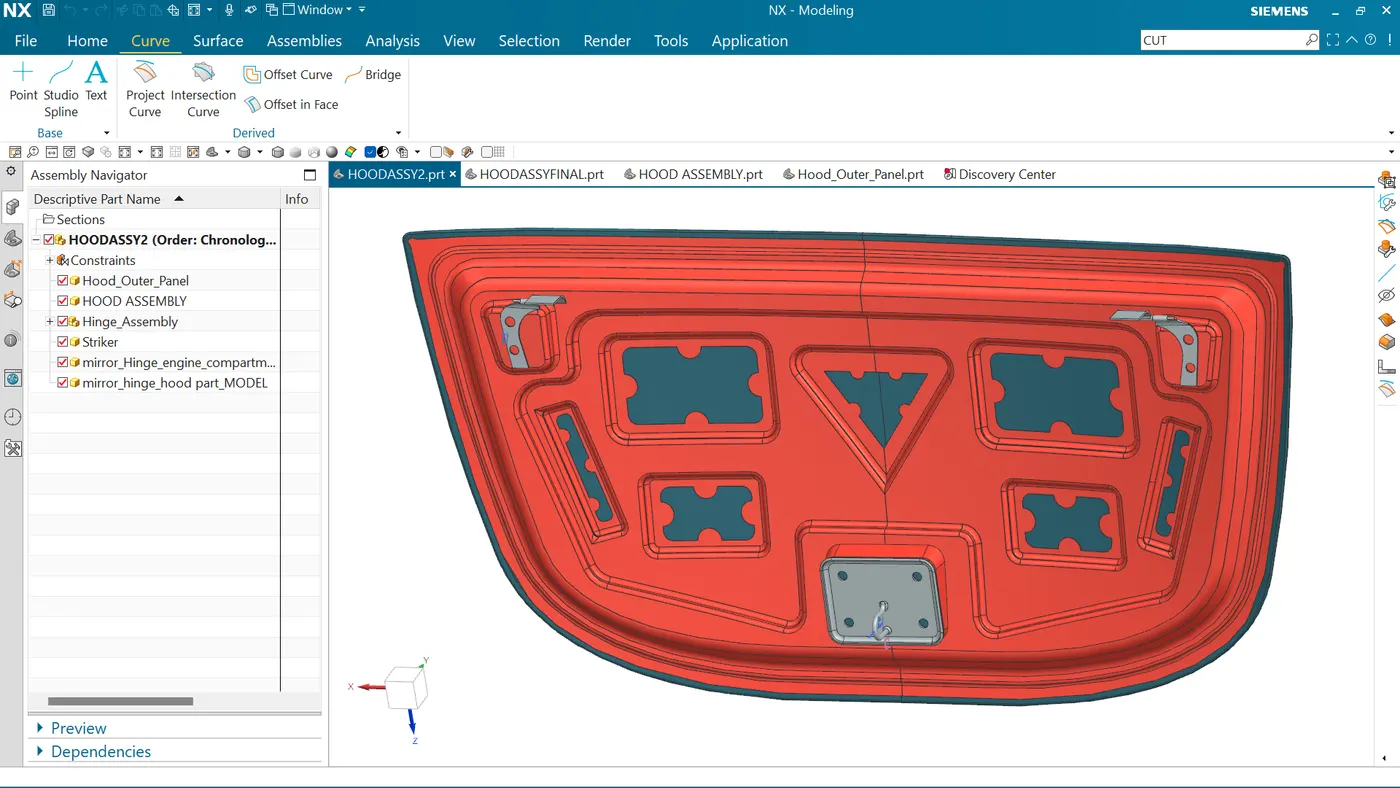
- And draw sketch for embossing by leaving certain space for hinge and stiker plate
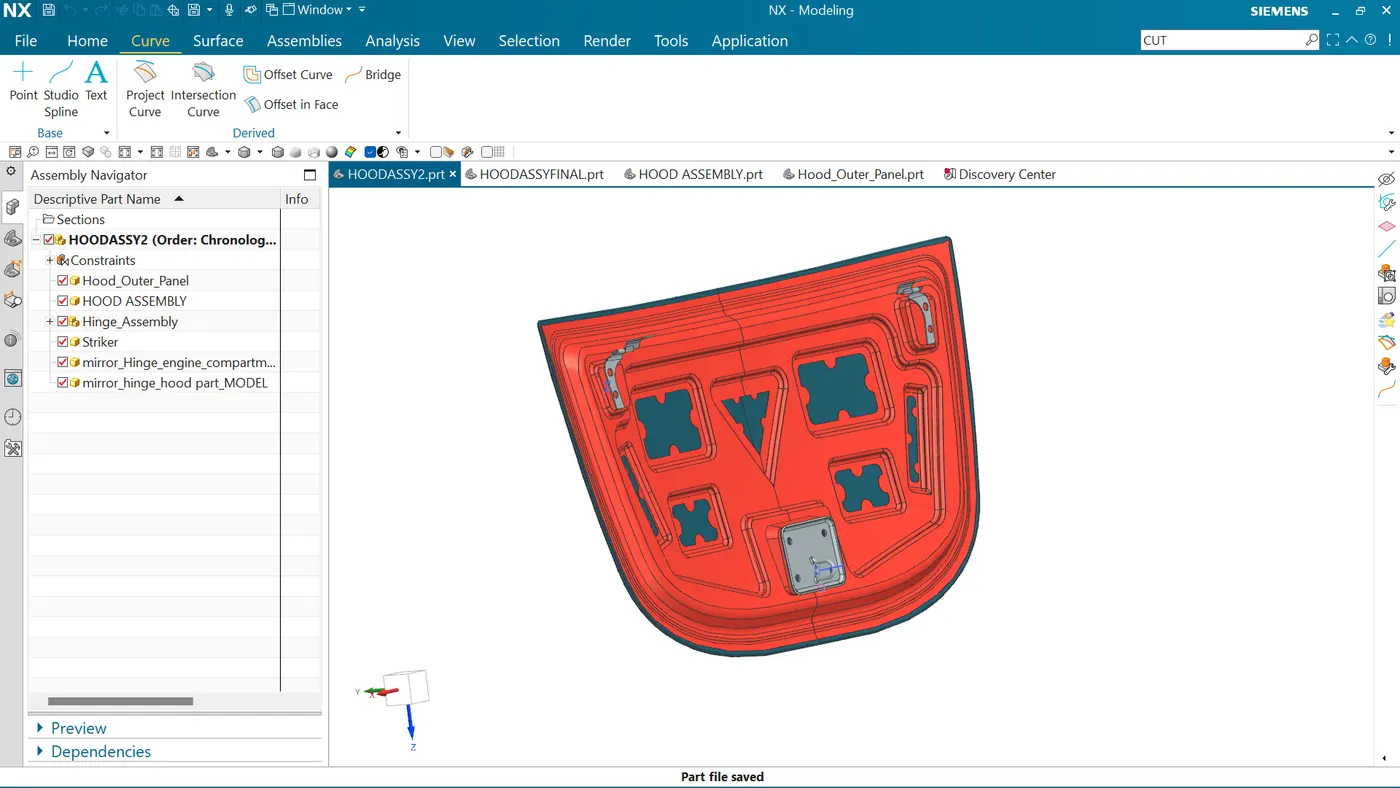
- Then created other 3 embosses for giving strength for the inner panel and to distribute the force that arriving in a collision
- Gave holes to the embosses for pedestrian safety
- I got a hinge assembly to attach on the hood for fixing that gave a emboss for the better strength and also to place the hinge with maximum fitting area.
- Then mirrored the par assembly got a full hood assembly
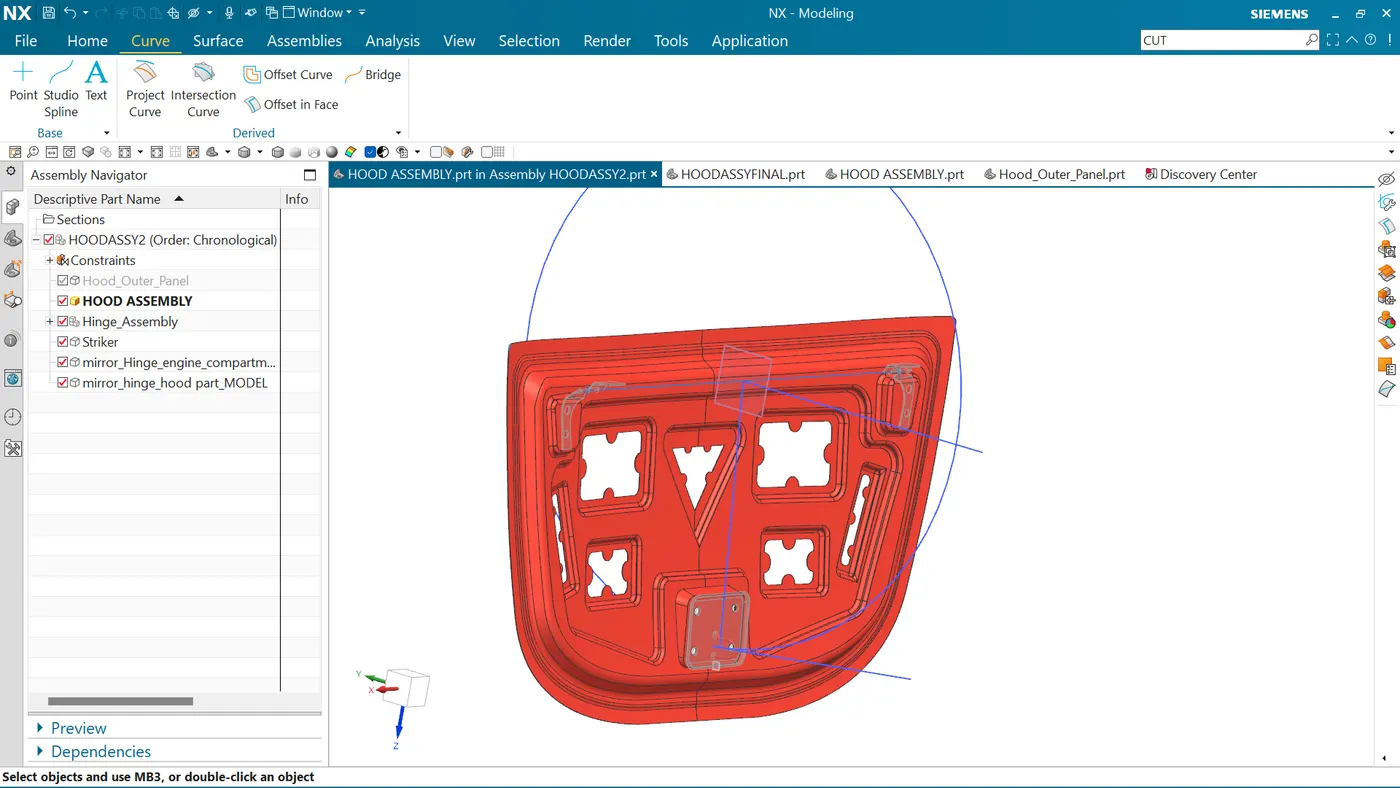
- After that created a sketch for attaching the striker by circular motion of the hood and provided a fully constrained sketch.
- Assembled the striker almost to the hood and created a law extension to fix the striker plate
- Completed the hood inner panel work by giving a thickness of 0.75 mm
- Then Picked the hood outer panel to give the hemming process
- Leave the 2mm gap between the ends of inner panel and outer panel also 0.2mm gap between the upper and lower face of the inner panel for attaching the outer panel with inner panel by giving hemming glue .