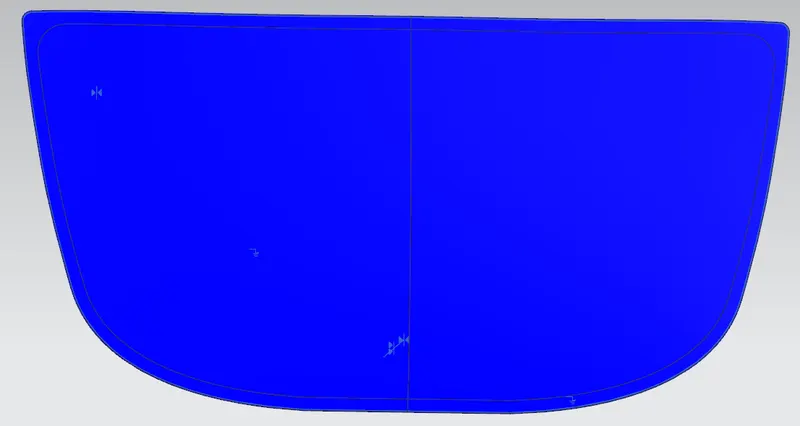
Hood design-Week 2
STEPS:
- Create a new Assembly file and save it in the requred folder.
- After activating the Assembly work bentch add the existing outer hood pannel to it.
- Fix the outer hood pannel.
- Create a new product file within the Assembly work bentch and name it as inner hood pannel.
- Using Wave Geometry Linker select the outer bountary of the outer hood pannel into newly created hood inner pannel.
- Trim the inner Pannel using Trim Sheet with respect to center plane.
- Create a sketch and create a tooling axis.
- Offset it by 1.7.
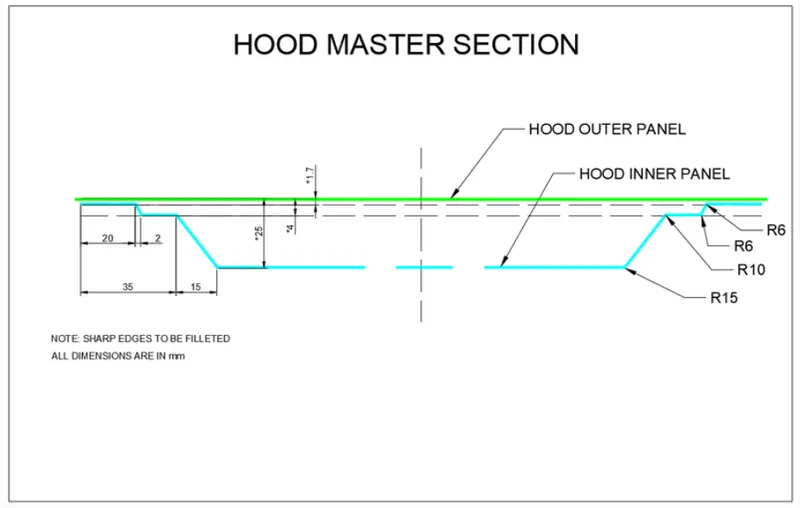
- By creating offsects and by trimming the surfaces we created the desired surfaces
- By using Through curves cunnected the diffrent offsects to become single surface.
- Join them using Sew commends.
- By using Edge blend apply fillets to the turfaces.
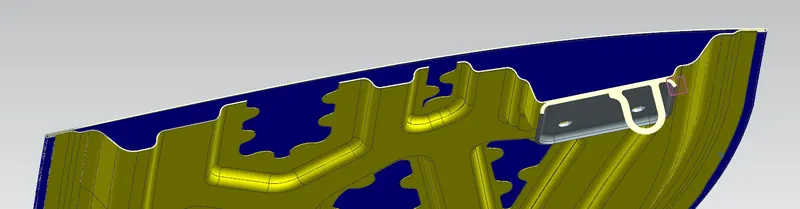
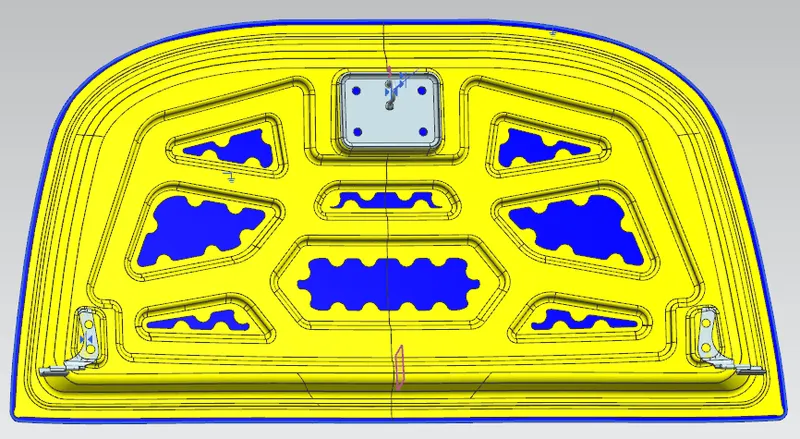
- After Complecting the base layer then it need to create the supports.
- By creating new sketches using sketch commend.
- project the Cruves to the inner pannel by using Projection Curves.
- After projecting the curves use Emboss tool by giving tooling axis as direction and projection.
- Draft angle is given 10 and End cap is also Provided as 10.
- select these steps from part navigtaor and create a new feature group.
- After creating enough sketchs and emboss next steps is to trim the parts to cut out .
- Cut the part by creating sketches and by projection curves then trim them.
- By Activating assembly work bentch and import Hinge & Striker.
- Then Mirror it.
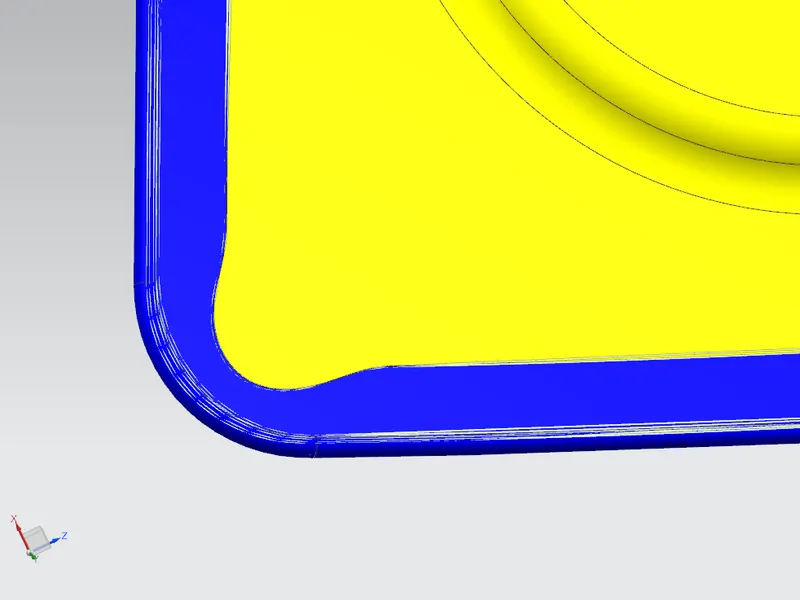
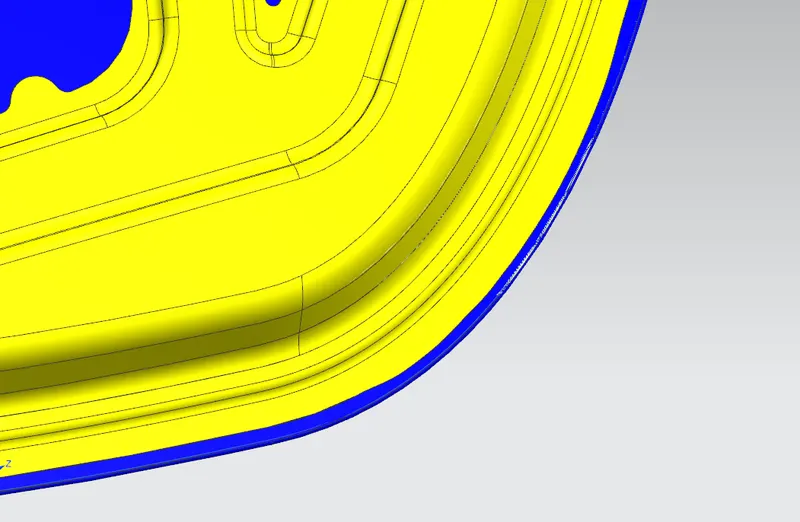
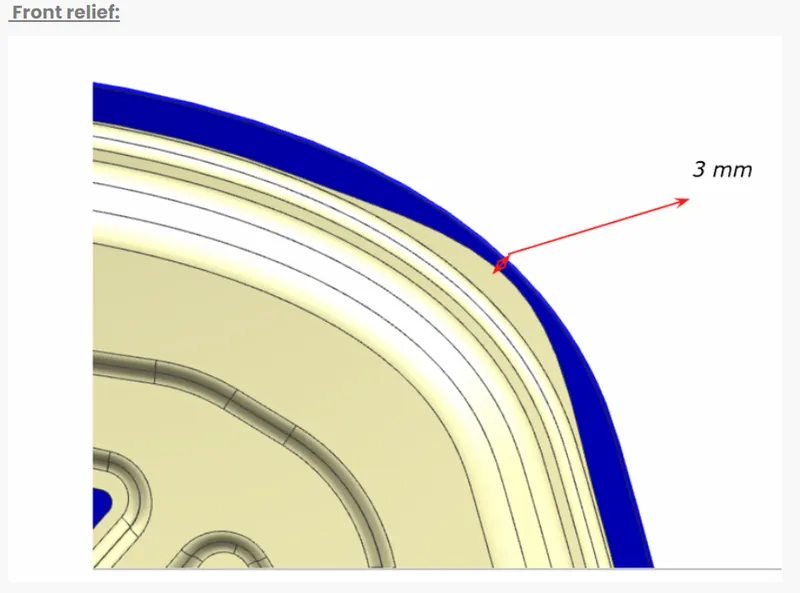
Hemming :
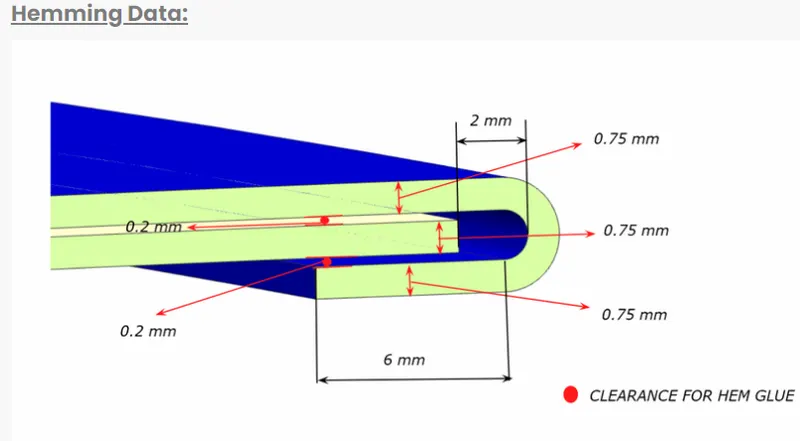
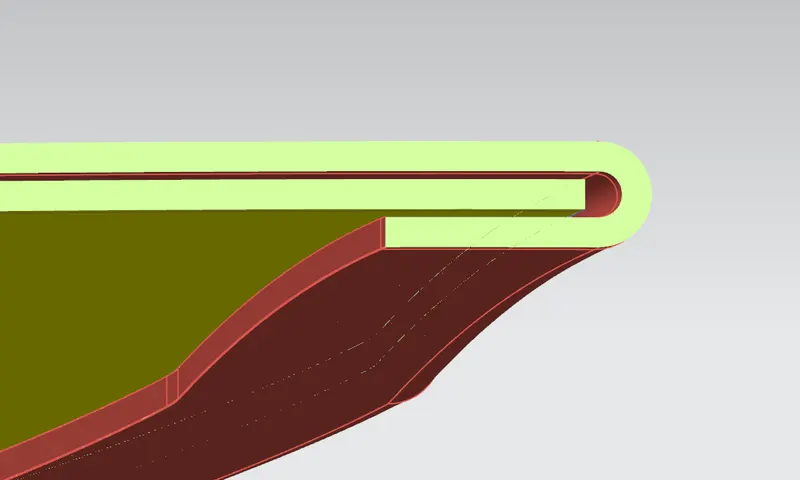
- Offset the outer hood surface to 2.65 (0.75+0.2+0.75+0.2+0.75) to downwards.
- Trim the offsetrd surface to 7mm trom surface.
- By using law extension tool connect the offseted surface and trimes surface
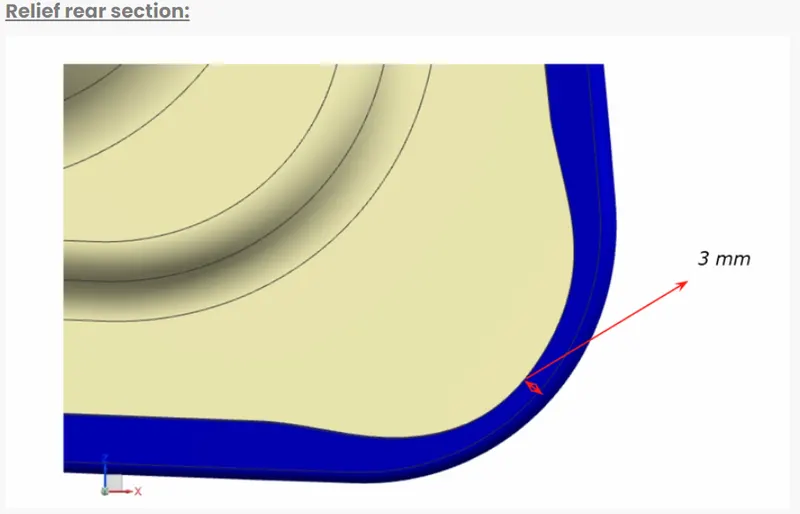
- By Using Curve on surface too curve the edge to below fig.
- Then thicken the outer surface to downwards and inner pannerl to outwards.