Hood design-Week 2
HOOD DESIGN
GIVEN DATA -
MASTER SECTION -
Hemming Data:
Front relief:
TO BE DESIGNED :
Hood outer panel, inner panel and the necessary reinforcements by following the Master section.
PROCESS CARRIED :
The process of designing the hood was carried using the Top-Down Approach. The Hood's surface of the outer panel was given, and the solid bodies of the hinge and the striker were given. The task was to design the outer and inner panels of the hood and attach both the striker and hinges to the hood.
INNER PANEL
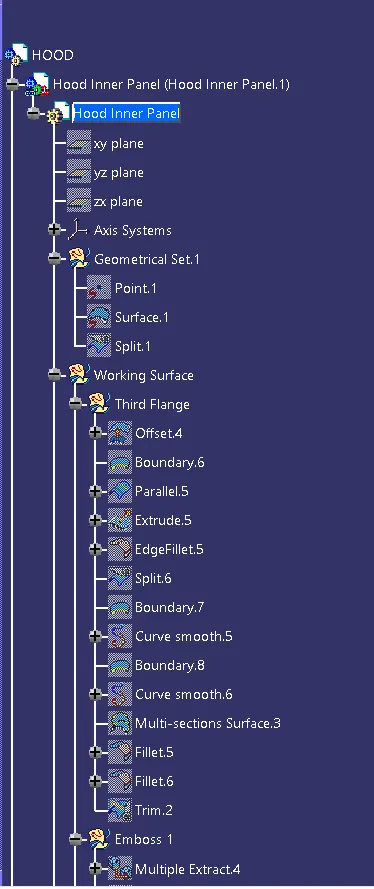
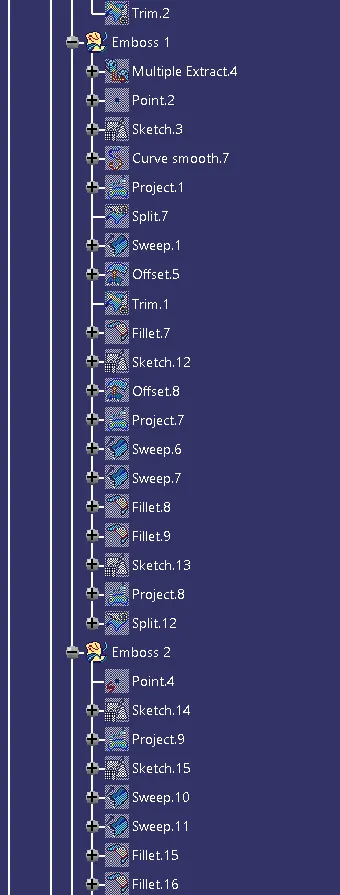
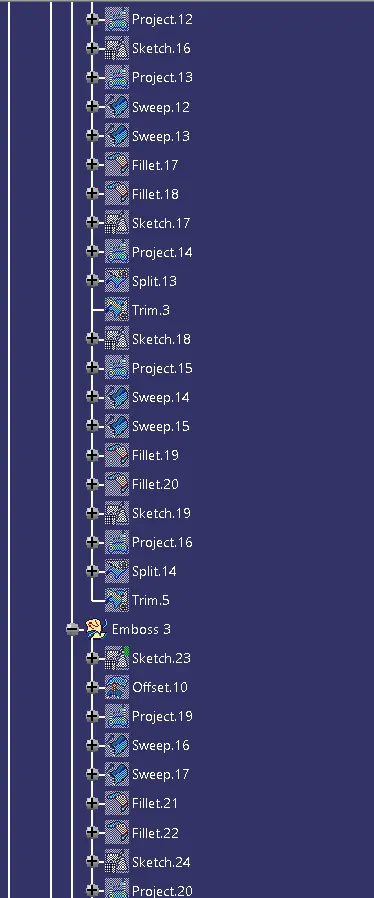
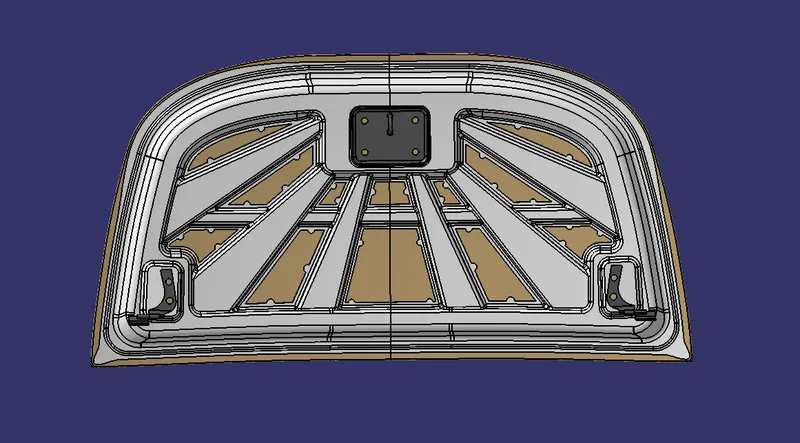
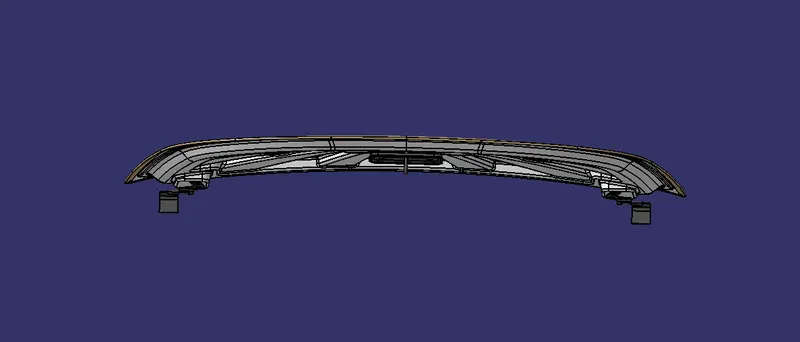
Initially, the inner panel of the hood was created by following the master section given. The surfaces were offset and trimmed together to obtain the part. Then the emboss was created, the emboss was created in such a way that it should be diverging from the front of the hood to the back. This is done so that when the car is undergoing a frontal crash, the hood of the car absorbs the force and decipate evenly to the hinge area.
Also a emboss going horizontal to the hood is created, During a frontal crash, The hood folds at the horizontal emboss so that most of the energy is absorbed there.
The sheet metals between the embosses are removed. It helps in saving the material as well as it is used for pedestrian safety purpose. When the car hit on a pedestrian the pedestrian's head is going to hit the hood of the car. If the hood is too rigid the pedestrian might die, to avoid that the hood is not made too rigid, It flexes in and out when the pedestrian hits the hood.
HINGES
In the inner panel of the hood the hinges are fixed at the two corners of the hood, To fix the Hinges on the inner panel, emboss is created. The emboss surface of the emboss should be flat to the hinge surface.
STRIKER
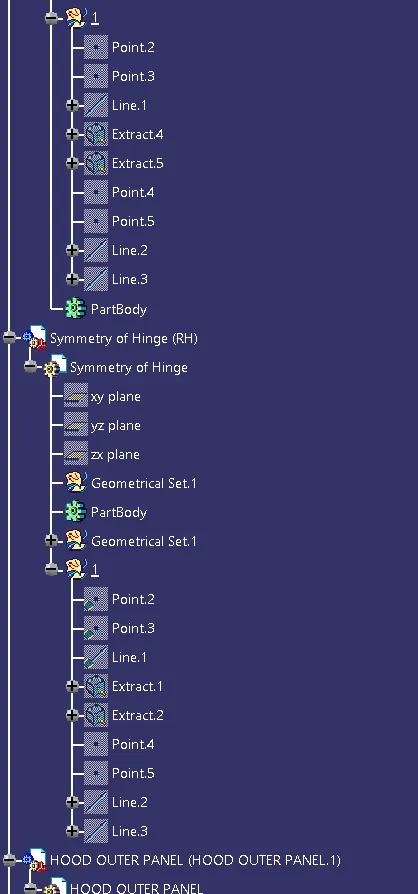
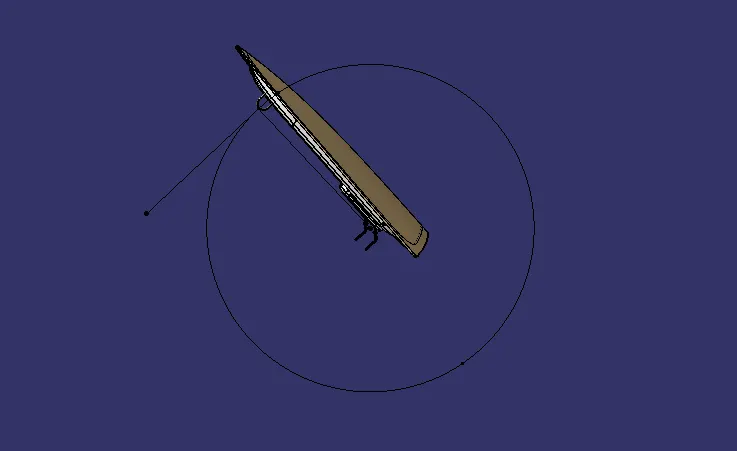
Placing the striker on the hood is to be taken care well, as the bracket which is going to be locked with the car body should be moved along a specific path while opening, So the centre of the shafts of the hinges are extracted and they are projected to the midplane. So a point will be obtained in the middle. Considering the point to be the centre, A circle is drawn. Here the circle should the tangent to the striker's axis and also a line is drawn from the midpoint of the hinges to the point on the striker.
OUTER PANEL
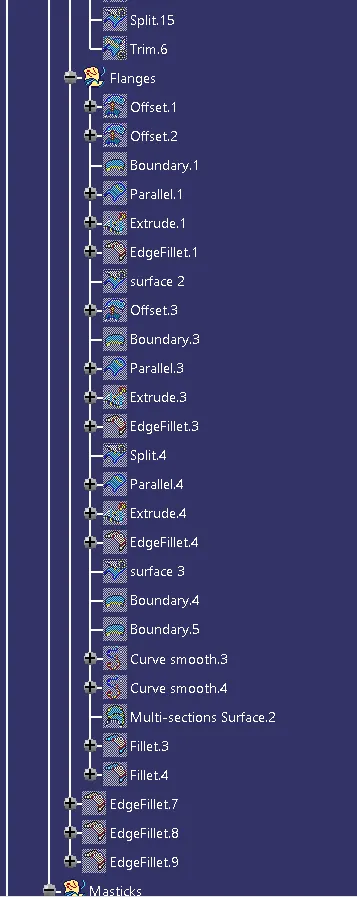
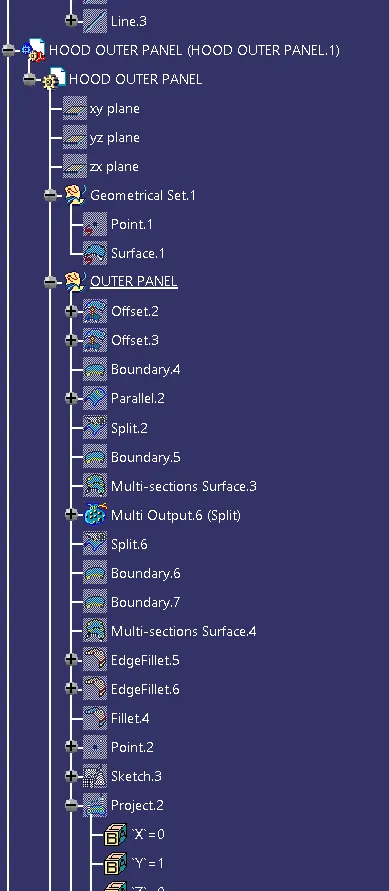
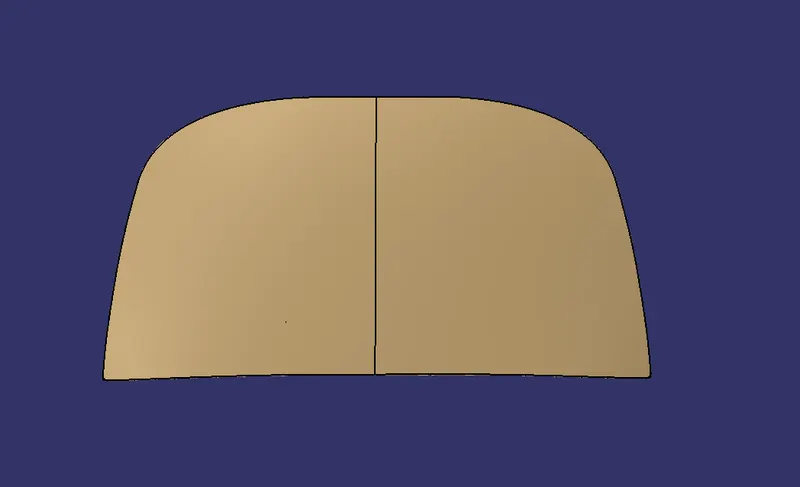
The outer panel of the hood is extracted from the given skin and the surface is offsetted for 3.25mm down, and the boundary of the offsetted surface is obtained and using parallel curve the boundary is offsetted inside for 12mm. The offsetted line is used for splitting the surface.
Using multi section, the side surfaces are created and using tri tangent shape fillet, The side surface is hemmed.
The hemming at the lower side surface of the hood is made as per the given guidelines
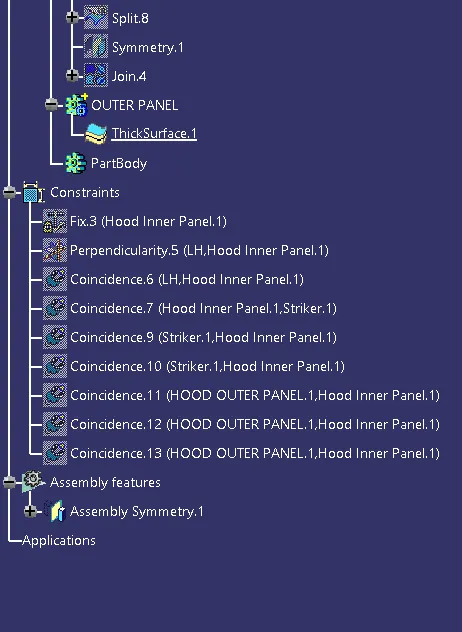
As all these processes are carried in a Top-Down approach in the assembly design the parts are constrained with the hood inner panel.
HOOD
HOOD OUTER PANEL
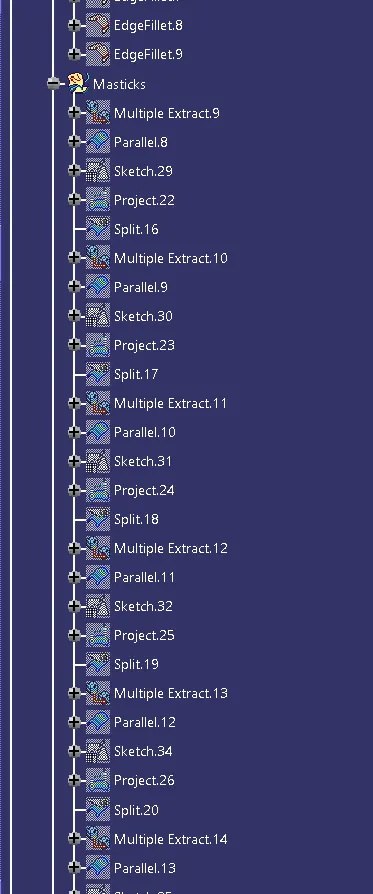
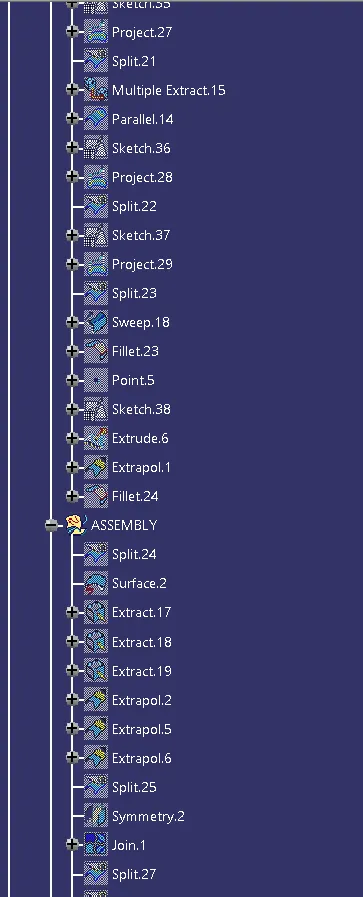
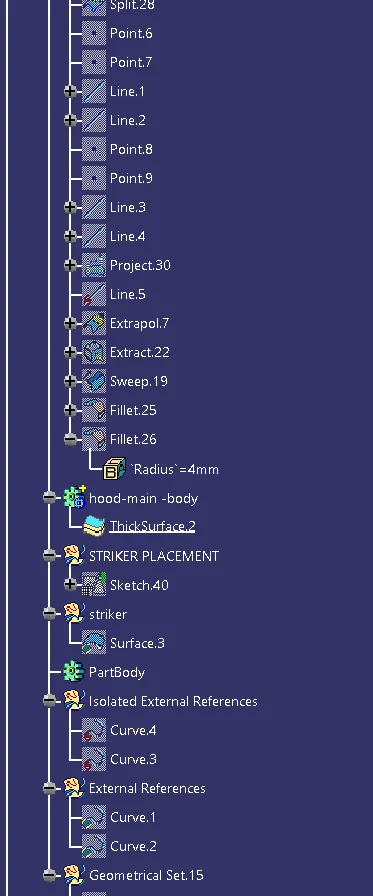
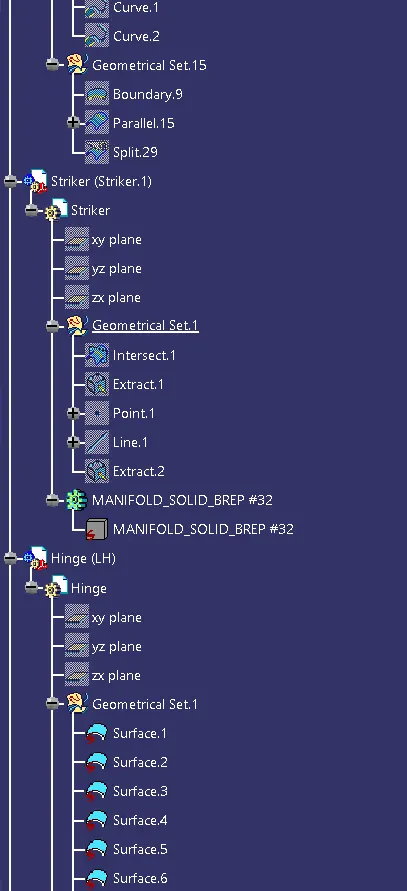
FEATURE TREE