Hood design-Week 2
Hood Design
Introduction:
The Hood or the Bonnet of a car is considered as the frontal BIW enclosure component. Bonnets are designed to reduce air resistance as the air flows around the car. The design of the bonnet is vital since it affects the aerodynamic flow around the car. Apart from this, bonnets are also designed to meet several other requirements. They serve a great deal of purpose in protecting the passengers inside the car and the pedestrians in the event of an accident. It also acts as the engine cover.
Is the hinged cover that rests over the engine bay of a front-engine vehicle. The car hood protects the engine and connected parts from the elements while providing easy access for repairs and maintenance.
Basic Design Steps in Hood:
- Hood outer panel
- Hood inner panel
- Latch and Striker re-enforcement
- Hinge re-enforcement
- Embossment
- Assembling the components.
The hood or the bonnet is commonly manufactured using Stainless steel of various grades. For vehicles that weigh less, the bonnet is made up of aluminium. The Stainless steel bonnet uses a technique called deep drawing to manufacture the component. The Aluminum bonnet employs a procedure called as casting.In this project, we are going to design a hood that is manufactured using stainless steel material.
Purpose of Hood Design:
- Save and safety of purposes inside the car.
- Cover all engine parts and radiators.
- Reduce the Air effect due to design aerodynamic shape.
- Provide access to the engine for repair and maintenance.
- Reduces engine noise, providing you with a quieter drive.
- It can also help keep the paint underhood last longer.
- It can give motorists more time to get out of the car before the fire blazes out of the hood.
Manufacturing Requirements:
While designing the inner panel hood that will be manufactured using the deep drawing process, there are some minimum requirements that we need to fulfil:
- Minimum fillet radius = 3mm+Thickness
- No sharp corners inside the component
- No curvatures lesser than 5mm
- Small embosses should not exceed the maximum depth of 6mm (staying on the safe side)
- Mounting areas and welding areas need to be flat
- Provide appropriate corner relief on the area of curvature.
OUTER PANNEL:
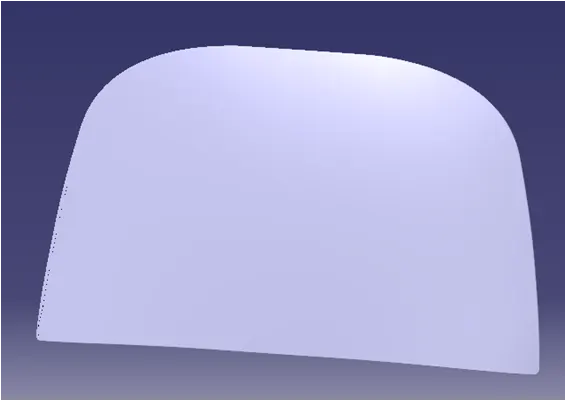
Outer panel is nothing but a outer skin of inner panel. Otherwise called as a cover of inner panel. It is the part, which gives luxurious look to the hood or bonnet. Outer pannel and inner pannel cannot join by any welding process like spot welding or rivet, which spoil the outer look of a car.The outer pannel is generally extracted model from the prototype design.
Inner panel:
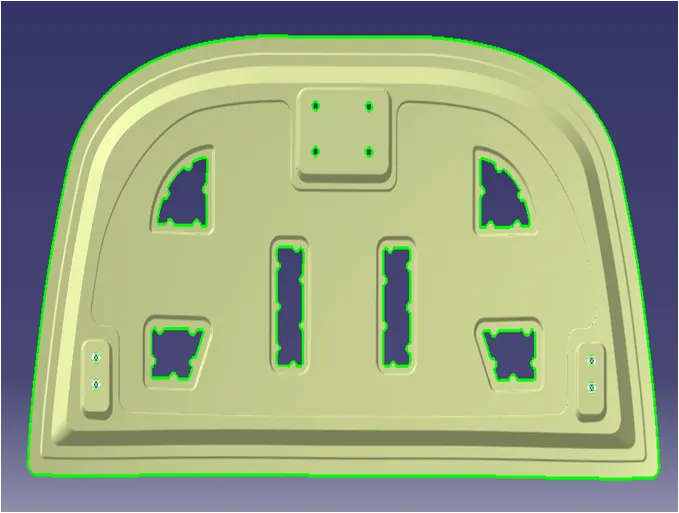
Inner panel supports outer panel. It consists of different embosses and hole at different places. Embosses provide stiffness as well as dissipate energy towards hinges. To determine the most effective position of hole, the method of modal stiffness is employed.Inner pannel is offset of the parent work surface.inner pannel thickness is 0.75mm.
Emboss Creation:
The geometry is created based on the master section that was designed above. After performing the initial stages of design, we will provide local embosses to strengthen the component. The component will be strengthened based on the master section. When a force impacts the hood from the front, it travels in an upward direction. The component is designed to divert the force away from the passengers into the hinges, as shown in the image below: The embosses in the inner panel are made according to the diversion of the load path. The emboss depth is kept at a maximum of 5mm to be on the safer side so that the part is manufacturable.
Re-enforcements and crash bead:
After the development of the entire inner panel for the hood, we need to develop some additional necessary re-enforcements. The Latch striker and the hinges will need a re-enforcement that needs to be developed.
Mastic Sealant:
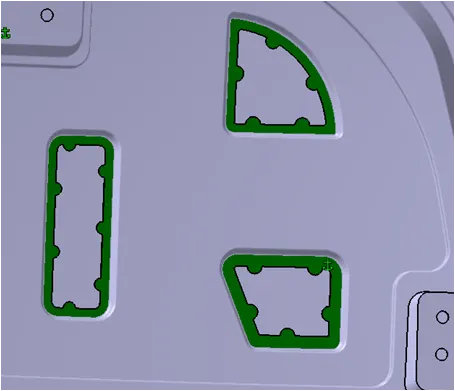
The Mastic sealant or the Mastic point is an elastic compound that behaves like a rubber. The mastic points are defined on the hood inner panel where the hood can easily deform. They help the hood outer panel to come back to its original shape after it gets deformed.
Hemming:
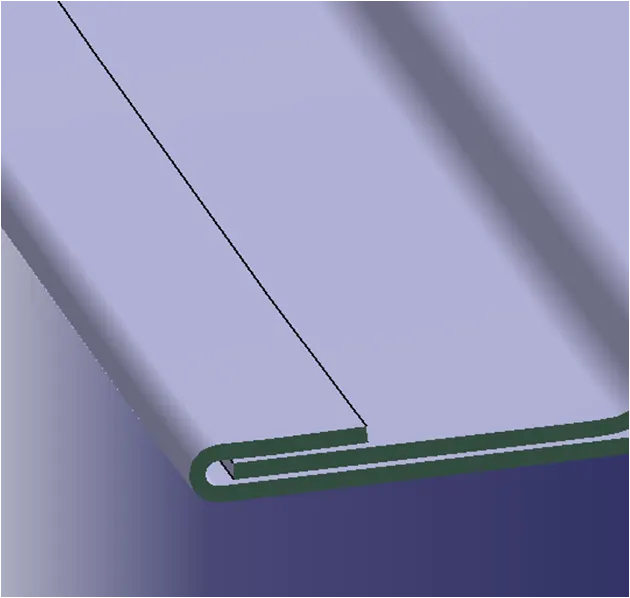
Hemming is the process of joining both the outer and inner panel together. The hemming process roles and wraps the hood outer panel around the inner panel and holds it tightly together. The following are the dimensions followed for hemming.
Cornner relife:
After the hemming process is done, now we need to provide corner relief on the corners of the hood so that the part is manufactural