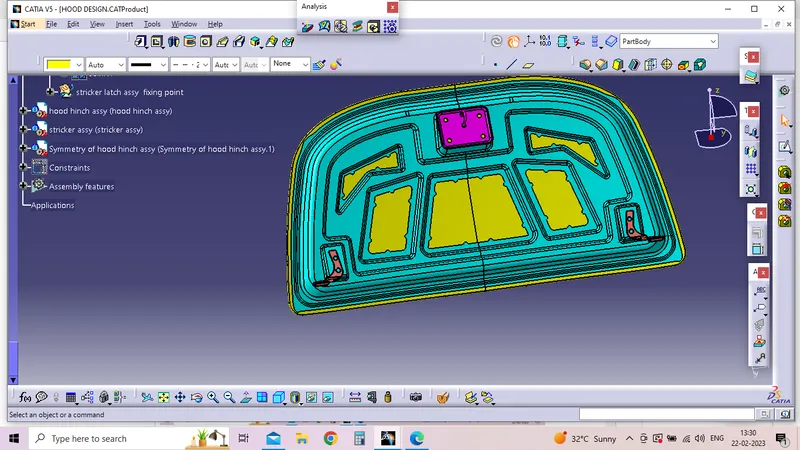
Hood design-Week 2
Hood Design
Aim:
1.Design Hood outer panel, inner panel and the necessary reinforcements by following the Master section mentioned with the design parameter
2.Submit an assembly of Hood inner panel, outer panel, latch, hinge and the reinforcements.
3.A detailed report about the Hood Design which includes a detailed explanation about hood and its components, Latch trajectory, Mastic data, Emboss definitions, manufacturing process like deep drawing and hemming, and all the parameters followed in the design.
First we will discuss about the use of hood :
The hood (North American English) or bonnet (Commonwealth English) is the hinged cover over the engine of motor vehicles. Hoods can open to allow access to the engine compartment, or trunk (boot in Commonwealth English) on rear-engine and some mid-engine vehicles) for maintenance and repair.
Hood opening Angle:
Hood open angle will not follow same hieght its vary for humuman being Height Varing in Regin to Regin
One of design parameter for design of hood is opening angle. This opening angle is being control by supporting rod or gas stay. The length of supporting rod controls the opening angle of hood. Supporting rod is placed on engine and after opening is attached to hood .
Design Consideration :
- Open angle
- Esay to Assceesabilty of Engine compartment parts.
- Masitic points
- Pedestrian safety
Parts of a Hood Assembly :
1.Support Rod :
The support rod is used to hold the hood at the hood opening angle and is usually hinged at the engine as shown above.The support rod is usually given a curvature so that it gets strength and the curvature should be less than 35 mm as too much curvature can lead to bending .
2.Gas stay:
It is also a Hood stay but it is automated or need some slight amount of force then gas itself actuates it and make it work desirably. Advantages: It is automatic in nature.
3.Reinforcements
We give reinforcements in the area wherever there is an attachment given such as striker or hinger so that the strength in these areas increase.
Hood inner panel process:
Given Class a surface process will follow given master setctions all the process done.
Extact the Given Class A surface
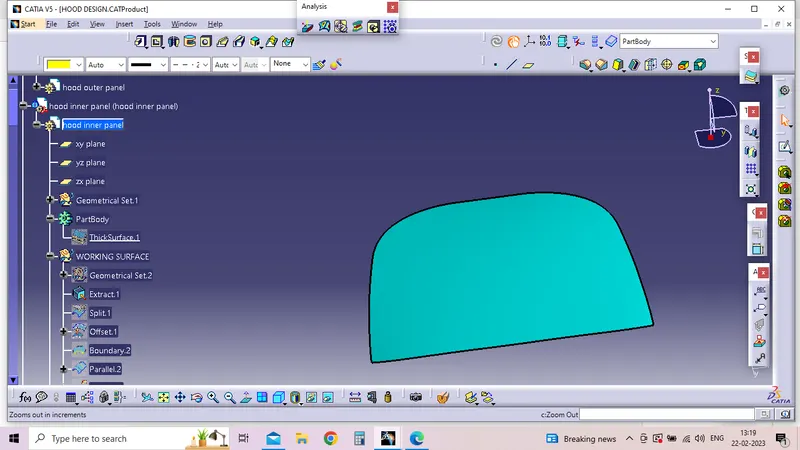
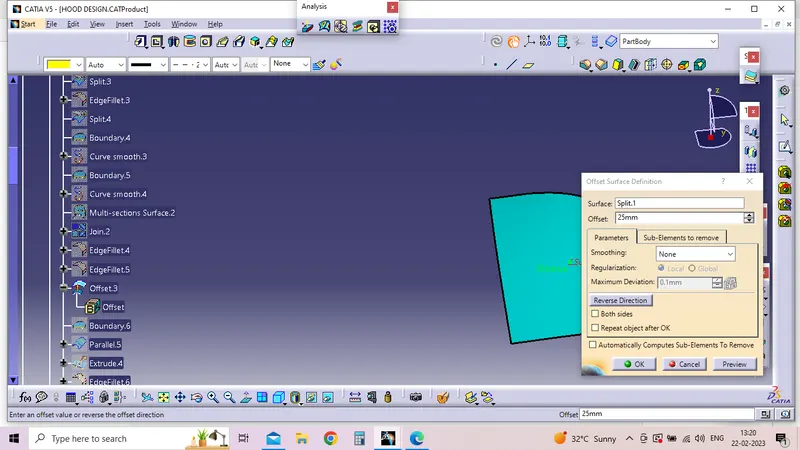
Spilt the working Surface
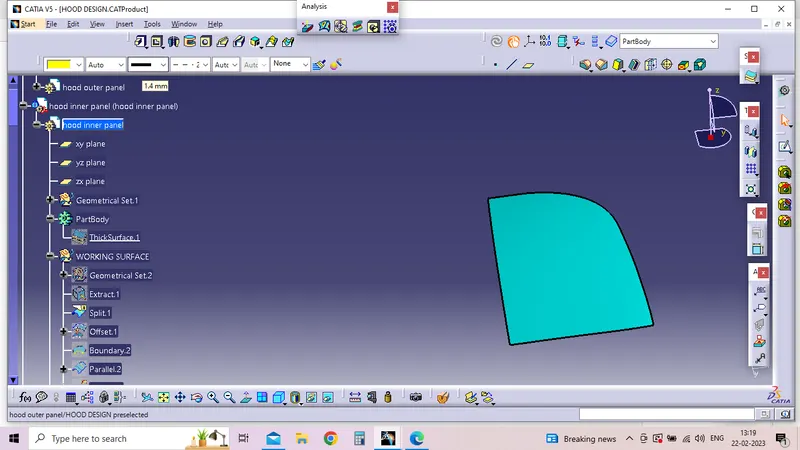
create the Inner Panel with reapect to the Master setctions
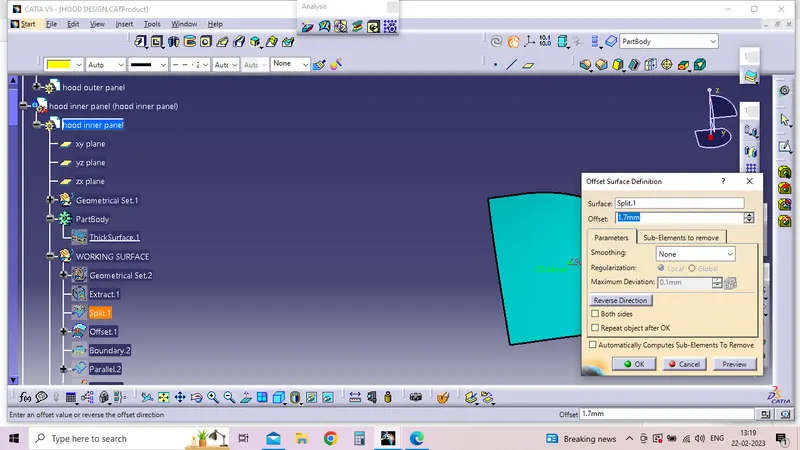
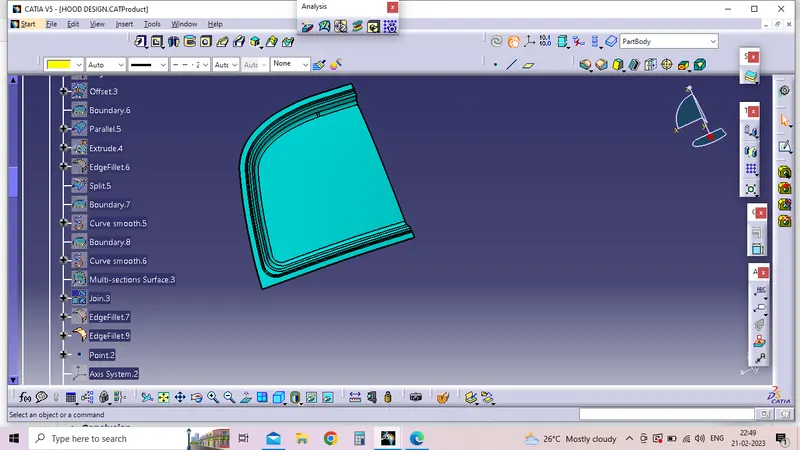
Inner panel embosses will create
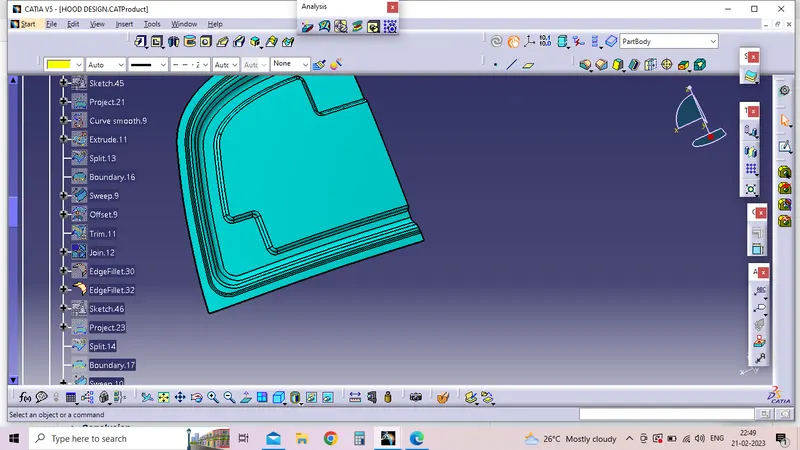
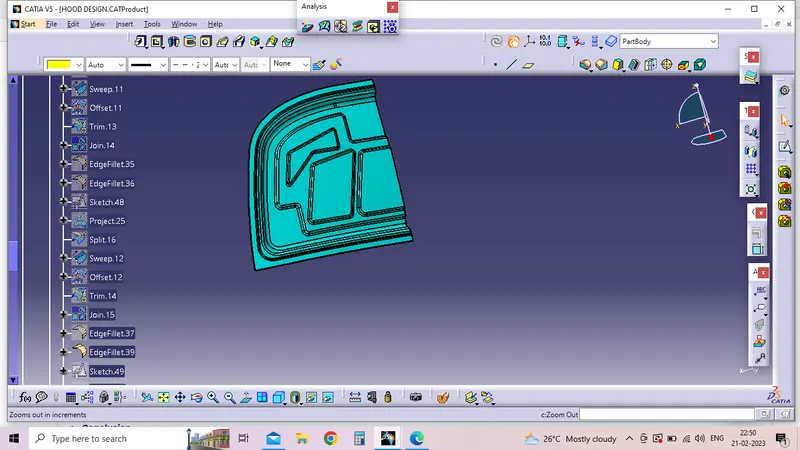
Mastic point Creation
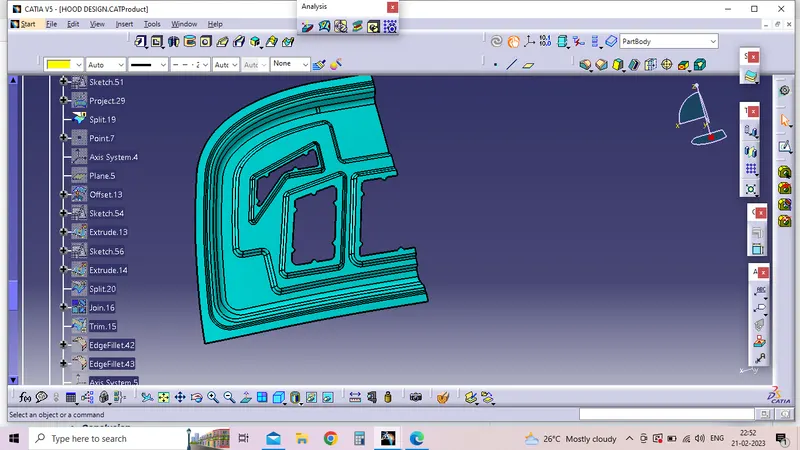
After that Hinge embosses creation symmtery process done Hinge placed with Constrains and manupulate method used.
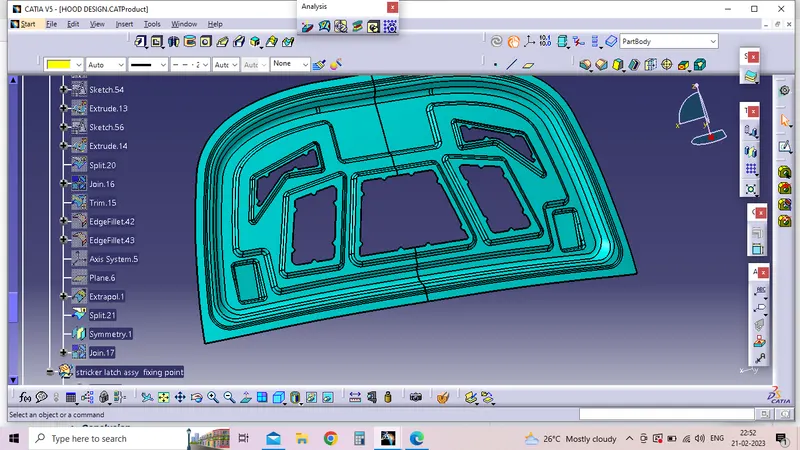
Stricker mounting point create with trigetery circle and Angle.
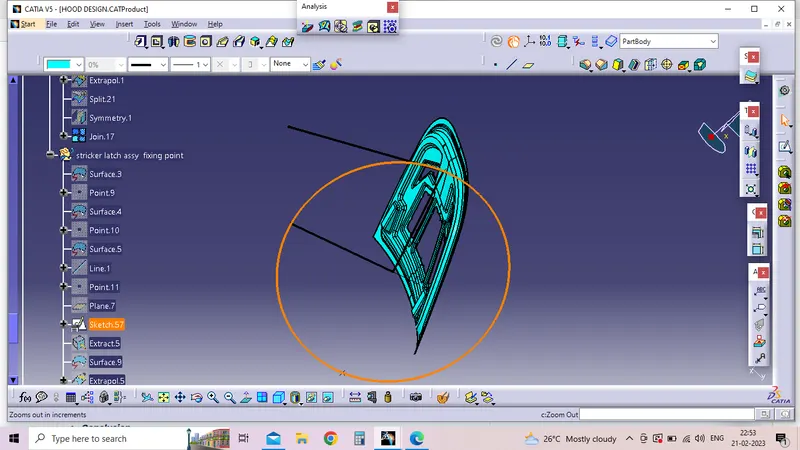
Stricker embosess created
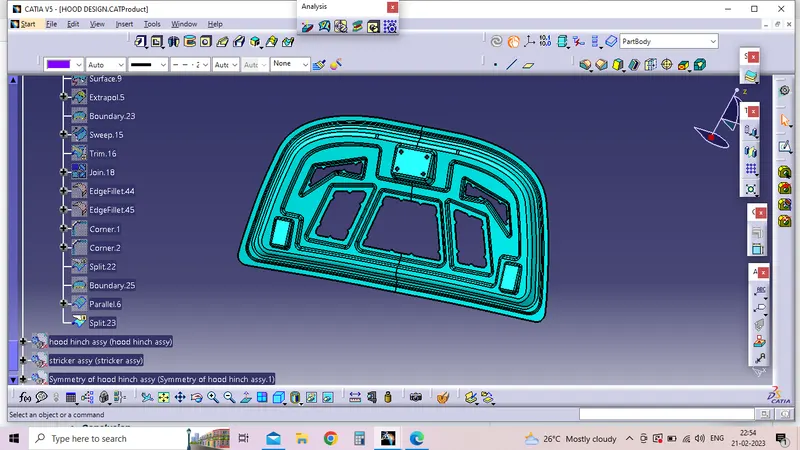
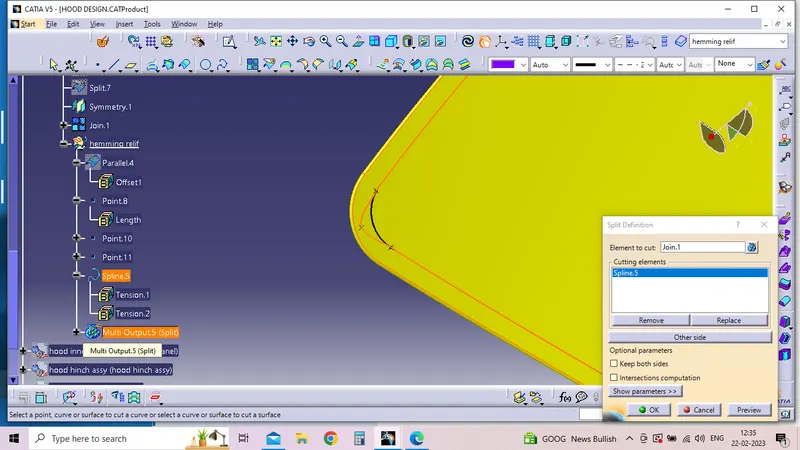
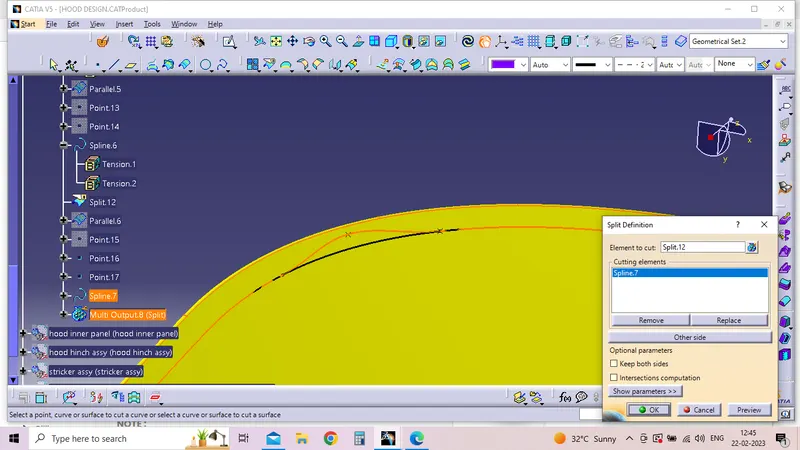
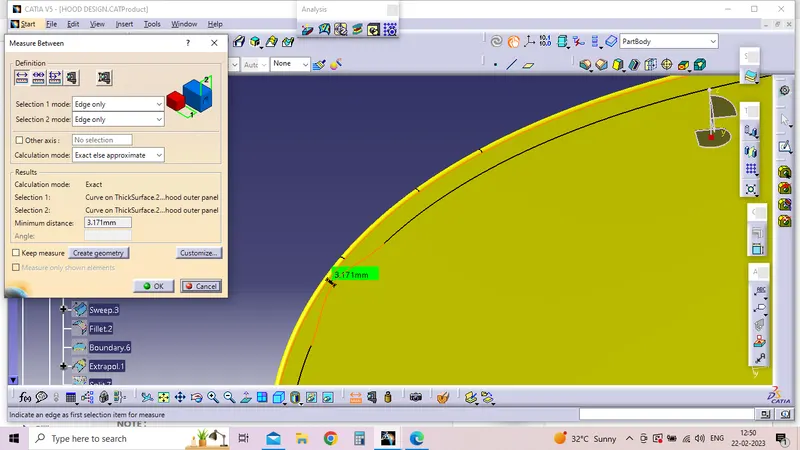
Hemming relif created for Stress relif and skin panel wringle issue will arrested
Symmetry process will done all the part Thicken process followed by with respect to the Master section
All the assy Thicken after get it The final Hood Assy.