Hood design-Week 2
Design of Hood
Objective
The main objective of this project is to learn the basic tools, commands, and Surface modeling of the Hood Design using Siemens NX CAD. The objectives of this project are as follows:
- To understand and learn the basic Graphical User Interface (GUI) of Siemens NX CAD
- To understand and learn the basic tools and command features of Surface Modeling and its application.
- To understand and learn about the industrial approach of the Hood Design using Siemens NX CAD.
- To design the Hood using Surface Modeling features of the Siemens NX CAD.
Introduction
In this project, a bare essential model of a vehicle hood is made using Siemens NX to appreciate and adapt with different contraptions and methods for showing. Hood is a huge piece of an auto as it offers prosperity to the voyagers. The hood is arranged so an impact on the exterior of the vehicle would redirect the forces from the voyagers. The hood panel contains three standard fragments.
Inner panel: Inner panel is the essential fragment of the hood as it is expected for scattering the force of impact on the vehicle body. The inner panel includes reinforcements similarly to the mastic centers.
Outer panel: The outer panel fills in as a slick section while similarly giving extra fortitude to the inner panel. The twist of the inner panel relies upon the arrangement of the outer panel.
Reinforcements: The reinforcements give additional fortitude to the inner panel at the centers where various parts, for instance, the lock and rotate will be put. These reinforcements ensure that the turns and the snare have better assistance to avoid frustration.
Master Sketch
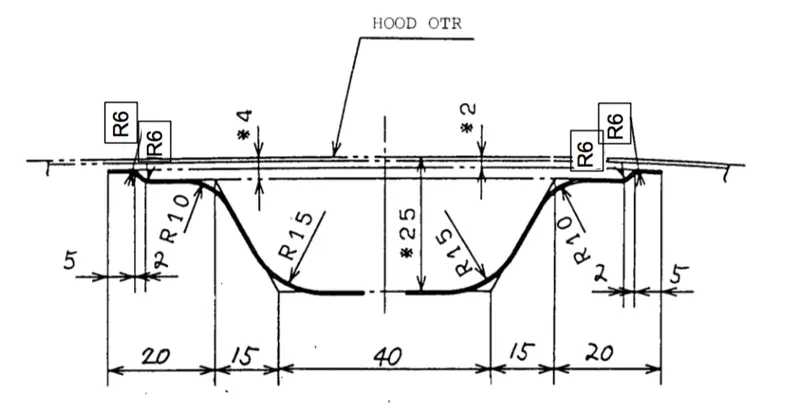
Design Methodology or approach:
The styling gathering will give us the skin data. The arranging engineer will mull over the engineering common sense of that part with furthermore considering the NCAP standards and will give analysis so they can change the styling of the hood properly.
The master territory is obliged different areas. Moreover, various predefined values are given to us as demonstrated by which we need to engineer and plan the sketch and model the hood.
Starting there forward, the CAE engineer will do an examination and testing on the part showed and subsequently report or analyze to the hood engineer and do the significant changes.
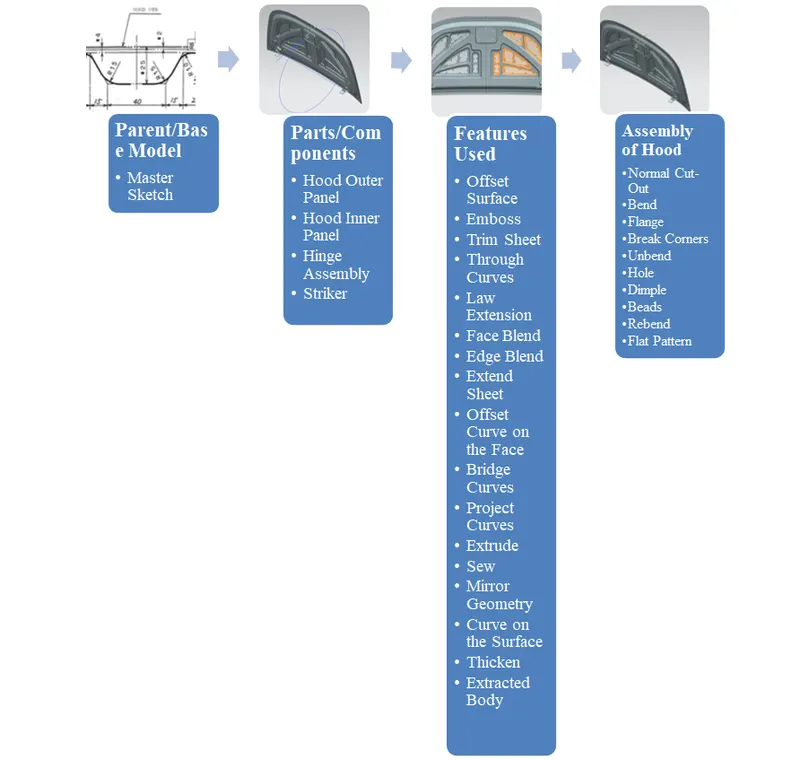
Parts Description
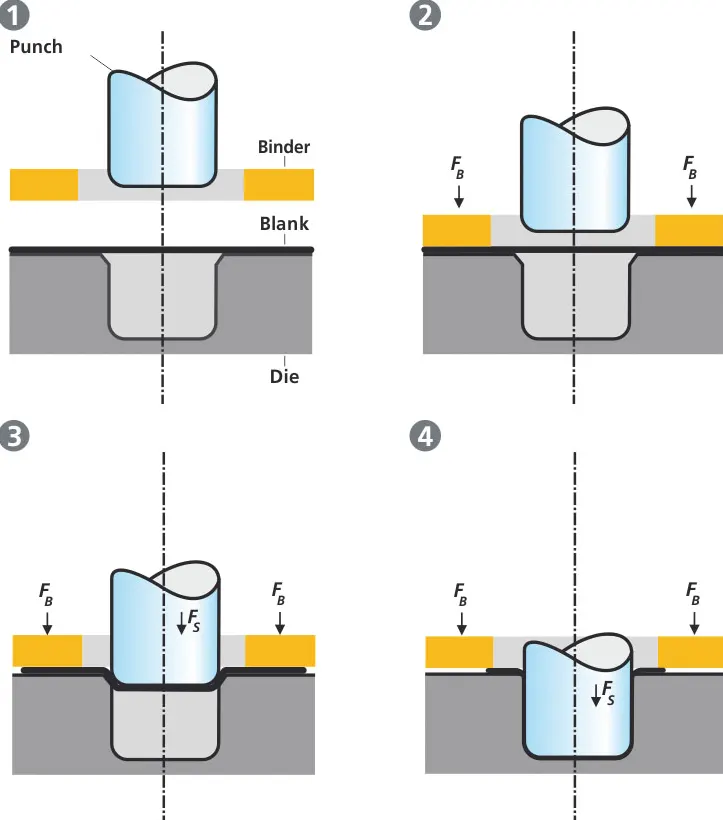
Deep Drawing:
In this cooperation, a sheet is pulled into the ideal shape using a punch and pass-on gadget. The sheet is outlined into the condition of the pass on by driving the punch down on it. To avoid the sheet wrinkling on itself, the sides of the sheet are held someplace close to folios. Latch trajectory:
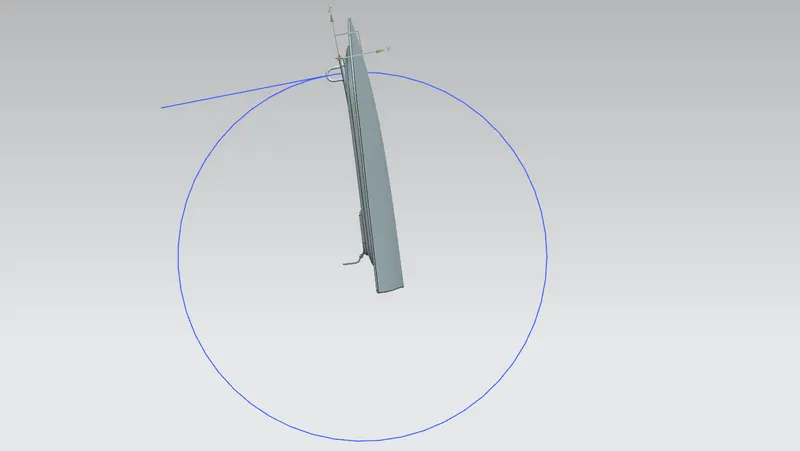
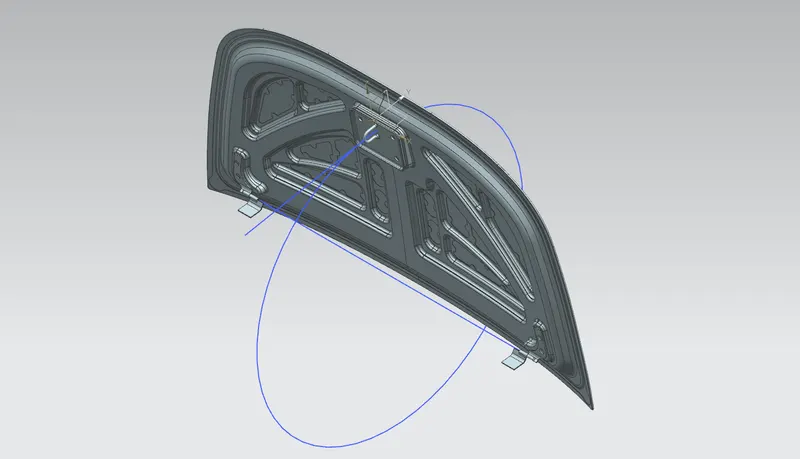
The latch trajectory shows the way of the striker when the hood is opened and shut on a vehicle. The range of the round trajectory is controlled by the set standard dependent on the normal stature of an individual. The range is estimated from the pivot hub up-to-the latch.
Mastic Sealant:
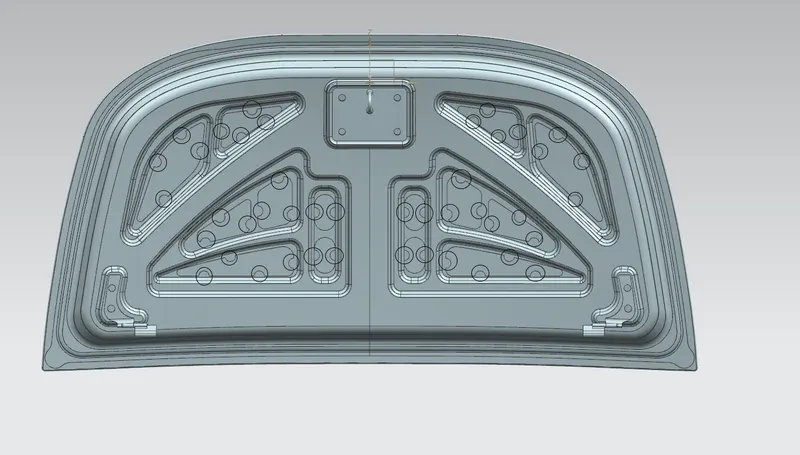
The mastic points are regions where the mastic is put to interface the outer panel to the inner panel. We can't use spot welding as it would give a less elegantly fulfilling result. Accordingly, mastics are used to join the panels as it doesn't mollify the real metal.
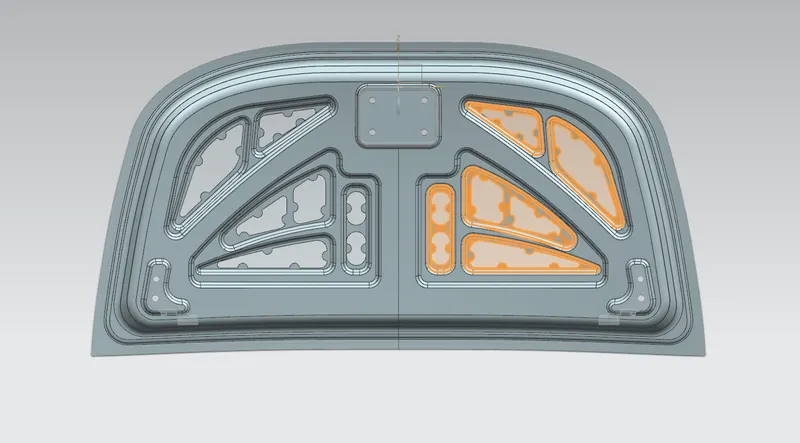
Emboss:
The inner panel contains assorted embosses which help disperse the power during impact. The width and significance of the emboss are guided by ages and evaluation to check for dissatisfaction. These emboss definitions are made at a point so they point away from the place of union of the hood when seen from the front of the vehicle.
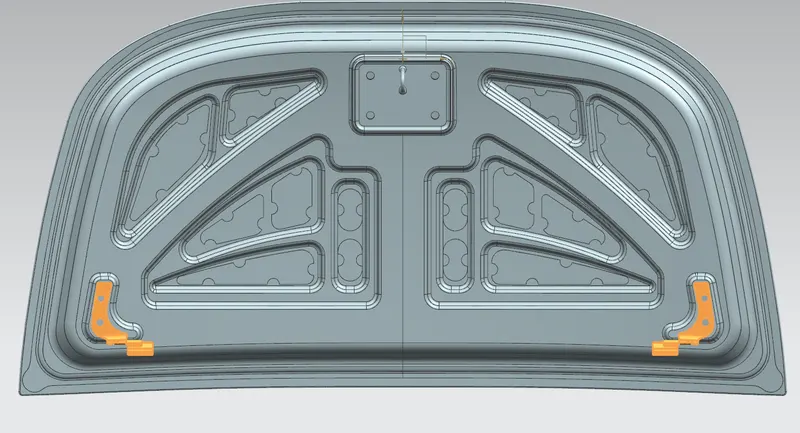
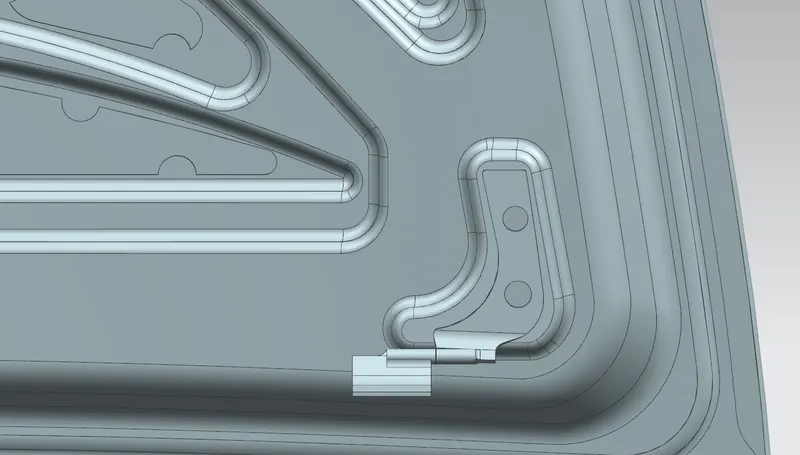
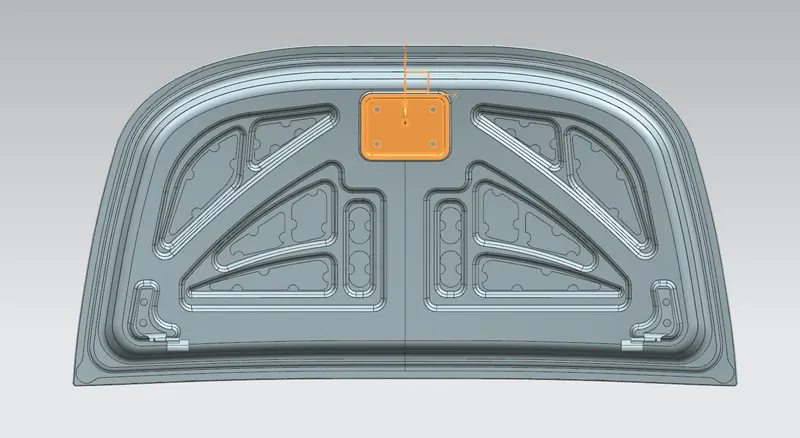
Reinforcements:
The zone near the turn and latch has more chances of disillusionment in the hood panel. Consequently, to avoid any failure, the rotate and latch regions are upheld with extra material whose thickness is regularly directed by the sort of vehicle.
Hemming:
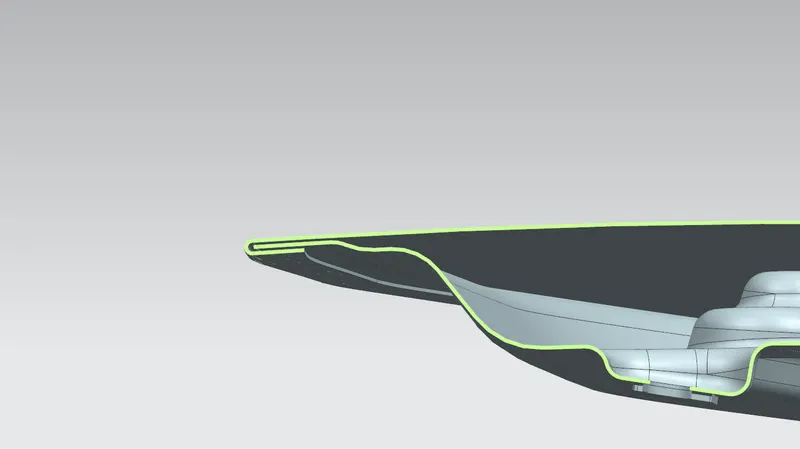
The hemming collaboration is used to bolt two sheets together by imploding one sheet around the other sheet. The trim is made by first making a contrary spine. The rib is then turned past 90 degrees in the pre-hemming measure. Finally, the trim is made by pressing the spine back on the sheet completely. Hems can be an open kind or closed sort. To bolt two sheets together, generally, open spines are used.
To make these hems and pulled-in surfaces a 3d programming, we use features, for instance, emboss and balance surface. The hood arrangement requires arranging the outer panel, inner panel, and get-together. We use Siemens NX for making the all-out model of the hood.
Features Description
Offset surface: The offset surface gadget makes a copy of the picked surface at a provided distance and guidance.
Emboss: The embossing contraption makes a punched surface of the picked shut contour. The punch is produced using a picked surface containing the contour sketch/curve. A draft can be obliged the punch from either the end cap or the base surface.
Trim sheet: The trim sheet gadget parts the target surface along the intersection curve of the target surface and the gadget surface. The piece of the surface on either side of the intersection can be either discarded or retained according to need.
Through curves: This contraption creates a surface between two assorted surface sections where the shape can change in sections.
Law extension: Creates an extended surface subject to an open-chain contour or a shut contour on the picked target surface. A draft can be obliged by the extension.
Face blend: Creates a curved blend or filet along two picked surfaces in a gave direction vector. The curve of the blend can be changed regarding reach, width, and continuity.
Extend sheet: Creates an extension of the picked sheet up to a gave distance.
Offset in the face: Creates an offset of a curve or edge on the target face up to a provided distance and guidance.
Bridge curve: Creates a roundabout portion between two intersecting or non-intersecting curves. The beginning and endpoints of the roundabout portion can be changed by providing distance regard.
Project curve: Creates a projection of a picked curve profile onto a goal surface. The surface can be linear or curved. The direction of projection can be changed by providing a reasonable vector.
Extrude: Creates a surface or a strong reliance on the decision to portray. The distance and direction vector can be given genuinely. Extrude instrument can only make a linear profile along a gave direction.
Sew: The sewing gadget blends, in any event, two surface bodies into a single sheet or a strength depending on the need. Any openings between the surfaces can be closed in the unlikely event that they are within the set obstruction range.
Mirror geometry: This device mirrors a picked geometry along a plane or a face.
Curve on the surface: Creates a curve on a picked surface by providing the beginning and endpoints and their relation i.e., G1 Tangent or G2 shape.
Thicken: Creates a strong body with provided thickness and guidance.
Extracted body Creates a body of the picked geometry that can't be changed. It should be changed by editing the parent features and rebuilding the extracted body.
Hood Design Assembly and Views
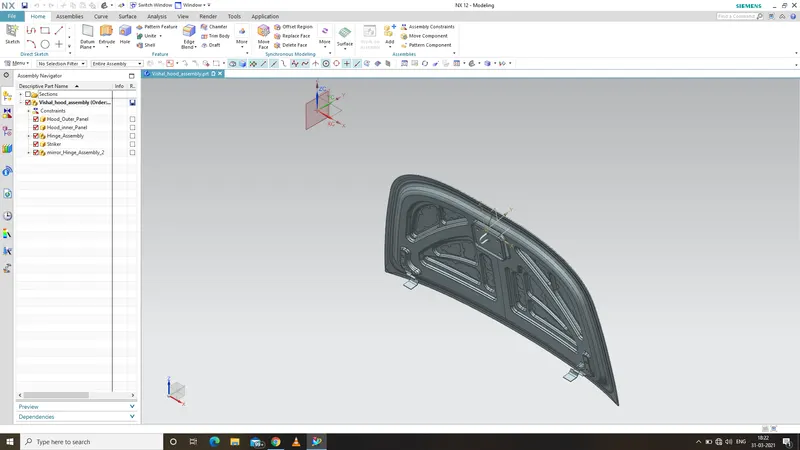
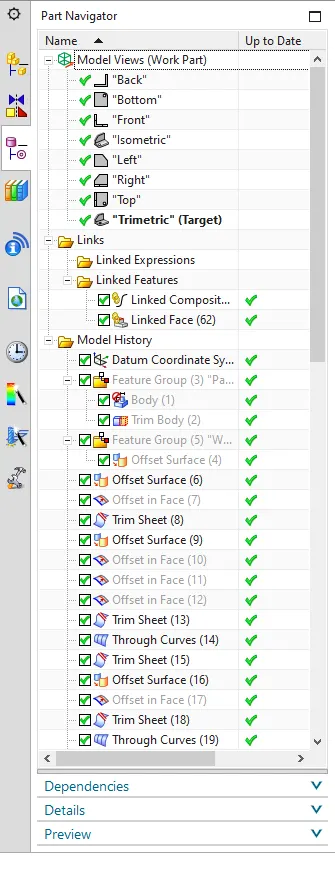
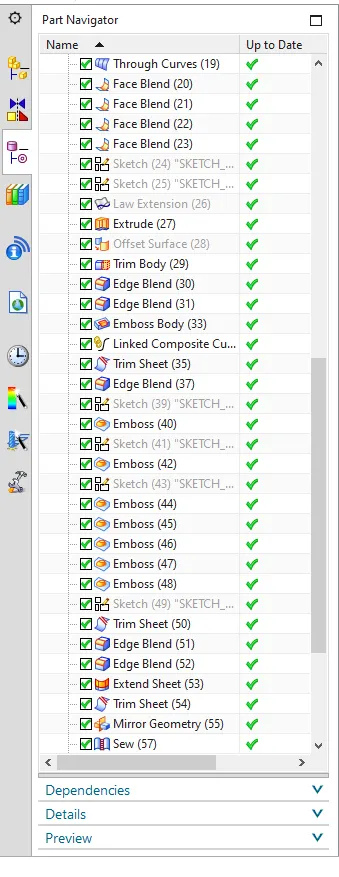
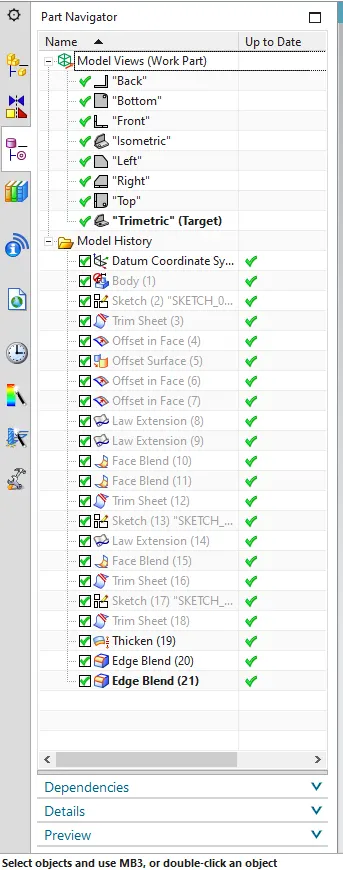
The Hood is designed or modeled by using several tools like Offset surface, Extrude, Project Curve, Bridge Curve, Offset curve on the face, Face Blend, Edge Blend, Extend Surface, Law Extension, Through Curves, Trim Sheet, Emboss, Mirror Geometry, Sew, Curve on the Surface, and Thicken which provides desired shape and size to the model from unexpected deformation.
- Isometric View
- Front View
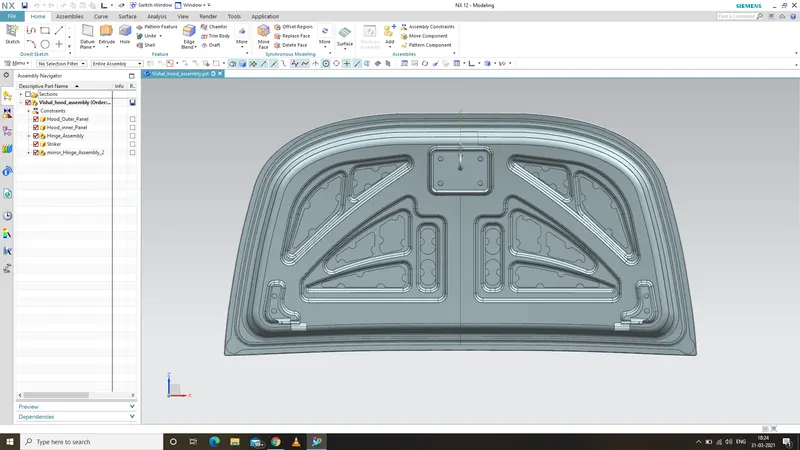
- Top View
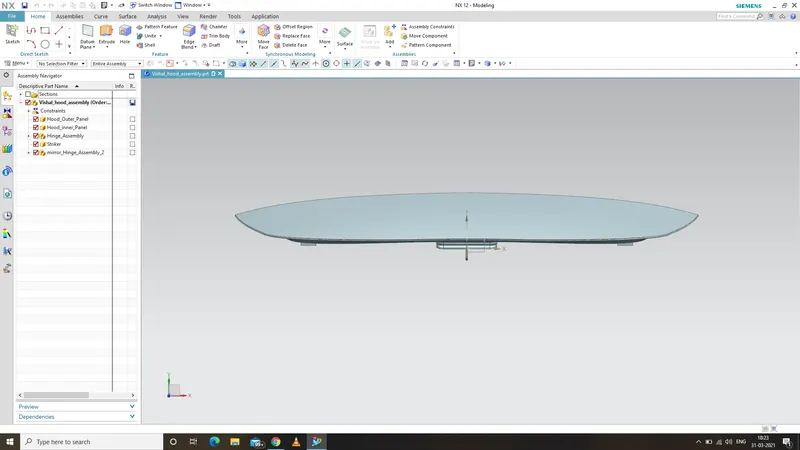
- Side View
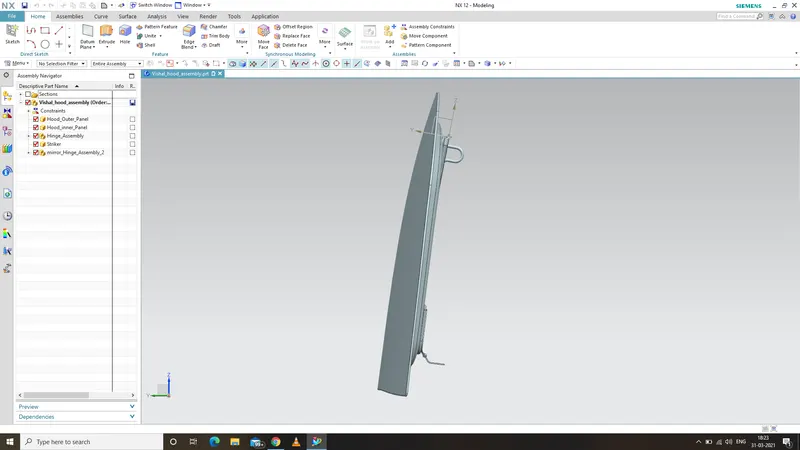
- Assembly Navigator
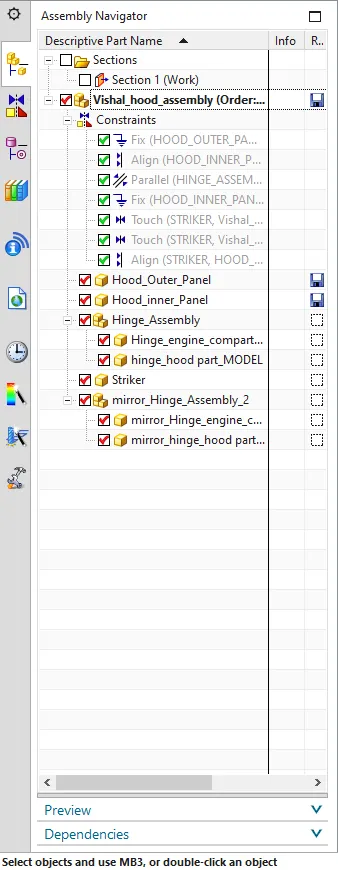
- Assembly Part Navigator
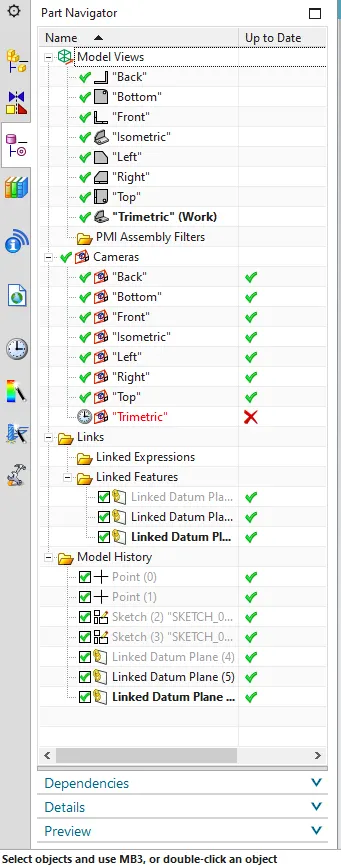
- Part Navigator
- Inner Panel Part Navigator 1
-
- Inner Panel Part Navigator 2
-
- Inner Panel Part Navigator 3
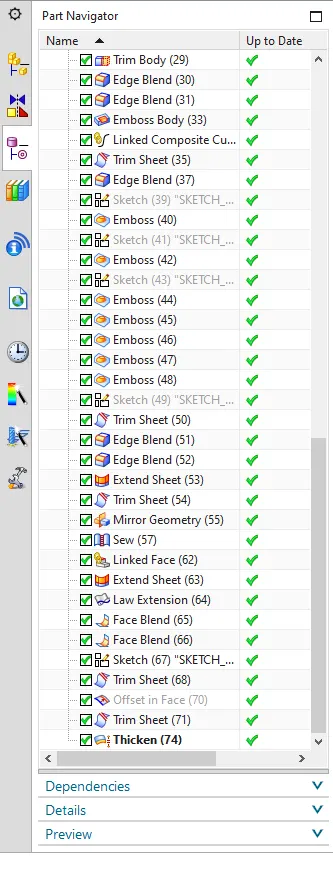
- Outer Panel Part Navigator
Conclusion:
We were sufficiently set up to plan the inner panel of the hood with the assistance of the given Master Sketch and different assessments. We in like way organized the hood as demonstrated by the NCAP rules and feasibly amassed the hood inner panel, hood outer panel, hinge, a striker with their strongholds. We were besides set up to comprehend the framework behind designing the hood and the storing upcycle behind it. We additionally comprehended the different contraptions in Siemens NX CAD for designing a model and its assembly.