Hood design-Week 2
Aim: To design a Hood Inner Panel with the help of the given Class-A surface of the hood outer panel.
Procedure:
- First we will start with extracting the given class A surface and then cutting it in half by using the split command to create a mirror surface later.
- We will do multiple offsets of extracts by 1.7mm, 4mm, and 25mm and trim it using parallel curves as given in the master section.
- After trimming, we will use a multi-section surface to join all the trimmed surfaces, which will make our base inner panel as given in the master section.
- We will use the sketch command to create a boundary for our next emboss which will be for hinge and striker embosses.
- We will give at least 150mm length and 80 mm breath for the striker emboss and 30 x 30 mm space for hinge emboss.
- After completing the sketch, we will project this sketch on the surface and split the surface.
- Now we will use the sweep command to create a surface with an 80-degree angle to the surface.
- Now we will offset a surface from the bottom of the inner panel surface and trim it with the sweep we created to make an emboss and join them.
- For strengthening emboss, in case of an accident, we will make sure that all the force and shock waves should not go inside the cabin rather they should go through the A-pillar and sill and away from the cabin.
- We will use the same procedure as we did before for hinge and striker emboss by creating a sketch, projecting it on the surface and trimming it, and then trimming the surface with the 1.7mm offset we created earlier to create an emboss.
- Now we are going to use mastic to join the outer and inner panels.
- Mastic past when milted, spreads to about 80mm.
- We will make sure that we will give a distance of about 30-40 mm gap between mastic points on the strengthening embosses.
- We will use the sketch to create this mastic point and then project this sketch on the surface and then split it.
- Now we will create emboss for the hinge and striker.
- For both the hinge and striker, we need to create a flat surface so that it will be easy to create that part.
- To create a flat surface, first, we will create an axis system near the region where we will create our emboss.
- Now we will create a line near the emboss region and then extrude using the line we created and then use a sweep and trim to create emboss.
- For striker embossing, first we will mirror the whole surface we created and then join them together.
- As we know, the striker should be parallel to the tangent of the striker’s trajectory.
- So first we will assemble the hinges and then create a line that goes through the center axis of both hinges.
- After creating this line, we will create a circle in a plane perpendicular to the inner panel.
- We will draw a line that is tangent to the circle and draw a line perpendicular to the tangent line and also goes through the center of the circle.
- Now we will create a center line in striker part and assemble it on the tangent line we created earlier.
- Now we will use extract command to get the flat surface from striker assembly and use sweep to create the emboss.
- This will complete our hood inner panel.
- To strength our mounting areas we will create reinforcement by multi-extracting the surface from thickened inner panel and then thickening that extract by 1.5mm.
- Now we will create hemming on hood outer panel.
- First we will offset the outer panel by 2.65mm and then trim it to create lower flange.
- We will use sweep to create fillet edge and then use tritangent fillet in surface fillet command to create the hemming.
- This will complete our hood design.
Screen Shots
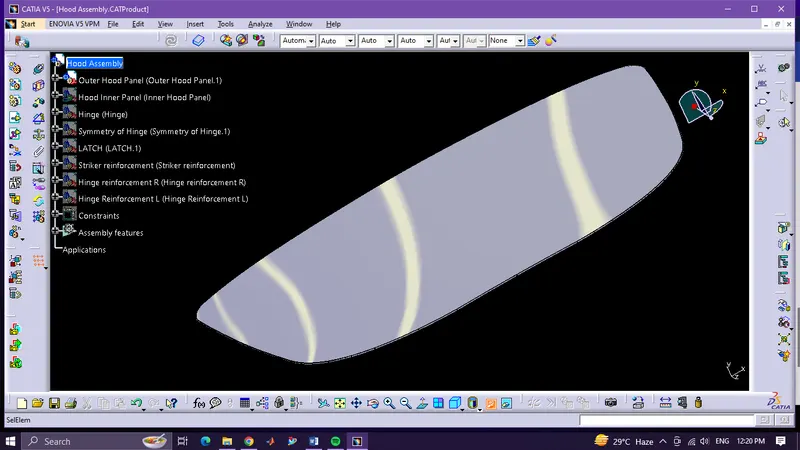
Hood Outer Panel
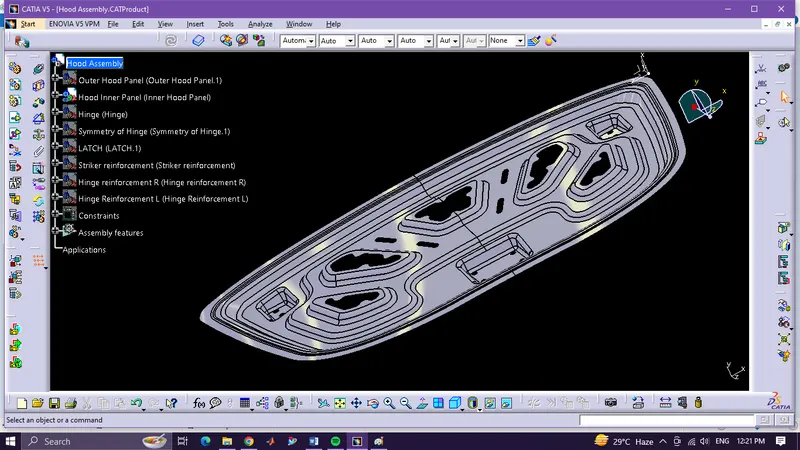
Hood Inner Panel
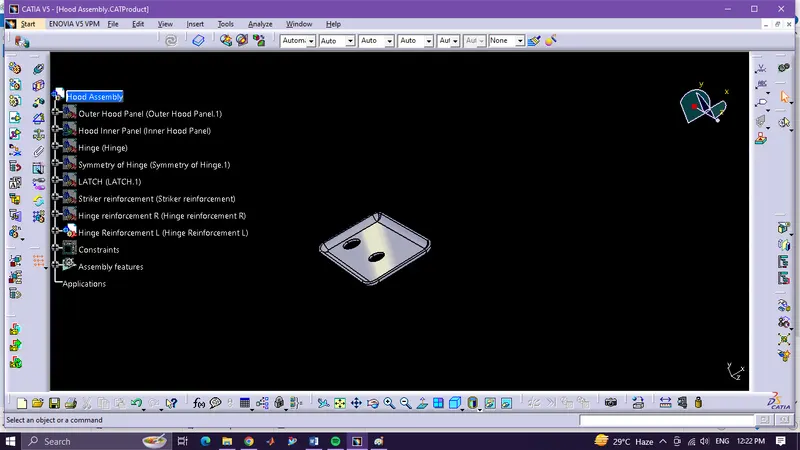
Hinge reinforcement left
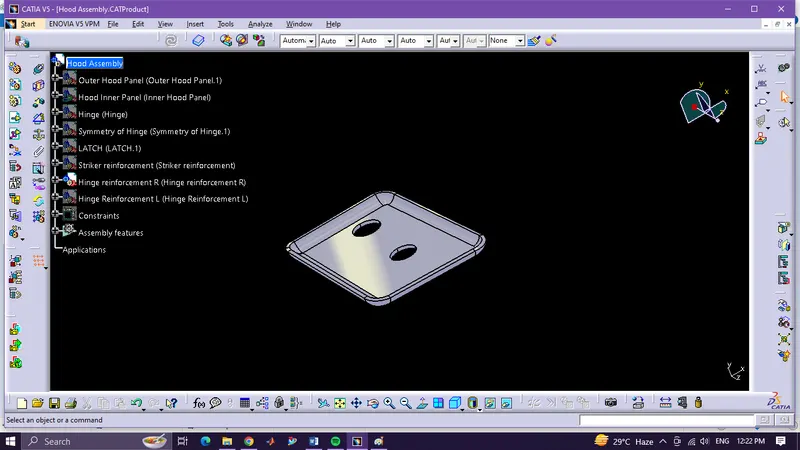
Hinge Reinforcement Right
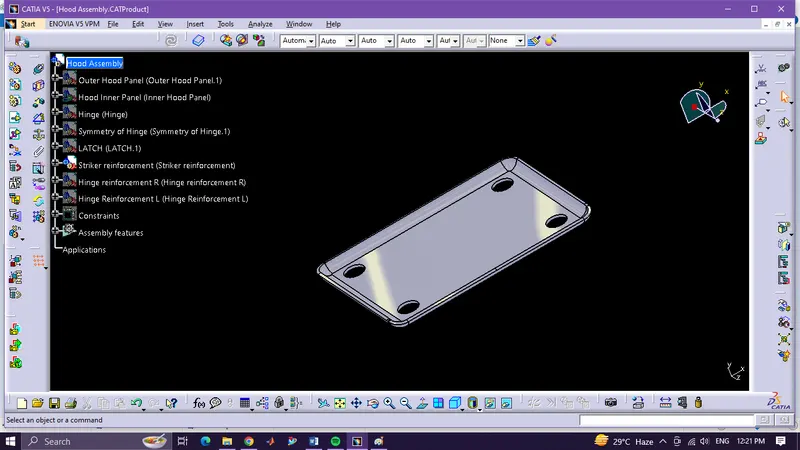
Striker Reinforcement
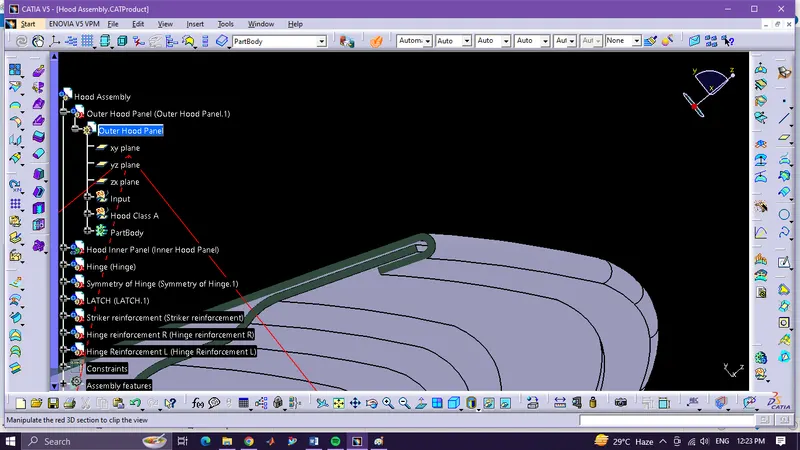
Hemming cut section