Final project - Door trim Design
DEVELOPMENT OF DOOR TRIM PANEL OBJECTIVE: objective for this project is to make half of the door trim panel in catia-V5 from the provided Class-A surface of the same.
LOWER SUBSTRATE:
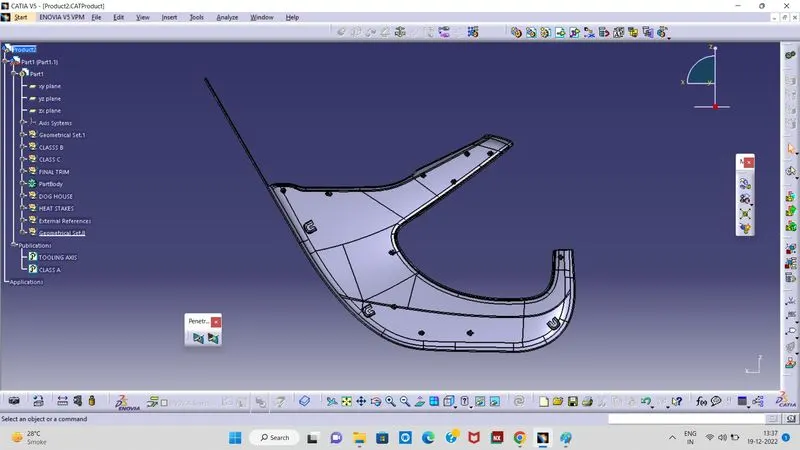
Class-B surface was created by offseting class-A surface by 2.5mm distance. This is the nominal thickness of the component.
Class-C surface was created by sweeping it along tooling axis at some part and sweeping it with reference surface at other. In the end every patch was joined together to get class-C surface.Final surface model was created by joining class-A and class-C surfaces together and later trimming them with class-B surface.
Once we get the surface model, we make it into solid model by going to part design and closing the surface. Once that is done, we run a draft analysis on the component and once it is clear, we move ahead with making B-side features and again run a draft analysis on the entire component.
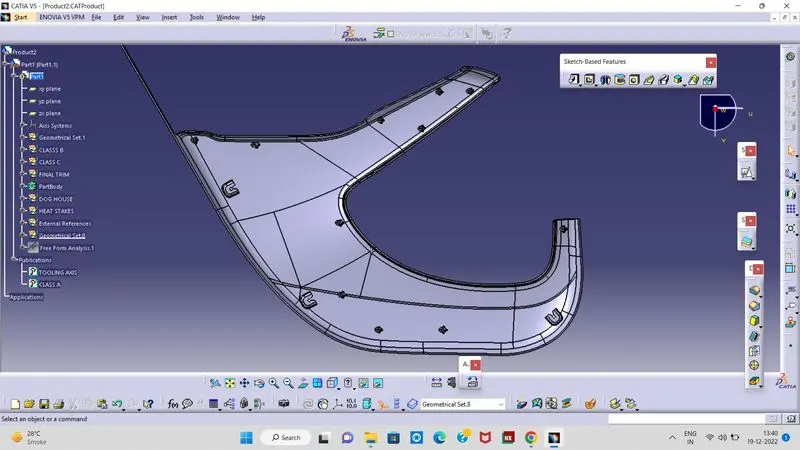
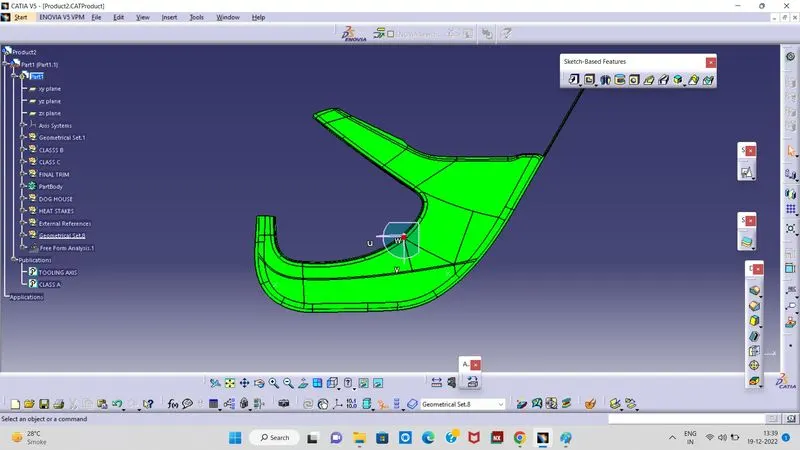
The value of draft on heat stakes is 0.5deg so it showed bluw color in the first image where acceptable value of draft was 3deg. but as we decreased the value of acceptable draft to 0.3deg it becomes green in color. The position of the heat stakes on the lower was given according to the flanges of the other component. They were made only after making all the components.
LOWER MAP HOLDER:
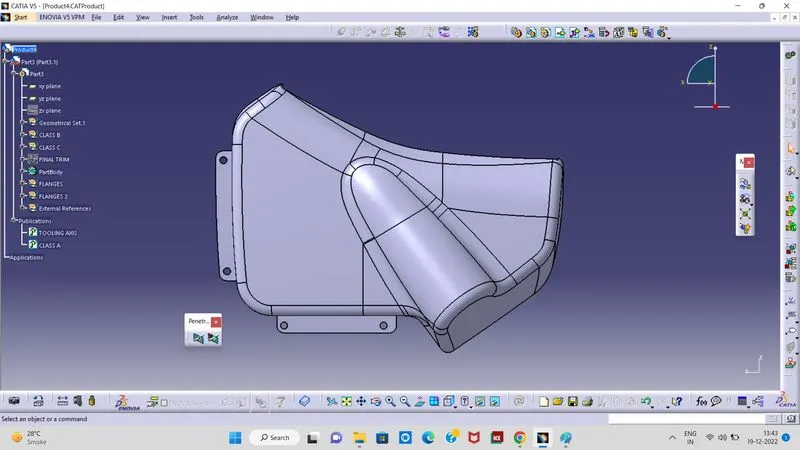
As the boundary of class-A surface is not constantly flowing in one direction and there are many round corners, sweeping along with tooling direction was creating problems, so to avoid cusps many patches of C-surface were made and later joined together.
Once we get all the surfaces we have to trim all of them together to get once single closed surface model. Later we have to make it into a solid body and run draft analysis on the component.
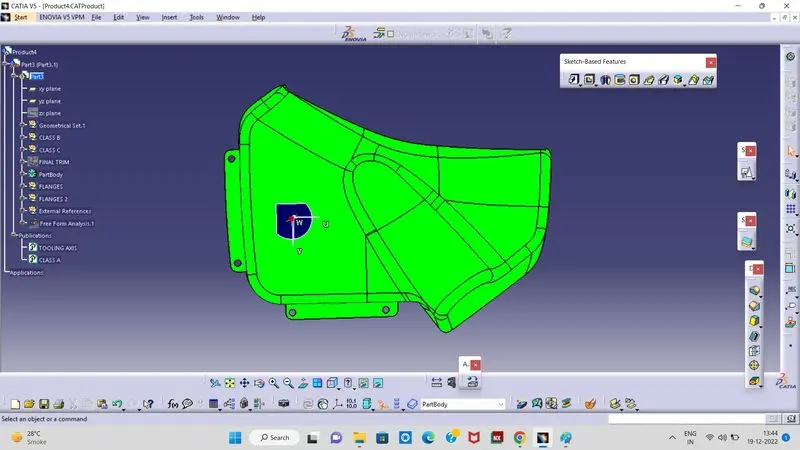
As class-A surface had problems in draft analysis, the same problem is with the component and this was expected result too. This component can cost company a loss of capital if it were to go for manufacturing. But we are considering it only for the sake of project.
UPPER MAP HOLDER:
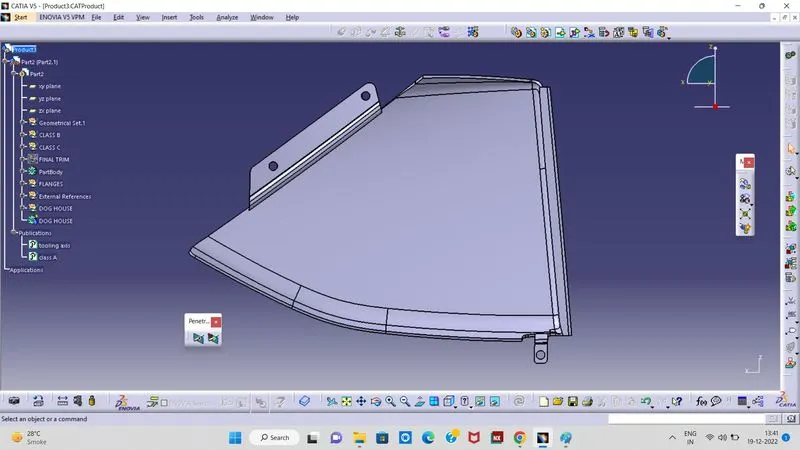
While following a general procedure, we encountered a problem with B surface. This problem was faced multiple times while making different model. When a offset of 2.5mm was given to the class-A surface, a patch of it was missing in the class-B. So we have to make that patch. A spline was created between the ends where the patch was missing and a patch of surface was created usind multisection surface. After that, we trimmed the adjacent surfaces to get a single patch and in the end joined everything together. Once this was done, we move forward to make class-C surface. Like other methods, here also we used combination of both the sweeps to make class-C surface and join them together.
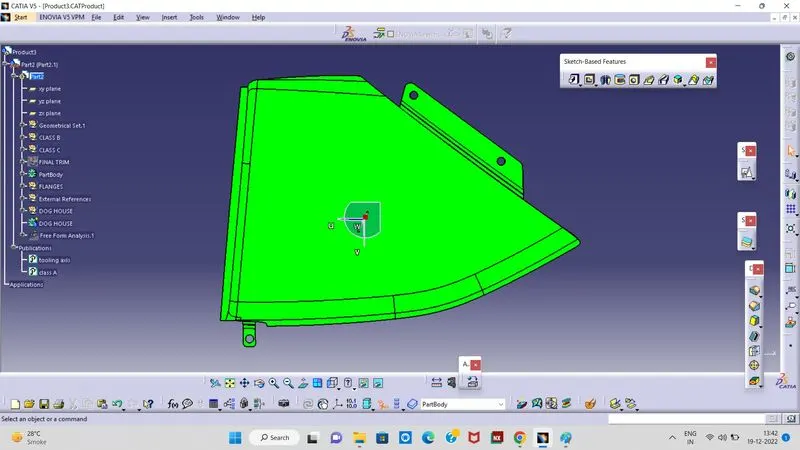
For making surface model, we have trimmed all of them together. Later it was made into solid component and draft analysis was run on it.
U SHAPED POCKET:
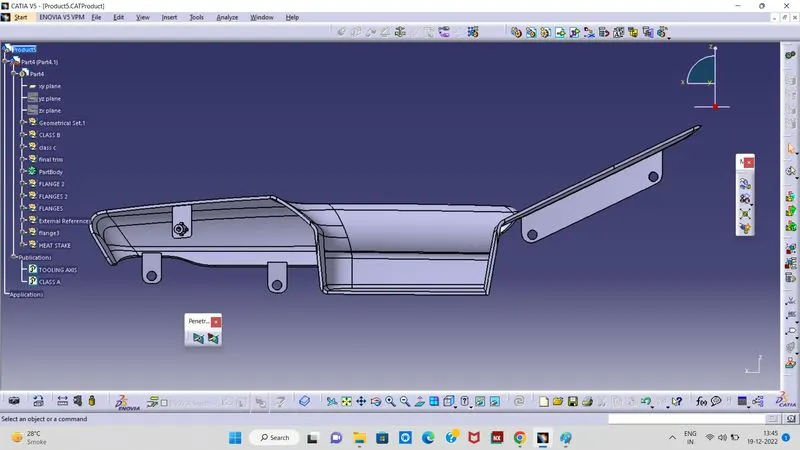
However the switch bezel was very complicated to make. There was specifically one part in the component which made it difficult to make. So a different approach was followed to make this one in the end. Every other procedure was same. There were many problems while creating B surface. Patches were made, extapolated, trimmed and various other techniques were followed on trial and error basis to get the C-surface for this components. In this model, instead of joining class-A and class-C we have to trim class-C and class-B surfaces first because the traditional method was creating problems.
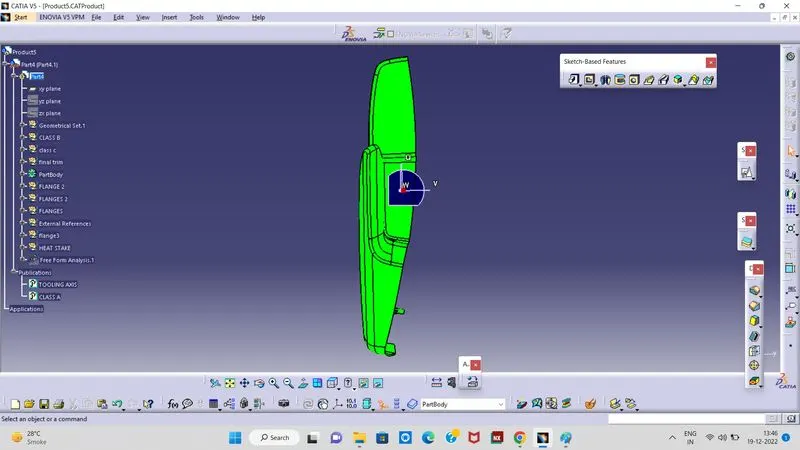
DESIGNING B-SIDE FEATURES:
DOG HOUSE: Primary function of the dog house is to avoid sink marks. But it also helps in other things like if the mating part is to be at a greater distance then we cannot make the height of the screw boss of that greater height, thus we make dog house and mount screw boss on it. Hence it helps in solving the problem of screw boss and also it helps to have perpendicular 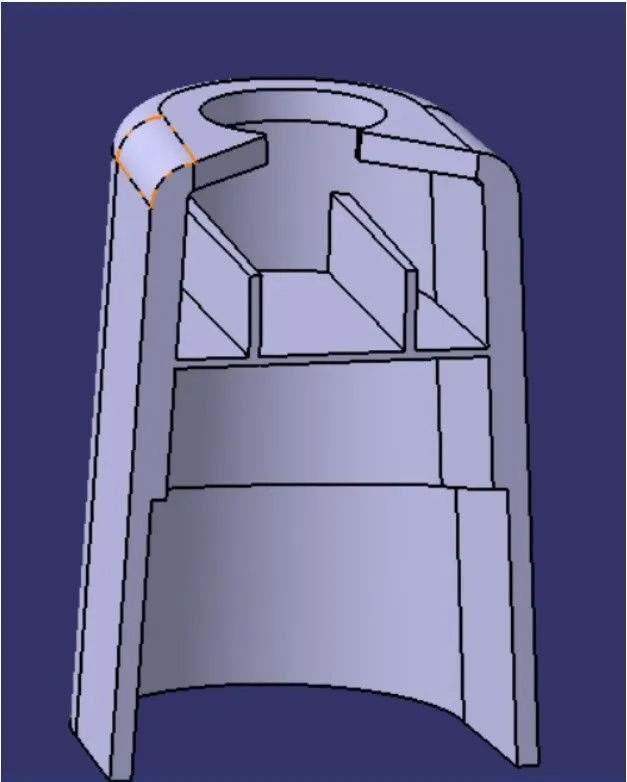
HEAT STAKES and FLANGES are created acoording to the master sections which are given in the initial stage. And we have to consider them and taking desired dimensions for design them.
FINAL DOOR TRIM PANEL:
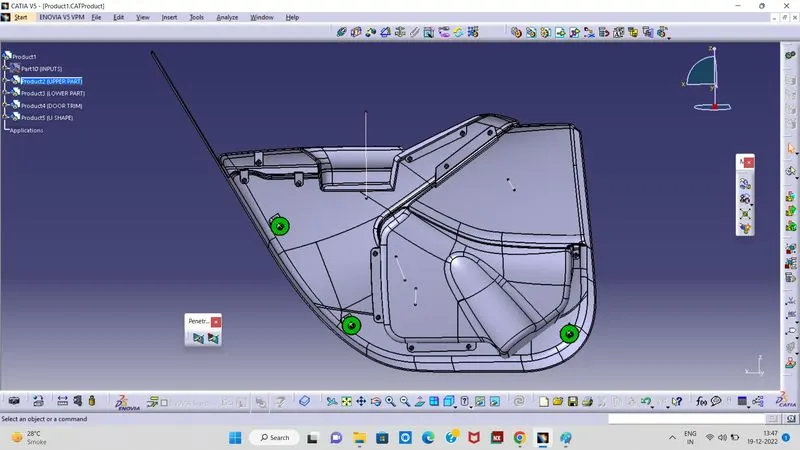
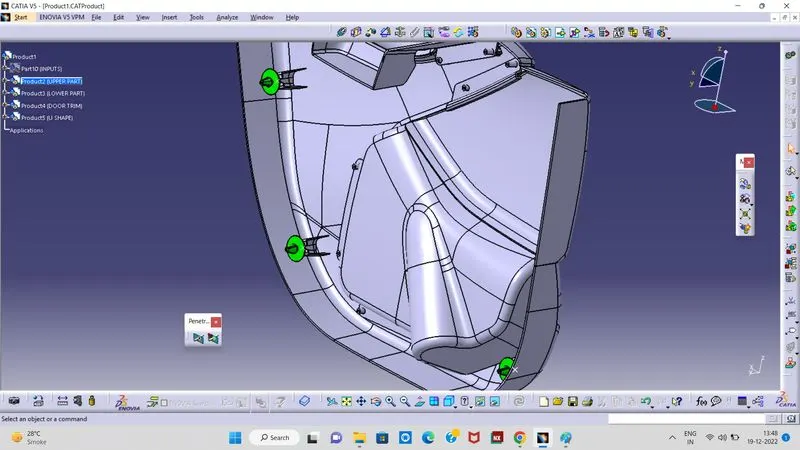
finally creation of door trim panel is successfully completed by following the design reules and considerations..