AUTOMOTIVE FRONT FENDER DESIGN
FENDER DESIGN
OBJECTIVE: To design the car front fender with the help of using skin data shared by the styling team and make it ready for manufacturing.
INTRODUCTION:
FENDER:
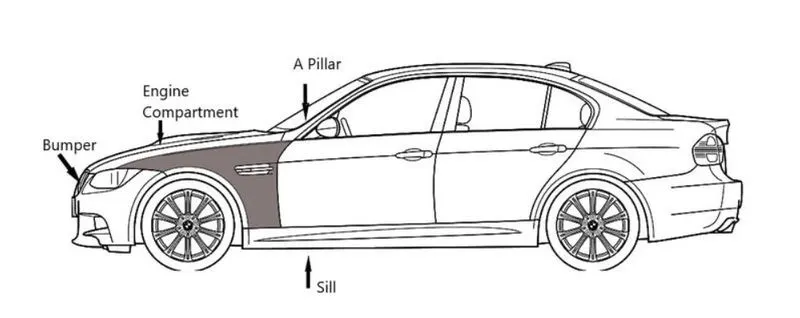
Fender is the American English term for the part of an automobile, motorcycle, or other vehicle body that frames a wheel well. Actually, it is a part that is in contact with the different parts of the vehicle like the A-pillar, sill, etc. typically fenders are rigid and house the wheels, inner body parts both at the front and back sides of the vehicle.
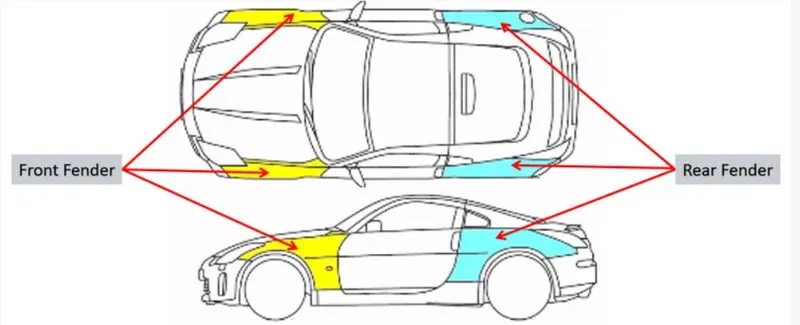
This fender plays a major role in pedestrian safety while a car is in motion. When it is in motion the wheel carryover the small stones, mud particle and throw away which may harm the pedestrians. So while designing these considerations are to be taken into account.
TYPES:
Actually, there are two different types of fenders with a small difference between them.
They are
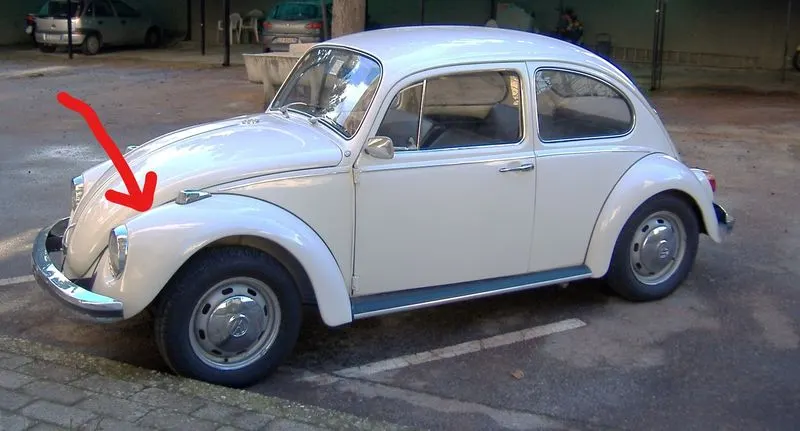
1.Full bumper type:
These are the fenders that cover the entire wheel of a vehicle and mainly it is used in earlier manufacturing as shown in the figure below.
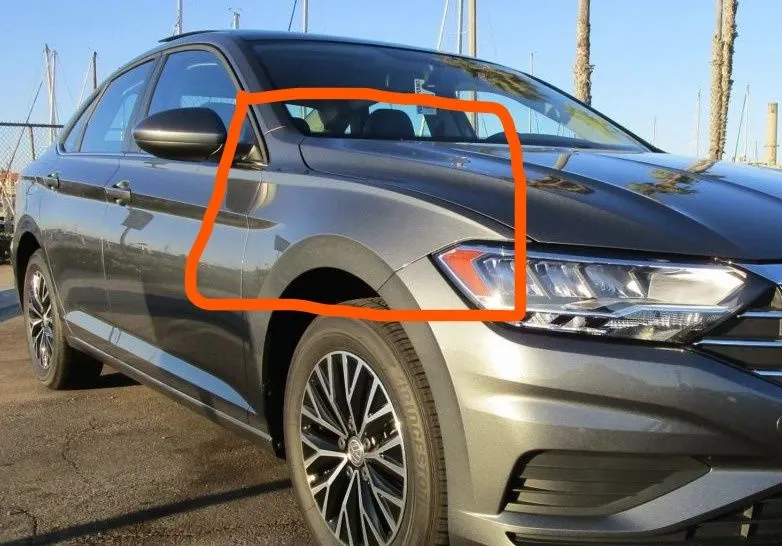
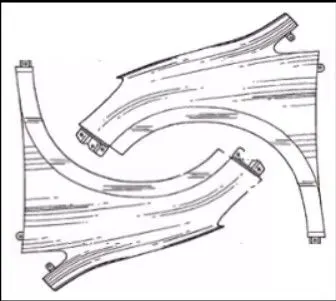
2.Half bumper type:
This fender is also the same as the above but with slight modifications by putting the cost and weight into considerations is changes were implemented and made the fender aesthetically good as shown in the figure below.
PURPOSE:
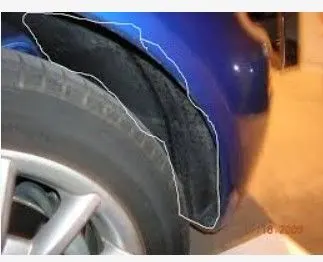
The purpose of the fender is to put the car aesthetically good by covering the engine compartment and also to prevent the debris such as small stones, mud particles from being thrown outwards the vehicle while it is in motion, which may cause damage to the beside vehicles and also pedestrians.
DESIGN CONSIDERATIONS:
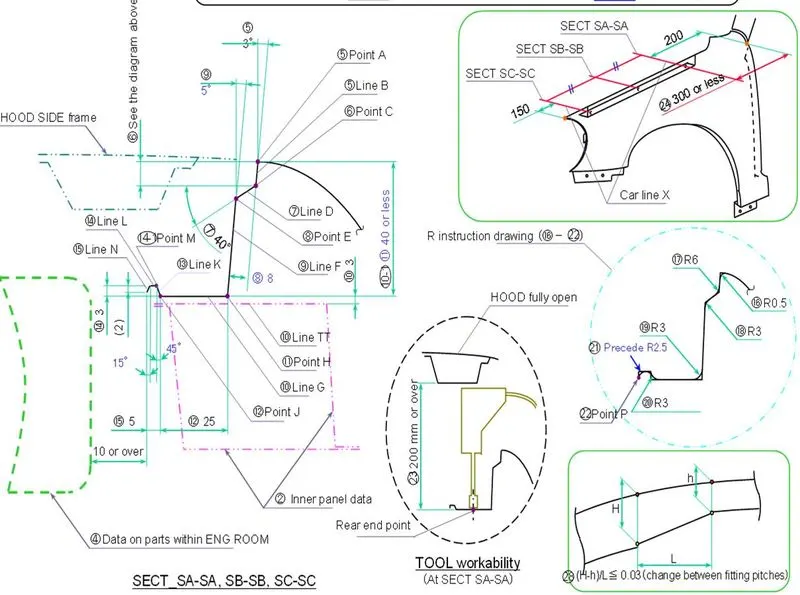
- As per the master-section provided the location of drip should be at 150mm from the bumper side and the gap of 200mm from the A-pillar.
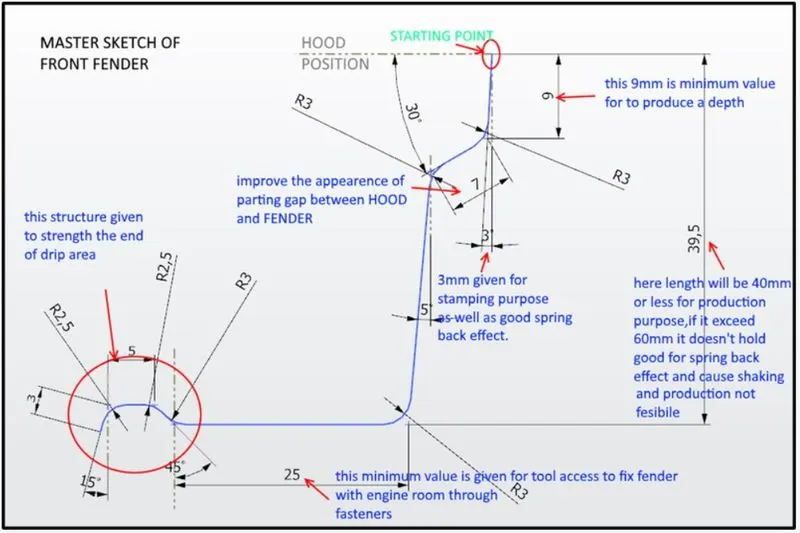
2.Check for the wheel arch radius and design of the fender outer by following the different regulations.
3.Allow the draft, which should be manufactured without an error,
4.The clearance distance should be maintained between the hood and the base drip area of about 200mm when the hood is at an open-angle.
5.Clearance should be provided for the nutting tool to assemble the fender with the body of the car.
MANUFACTURING PROCESS:
1.As per the design plan for tools to make ready the product for assembly.
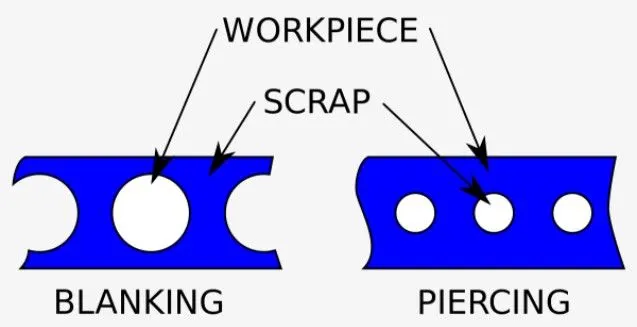
2.Snipping or blanking operation should be done for taking the piece of a sheet from the long rolled one.
3.Bending and restriking are performed to get the desired shape.
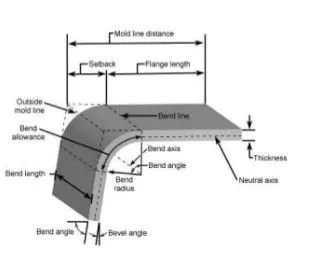
4. trimming is performed to trim the unwanted sections from the working sheet.
5.piercing should be performed to make the required holes on the sheet.
6.Embosses are created by doing the deep drawing by considering the good draft angle.
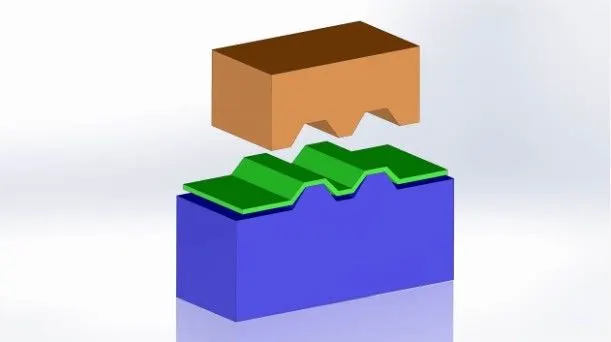
- Burring is the process of clearing the burrs and edges like sharp corners afeter operations.
MOUNTINGS OF FENDER:
- BODY MOUNT
- DRIP MOUNT
- BUMPER MOUNT
- SILL MOUNT
- A-PILLAR MOUNT
- SPLASH COVER MOUNT
DESIGN PROCEDURE:
CLASS-A surface:
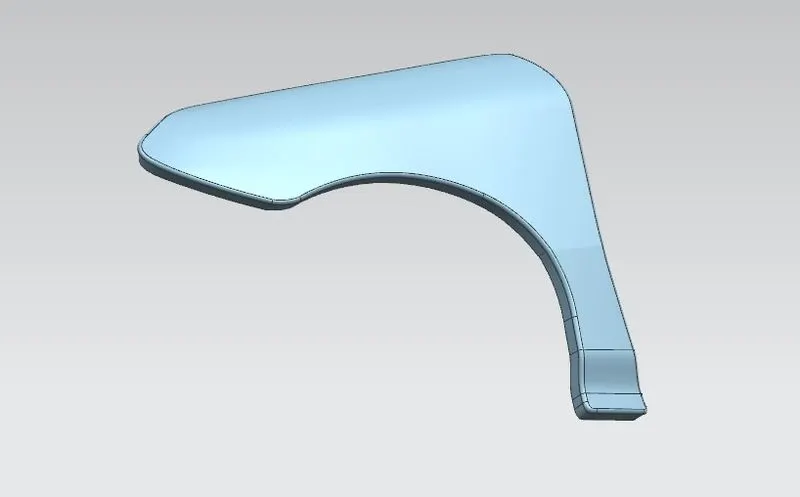
This obtained from the styling team as skin data, with the help of this the fender is prepared.
DRIP AREA:
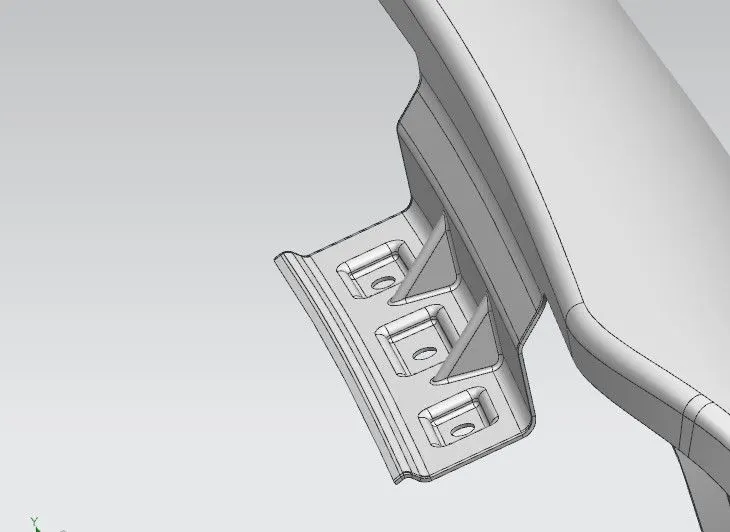
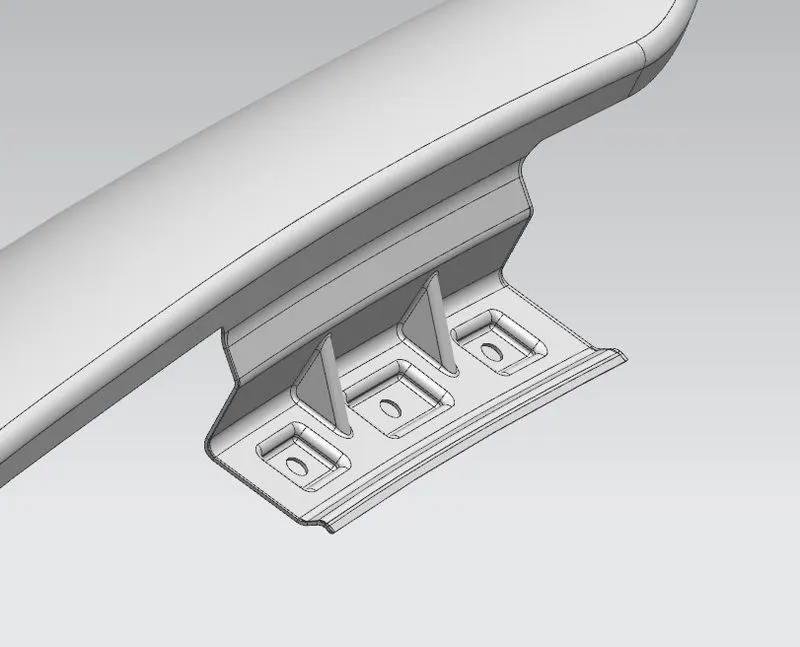
It is the most important mount of fender which is attached to the car body and near the engine compartment. This is designed by following the considerations such as the distance between the fender and engine room, clearance length between the hood, and the base area of the drip.
BUMPER AREA:
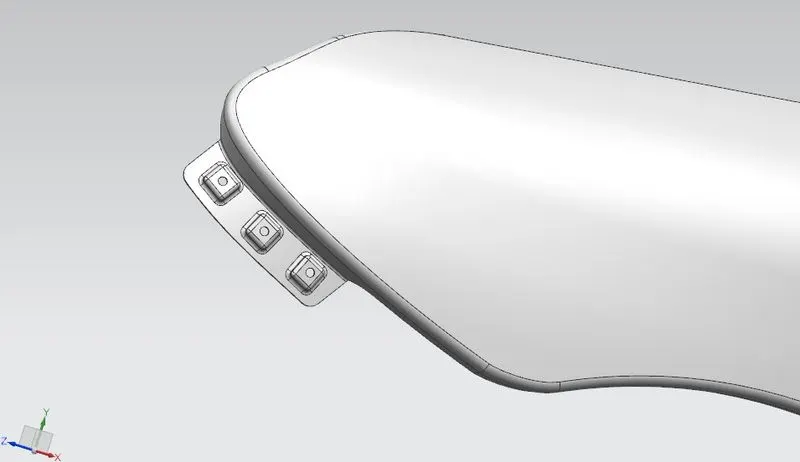
This is designed by consulting the bumper design team to share the model of assembly techniques.
BAFFLE AREA:
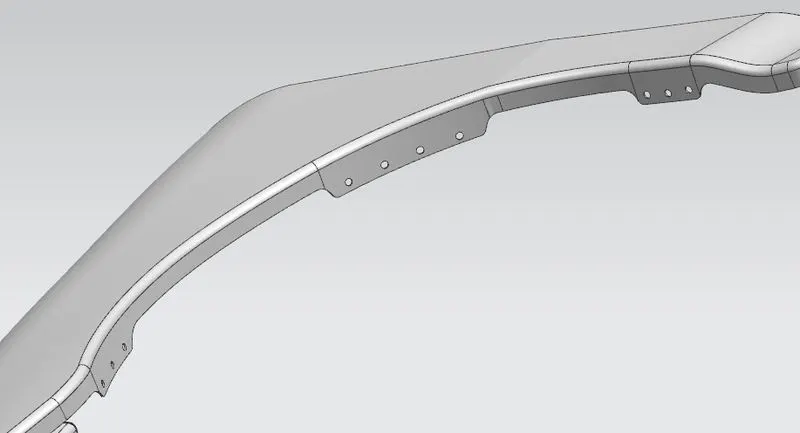
In this section, holes are created which allow the baffle to be fitted with good tolerances.
A-Pillar area:
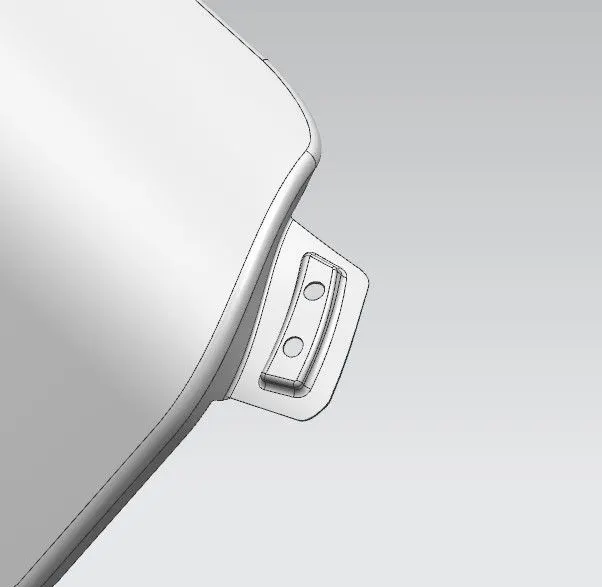
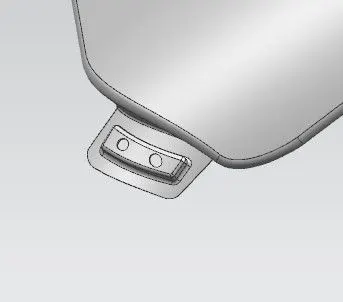
This is designed in such a way that the fender is assembled along its own angle as shown in the figure.
SILL AREA:
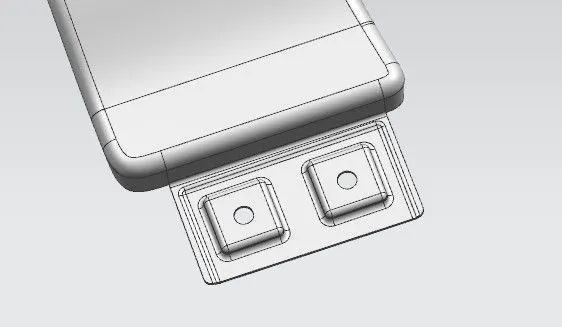
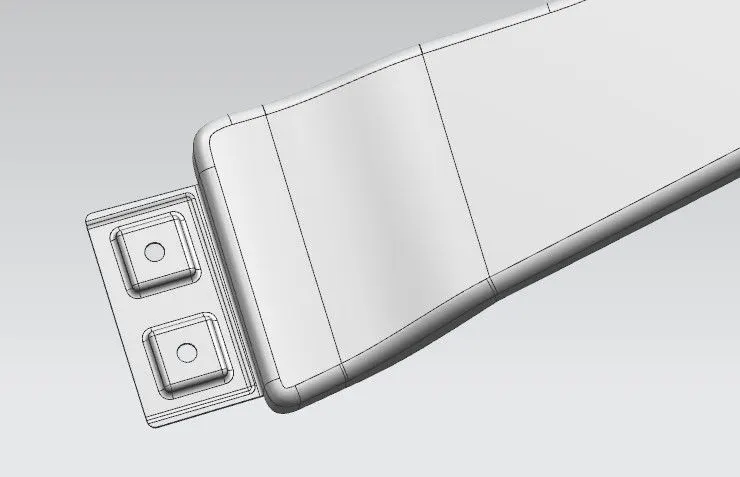
This area is created by applying the embosses according to the data shared by the sill assembly technical team.
RENDERED IMAGES:
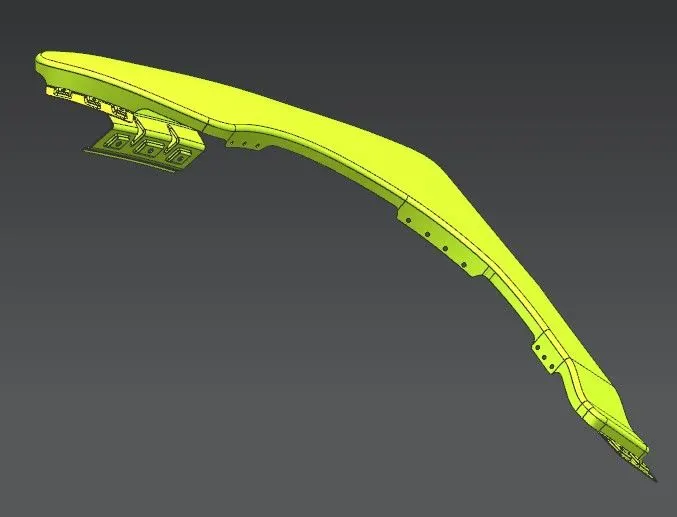
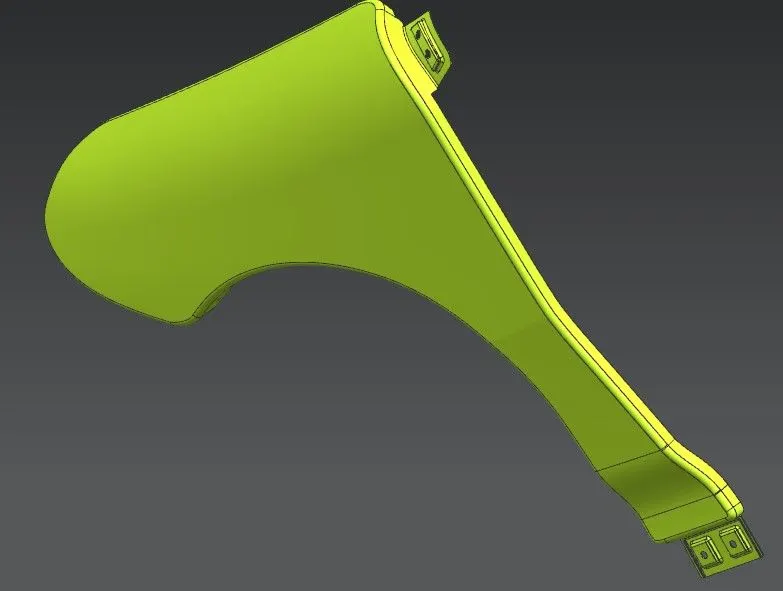
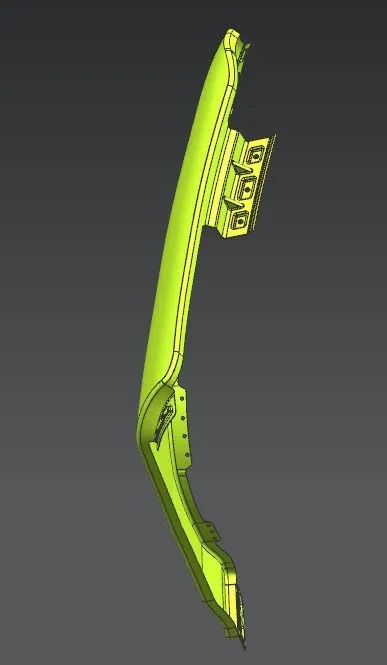
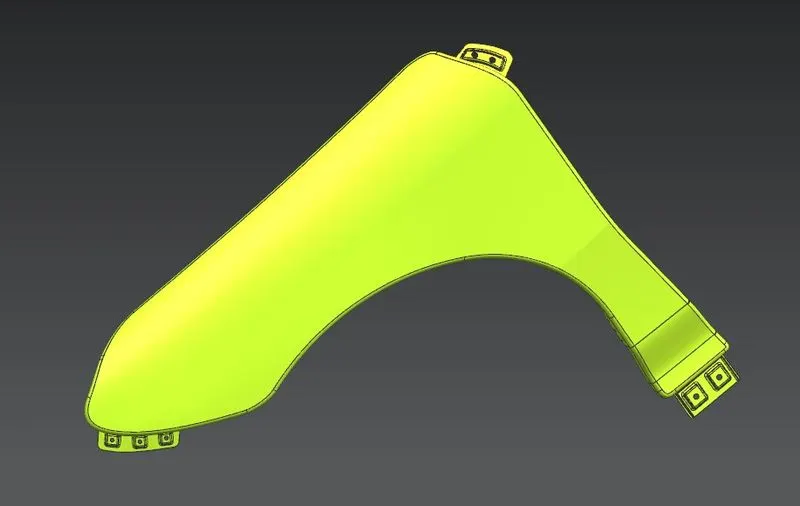
CONCLUSION:
The fender of the automobile is checked for the wheel arch radius as per Europen regulations and designed the front half fender of a car by following the pedestrian's safety and in order to guard the engine compartment and beside the vehicle.